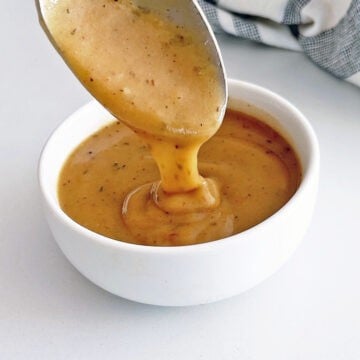
These caramelized onions are slowly cooked until soft, golden, and sweet. They take a bit of patience, but the rich, buttery flavor is worth every minute.
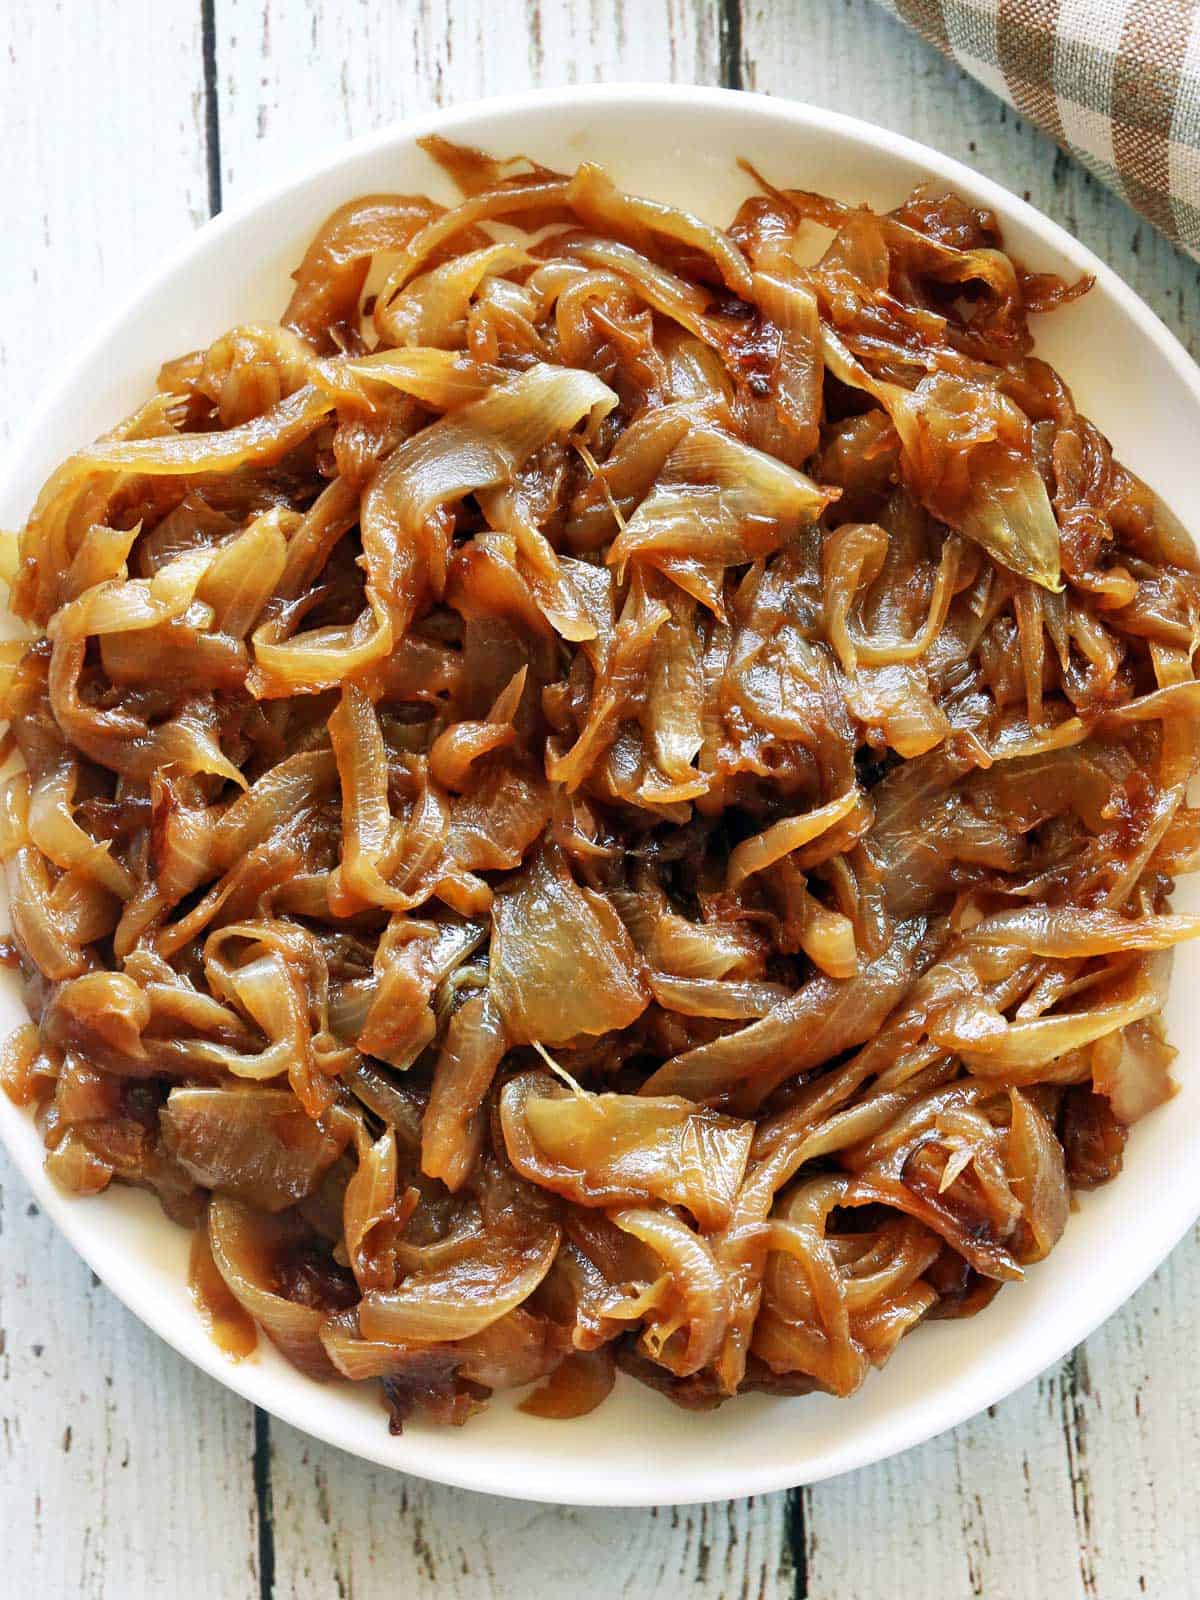
The way onions are transformed by cooking is miraculous. Even cooking them for just a few minutes takes much of their sharpness away. When you cook them in butter over low heat until caramelized, they become incredibly soft, buttery, and flavorful.
Ingredients
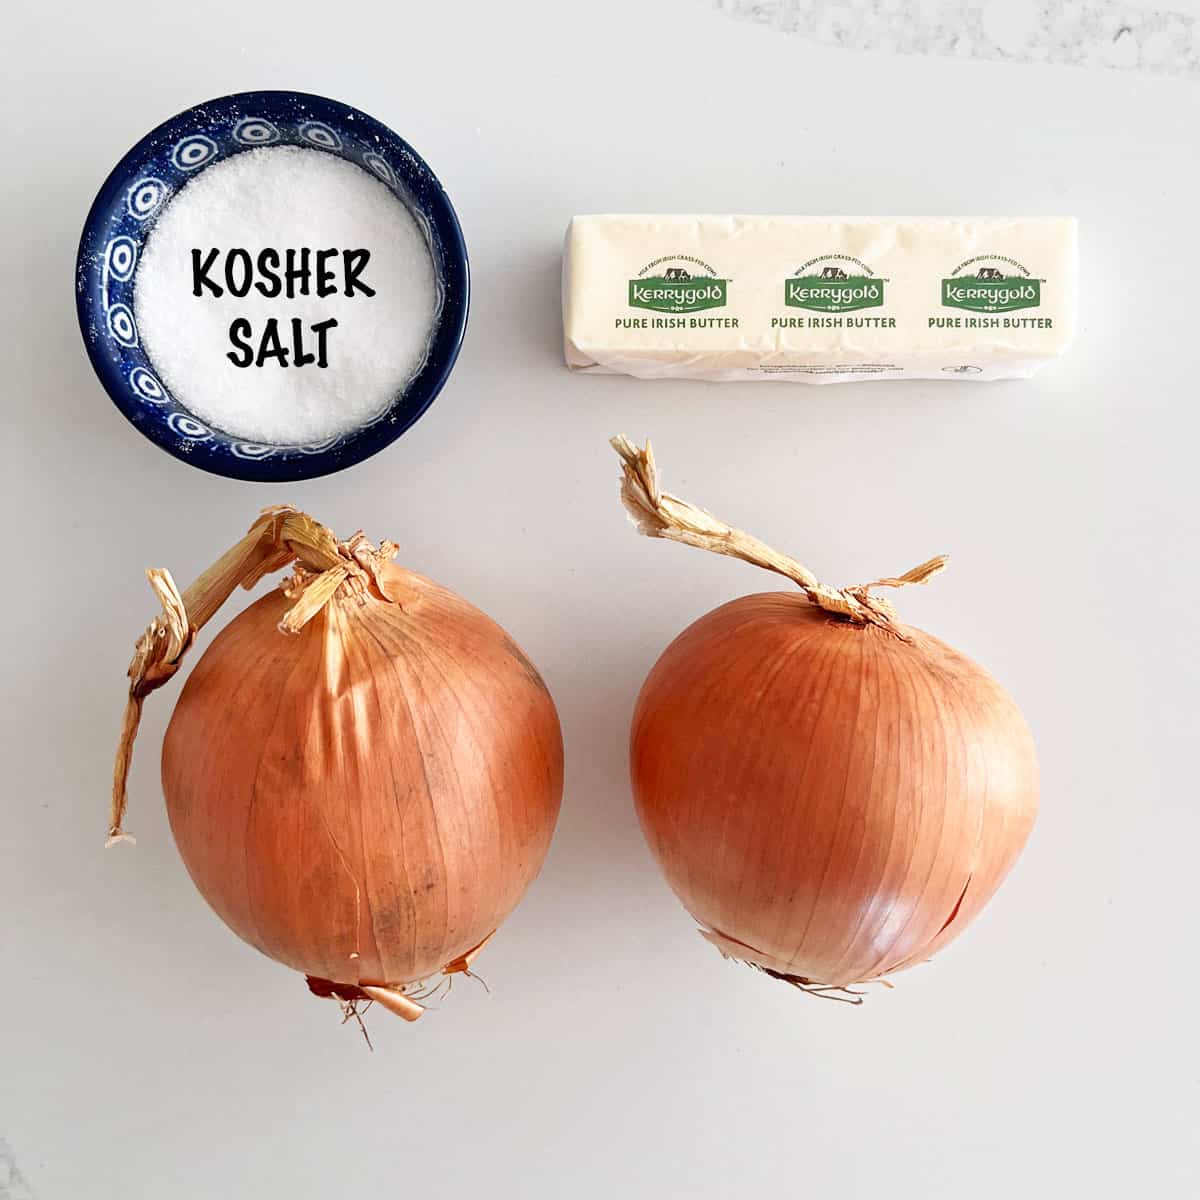
See the recipe card for exact measurements. Here are my comments on the ingredients.
- Onions: We will use two large onions. I like to use yellow onions, but other onion types will work, too.
- Butter: Salted or unsalted - I've used both, and they work equally well.
- Salt: I use Diamond Crystal kosher salt almost exclusively in my recipes.
Variations
- You can cook the onions in olive oil instead of butter. However, I have found that cooking them in butter helps them to caramelize, thanks to the milk solids that brown as they cook.
- Adding a splash of balsamic vinegar promotes browning. It's helpful in this caramelized shallots recipe. However, it's not mandatory, and I rarely use it.
- Although the onions are flavorful just as they are, you are welcome to season them. I sometimes add a pinch of garlic powder and smoked paprika. An advantage of paprika is that it adds color as well as a smoky flavor.
Instructions
The detailed instructions and step-by-step photos are included in the recipe card. Here's a quick overview.
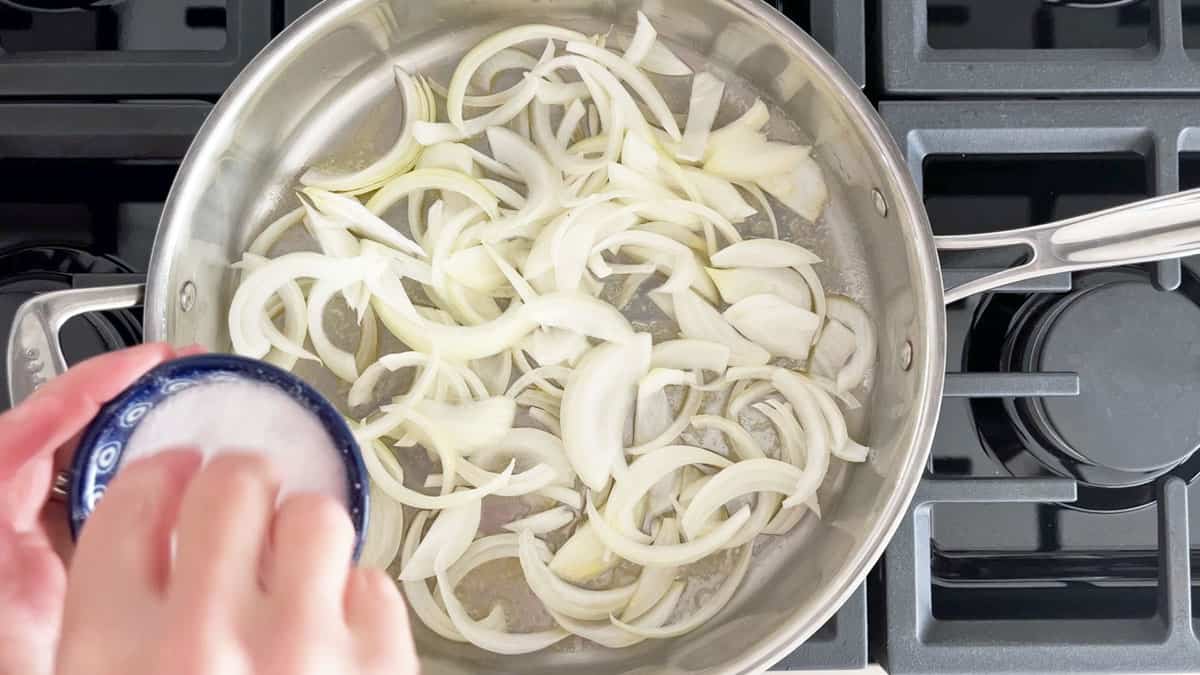
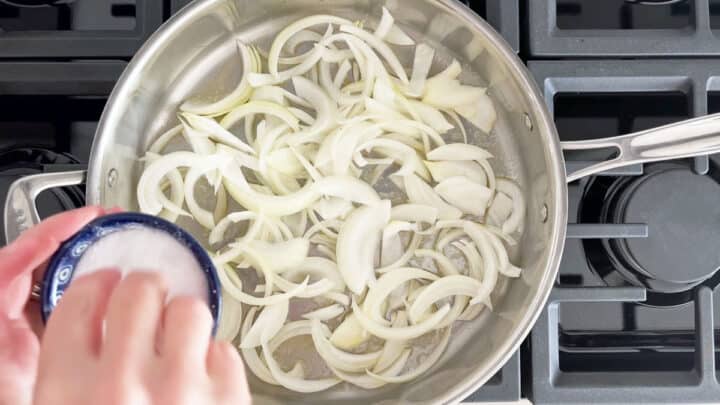
Heat butter in a large, deep skillet over medium heat. Add the onions and salt.
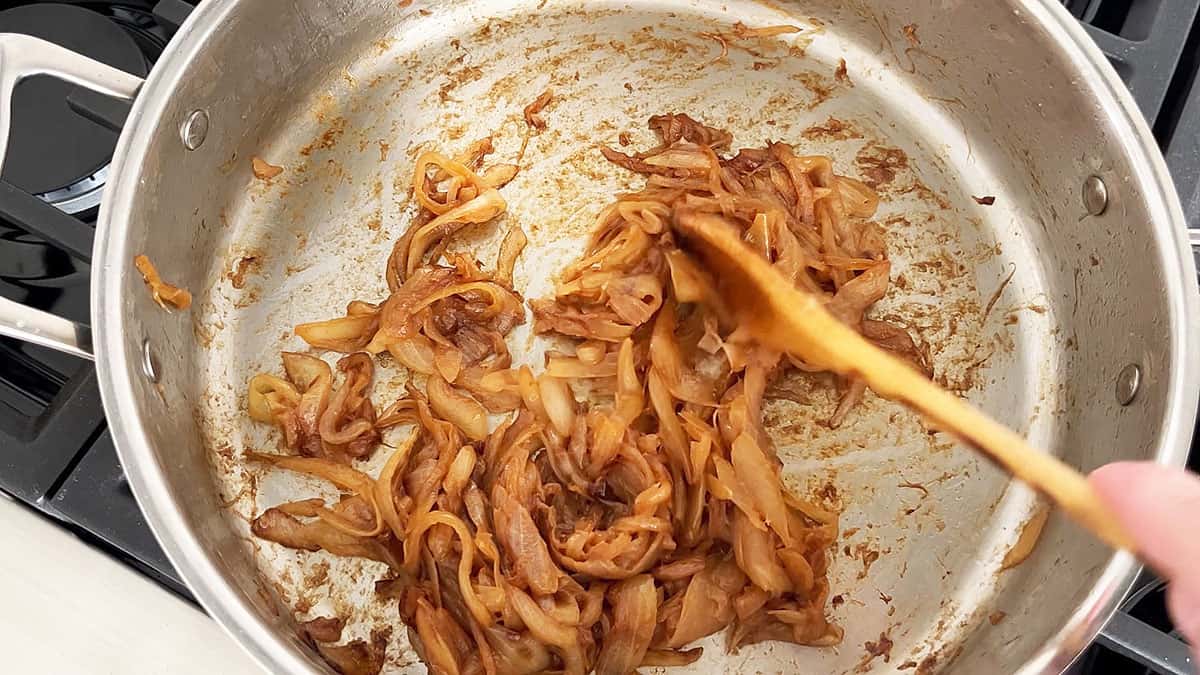
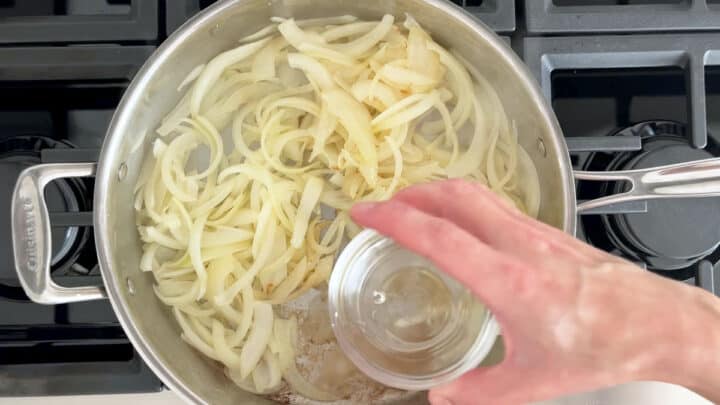
Lower the heat to medium-low. Cook the onions, stirring often, for about 45 minutes. Add a splash of water if necessary.

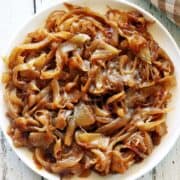
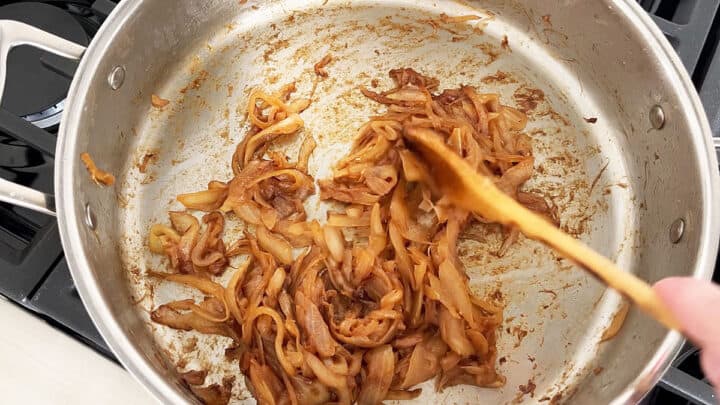
After about 45 minutes, you'll be rewarded with gorgeous, silky strands of well-browned onions. Serve them immediately.
Recipe Tip
There's a difference between sauteing onions (browning them) and caramelizing them. In both cases, you cook the onions in fat - olive oil or butter. But when sauteing them, you can cook them for a shorter time (around 15 minutes) over medium heat.
When you caramelize them, you cook them for much longer, as long as 45 minutes, over medium-low or even low heat. The results are quite different, as you can see in the photo collage below. It takes you through the stages of cooking onions - raw, blonde, browned, and caramelized.

Recipe FAQs
Yes. I typically use yellow onions, but all onion varieties can be successfully caramelized. You can use yellow, red, or white onions. White onions are sharper but still have enough natural sugars to become caramelized. You can definitely use sweet onions such as Vidalia, which are relatively high in natural sugars.
There's no need to add sugar. Onions contain natural sugars that promote the browning process.
I leave the pan uncovered. Covering the pan will create steam. My goal is to brown the onions, not steam them.
You can keep them in an airtight container in the fridge for up to five days. Reheat them in the microwave, covered, at 50% power. You can also freeze the cooled leftovers for up to three months. I like to freeze them in single-serve portions.
Serving Suggestions
Caramelized onions make the perfect topping for so many dishes! Here are just a few ideas.
- Steak. Whether New York strip steak, ribeye steak, or picanha, these onions can enhance almost any type of steak you can think of. They are also delicious on top of lamb steak and cauliflower steak.
- Hamburger. I use them as a topping for baked hamburgers, bison burgers, and turkey burgers.
- Eggs. Add them to scrambled eggs and to omelets like this egg white omelet.
- Vegetables. They greatly enhance mashed cauliflower, sauteed spinach, and roasted green beans. They're also great in this green bean casserole.
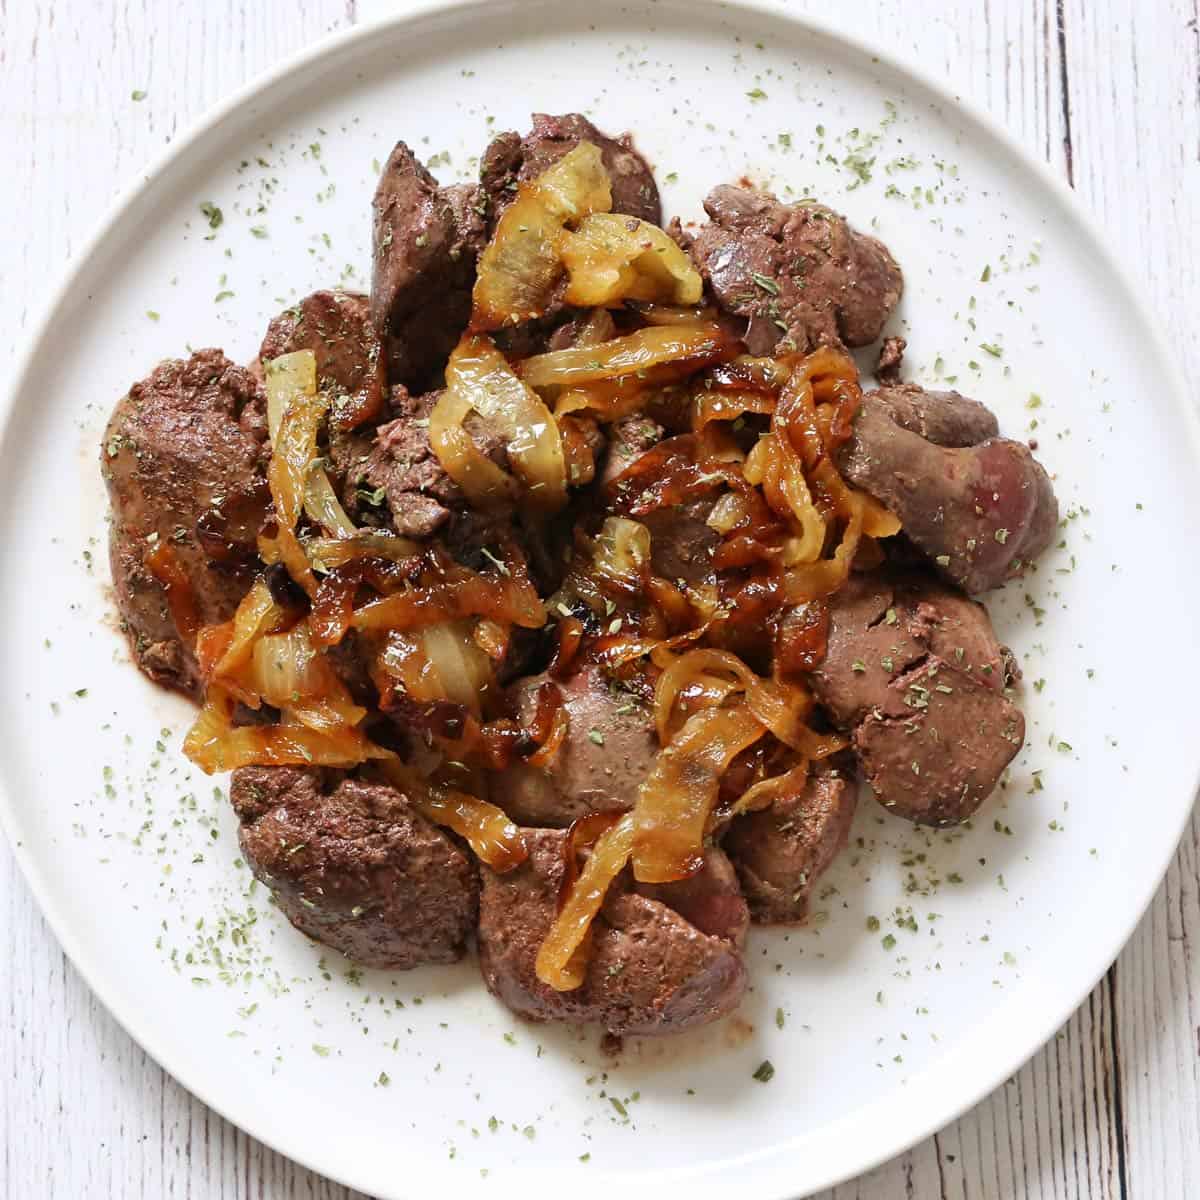
- Liver. I like to add them to chicken livers (as shown in the photo below) or beef liver.
Recipe Card
Caramelized Onions
Video
Ingredients
- 2 large yellow onions
- 2 tablespoons butter
- 1 teaspoon Diamond Crystal kosher salt - or ½ teaspoon of any other salt, including Morton kosher salt
Instructions
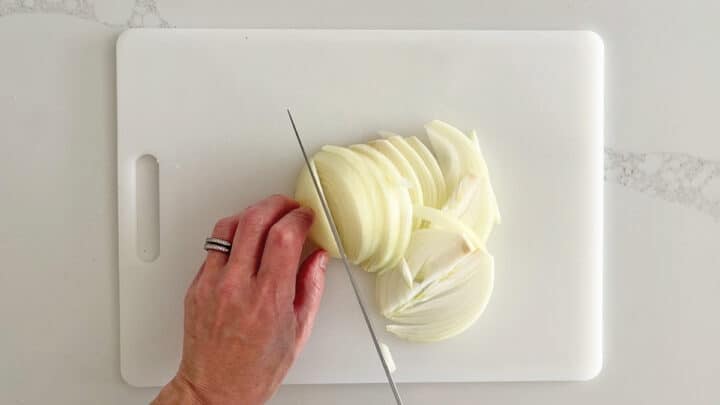
- Peel the onions, rinse, and dry them. Cut them in half through the root. Remove the root, position the onions with the root end facing you, and slice them into ¼-inch slices.2 large yellow onions

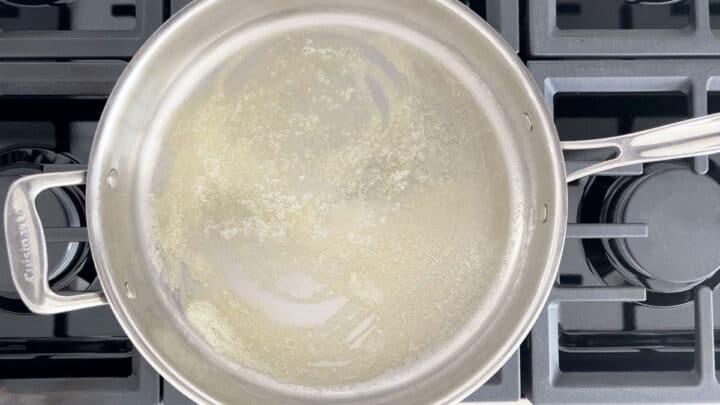
- Heat the butter over medium heat in a large, deep skillet. Tilt the skillet to spread the butter over the bottom.2 tablespoons butter
- When the butter starts foaming, add the onions in two or three batches, sprinkling salt on each batch and allowing the onions to slightly soften before adding the next batch.1 teaspoon Diamond Crystal kosher salt
- Lower the heat to medium-low. Cook the onions, uncovered, stirring them often, until they are very soft and deeply browned. This should take about 45 minutes. If the pan becomes too hot and there are brown bits on its bottom, add a splash of water and use it to deglaze the pan. You can keep adding water as needed or lower the heat to low.
- Remove the onions to a plate. Serve immediately.
Notes
- Seasonings, especially salt, are guidelines. Adjust to taste.
- You can make this recipe with red onions. In fact, all types of onions can be successfully caramelized - yellow, white, red, and also sweet onions such as Vidalia.
- Although oil works in this recipe, the milk solids in butter help with the browning process, similar to the role they play when blackening food.
- There's no need to add sugar. Onions contain natural sugars that promote the browning process.
- You can keep the leftovers in an airtight container in the fridge for up to five days. Reheat them in the microwave, covered, at 50% power. You can also freeze the cooled leftovers for up to three months. I like to freeze them in single-serve portions.
Nutrition per Serving
Save this Recipe!
We will also add you to our weekly newsletter. Unsubscribe anytime. See healthyrecipesblogs.com/privacy/ to learn how we use your email.
Disclaimers
Most recipes are low-carb and gluten-free, but some are not. Recommended products are not guaranteed to be gluten-free. Nutrition info is approximate - please verify it. The carb count excludes non-nutritive sweeteners. Please read these Terms of Use before using any of my recipes.


Ter says
These onions turned out great! Thank you so much.
Vered DeLeeuw says
You're very welcome! Glad you enjoyed them.
OttoZilch says
There is no embedded video link for the carmelized onions, just a photo.
Vered DeLeeuw says
Hey Otto,
The video can be found at the top of the recipe card. if you're using an ad blocker, it may be preventing the video from displaying.