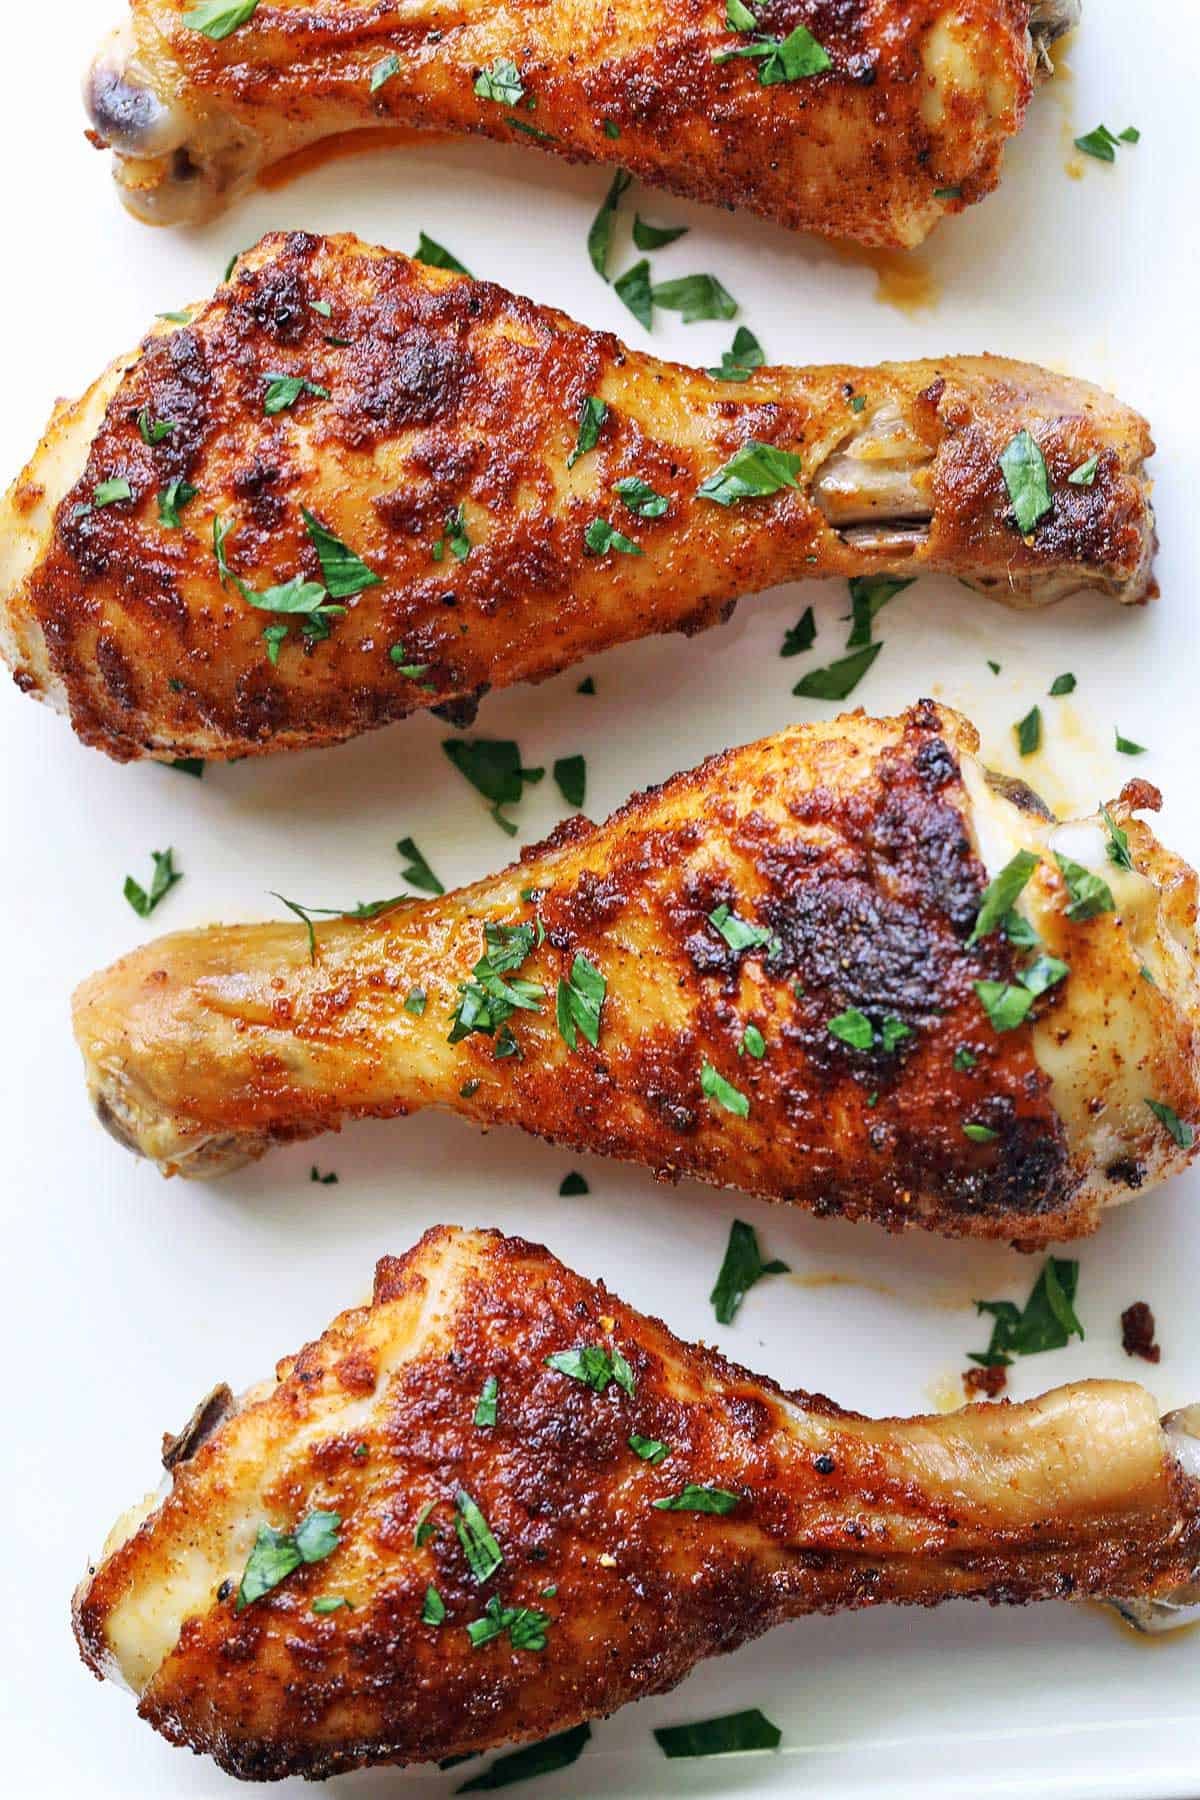
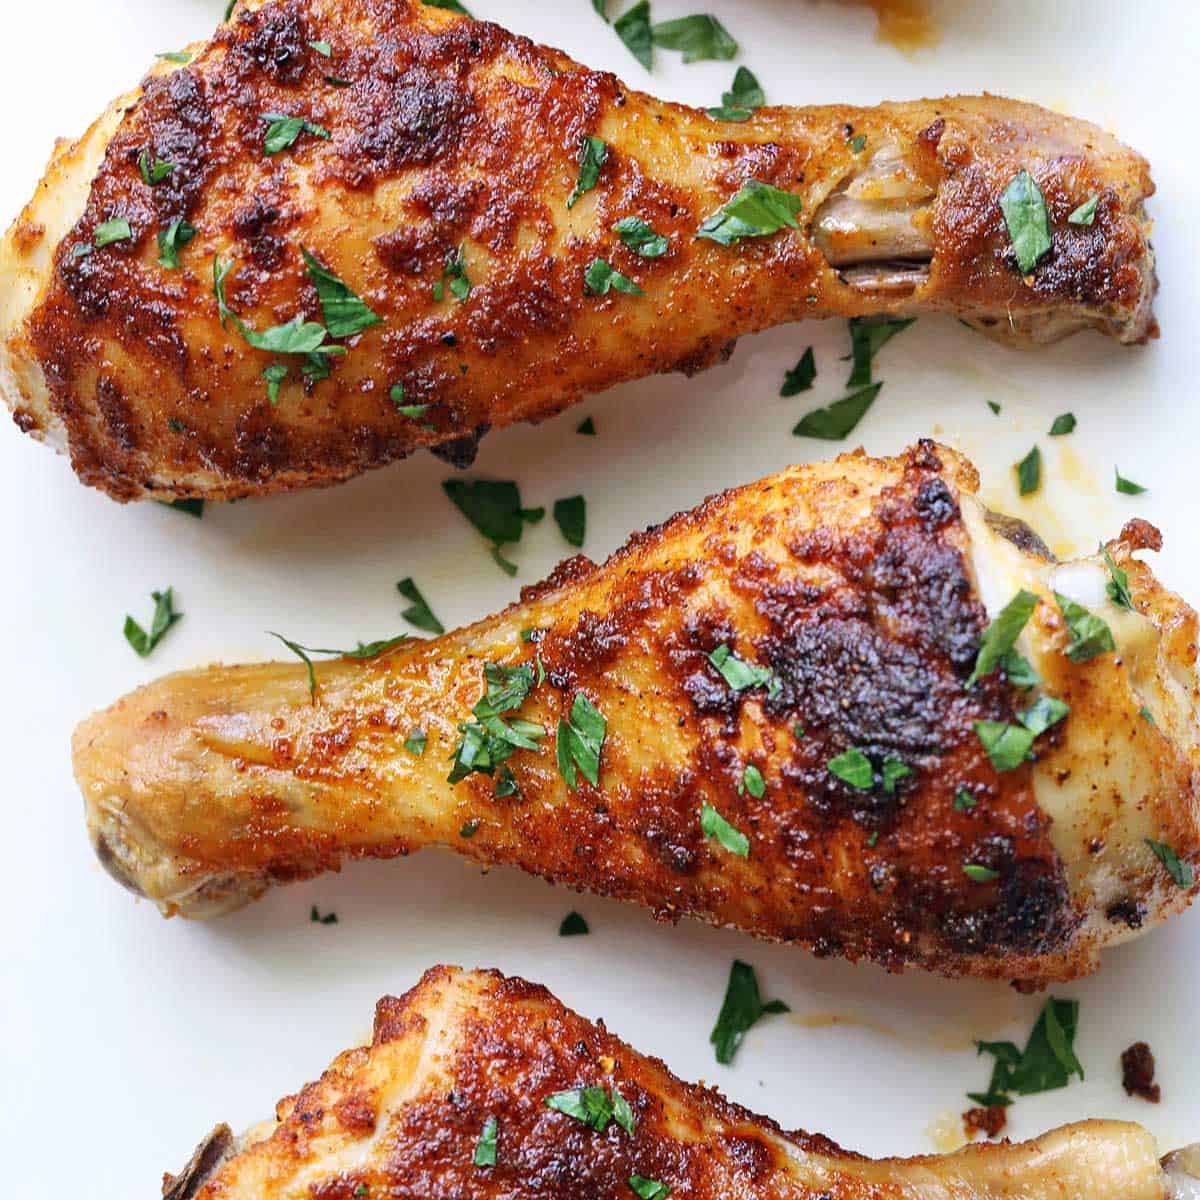
This everyday recipe for baked chicken drumsticks is easy and delicious. Simply coat the drumsticks with olive oil and spices, then let the oven do all the work.
These baked chicken drumsticks are simple but good. To make them, you will mix olive oil with spices like garlic powder and smoked paprika, coat the drumsticks, and place them in the oven. The prep time is just 10 minutes, and then they need to be baked for about 40 minutes for juicy perfection.
Ingredients
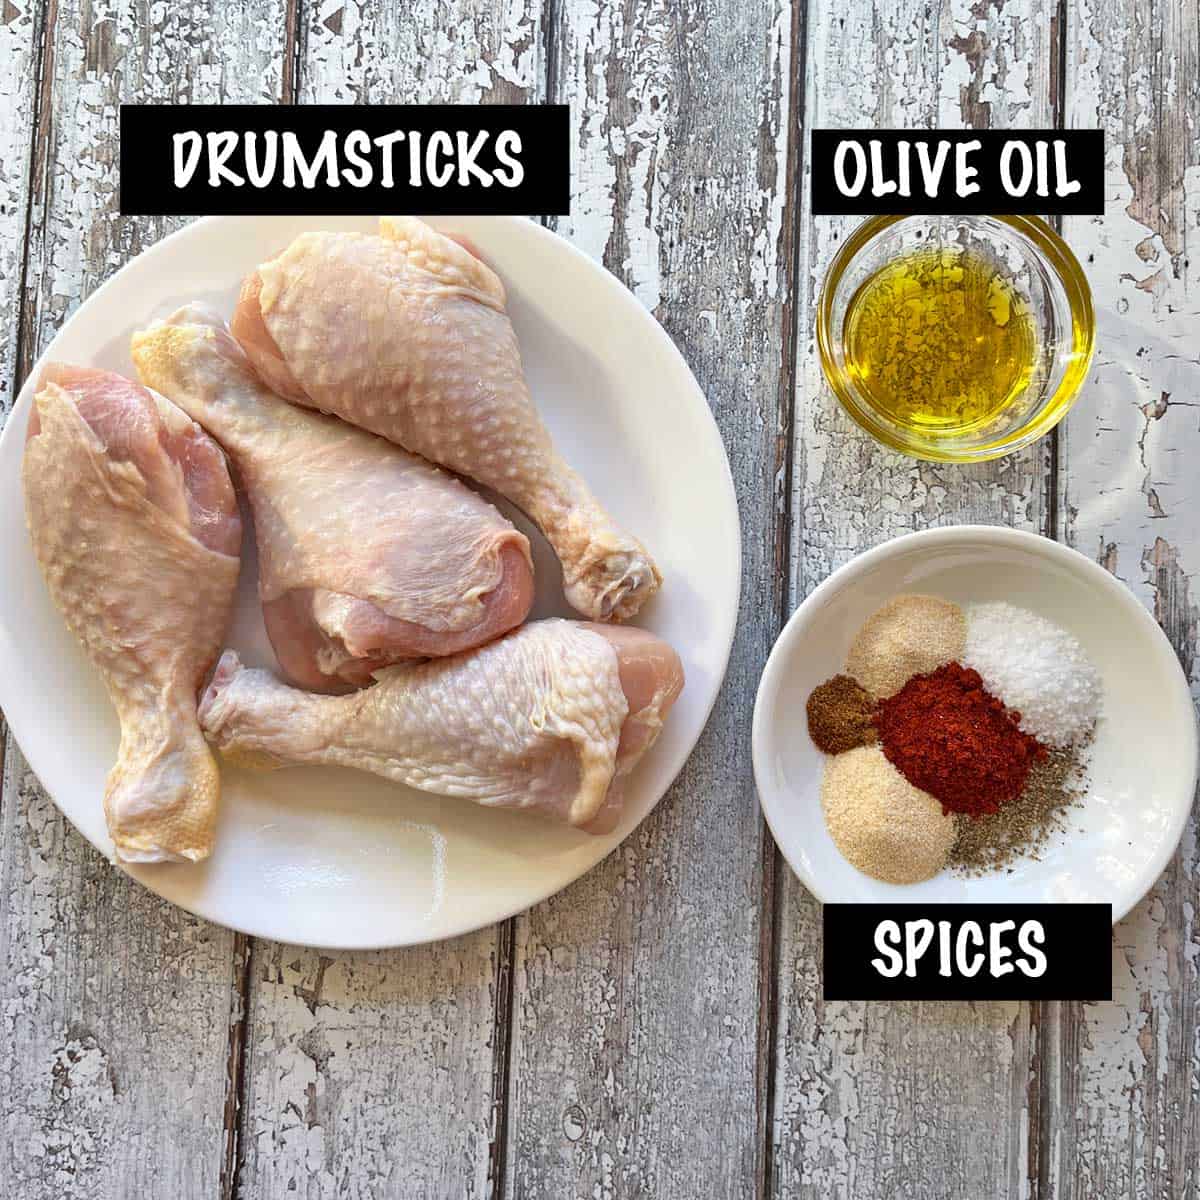
See the recipe card for exact measurements. Here are my comments on some of the ingredients.
- Chicken drumsticks: I use 8, each weighing about 4 ounces. If your drumsticks come in packages of five, you can cook ten drumsticks using this recipe. Increase the olive oil by half a tablespoon.
- Olive oil: Melted butter is another delicious option.
- To season: Kosher salt, black pepper, garlic powder, onion powder, smoked paprika, and cayenne pepper.
Flavor Variations
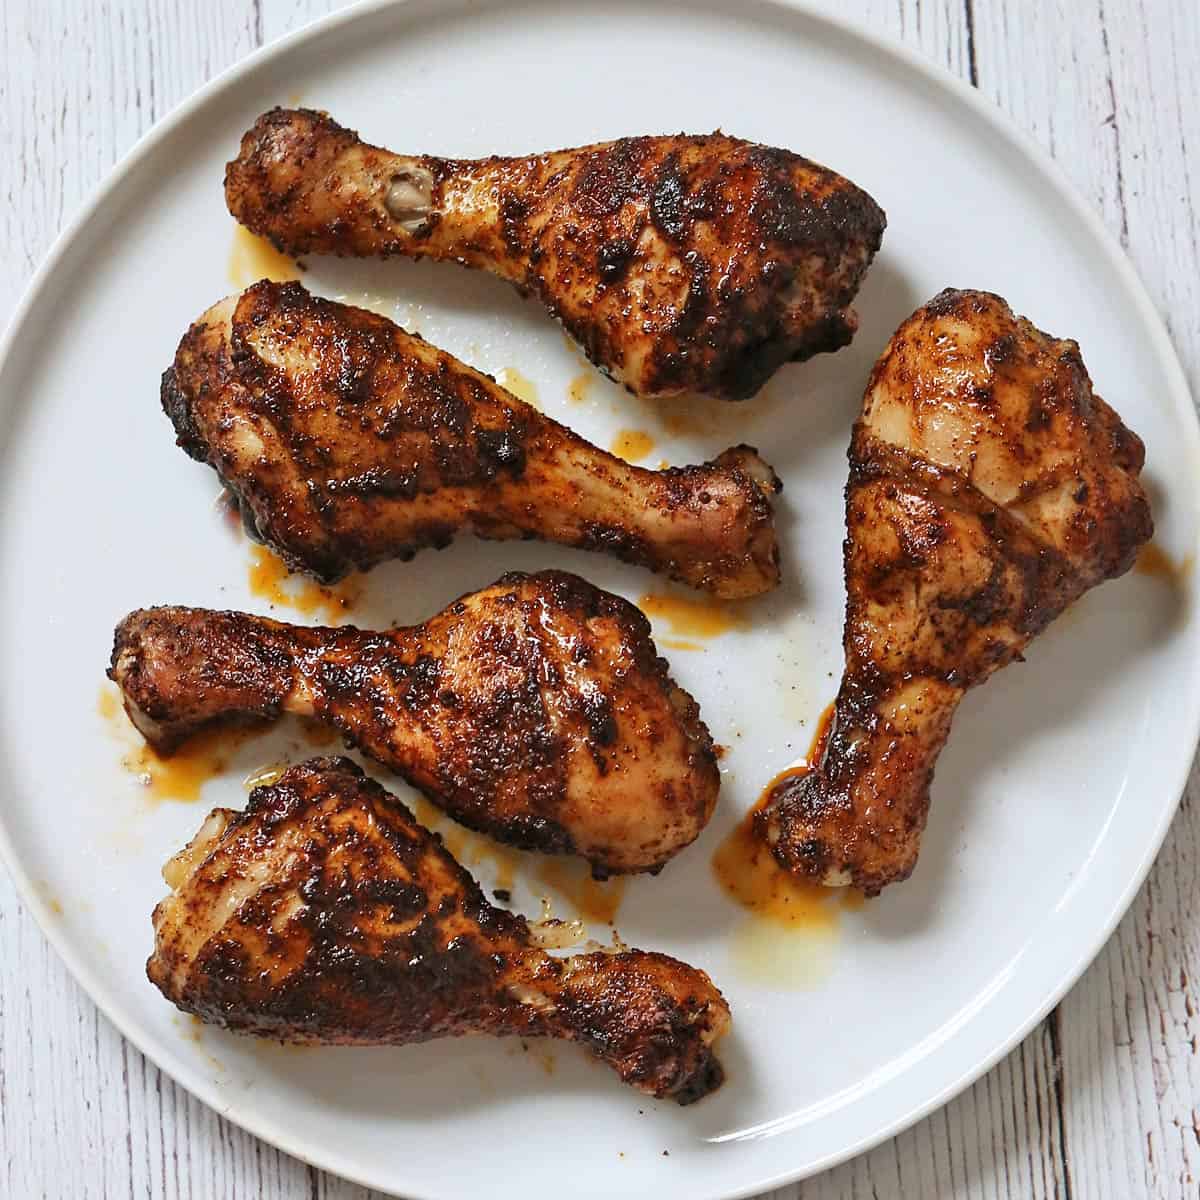
- Spicy drumsticks: Sometimes I make a spicy version with salt, 1 tablespoon of chili powder, and ½ teaspoon of cayenne pepper. You can see the delicious result in the photo below.
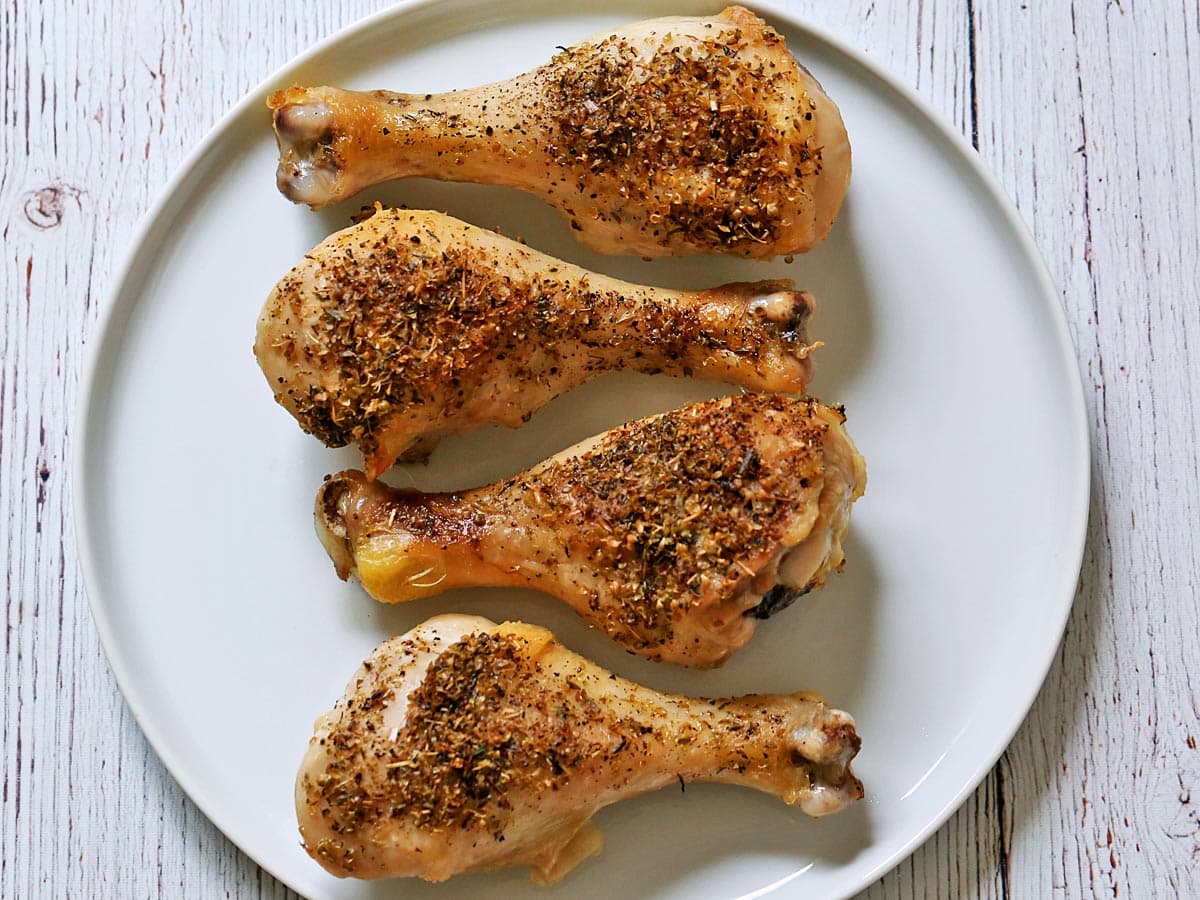
- Italian seasoning: Another simple variation is to coat the drumsticks with olive oil, then sprinkle them with garlic powder and Italian seasoning. This version is shown in the photo below.
Instructions
The detailed instructions and step-by-step photos are included in the recipe card. Here's a quick overview.
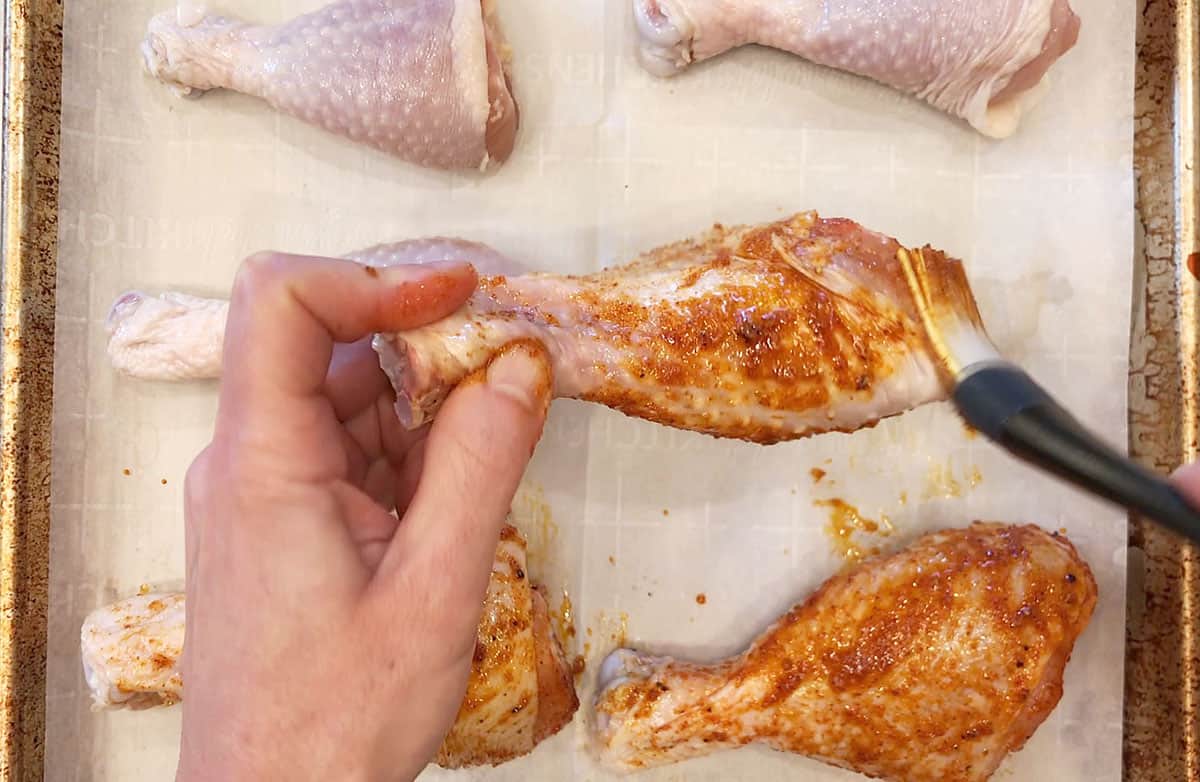
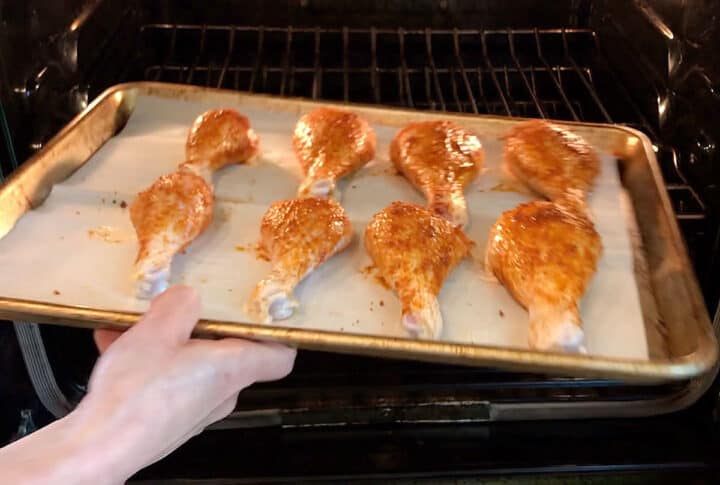
Arrange the drumsticks in a single layer on a parchment-lined, rimmed baking sheet, then coat them with a paste of olive oil and spices.
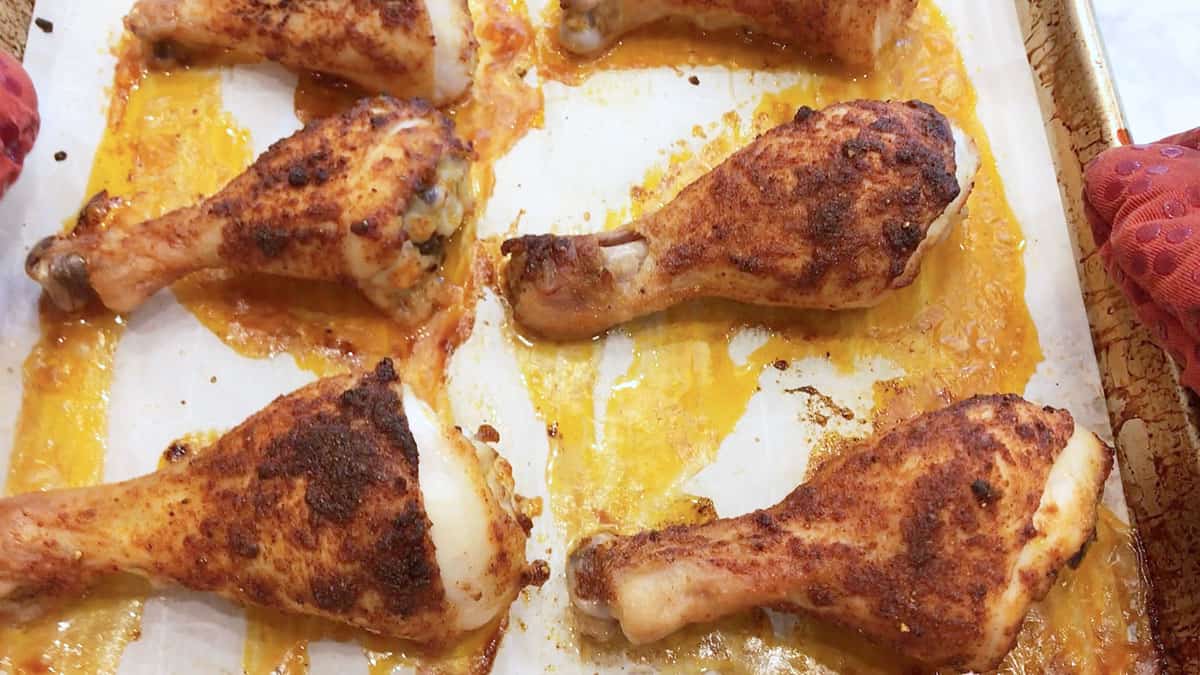
Bake the drumsticks in an oven preheated to 400°F for about 40 minutes, until they are cooked through.
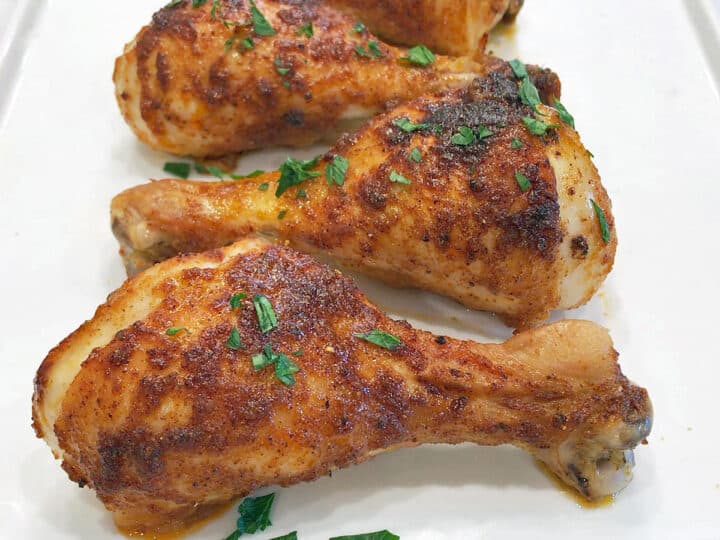
Serve immediately. You can garnish them with chopped parsley.

My family really enjoyed this recipe. The instructions were easy to follow, and the drumsticks were delicious. I look forward to trying more of your recipes. Thank you!
Alyce
Read more comments
Recipe Tips
- Bake the drumsticks uncovered, without flipping, but check them after the first 30 minutes. If they seem to be darkening too much, loosely cover them with foil and keep cooking until they are cooked through.
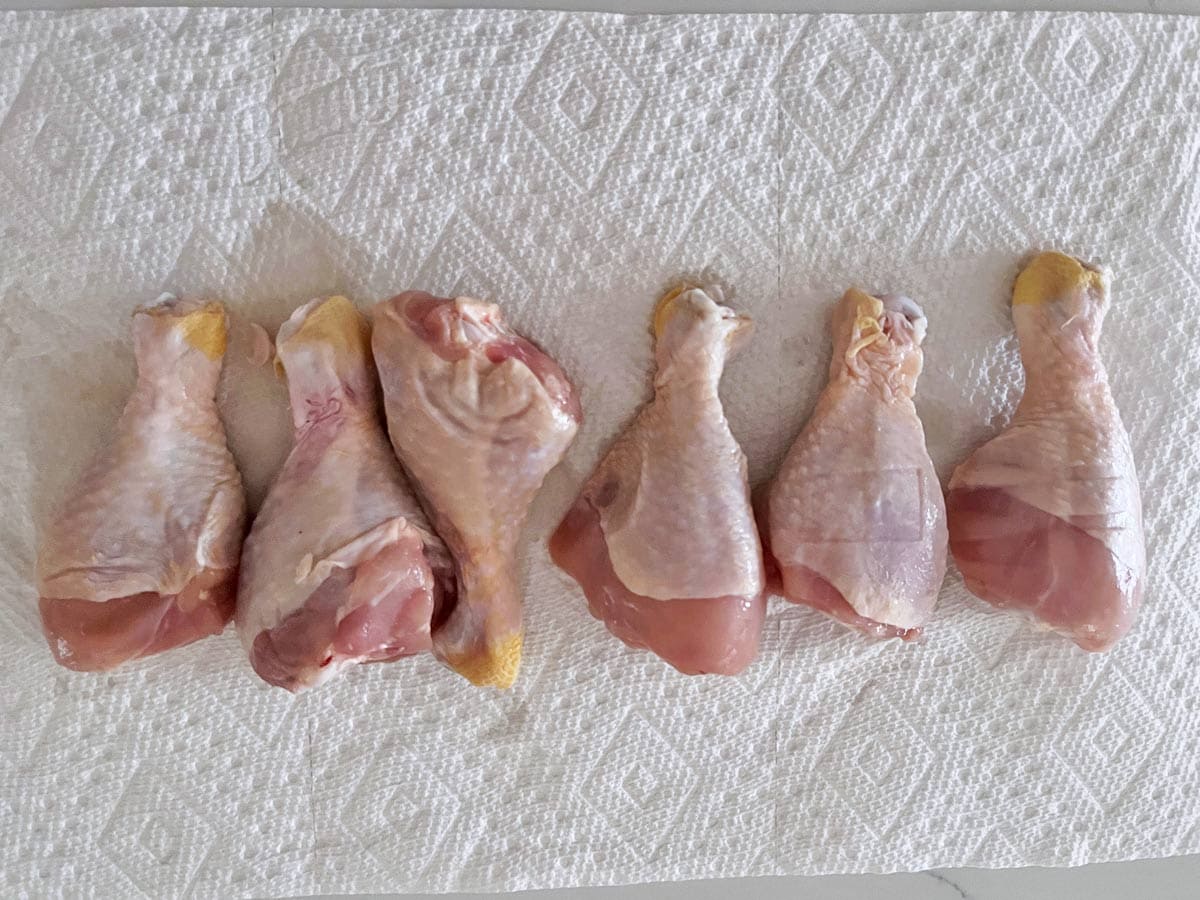
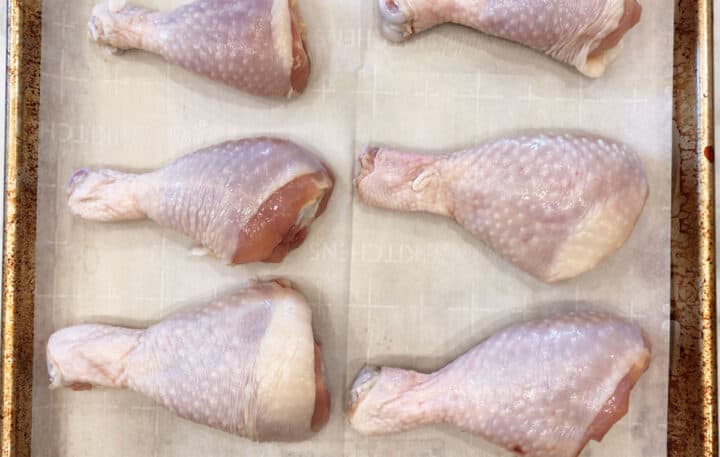
- Blot the drumsticks with paper towels before coating them, as shown in the image below. This simple step removes excess moisture so the seasoning sticks better and the skin crisps up in the oven. Dry skin browns more efficiently, giving you better flavor, color, and texture.
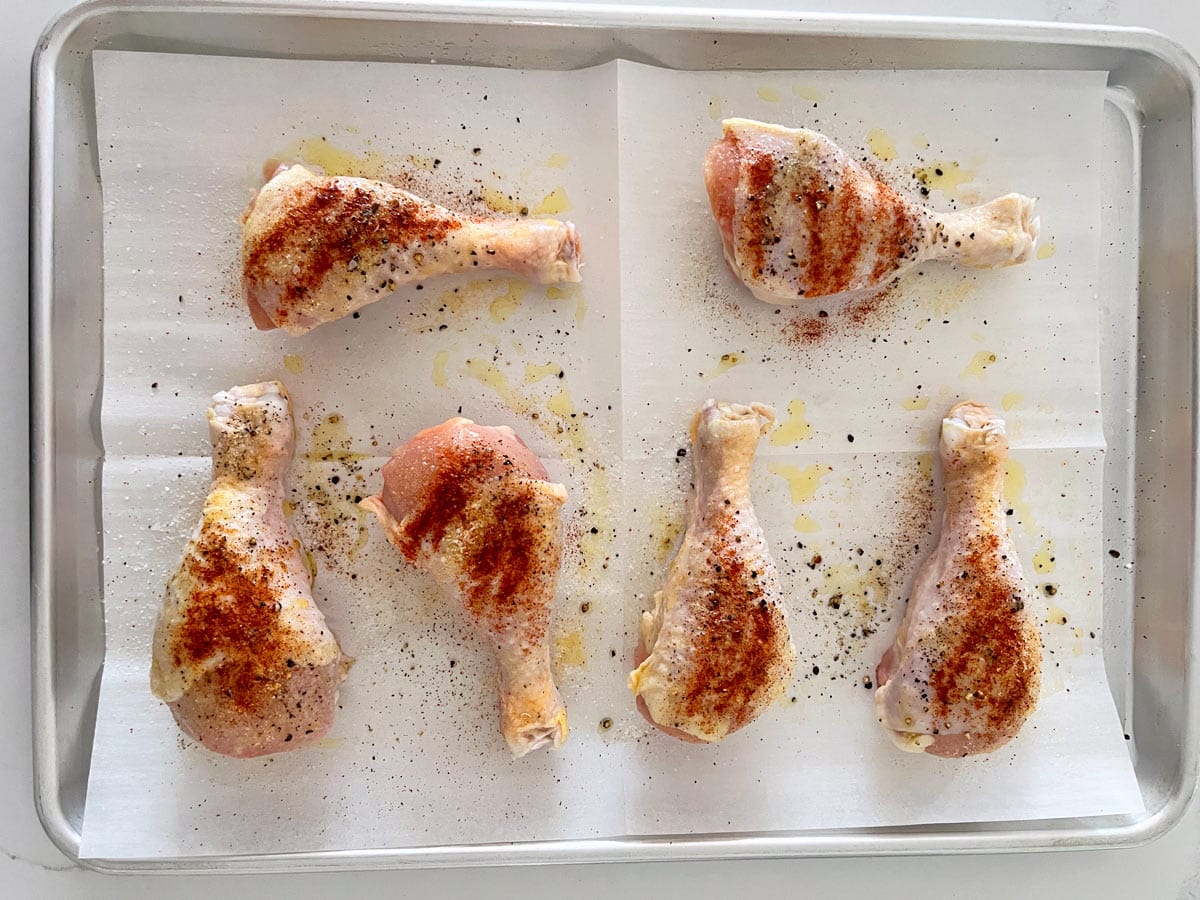
- When I'm lazy, instead of making a seasoning mix, I arrange the drumsticks in the pan, coat them with olive oil spray, and sprinkle them with spices before baking, as shown in the photo below.
Recipe FAQs
The cayenne greatly improves the flavor of this dish. It adds a hint of spice without overwhelming the chicken. But if you're not a fan of spicy foods, use just ⅛ teaspoon or omit it completely.
Yes. You can use a teaspoon of minced fresh garlic in the seasoning paste instead of garlic powder.
I think the skin is the best part, so I don't remove it, but you can remove it if you want. It's easier to remove the skin if you grab it with a paper towel.
You can keep the leftovers in an airtight container in the fridge for 3-4 days. Reheat them uncovered in a 350°F oven to crisp the skin, or enjoy them cold! The photo below shows the cold leftovers served with veggies, pickles, ranch dressing, and Dijon mustard. 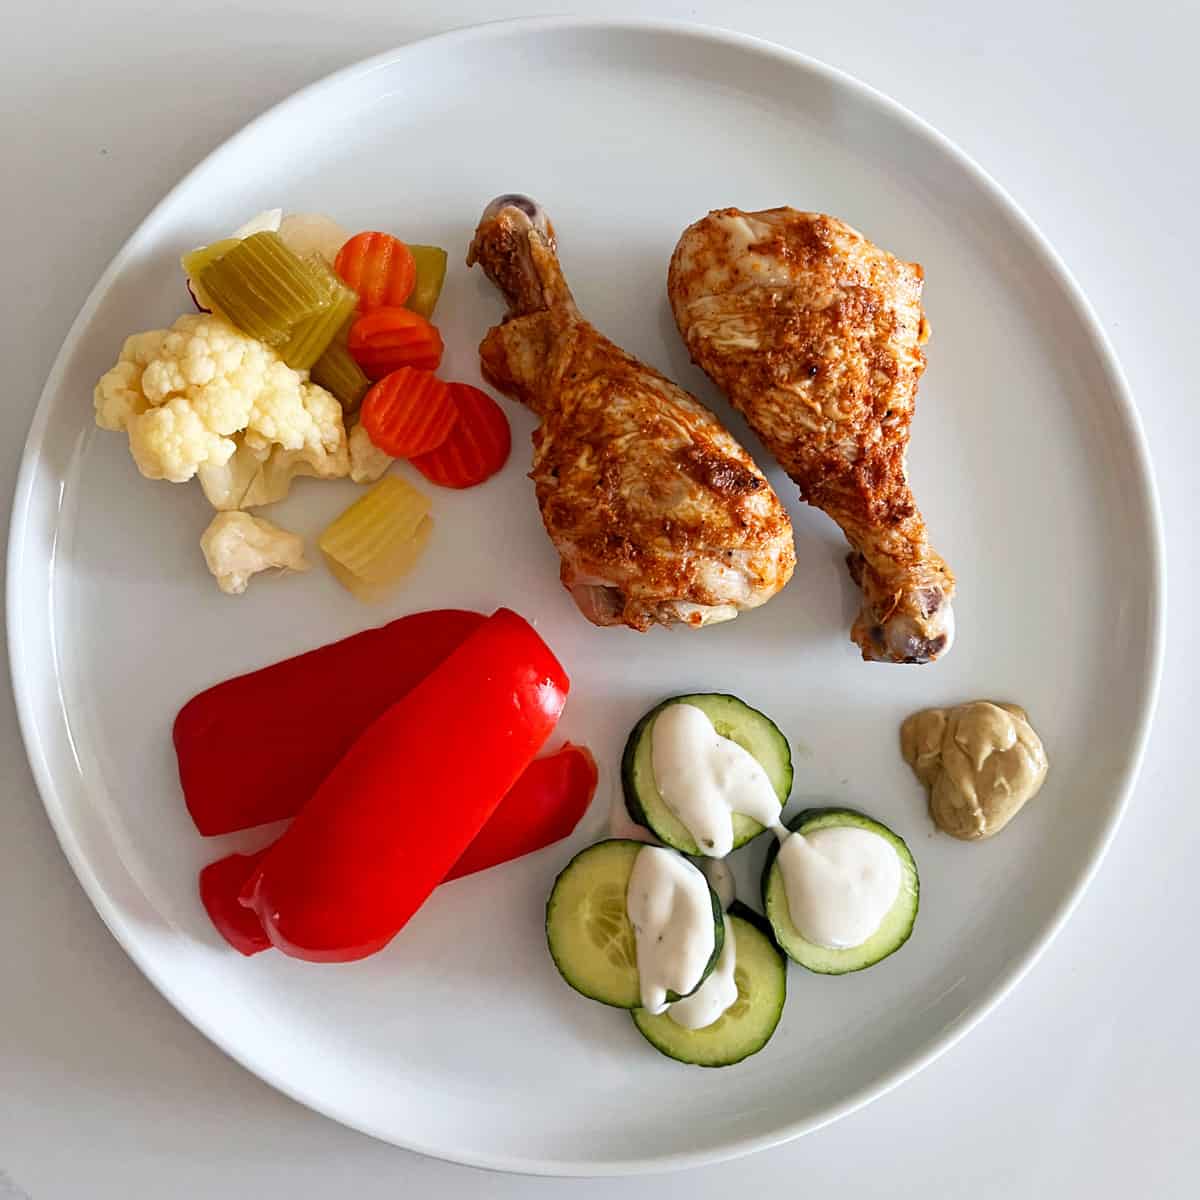
Serving Suggestions
Since I bake them at 400°F, I like to serve these drumsticks with a side dish I can cook in the same oven. So, I often serve them with one of the following:
- Cauliflower tots
- Baked shiitake mushrooms
- Roasted vegetables
- Roasted cabbage
- Roasted frozen cauliflower
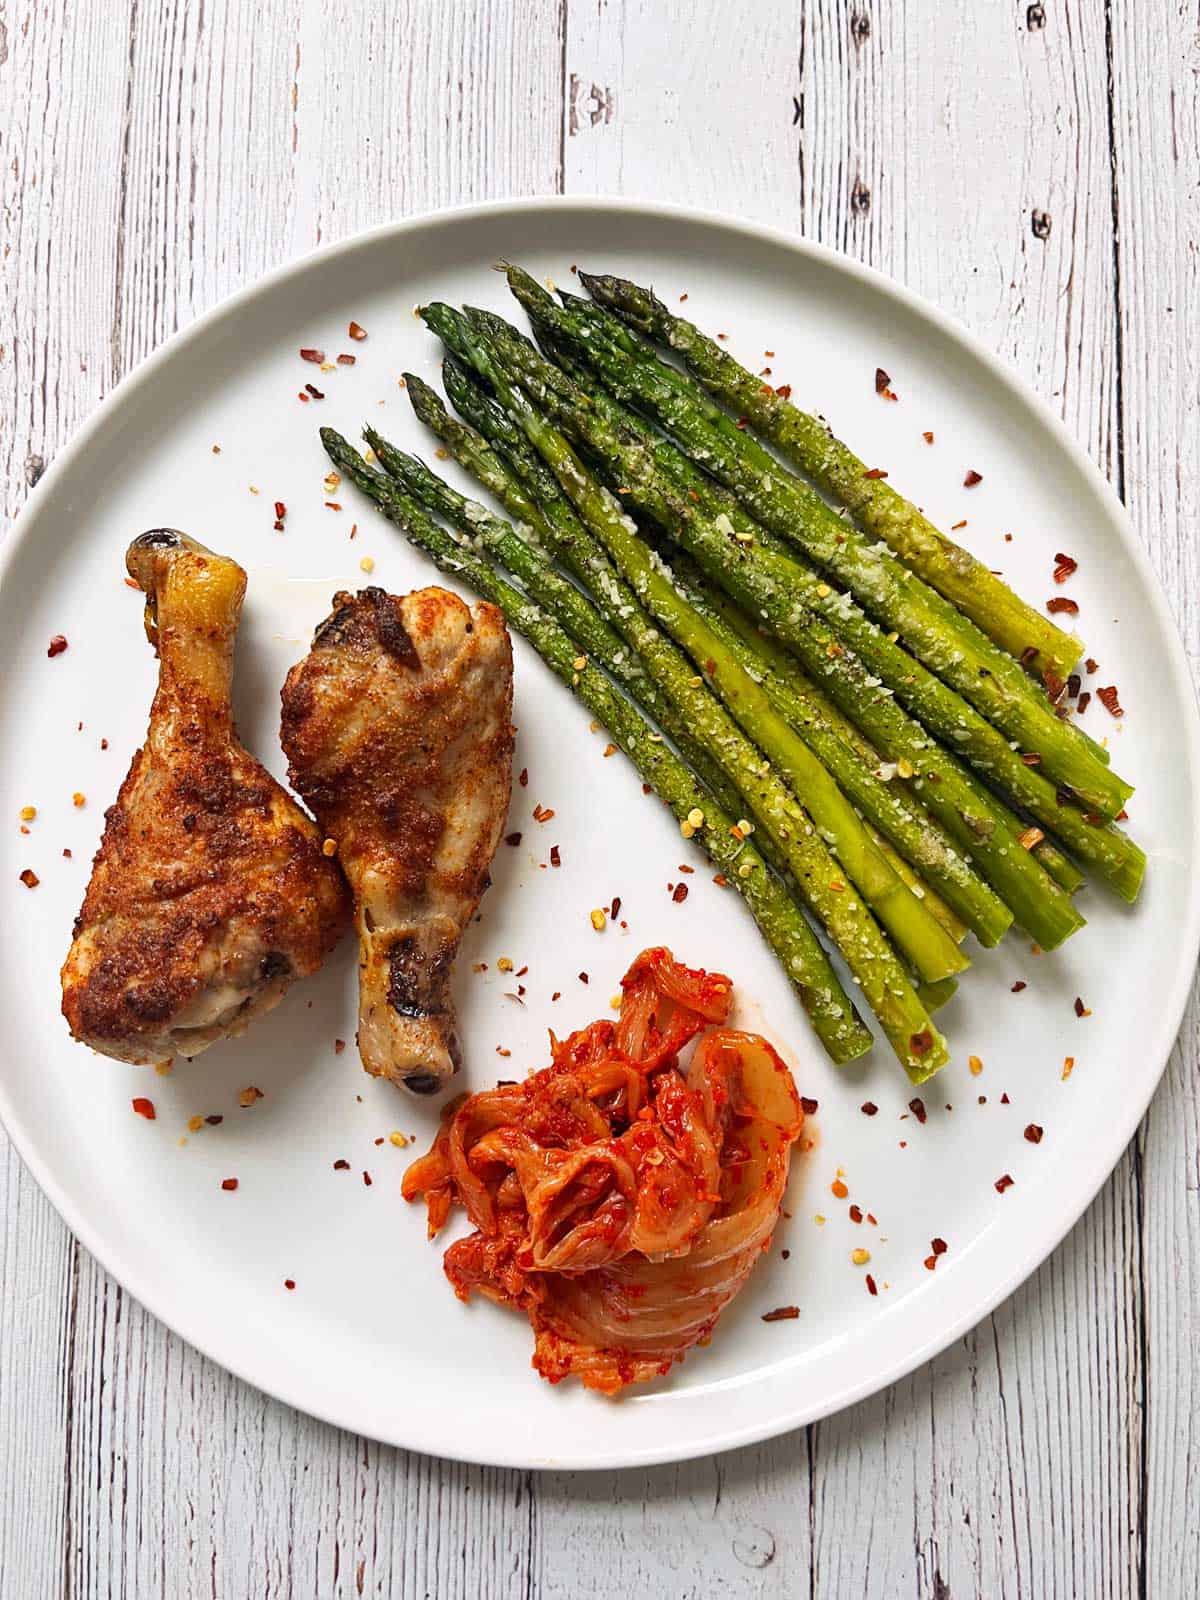
- Roasted asparagus, as shown in the photo below.
Recipe Card

Easy Baked Chicken Drumsticks
Video
Ingredients
- 8 chicken drumsticks - skin-on, 4 ounces each, about 2 pounds total weight
- 2 tablespoons olive oil - extra-virgin
- 1 teaspoon Diamond Crystal kosher salt - or ½ teaspoon of any other salt, including Morton kosher salt
- ½ teaspoon black pepper
- 1 teaspoon garlic powder
- 1 teaspoon onion powder
- 1 teaspoon smoked paprika
- ¼ teaspoon cayenne pepper
Instructions
- Preheat the oven to 400°F. Line a rimmed baking sheet with high-heat-resistant parchment paper. Pat the drumsticks dry, then arrange them in a single layer on the pan.8 chicken drumsticks
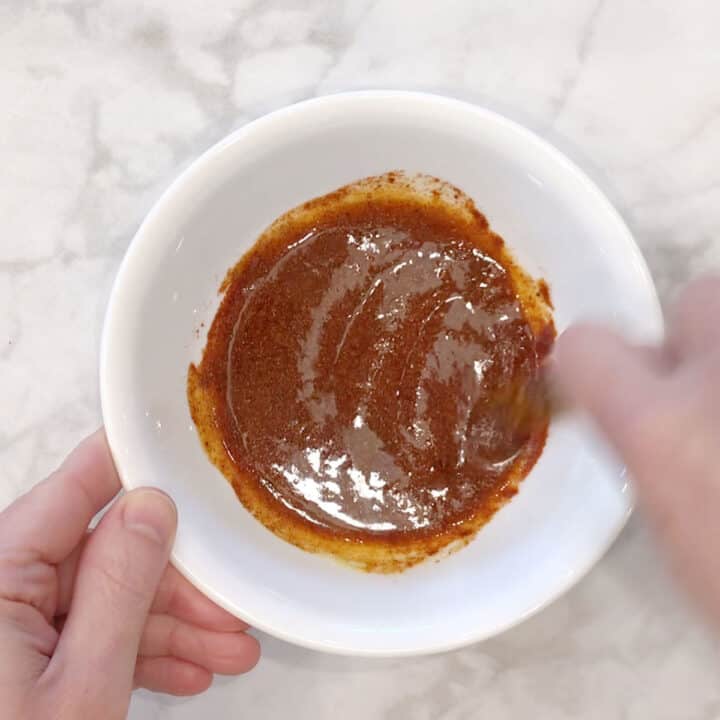
- Make the seasoning paste: In a medium bowl, use a fork or spatula to combine the olive oil, kosher salt, black pepper, garlic powder, onion powder, smoked paprika, and cayenne pepper.2 tablespoons olive oil, 1 teaspoon Diamond Crystal kosher salt, ½ teaspoon black pepper, 1 teaspoon garlic powder, 1 teaspoon onion powder, 1 teaspoon smoked paprika, ¼ teaspoon cayenne pepper
- Using a pastry brush or your hands, coat the chicken pieces with the seasoning paste.

- Bake the drumsticks uncovered, without flipping, for about 40 minutes, until they are cooked through and their internal temperature, measured with an instant-read thermometer not touching a bone, reaches a minimum of 165°F (see notes below).
- Baste the drumsticks with the pan juices using a clean pastry brush. Serve immediately.
Notes
- Seasonings, especially salt, are just guidelines. Adjust to taste.
- Check the drumsticks after the first 30 minutes. If they seem to be browning too much on top, loosely cover them with foil and keep baking until they are cooked through.
- Dark chicken meat tastes best when cooked slightly higher than 165°F because it has connective tissue and fat that need extra time to break down. When drumsticks reach 175-180°F, the meat becomes more tender and juicy.
- If your packages each have five drumsticks, you can cook ten drumsticks using the same recipe, increasing the olive oil by half a tablespoon.
- Air fryer instructions: Reduce the oil to 1 tablespoon. Skip the parchment unless your basket is prone to sticking. Place the seasoned drumsticks in the air fryer basket in a single layer. Leave a little space between them so the air can circulate. If you have a smaller air fryer, you may need to cook them in two separate batches. Air fry at 400°F for 20 to 25 minutes. Use tongs to flip the drumsticks halfway through. They are done when the skin is crispy and the internal temperature reaches 175°F.
- You can keep the leftovers in an airtight container in the fridge for 3-4 days. Reheat them uncovered in a 350°F oven to crisp the skin, or enjoy them cold, picnic-style. You can also freeze the cooled leftovers for up to three months. Thaw them overnight in the fridge before reheating.
Nutrition per Serving
Save this Recipe!
We will also add you to our weekly newsletter. Unsubscribe anytime. See healthyrecipesblogs.com/privacy/ to learn how we use your email.
Disclaimers
Most recipes are low-carb and gluten-free, but some are not. Recommended products are not guaranteed to be gluten-free. Nutrition info is approximate - please verify it. The carb count excludes non-nutritive sweeteners. Please read these Terms of Use before using any of my recipes.


Pamella says
10/10
The seasoning mix was perfect for 8 drumsticks. The only thing I did different is that I pulled the skin back & made slits in the drumsticks so that every part is seasoned in the inside & outside. It tasted really good this way!
Vered DeLeeuw says
Thanks for the review, Pamella, and for sharing your method with the skin! Sounds great.
Joyce Lubacz says
Wow! Best ever drumsticks! So flavorful and so juicy and tender! And so quick and easy! I think I will add chicken thighs with the drumsticks next time. Thanks for a great easy-peasy recipe and my house smelled so a great while they were in the oven!
Vered DeLeeuw says
I'm so glad you enjoyed these drumsticks, Joyce! Thank you for taking the time to write a review. Chicken thighs will probably need just a few more minutes - check out this recipe.
Kristen says
Such a quick and easy way to make a great tasting dinner! My family and I enjoyed this recipe very much! Thank you!
Vered DeLeeuw says
Hi Kristen,
I'm so glad you and your family enjoyed this recipe! Thank you for taking the time to review it - I appreciate it.
Shaela says
This was a fantastic recipe! It was so easy and delicious. My child and I both devoured it! Thank you!
Vered DeLeeuw says
Hi Shaela,
I'm so glad you and your kid enjoyed this recipe! Thanks for leaving a comment.
Jo Anne Lorenz says
I cook for one now and have gotten lazy. This is the perfect easy recipe for me. Thank you!
Vered DeLeeuw says
You're very welcome, Jo Anne!
Kimmy says
I was looking for a nice dry seasoning to put on my drumsticks before freezing them. I ended up drizzling the olive oil over top of them as they looked too good to freeze! Absolutely delicious drumsticks!
Vered DeLeeuw says
Glad you enjoyed them, Kimmy!
Ali says
When I make drumsticks, this is my go to recipe. I use a brush and my hands (with food safe gloves) to really coat the flavor even under the skin if I can. I love the seasonings so much that I have made a large batch of the seasoning mix. I use the seasoning mix on chicken breasts, even pork chops. I have even given the seasoning mix to family and friends. Thank you for this easy and delicious recipe!
Vered DeLeeuw says
You're very welcome, Ali! I LOVE the idea of gifting the seasoning mix - it's very timely for the upcoming holiday season.
Steve Windows says
This may be a dumb question? Does it make any difference if the coated drumsticks are kept overnight in the fridge? I see so many recipes that talk about marinating meat for X period of time. I have left spices on meat sometimes for days (lazy) and also wonder if there are negatives when doing that? All the best.
Vered DeLeeuw says
Hi Steve,
This is actually a great question. It doesn't make a difference. And since you can only keep raw chicken in the fridge for 1-2 days, I recommend coating it and immediately baking.
Steve Windows says
Funny. I didn't remember asking this question. Thanks for your reply. I have used your recipe ever since and it's bookmarked as my only go to one for drumsticks. All the best.
Vered DeLeeuw says
I'm glad you like this recipe, Steve! Thank you for taking the time to write this review.
Ron says
I had 12 drumsticks, doubled the spice and oil and tossed them with a wooden mixing spoon til all the sauce was gone in the bottom and all of the drummies coated nice. Another alternative lazy way. Waiting patiently to devour them.
Vered DeLeeuw says
Sounds great, Ron! I hope you like them.
Leah says
Hi! I’ve made these before and loved them! Is it ok to batch cook and freeze some of them to reheat in the future?
Vered DeLeeuw says
Hi Leah,
Yes, absolutely. They're better when freshly baked, but you can freeze and reheat them later. When I do, I usually thaw them overnight in the fridge and then reheat them, uncovered, in a 300°F oven until heated through. If reheating in the microwave, it's best to cover them.