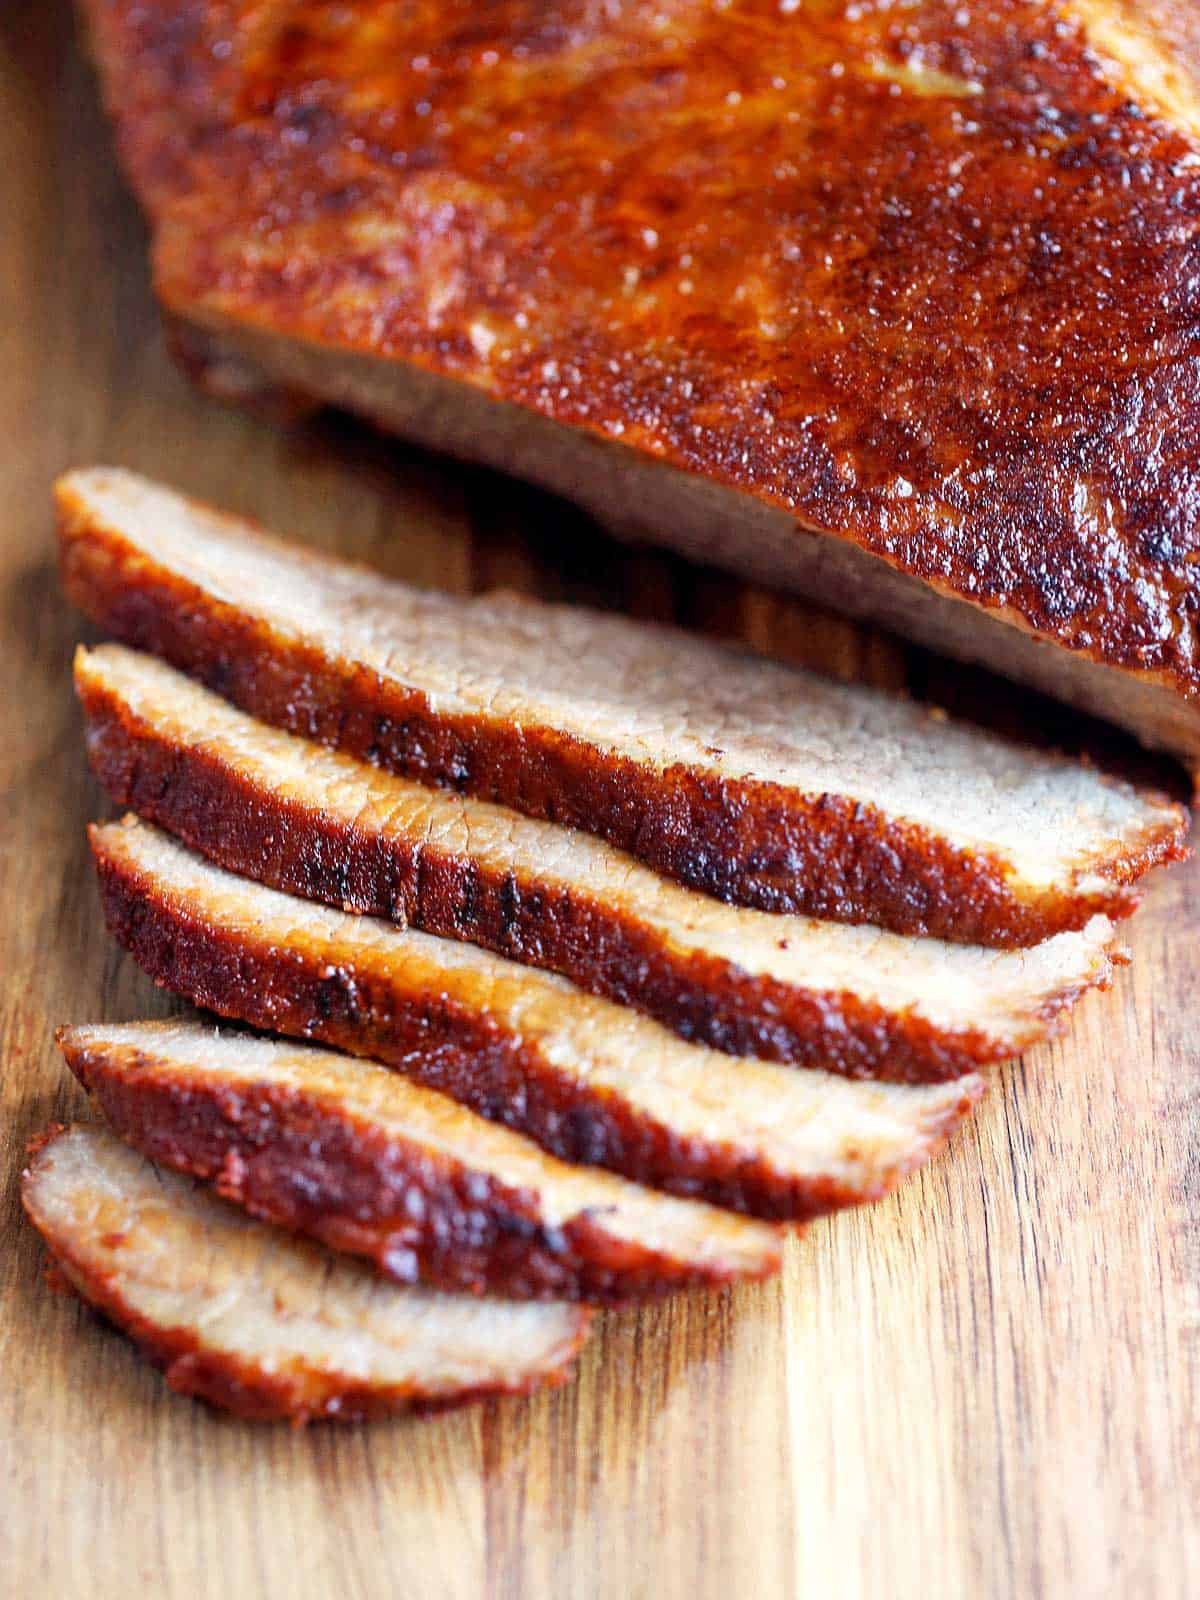
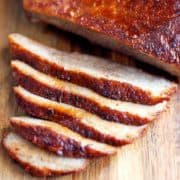
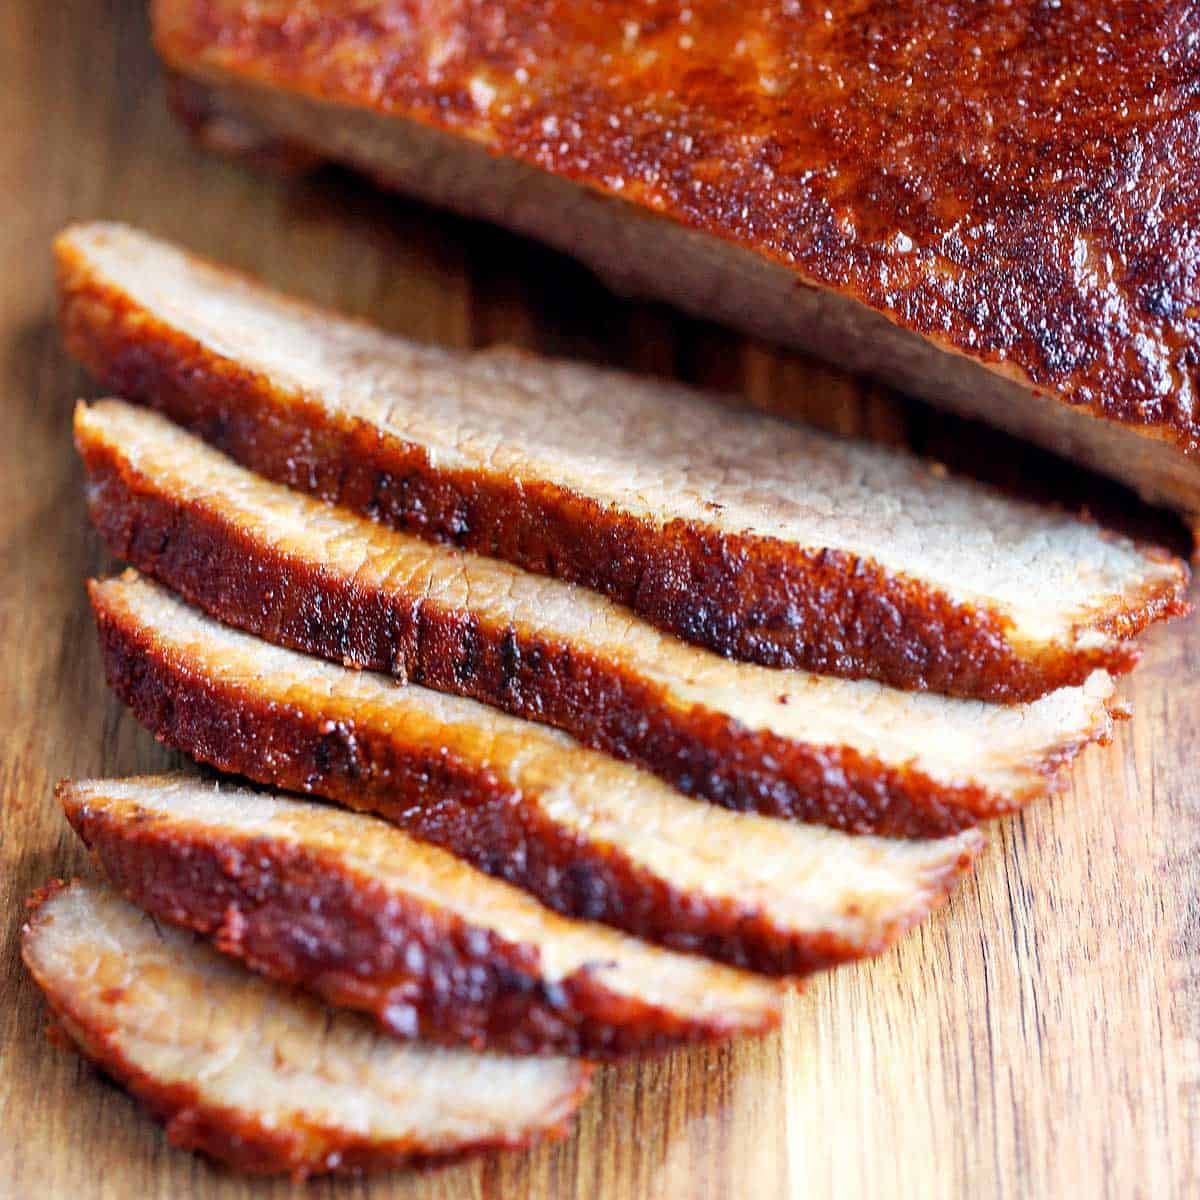
Cooking brisket in the oven is easy. Simply rub the meat with spices, bake it in a foil pouch, then briefly broil to crisp the fat. The result is tender and juicy.
I enjoy affordable yet flavorful beef cuts such as beef shanks and tri-tip roast. In barbecue places, brisket is my favorite cut to order - I even prefer it to pork ribs! The best restaurants smoke the meat slowly, but your home oven is a great tool, too. Use smoked paprika to give the meat a smoky flavor, and cook it on low for several hours. You'll be rewarded with tender, flavorful meat and plenty of delicious leftovers.
Ingredients
See the recipe card for exact measurements. Here are my comments on the ingredients.
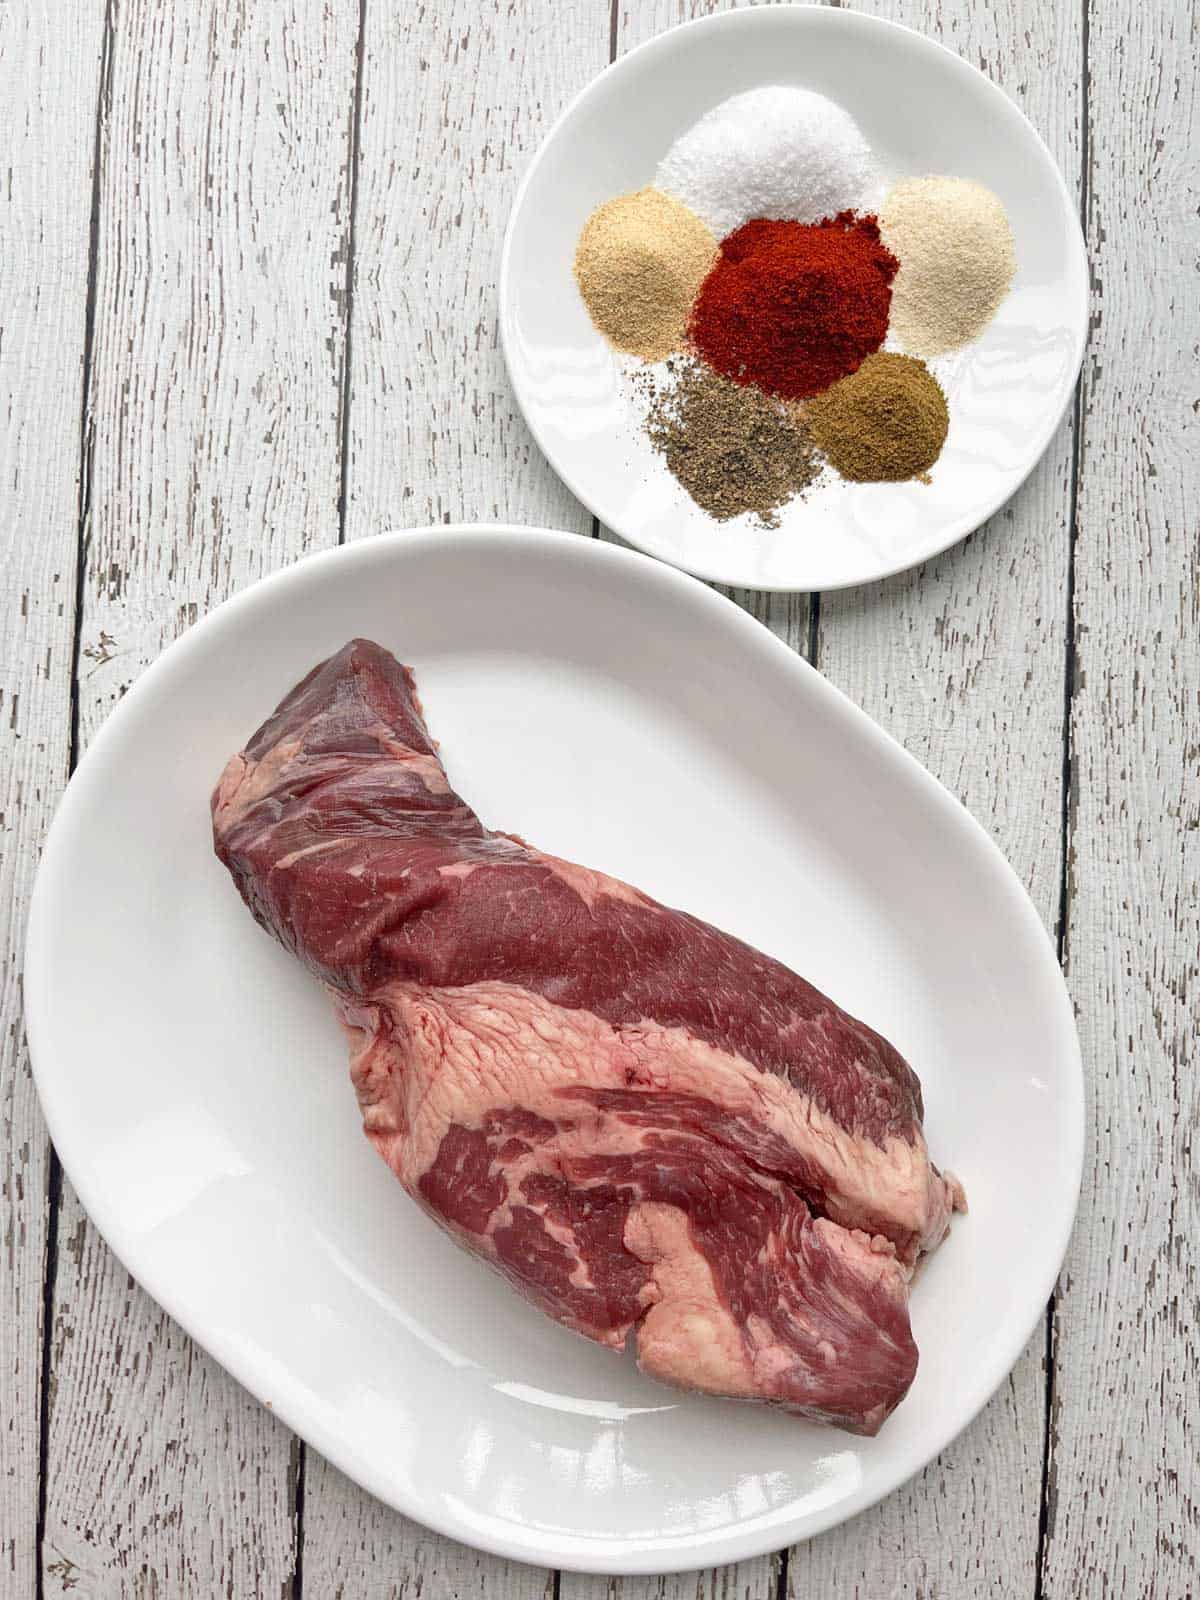
- Beef brisket: I usually get a three-pound cut at Whole Foods. You can also order it online from websites such as US Wellness Meats (their flat can be a little dry, so I prefer their point).
- To season: Kosher salt, black pepper, smoked paprika, ground cumin, onion powder, garlic powder, and dry mustard. Sometimes, I use smoked salt to add an extra layer of smoky flavor.
Instructions
The detailed instructions and step-by-step photos are included in the recipe card. Here's a quick overview.
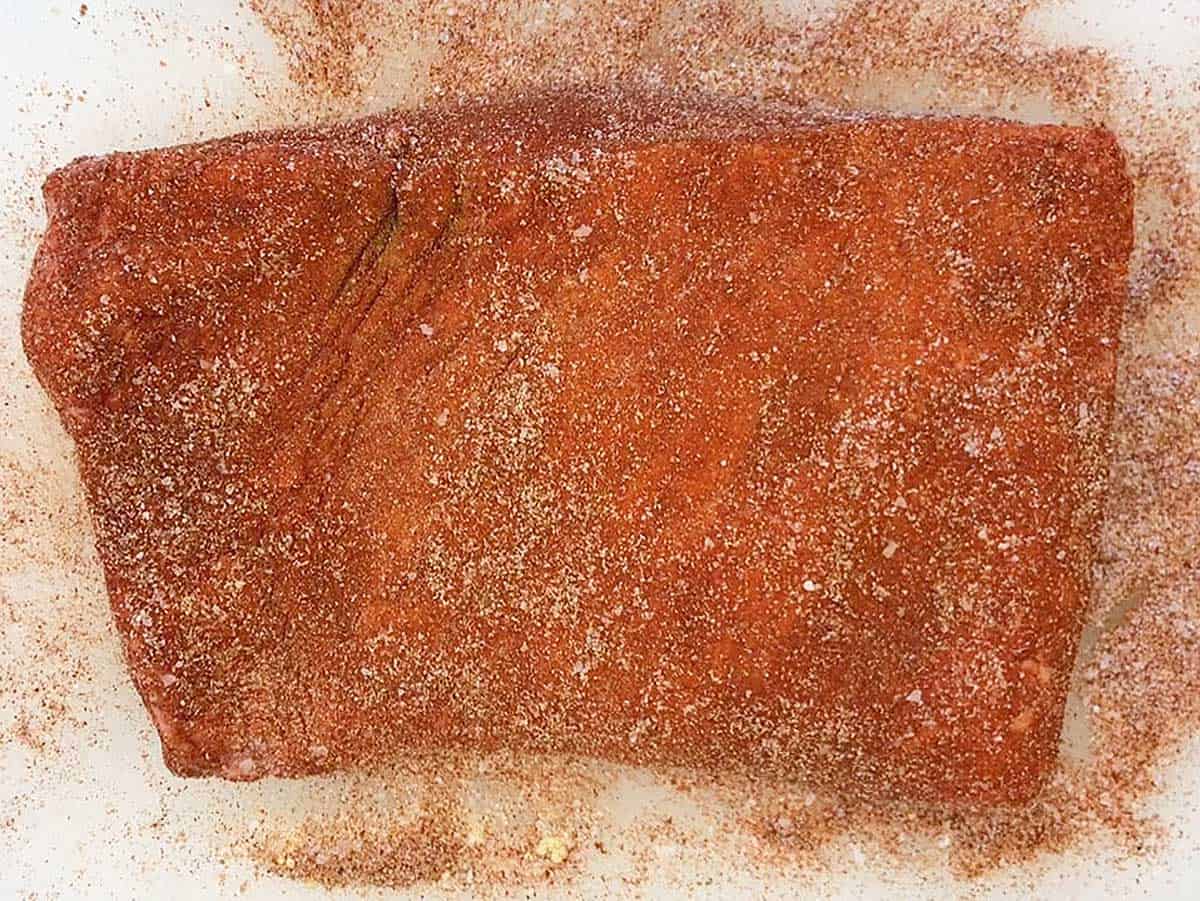
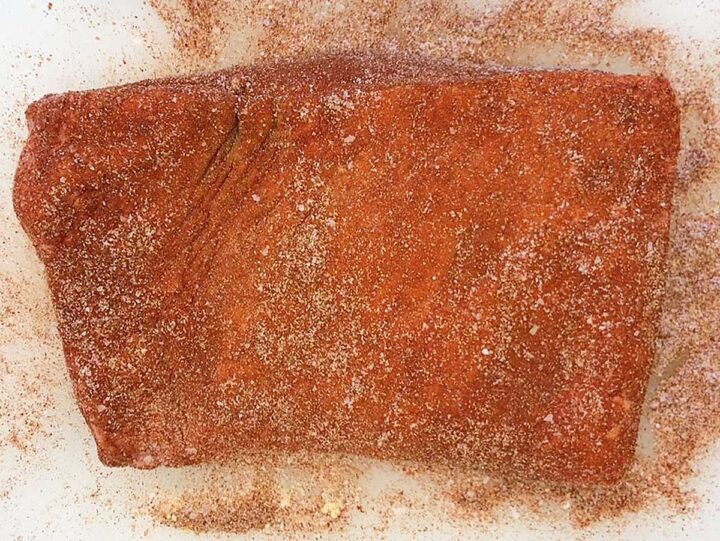
Combine kosher salt, black pepper, and spices, and rub the mixture all over the meat.
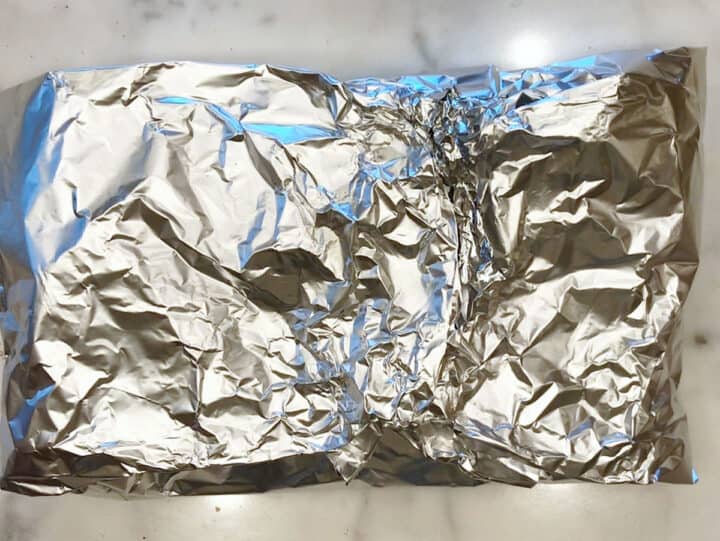
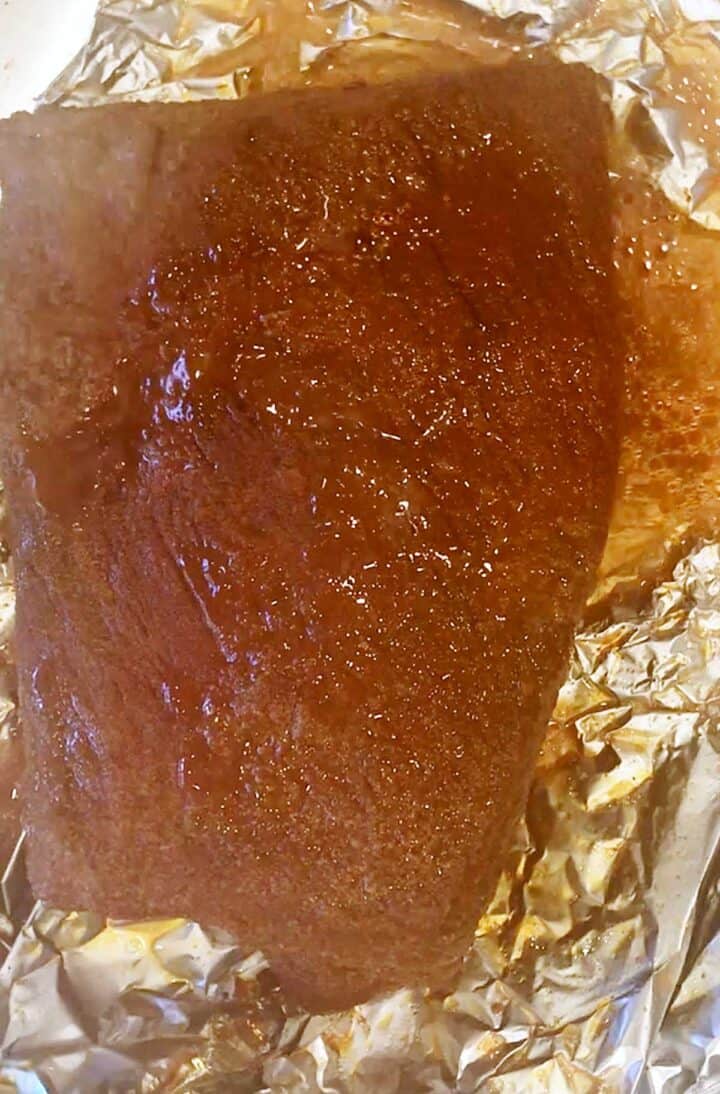
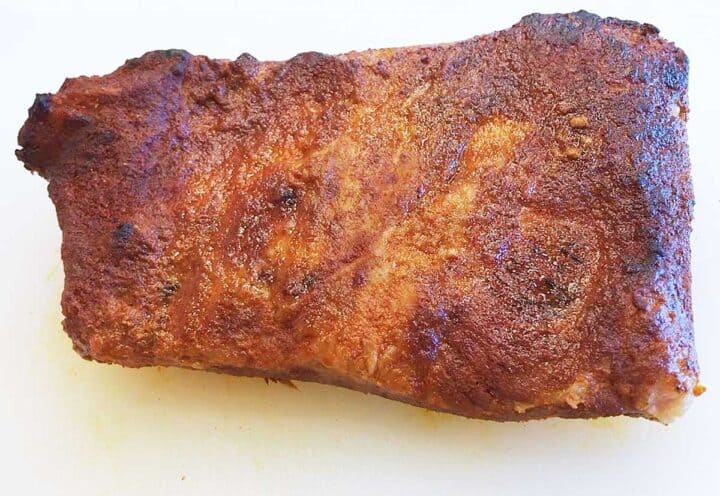
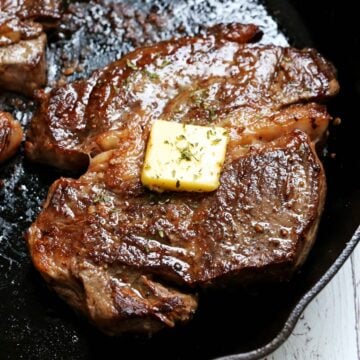
Place the brisket in a well-sealed foil pouch and bake it for three hours in a 300°F oven. Brush it with the cooking juices and broil it to crisp the fat.

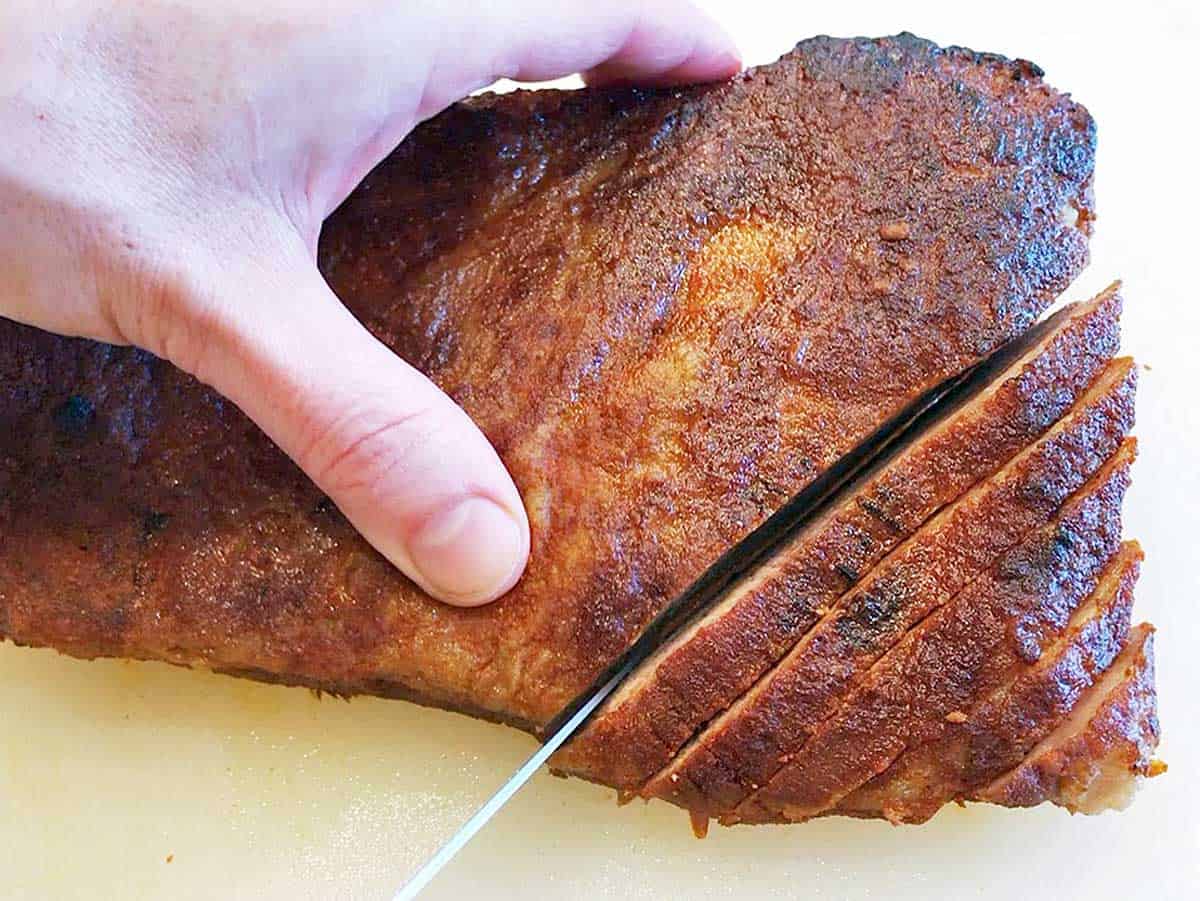
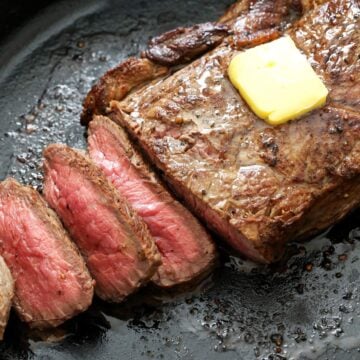
Let it rest before slicing and serving.
5 stars! This was outstanding! Thank you, Vered.
Stu
Read more comments
Recipe Tip: Brisket Point vs Flat
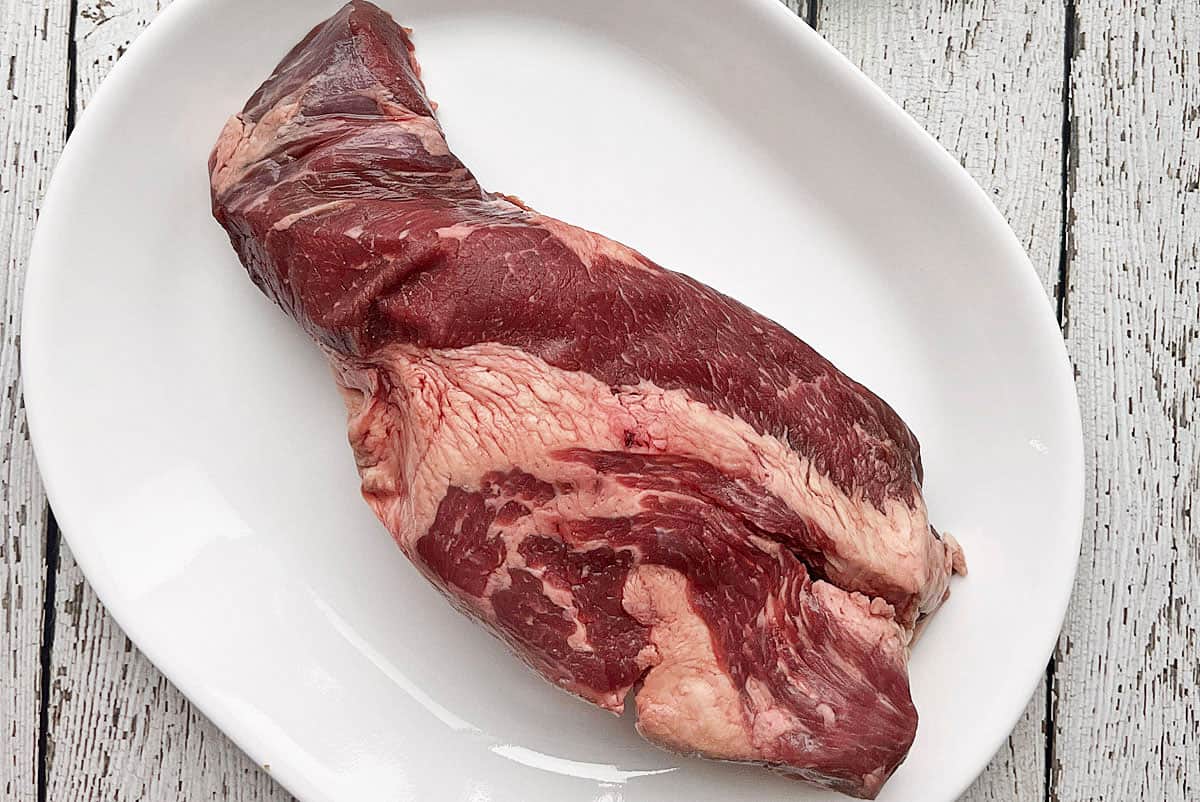
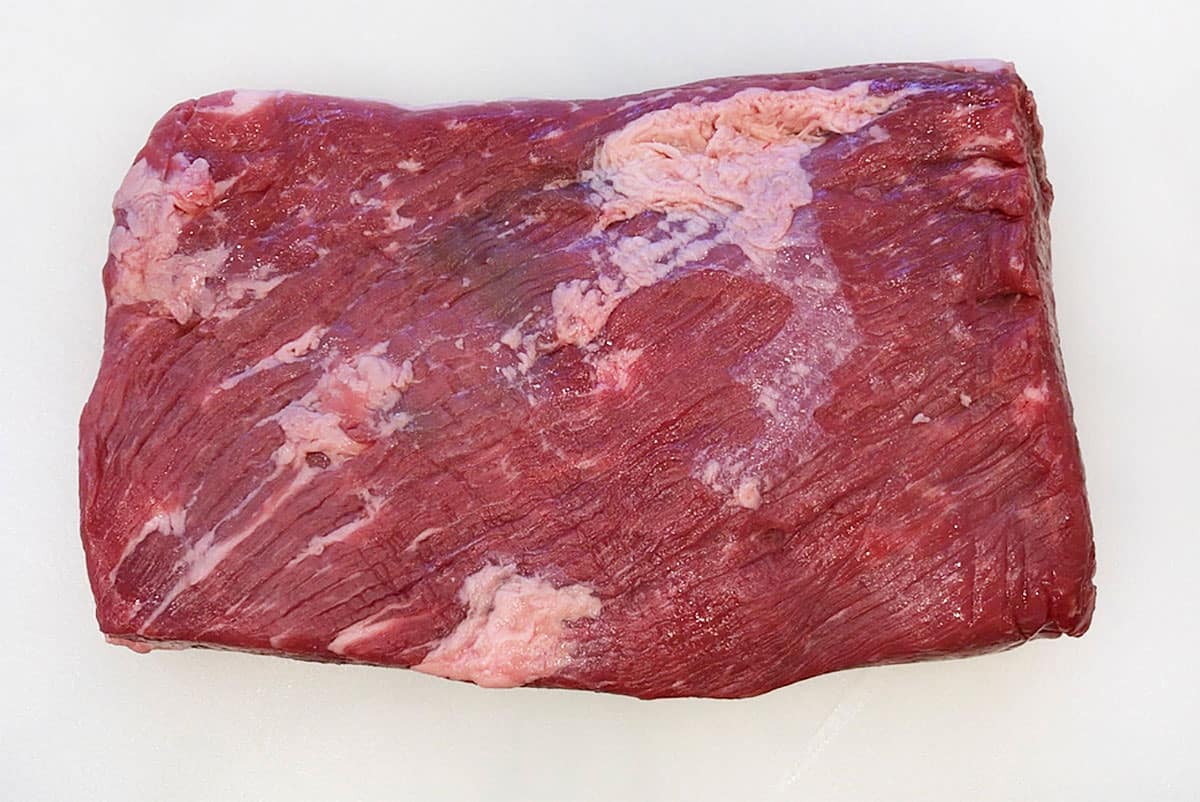
The brisket has two parts, shown in the photos below: the point and the flat. The flat is much lower in intramuscular fat and has a more uniform grain. Because it's so lean, it has less built-in protection during cooking. If it goes even a little past ideal doneness, it loses moisture and can feel dry.
The point is fattier, with more marbling and connective tissue. As it cooks low and slow, that fat renders and the collagen breaks down into gelatin, which keeps the meat juicy and tender.
At a BBQ restaurant, when you're choosing between lean and fatty brisket, the lean option typically comes from the flat, while the fatty option comes from the point.
You can use this recipe to cook either part, but the point is more forgiving and usually ends up richer and moister, while the flat can come out a little dry, especially if overcooked.
Recipe FAQs
No. Unlike the tender ribeye roast, beef brisket is a tough but flavorful cut of beef that requires low and slow cooking. Since it takes a while, this recipe is excellent for a winter weekend when you're home anyway. It's not difficult, but it does require a time commitment of about three hours.
No. The foil pouch is crucial to prevent the meat from drying out and to keep it juicy.
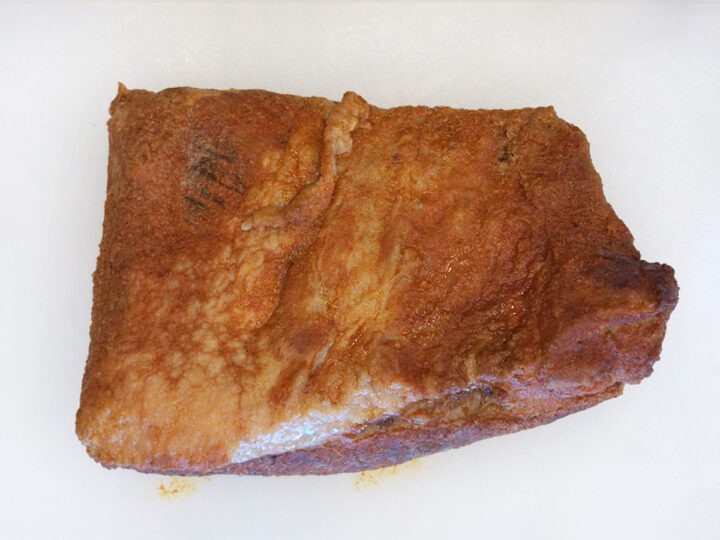
Brisket flat usually comes with a beautiful fat cap, shown in the photo below. Please don't remove it completely, before or after cooking. It's the best part! But you can ask your butcher to trim it to a manageable thickness: ¼ inch is ideal. Then, cook it with the fat side up. This will allow the melting fat to seep into the meat, making it juicier and more flavorful.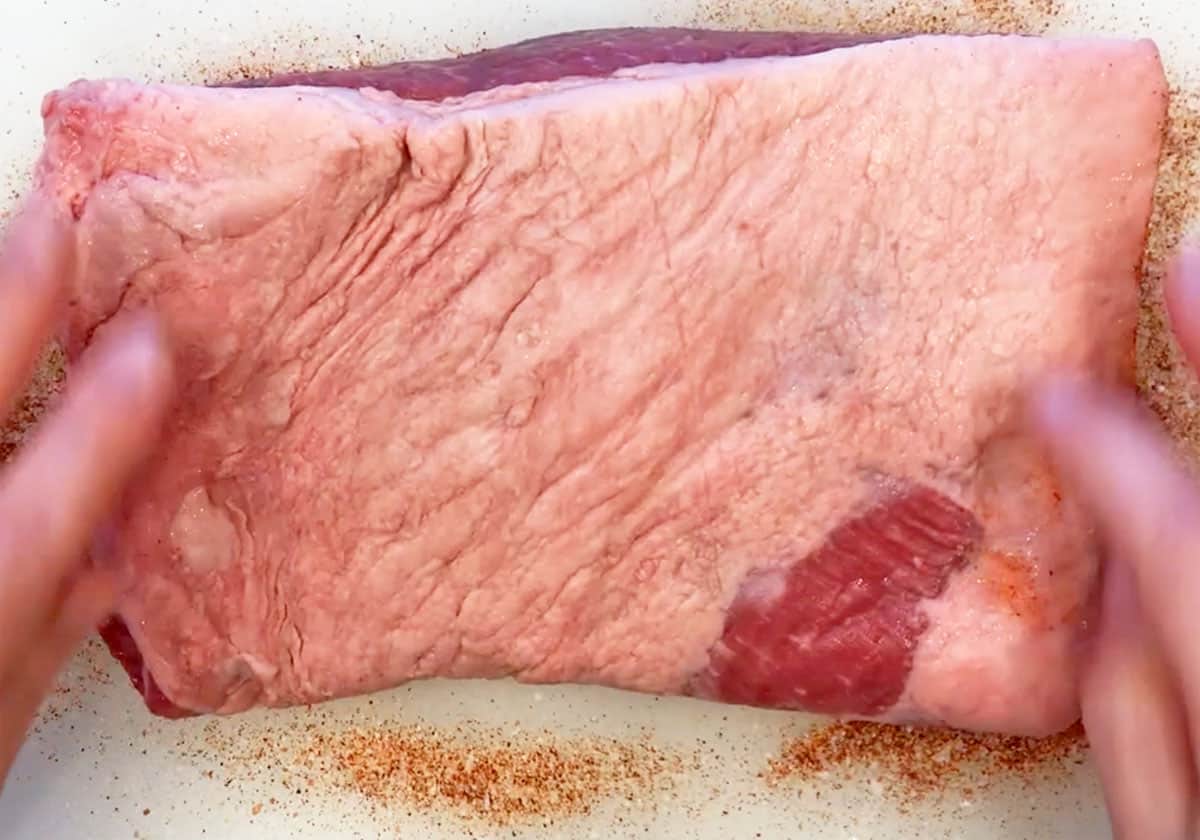
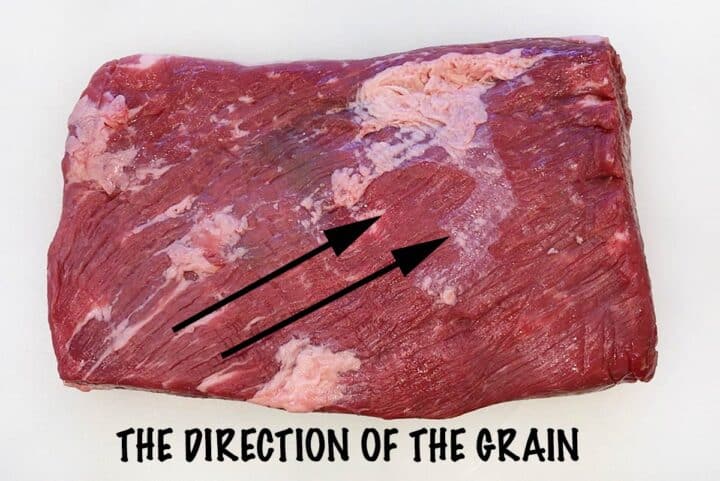
Before you cook it, look at the raw piece of meat and locate the direction of the grain, as shown in the photo below. When cooked, you will want to cut it thinly against the grain to sever the muscle fibers, tenderize the meat, and make chewing easier.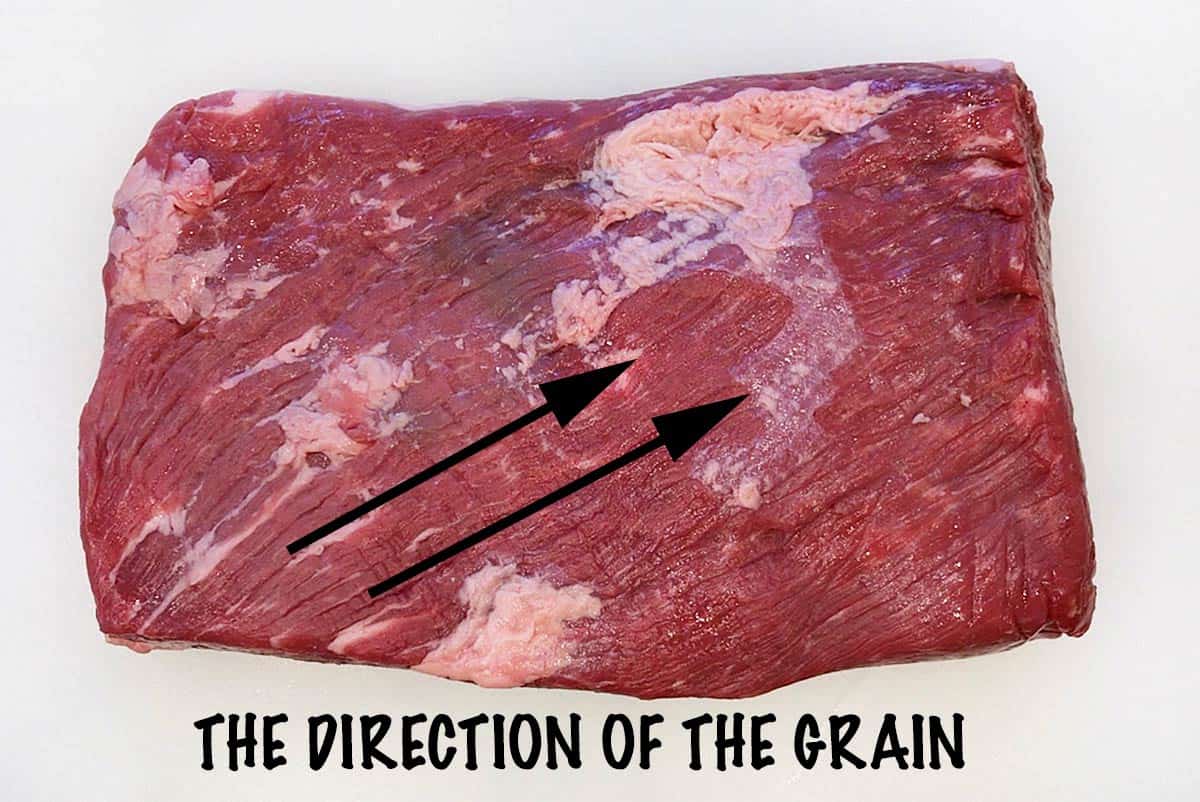
Serving Suggestions
I bake the brisket at low heat, so I can't roast vegetables at the same time since they require a hot oven. Roasted green beans, for example, need a 425°F oven, but I cook the beef in a 300°F oven.
So, I usually serve it with easy side dishes that I can make separately in the microwave, such as mashed cauliflower, microwave broccoli, or microwave asparagus.
A salad is another great option. My favorites are arugula salad, cucumber salad, and tomato salad.
Storing and Using the Leftovers
Like other slow-cooked meats (such as pot roast or oxtail stew), brisket improves with time. You can keep the leftovers in an airtight container in the fridge for up to four days. You can also freeze the cooled leftovers in a single layer in freezer bags for up to three months. Thaw them overnight in the fridge.
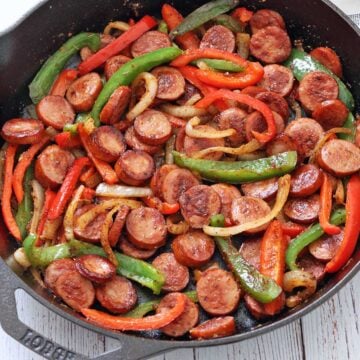
Use the leftovers as you would roast beef - serve cold slices on a plate with sriracha mayo or Dijon mustard and quick pickles, or make a cloud bread or almond flour bread sandwich. If you'd like to reheat the leftovers, do so gently, covered, in the microwave at 50% power.
Recipe Card
Easy Oven Brisket Recipe
Video
Ingredients
- 3 pounds brisket - fat trimmed to ¼-inch thick; see notes below
Dry Rub:
- 2 teaspoons Diamond Crystal kosher salt - or 1 teaspoon of any other salt, including Morton kosher salt
- 1 teaspoon black pepper
- 1 tablespoon smoked paprika
- 1 teaspoon ground cumin
- 1 teaspoon onion powder
- 1 teaspoon garlic powder
- 1 teaspoon dry mustard
Instructions
- Preheat the oven to 300°F. Look at the raw piece of meat and locate the direction of the grain. You will want to cut it against the grain when it's cooked.3 pounds brisket

- In a small bowl, mix the salt, pepper, smoked paprika, cumin, onion powder, garlic powder, and dry mustard. Gently rub the spice mix all over the meat.2 teaspoons Diamond Crystal kosher salt, 1 teaspoon black pepper, 1 tablespoon smoked paprika, 1 teaspoon ground cumin, 1 teaspoon onion powder, 1 teaspoon garlic powder, 1 teaspoon dry mustard

- Make a foil pouch: Place the brisket, fat side up, on two layers of foil. Pull the edges of the foil up around the brisket and wrap it. Use a third foil layer on the top if needed. Seal well to keep moisture in, but don't wrap the meat too tightly. Leave some room for the steam.
- Place the foil pouch on a foil-lined, broiler-safe, rimmed baking sheet. Cook the brisket for 3 hours (about 1 hour per pound) until very tender.

- Turn off the oven and let the meat rest until it's cool enough to handle. Remove the brisket from the oven and open the foil pouch. Pour the cooking juices into a measuring cup. You can skim the fat from the top if you want (I don't).

- Turn the oven to broil. Brush the meat with some of the cooking juices. Broil until the fat browns and starts to crisp, for about 2 minutes.

- Allow the brisket to cool for a few minutes before slicing. Slice it against the grain and on the bias into ¼-inch slices. Serve it with the cooking juices for dipping.

Notes
- You can use a teaspoon of smoked salt for a more pronounced smoky flavor.
- Seasonings, especially salt, are just guidelines. Adjust to taste.
- Brisket has two main parts: the flat and the point. The flat is much leaner, so it has less protection during cooking and can dry out if taken even slightly past ideal doneness. The point is fattier with more marbling and connective tissue. As it cooks low and slow, the fat renders, and the collagen turns into gelatin, keeping the meat juicy and tender. You can use this recipe to cook either part, but the point is more forgiving and usually ends up richer and moister, while the flat can come out a little dry, especially if overcooked.
- Beef brisket comes with a beautiful fat cap. Please don't remove it completely, before or after cooking. It's the best part! But you can ask your butcher to trim it to a manageable thickness. ¼ inch is ideal.
- Cook the meat fat side up. This will allow some of the melting fat to seep into the meat, making it juicier and more flavorful.
- Like other slow-cooked meats, brisket improves with time. You can keep the leftovers in an airtight container in the fridge for up to four days. Slice the leftovers and serve them cold, or reheat them covered in the microwave at 50% power.
- You can freeze the cooled leftovers in a single layer in freezer bags for up to three months. Thaw them overnight in the fridge.
Nutrition per Serving
Save this Recipe!
We will also add you to our weekly newsletter. Unsubscribe anytime. See healthyrecipesblogs.com/privacy/ to learn how we use your email.
Disclaimers
Most recipes are low-carb and gluten-free, but some are not. Recommended products are not guaranteed to be gluten-free. Nutrition info is approximate - please verify it. The carb count excludes non-nutritive sweeteners. Please read these Terms of Use before using any of my recipes.

Jill says
I was given some brisket a few months ago but I put it in the freezer. I didn't know how to cook it, so I started looking for a recipe. I came across this one and it sounded good. I made it today for Sunday dinner. My husband and mother-in-law loved it!! We had it with Brussels sprouts and fried potatoes. It was so juicy. I will definitely have this on our favorite ones.
Vered DeLeeuw says
I'm so glad everyone liked this recipe, Jill! Your meal sounds amazing. Many thanks for the review!
Rachel says
This was a big hit with my extended family. I find it hilarious that you discuss leftovers - what leftovers? We polished it off in one sitting. 🙂
Vered DeLeeuw says
I'm so glad this was such a hit with your family, Rachel! Thank you so much for the review.
Bracha says
Made a trial run for the High Holidays. It came out perfect! So juicy and delicious. Thank you, Vered!
Vered DeLeeuw says
You're very welcome, Bracha! Thank you very much for the review.
Karin says
So tough! I used grass fed beef but was expecting it to be yummy.
Vered DeLeeuw says
Hi Karin,
I'm sorry your roast turned out tough. Indeed, slow-cooked grass-fed beef can be tough because it’s leaner, older, and more muscular than grain-fed. I added this info to the article above the recipe card. I appreciate the feedback! It helped me improve and fine-tune the recipe.
Lisa shamus says
This is delicious. I am making this for Rosh Hashanah. Usually we do a more traditional RH brisket but this is amazing… I am just contemplating if I should slice it and let it absorb some of the juices or heat the juice and let people dip…
Vered DeLeeuw says
Hi Lisa,
Your call! I like to let people dip, but both methods work.
I'm so glad you like this recipe! Thank you very much for the review.
Maggie Pillard says
Easy to follow with little prep or mess. Turned out great. I used the drippings to make a gravy to pour over it. Definitely would make again.
Vered DeLeeuw says
I'm so glad you enjoyed it, Maggie! Thank you so much for the review. The gravy sounds delicious!
Yolanda Thomas says
Hi there. Can I rub with mustard instead of using dry mustard? And would you recommend putting bbq sauce at some point during cooking?
Vered DeLeeuw says
Hi Yolanda,
1. You can mix a tablespoon of prepared mustard with the spices and rub the mixture on the brisket. If the mixture is too thick, add a teaspoon of water.
2. In step 6, instead of brushing the brisket with the cooking juices before broiling, you can brush it with 1/4 cup of BBQ sauce. Keep a close eye on it while under the broiler. BBQ sauce burns easily. It's best to position the oven rack 6 inches below the broiler (not directly below).