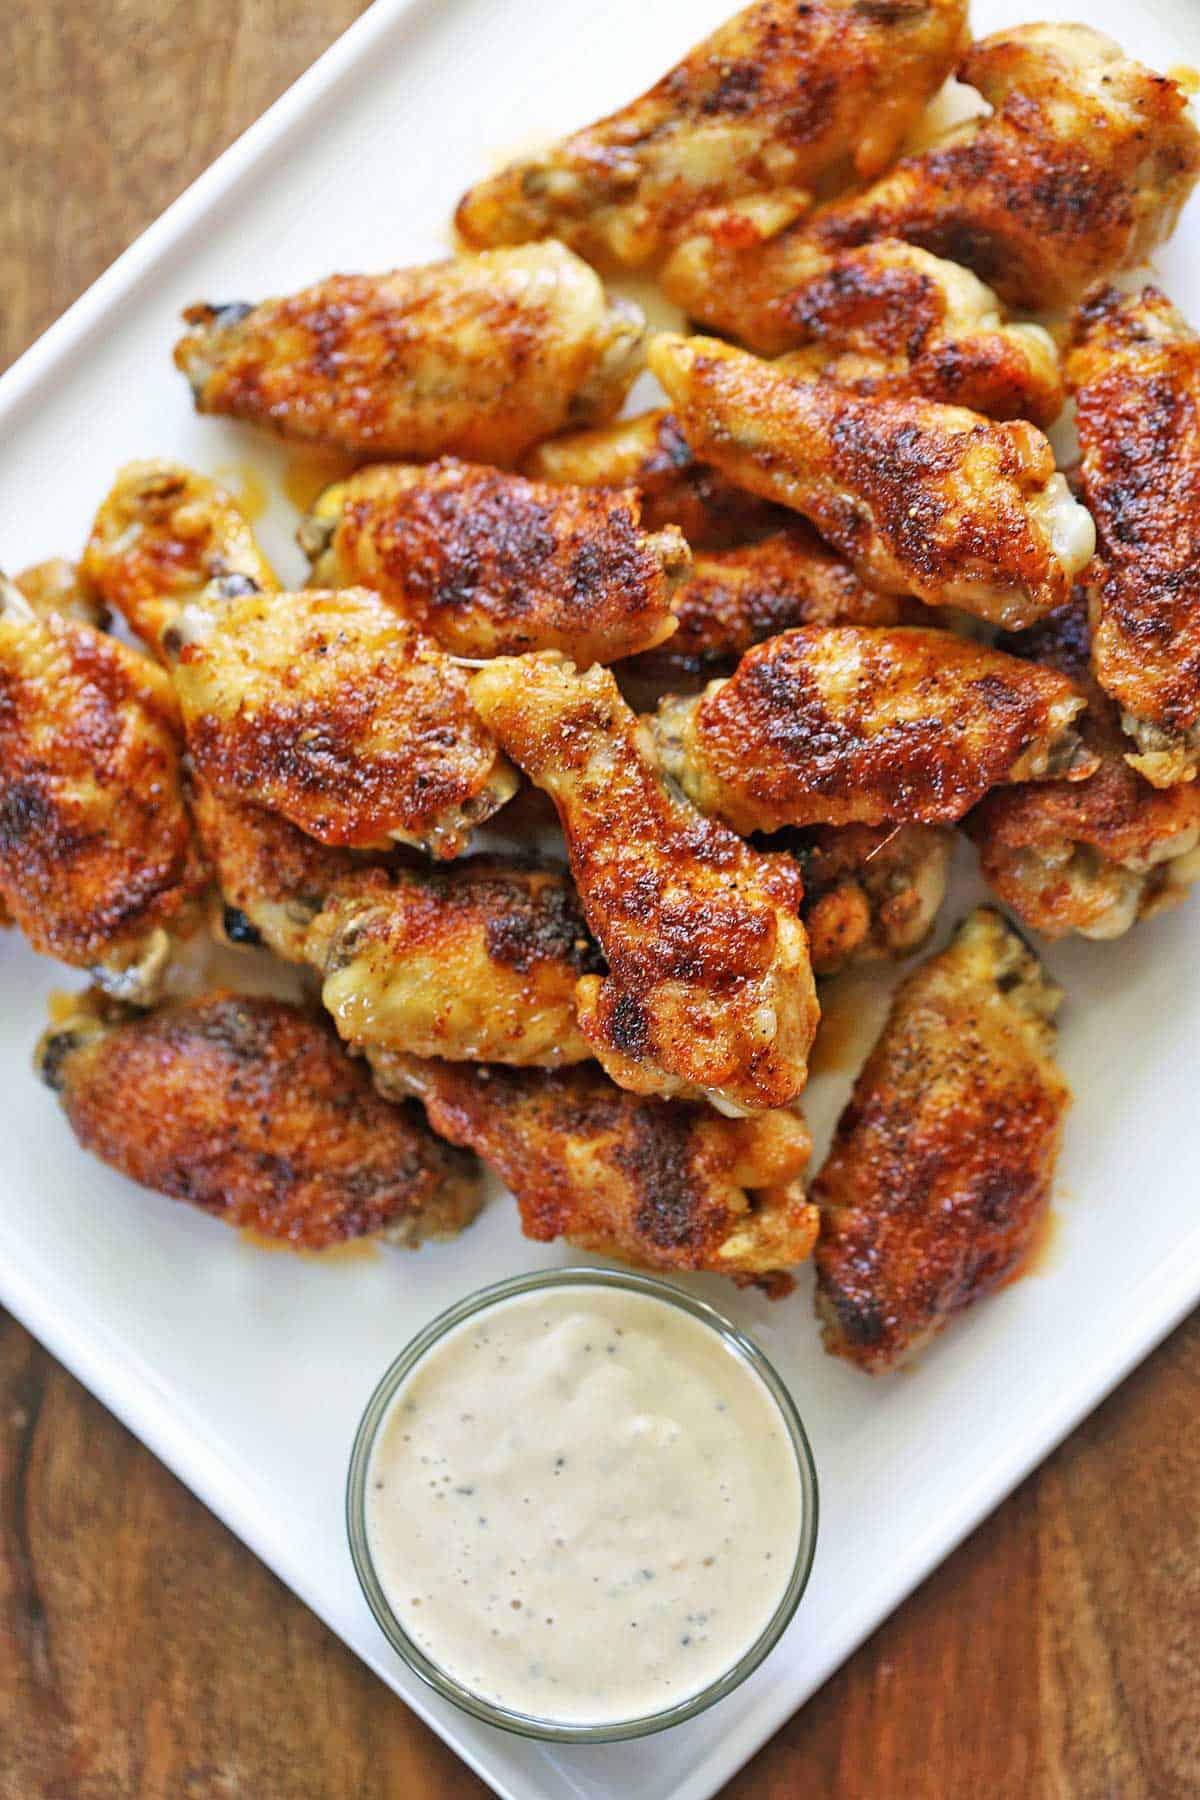
These baked chicken wings are so easy to make, and they come out of the oven crispy and delicious. Simply bake them in a 400°F oven for 40 minutes. If you want them extra-crispy, leave them in a warm oven for 30-60 more minutes.

Wings are my favorite part of the chicken. The ratio of juicy meat to crispy skin is perfect! I prefer to bake wings in the oven because baking is a hands-off approach, much easier than frying, and the wings are just as good. They have wonderfully crispy skin and delightfully juicy meat.
Ingredients
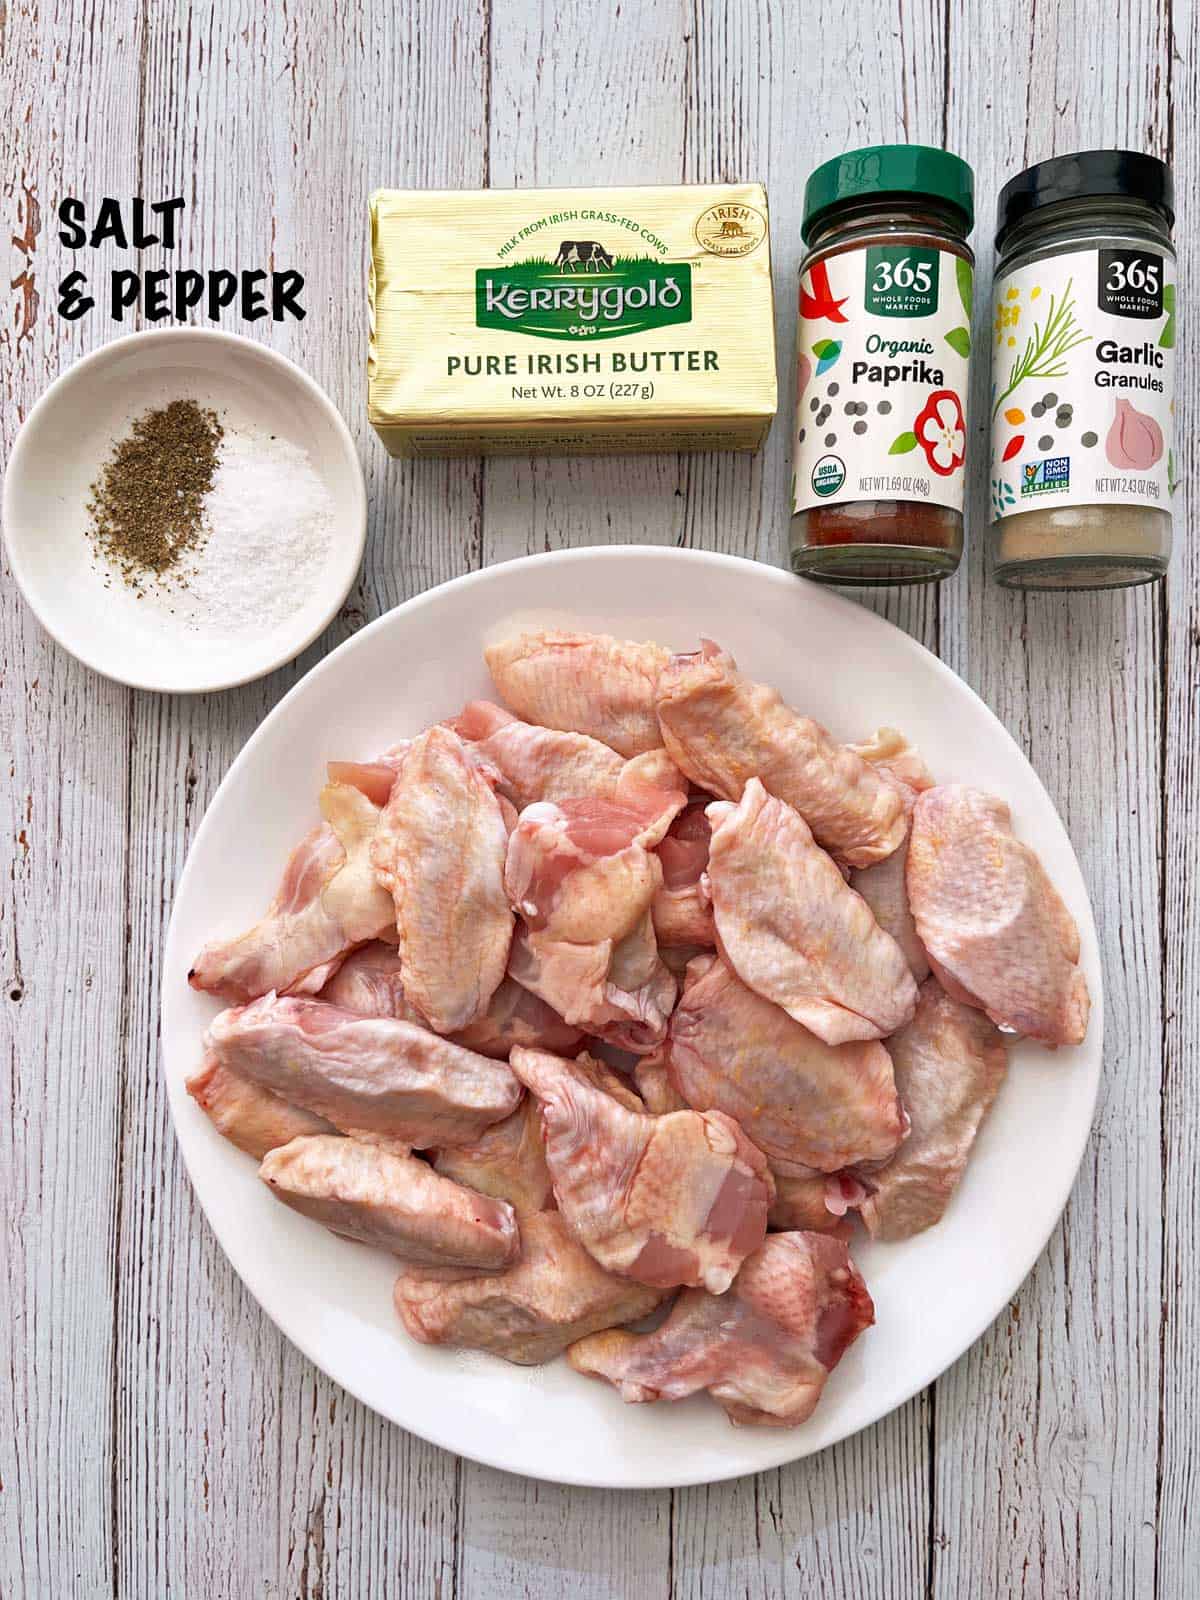
Here's an overview of the ingredients needed for this recipe. The exact measurements are listed in the recipe card below.
Fresh chicken wings: I usually buy them in trays labeled as "party wings." As discussed below, using whole wings in this recipe is fine.
Butter: I use salted butter in this recipe. Unsalted butter works, too.
To season: Kosher salt, black pepper, garlic powder, and paprika.
Variations
- Use smoked paprika instead of regular paprika. I experimented with both versions and liked them equally.
- Add a teaspoon of onion powder.
- Try them with a tablespoon or two of Everything But The Bagel Seasoning! This is my daughter's favorite version.
- Instead of tossing the wings in melted butter, you can arrange them in the pan and spray them with olive oil.
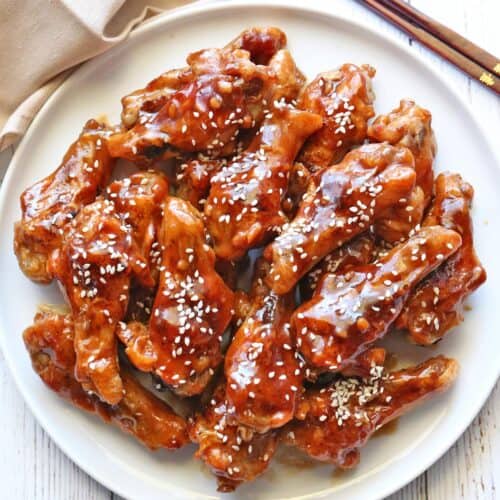
- After baking, dip them in homemade buffalo sauce to make buffalo wings.
Instructions
Here's an overview of the steps for making this recipe. The detailed instructions are listed in the recipe card below.
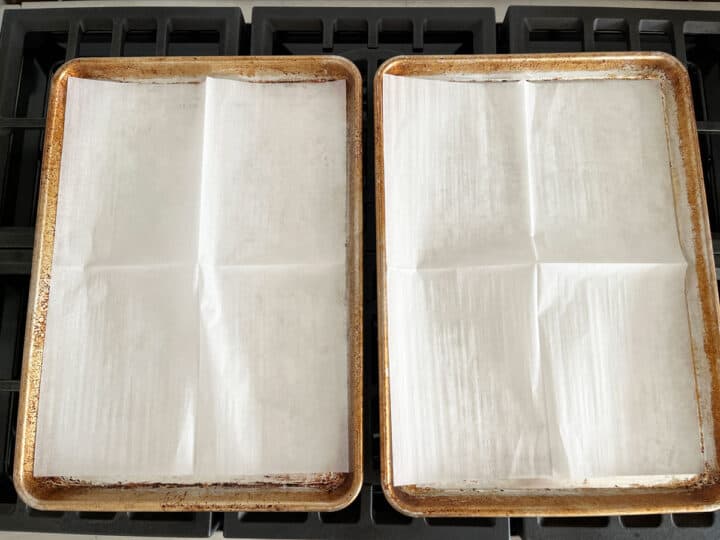
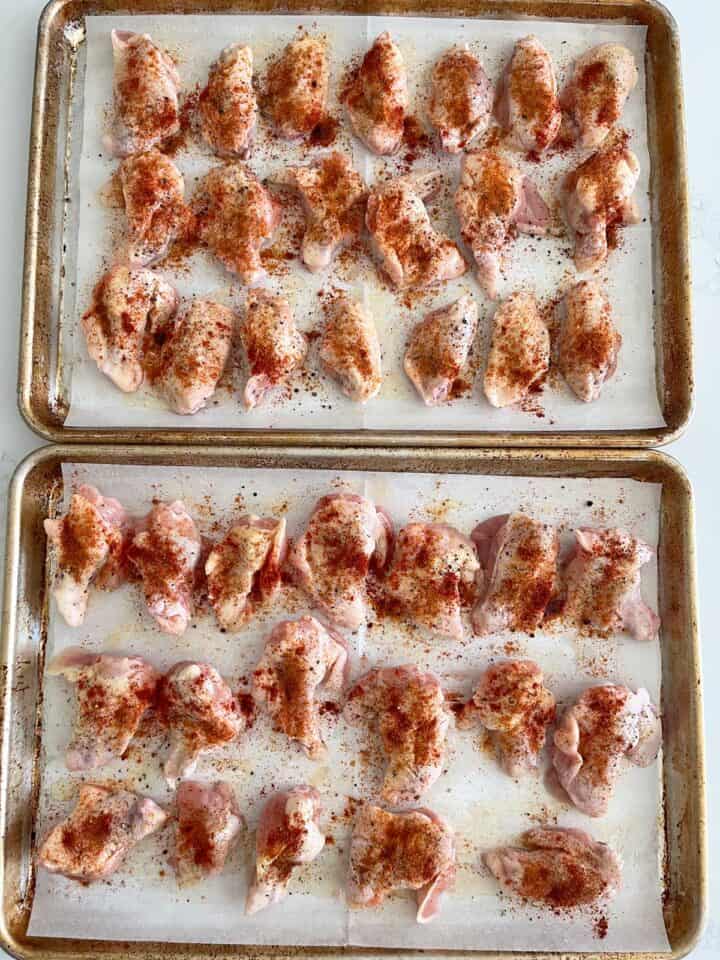
Toss the wings in melted butter (or liberally spray them with oil) and sprinkle them with spices. Arrange them on a rimmed baking sheet fitted with a wire rack, or skip the rack and use parchment paper.
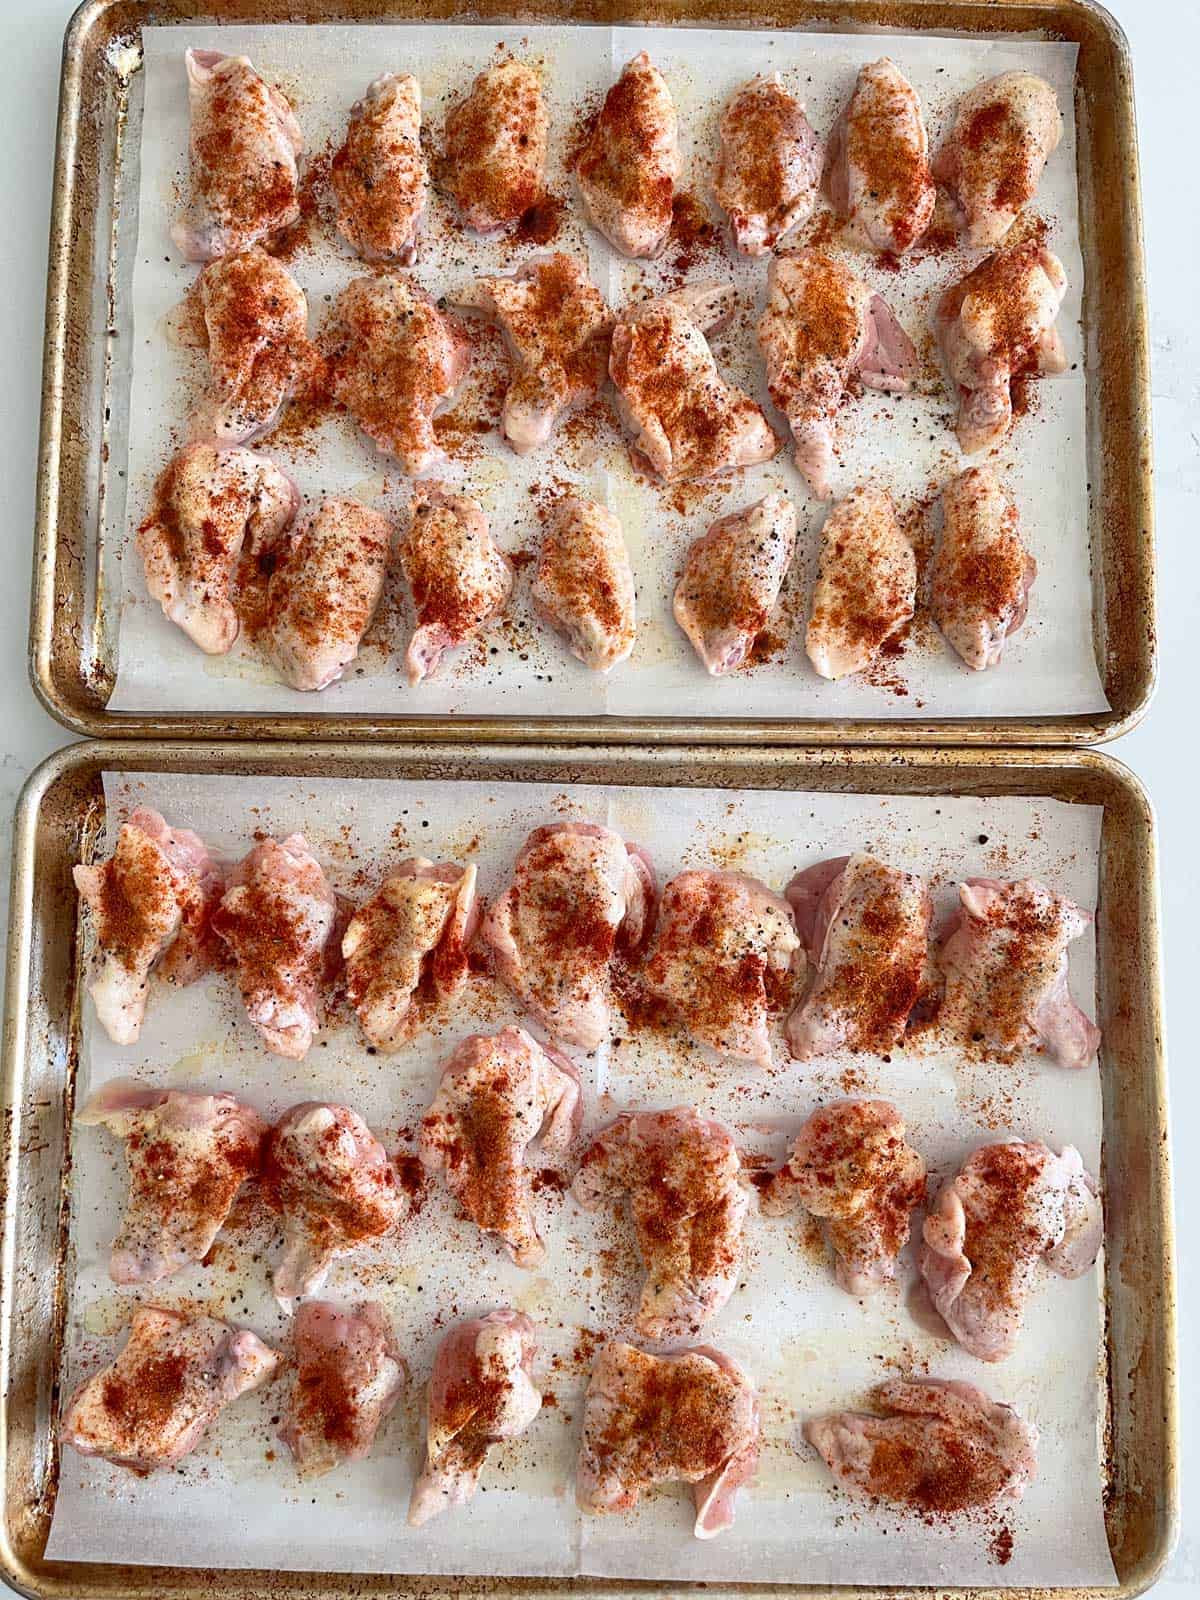
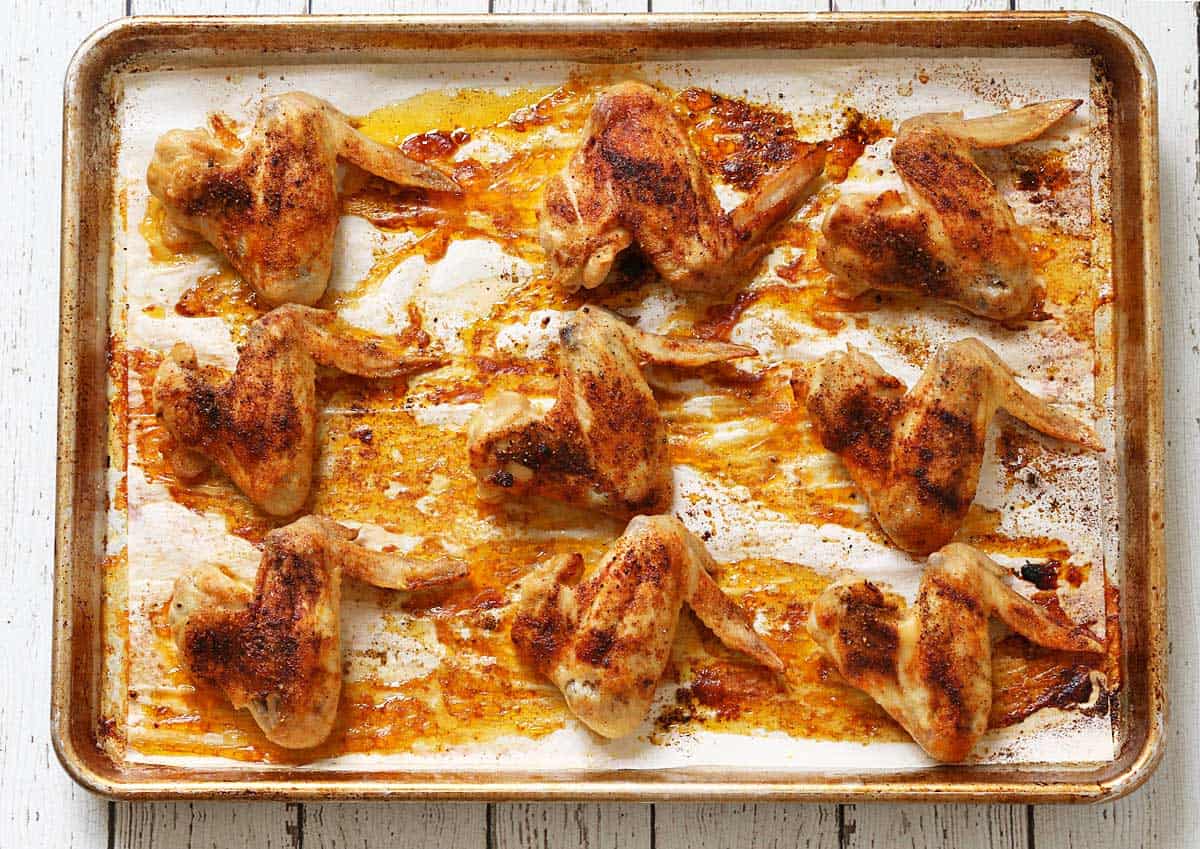
Bake the wings until they are cooked through and their skin is browned and crispy, for about 40 minutes.

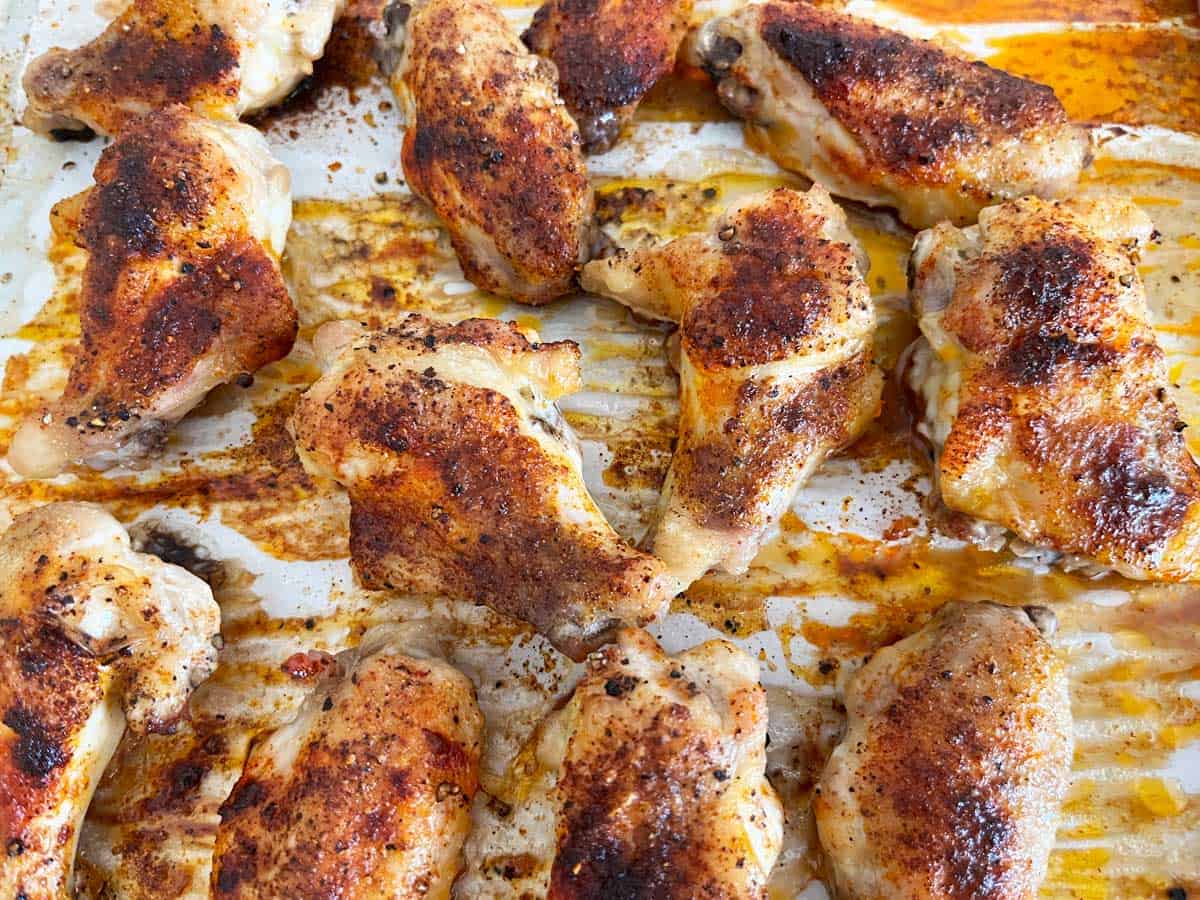
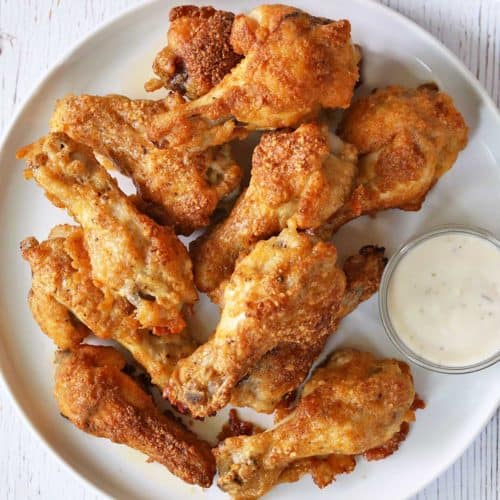
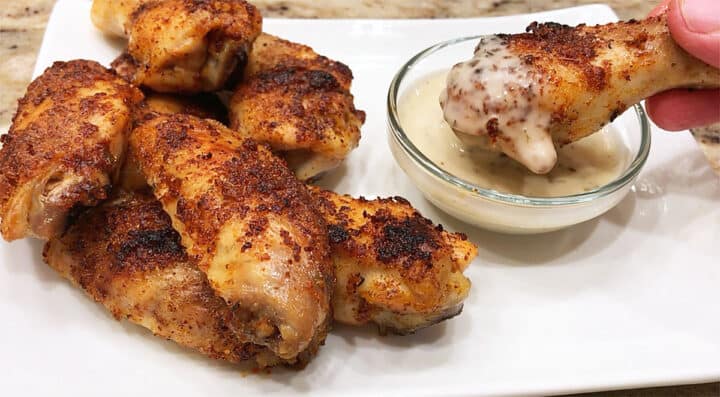
If you want them extra-crispy, lower the oven temperature to 170°F and keep the wings in the oven for 30-60 more minutes. Here's what they look like after 30 extra minutes in a warm oven:
Serve them immediately, on their own, or with ranch dressing or blue cheese dressing.
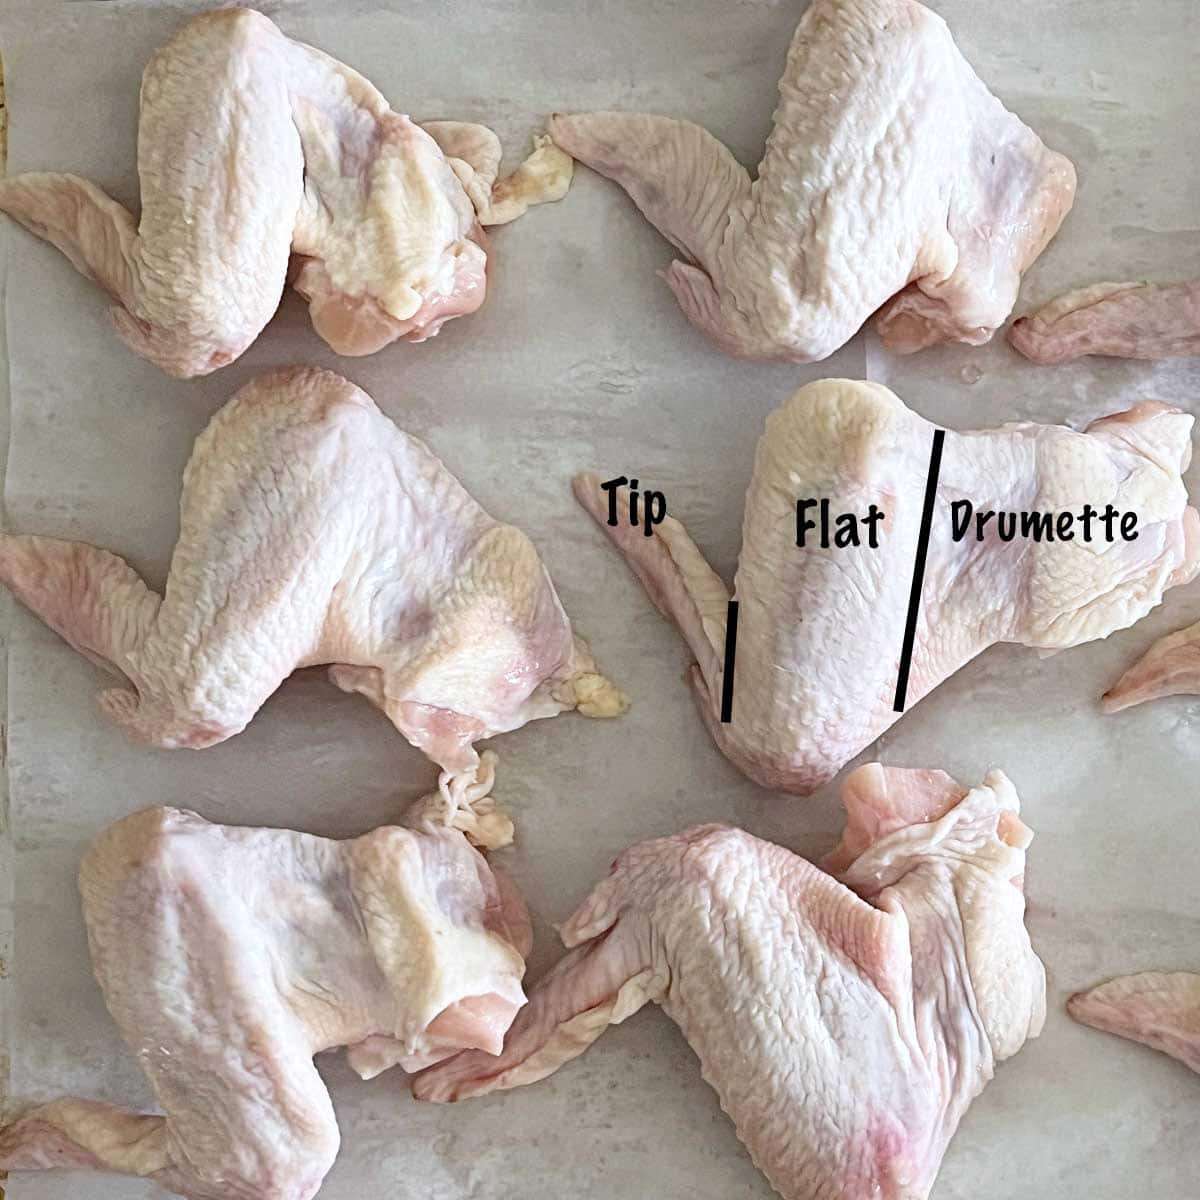
Whole Wings vs. Party Wings
I usually buy chicken wings labeled as "party wings," as shown in the photo below. This means the whole wings were split into flats and drumettes, with the tips removed.
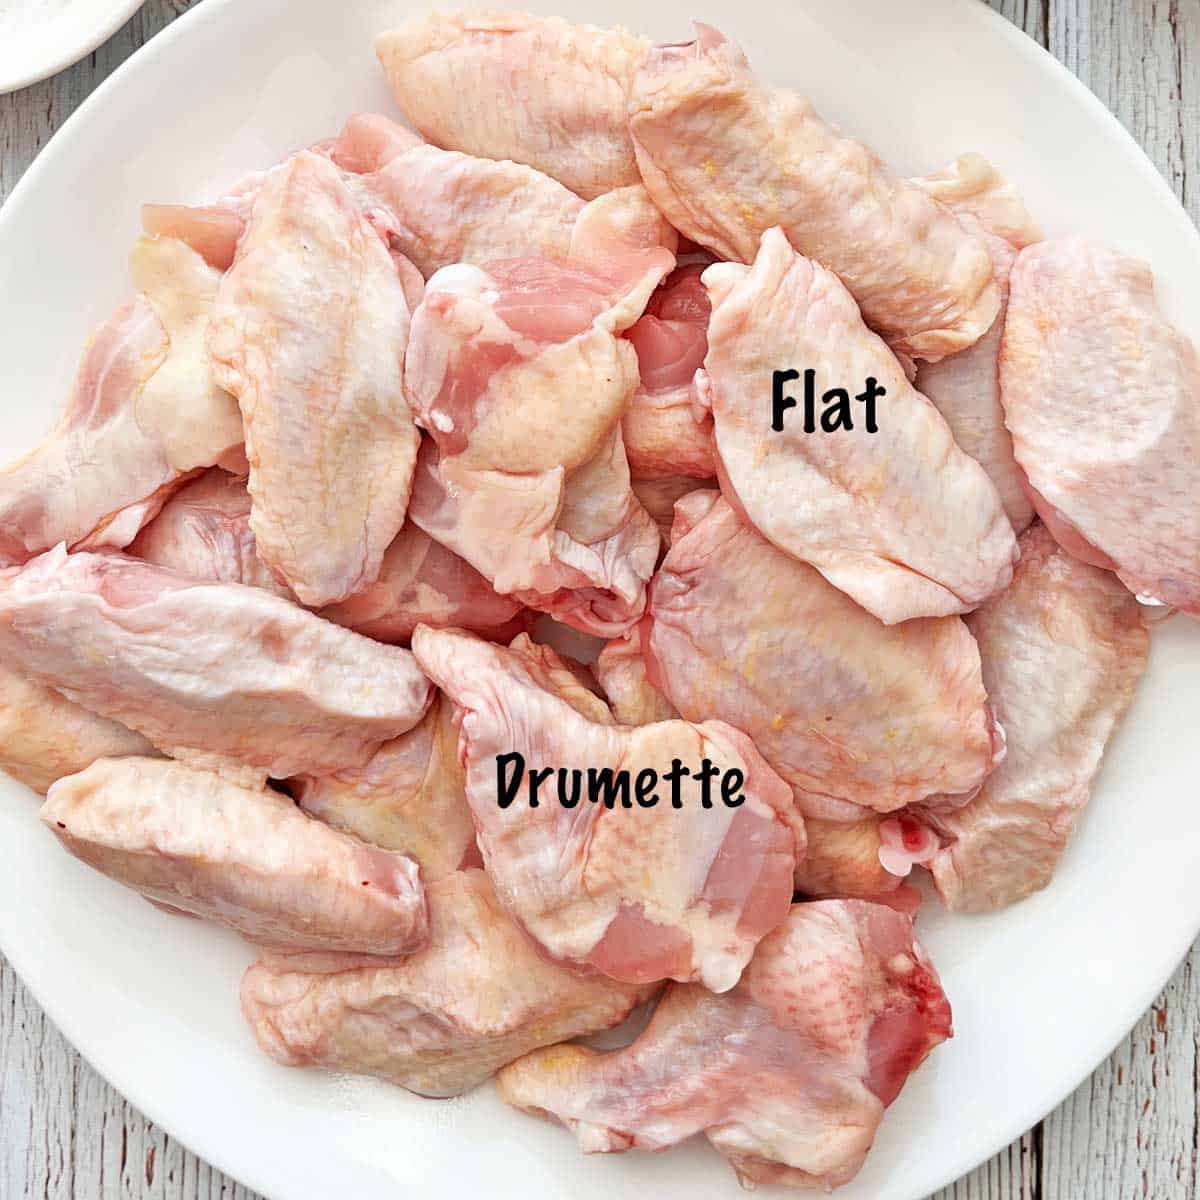
But you can use this recipe exactly as written to bake the whole wings shown in the image below:
If using whole wings, the steps for baking them are identical. This is what they look like after those extra 30 minutes in a 170°F oven:
Vered's Tip
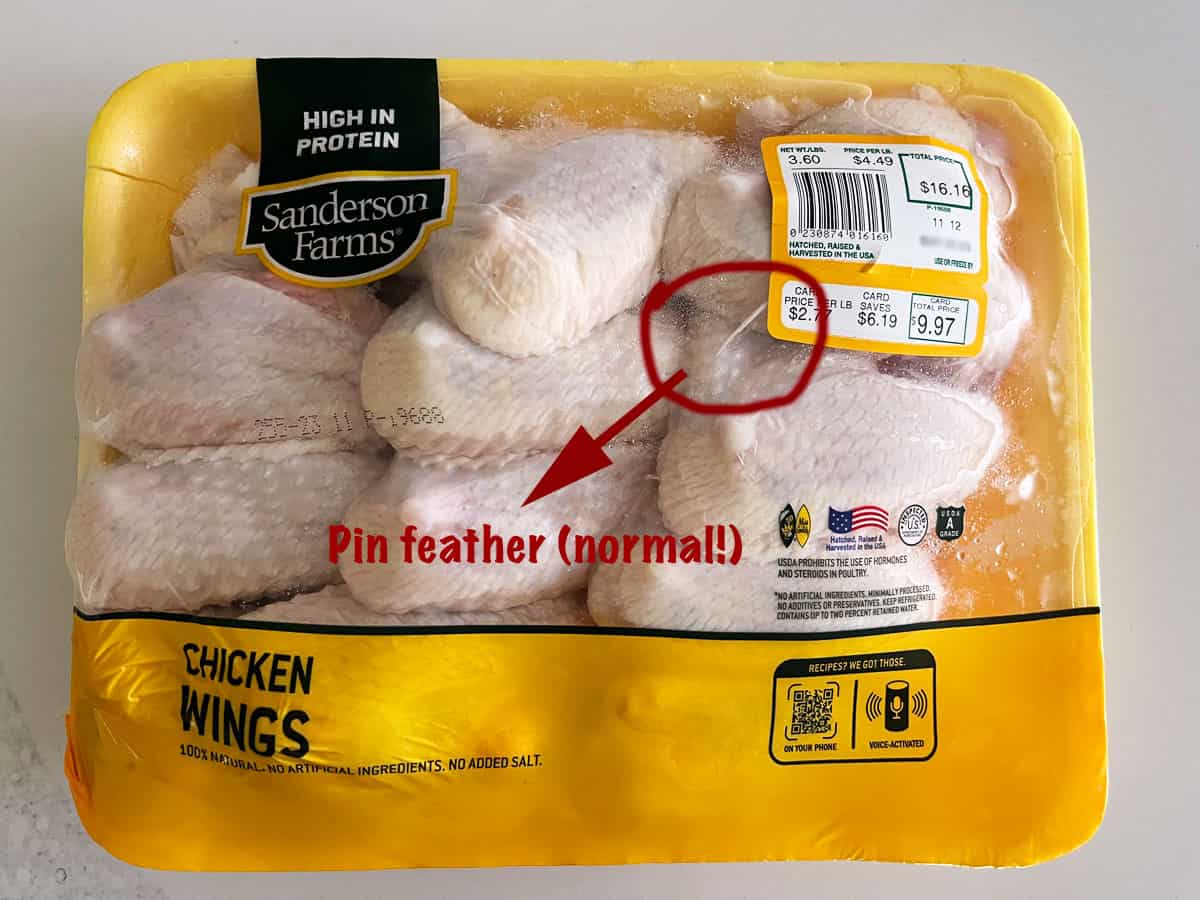
In the photo above, you can see a pin feather sticking out of one of the wings. That's completely normal! Simply pull it out with your fingers. It will be easier to pull out with a paper towel or kitchen tweezers.
Recipe FAQs
There's no need for flour. The skin crisps beautifully in the hot oven, especially if you keep the wings in a warm oven for 30-60 extra minutes after they're done.
Absolutely. Oven-baking makes them just as crispy on the outside and juicy on the inside as frying them, and it's a much easier cooking method.
No. As you can see in this buffalo wings recipe, you bake them first, then dip the cooked wings in the sauce.
Serving Suggestions
These wings are the perfect game-day appetizer, but I often serve them as our main course for dinner. Since I bake them in a 400°F oven, I like to serve them with a side dish I can cook in the same oven, such as:
- Roasted asparagus
- Roasted carrots
- Broccoli tots
- Cauliflower tots
- Roasted mini peppers
- Roasted cabbage
- Jicama fries
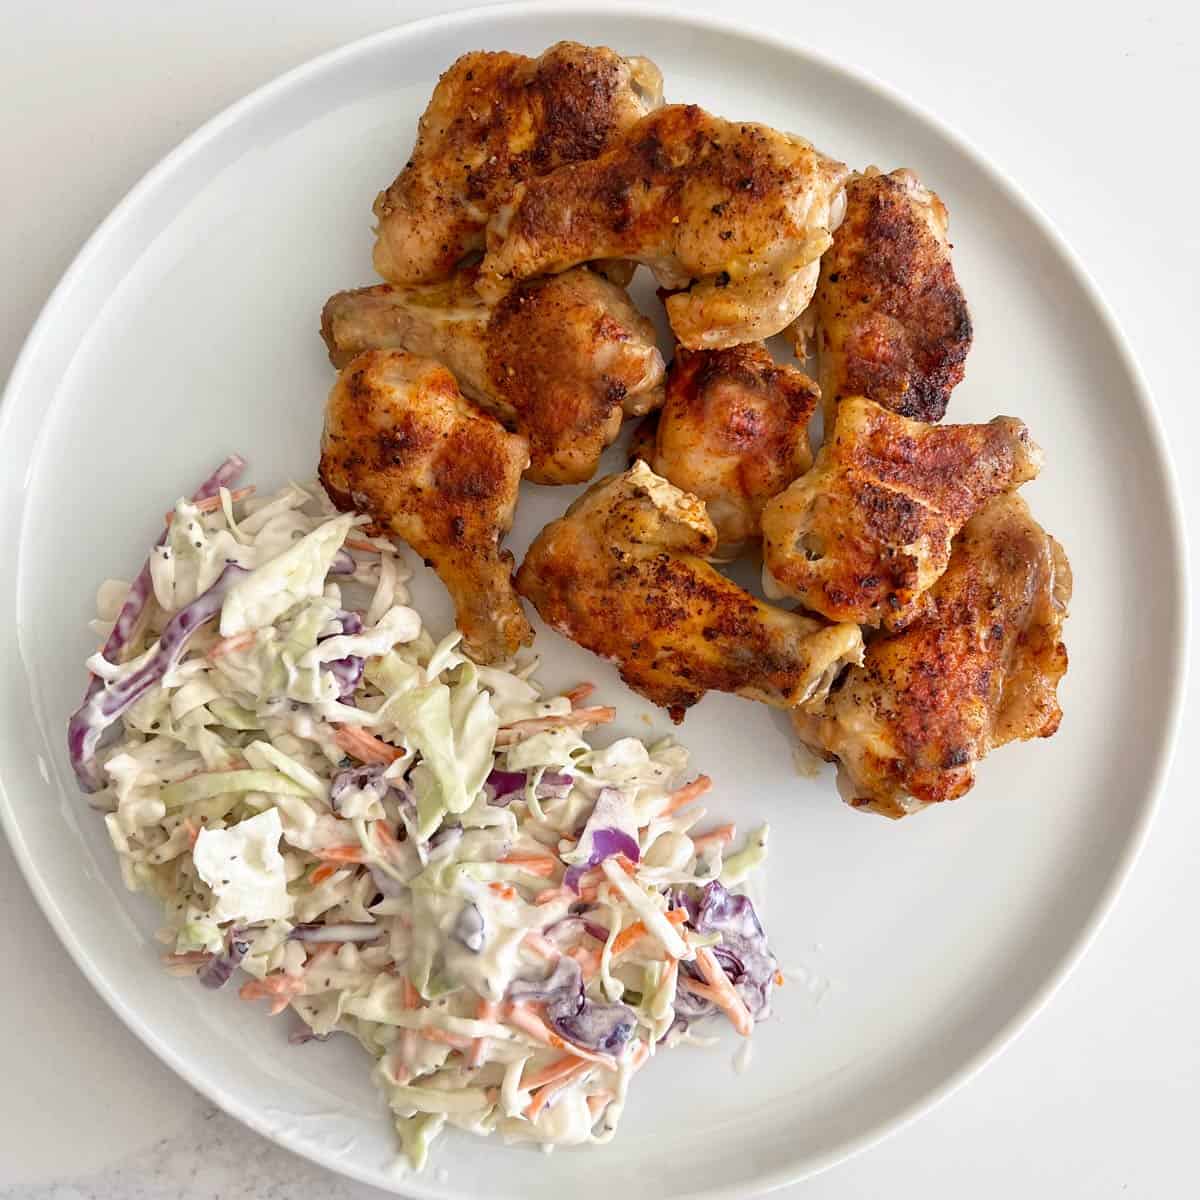
They also pair well with salads, including cucumber salad, tomato salad, and coleslaw - as shown in the photo below:
Storing Leftovers
You can keep the leftovers in an airtight container in the fridge for 3-4 days. Reheat them uncovered in a 350°F oven to re-crisp the skin.
You can also freeze the leftovers. Place the cooked wings in freezer bags and freeze them for up to three months. Thaw them overnight in the fridge, then reheat them.
More Chicken Wing Recipes

Eat Well, Live Well Newsletter
Sign up for weekly meal ideas, cooking tips, and real food recipes straight to your inbox! We won't send you spam. Unsubscribe at any time.
Recipe Card

Crispy Baked Chicken Wings
Video
Ingredients
- 3 pounds chicken wings - split, tips removed
- 2 tablespoons butter - melted
- 2 teaspoons Diamond Crystal kosher salt - or 1 teaspoon of any other salt, including Morton kosher salt
- ½ teaspoon black pepper
- 1 teaspoon garlic powder
- 1 teaspoon paprika - or smoked paprika
Instructions
- Preheat the oven to 400°F. Line two rimmed baking sheets with foil and fit them with wire racks. You can also use parchment-lined baking sheets and skip the rack.
- In a large bowl, toss the wings with melted butter. Arrange the coated wings in a single layer on the baking sheets, not touching each other. Sprinkle them with salt, pepper, garlic powder, and paprika.
- Bake the wings until they are cooked through and their skin is browned and crispy, about 40 minutes.

- For extra-crispy skin, lower the oven temperature to 170℉ and keep the wings in the oven for 30-60 more minutes.

- Serve immediately. They pair well with blue cheese or ranch dressing.
Notes
- Instead of tossing the wings in melted butter, you can arrange them in the pan and spray them with olive oil.
- I typically use split wings, but you can use this recipe to bake whole wings.
- If your oven runs hot, the wings could be ready after 30 minutes.
- You can keep the leftovers in an airtight container in the fridge for 3-4 days. Reheat them uncovered in a 350°F oven to re-crisp the skin.
- You can also freeze the leftovers. Place the cooked wings in freezer bags and freeze them for up to three months. Thaw them overnight in the fridge, then reheat them.
Nutrition per Serving
Save this Recipe!
We will also add you to our weekly newsletter. Unsubscribe anytime. See healthyrecipesblogs.com/privacy/ to learn how we use your email.
Disclaimers
Most recipes are low-carb and gluten-free, but some are not. Recommended and linked products are not guaranteed to be gluten-free. Nutrition info is approximate. Please verify it independently. The carb count excludes non-nutritive sweeteners. Please read these Terms of Use before using any of my recipes.


Ross G says
What an excellent take on chicken wings! I've made wings just about every way possible; smoked, seared, broiled, brined and so on. I followed this recipe pretty closely and they came out so good! Minimal prep work made this even better. I chose to top mine with freshly grated parmesan once they came out of the oven. Delicious!
Vered DeLeeuw says
Parmesan sounds amazing, Ross! Thank you for the review.
Noreen says
Just finished making this recipe and my husband and i loved it. I did put the seasoning on both sides of the wings and flipped them after 30 min then at 40 min flipped back and let them stay in the warm oven. Will definitely do again- Thank you!
Vered DeLeeuw says
Wonderful, Noreen! I'm glad you liked this recipe. Thank you for sharing your method.
Keisha says
Loved this recipe. I love easy to follow directions. The wings were delicious and I'll be making them using this method again.
Vered DeLeeuw says
Wonderful, Keisha! I'm glad you enjoyed this recipe. Thanks for the review.
Tamika says
Loved it!.
Peggy Fidher says
The wings I have are frozen. Can I use frozen wings?
Vered DeLeeuw says
Hi Peggy,
You will need to thaw them first.
Tara says
This was the first time I've made chicken wings from scratch. My husband and son loved them! Tasty and easy. I cooked them on my oven's Air Fry setting at 400 so they were very well done which is how I like that. I don't like what I consider "soggy" wings w/ super chewy skin. Next time I will reduce the cooking time on air fry & check them at the 30 minute mark. And there will definitely be a next time!
Vered DeLeeuw says
Wonderful, Tara! I'm so glad you and your family enjoyed these wings. Thank you for the review and for sharing your method.
Terrilea says
Can you substitute ghee for butter? Also is it better to sprinkle the spices or coat them while in the bowl of butter?
Vered DeLeeuw says
Hi Terrilea
Great questions!
Yes, melted ghee works.
As for your second question, both methods work equally well.
Laura says
I love how easy these come together and they taste delicious!
Vered DeLeeuw says
Wonderful, Laura! Thank you very much for the comment.
Alexis Wolfe says
When using the bagel seasoning are you also including the other seasonings?
Vered DeLeeuw says
Hi Alexis,
I use the salt plus 2 tablespoons of bagel seasoning.
Nisha says
I messed up and did sweet paprika. Is that okay? I'm prepping for tomorrow's dinner
Vered DeLeeuw says
Yes, that's fine, Nisha! Sweet paprika is basically regular paprika. It's not sweet. You did fine!