The secret to a great cauliflower pizza crust? Bake it until it becomes deep golden brown, with dark edges. That's how you'll get the best flavor and texture.
Using cauliflower to make a pizza crust sounds suspicious, I know. I was a big skeptic until I made it. But now, it's one of my favorite keto pizza crusts (this chicken crust pizza is another, and I also love this crustless pizza). In fact, I serve it to my family almost weekly for Saturday's lunch. It's a beloved - and delicious - family tradition, and each week, one of us gets to choose the topping!
Ingredients
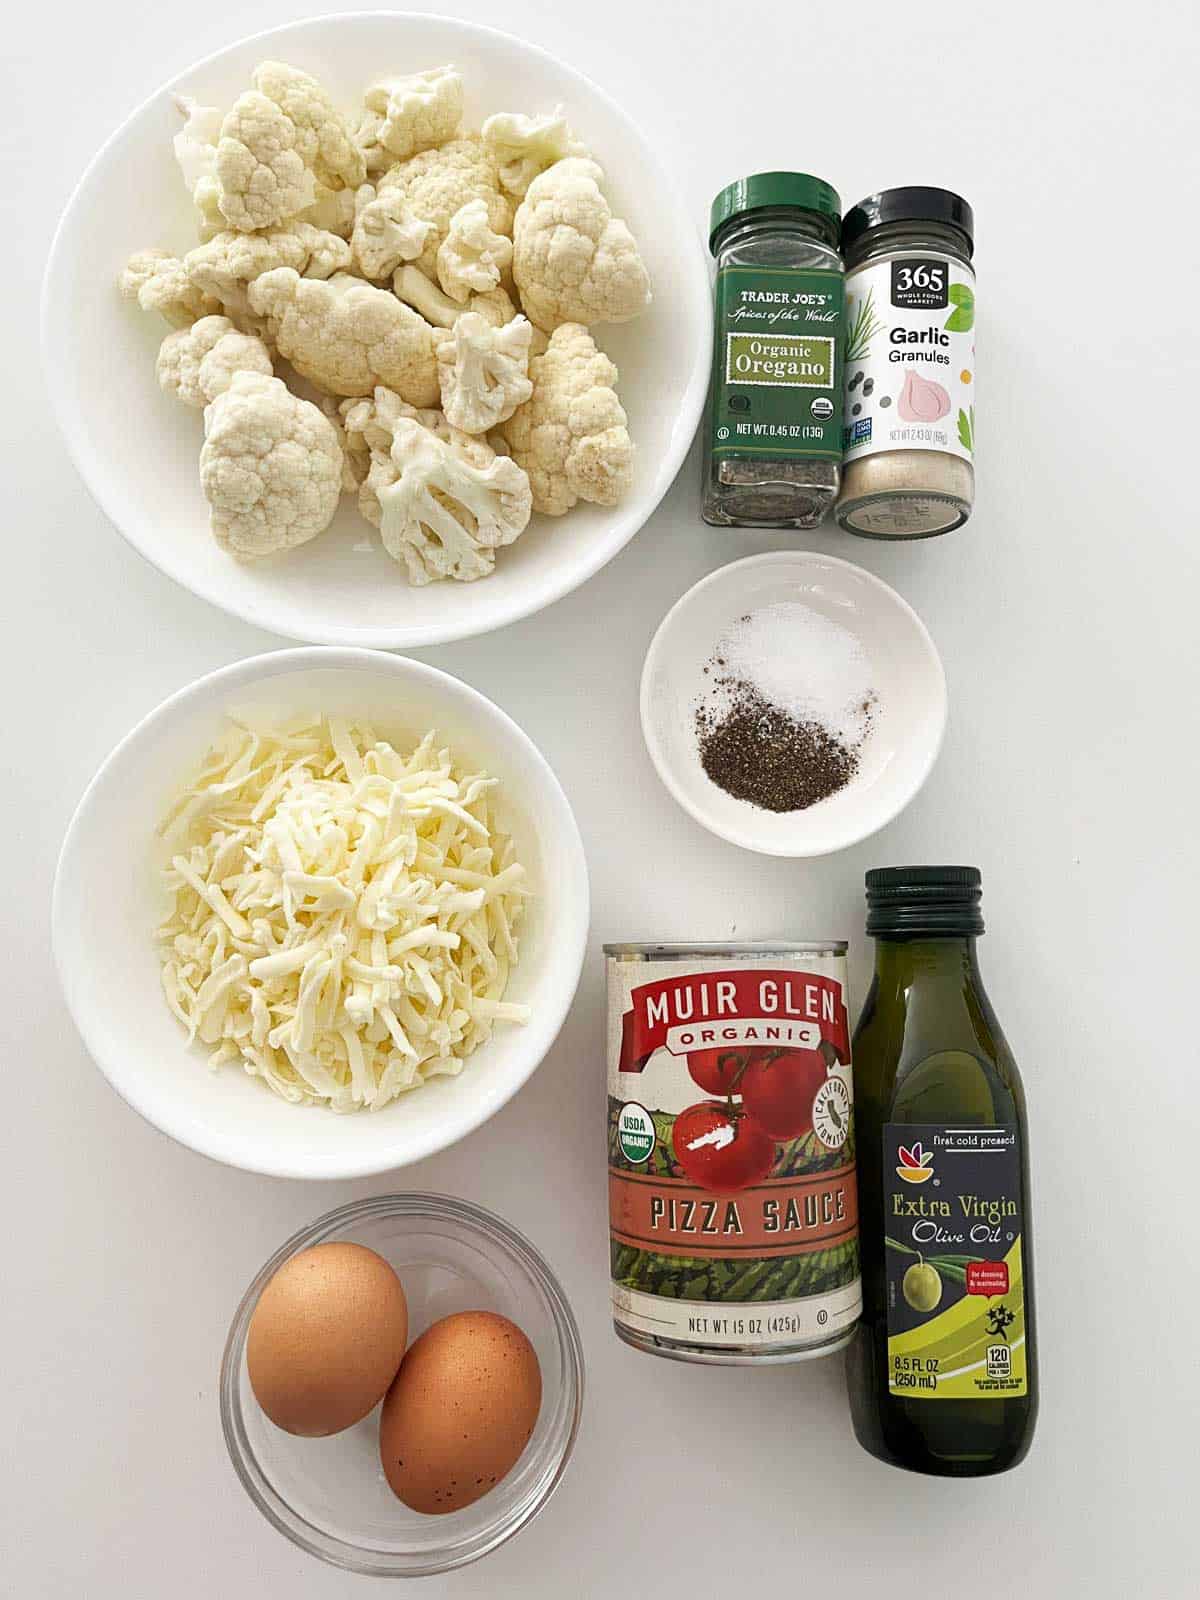
See the recipe card for exact measurements. Here are my comments on some of the ingredients.
- Cauliflower: I recommend using fresh cauliflower in this recipe. Frozen won't give you the right texture.
- Eggs: Used as a binding agent.
- Spices: I like to use dried oregano and garlic powder. They nicely flavor the crust and help to mask the flavor of the cauliflower.
- For the pizza topping: Pizza sauce, shredded mozzarella, and any other favorite toppings.
Topping Ideas
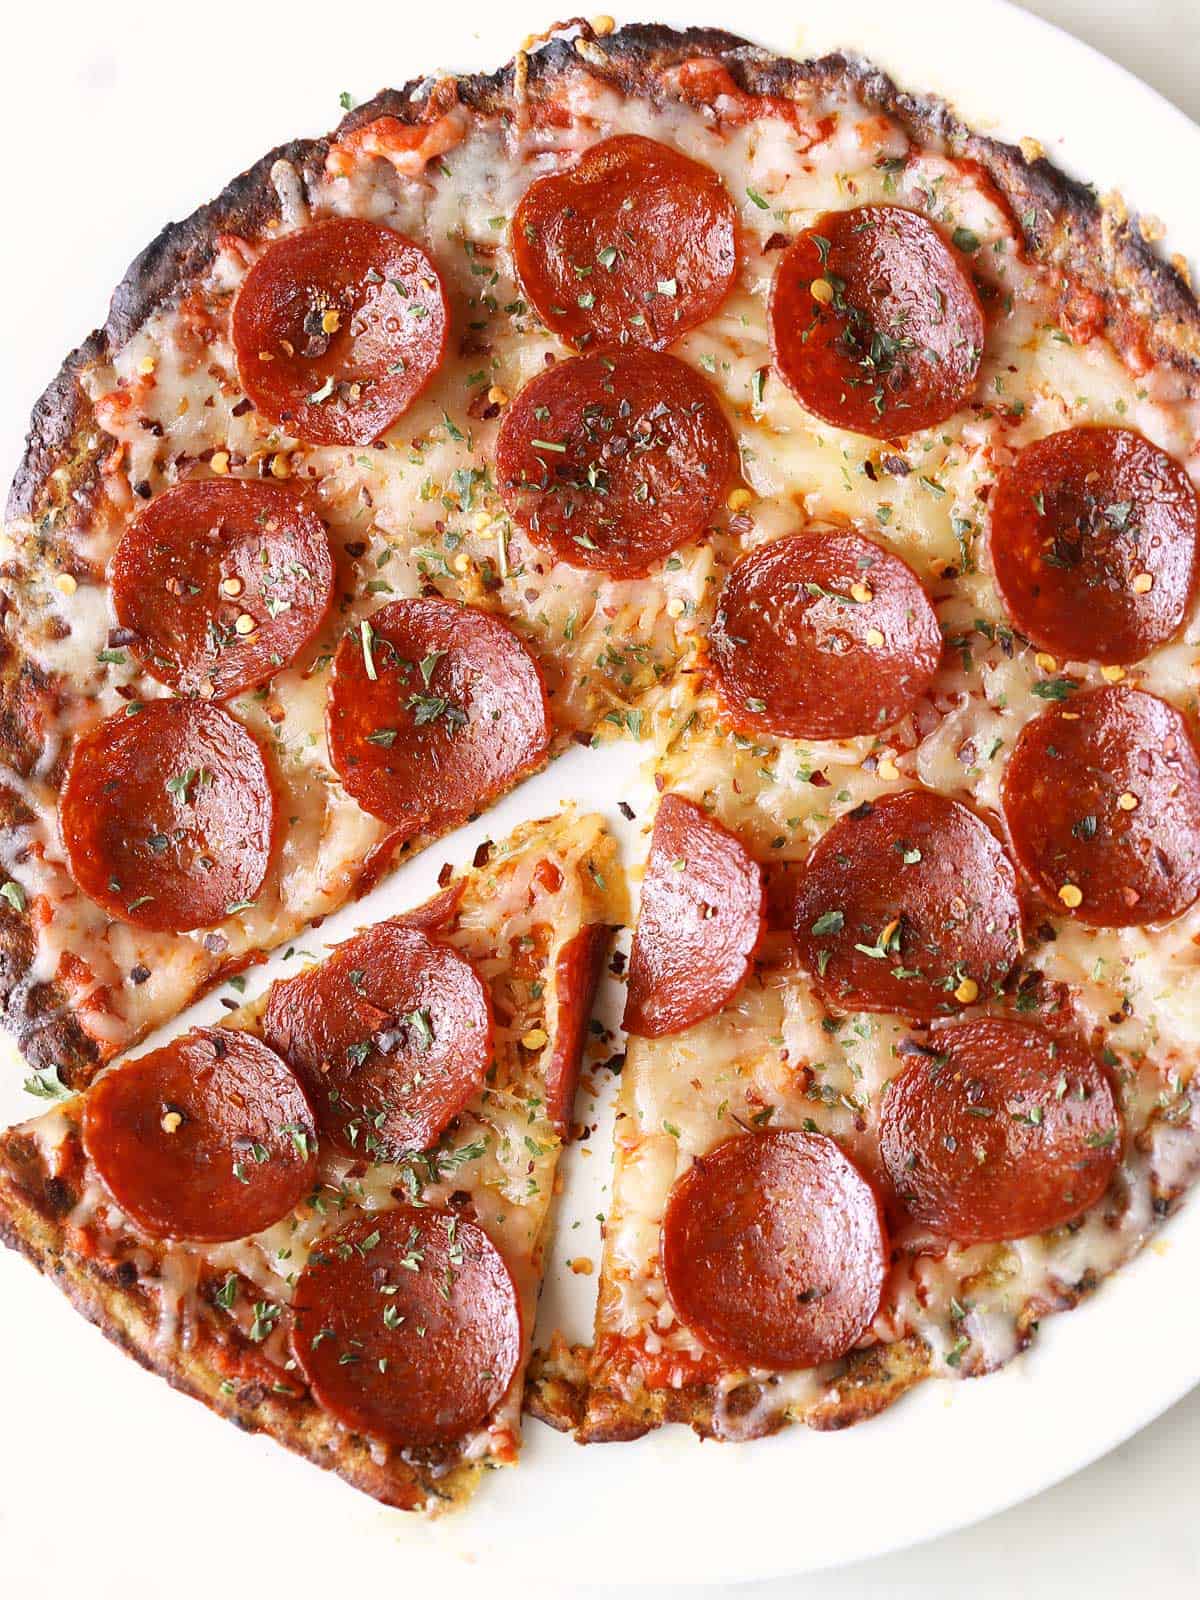
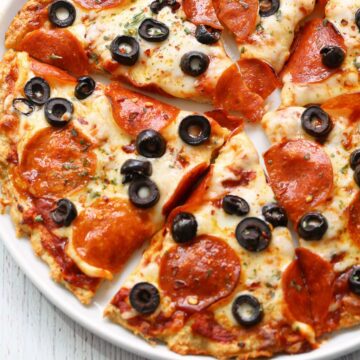
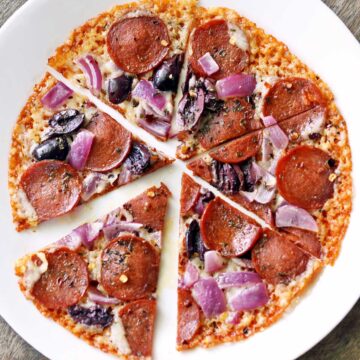
I typically use mozzarella and pepperoni. Here are a few more topping ideas:
- Olives - green, black, or kalamata
- Sautéed mushrooms
- Strips of roasted peppers
- Raw or roasted red onions
- Add 2 tablespoons of grated Parmesan
- Anchovies, as shown in the photo below

Don't add too many toppings. This crust is not as sturdy as a regular one (or even as a chicken-crust pizza or meatzza). Adding too many toppings could cause it to become soggy and floppy. So, add your toppings sparingly.
Instructions
The detailed instructions and step-by-step photos are included in the recipe card. Here's a quick overview.
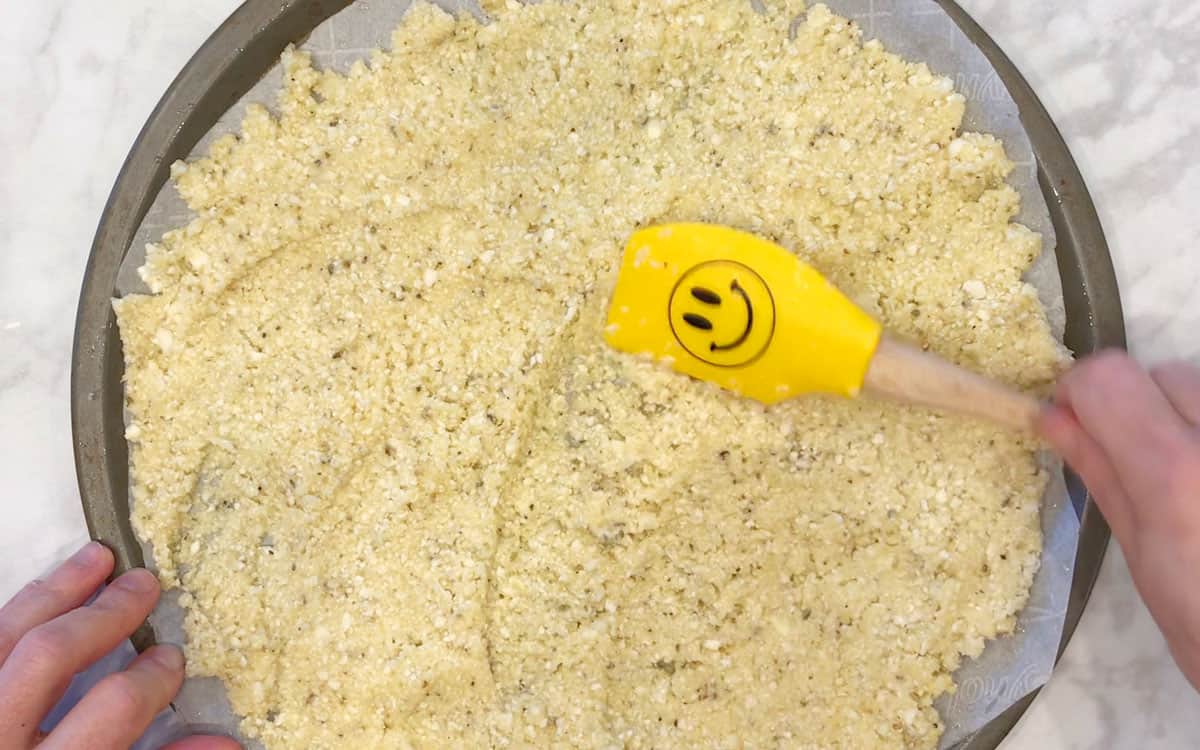
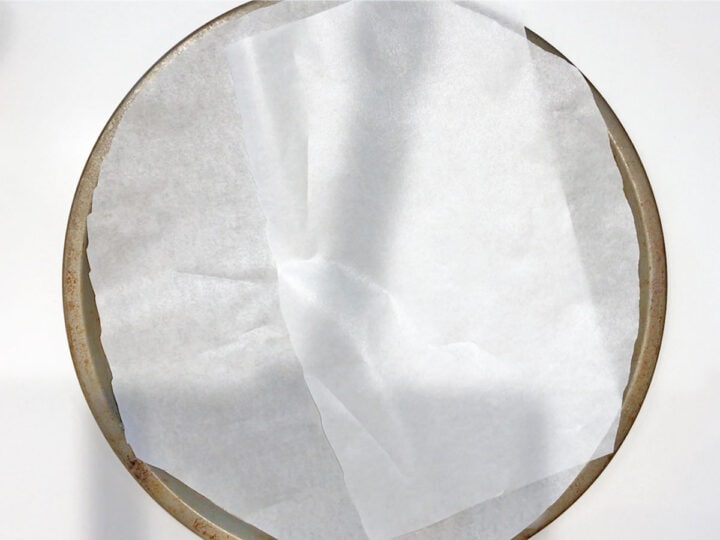
Process the cauliflower into "rice" in your food processor. Mix the riced cauliflower with egg and spices. Flatten the mixture on a parchment-lined pizza pan. Lining the pan with parchment paper is a must. I tried to make this recipe without parchment, and the crust turned out soggy instead of crispy.
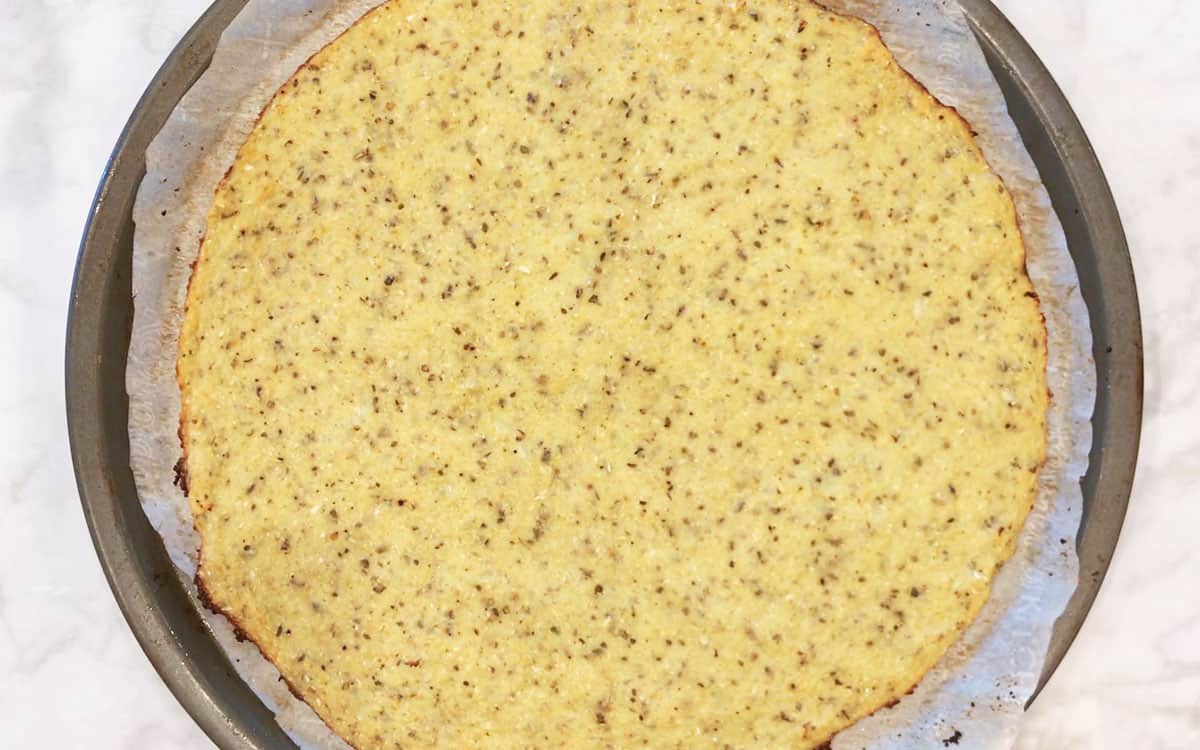
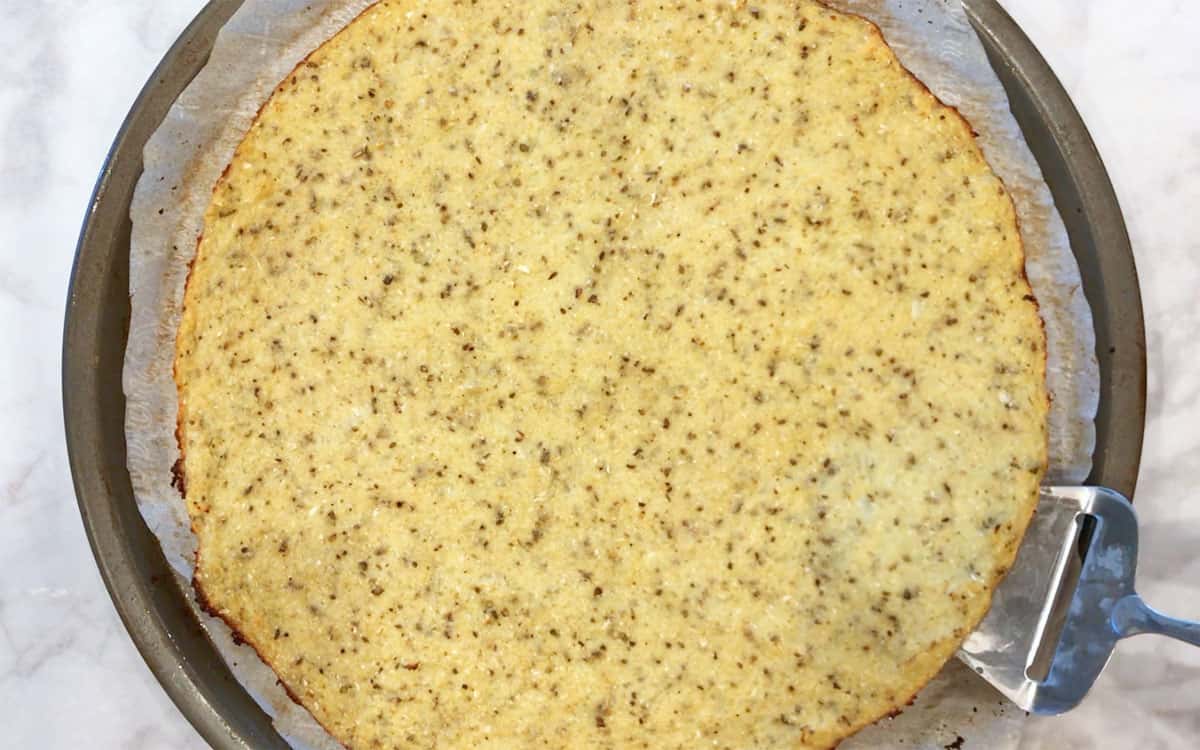
Bake the crust until golden brown. The edges should be brown at this point and easily lift away from the pan.
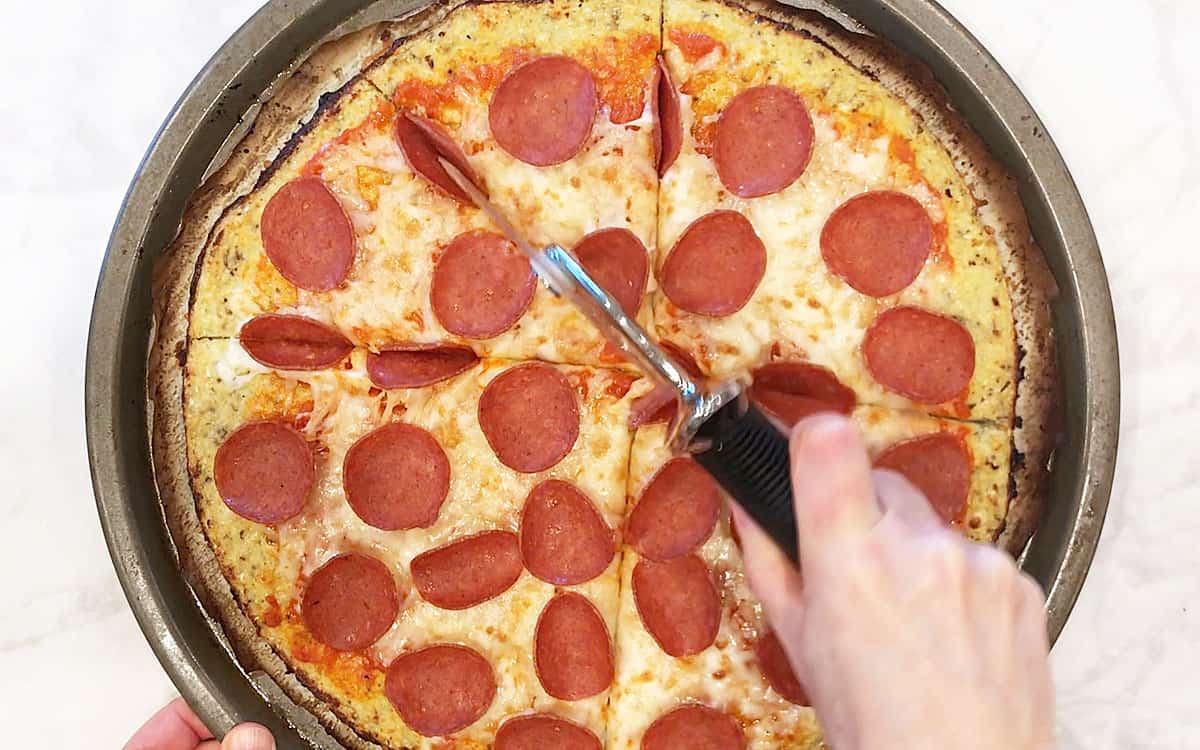
Once you have your crust, top it with your favorite toppings. Return the pizza to the oven and bake it until the cheese has melted and the edges are crispy and browned. Cut the pizza into triangles and serve.
I've tried several recipes for low-carb pizza crusts, and this one is the BEST. I've made it many times, and the advice about baking until the edges appear "burnt" should be heeded. The pizza will taste just fine, even though it might appear to be overbaked.
Keith
Read more comments
Recipe Tips
Pat the crust very thin and bake it until it's deep golden brown with dark edges. That's how you'll get the best flavor and texture. Don't be afraid to bake the crust until the edges seem almost burned, especially in the last step of heating the toppings. That's exactly how you ensure a tasty, crispy crust.
See the photo below - after the first stage of baking the crust, before adding the toppings, you should be able to easily lift the edges of the crust away from the pan.
This second photo is of a pizza I made back in 2019. I just started making this recipe back then, and as you can see, I used to make the crust a bit too thick. It was still delicious, but the thin, crispy crust I make now is better.

Recipe FAQs
It's delicious, but it doesn't taste like a doughy crust. Just like spaghetti squash pasta is wonderful, but not as good as real pasta. But if a doughy crust is out of the question, then this crust is a great alternative.
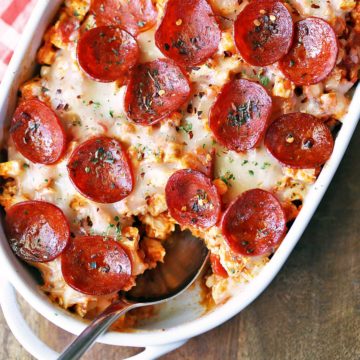
In fact, the cauliflower flavor is hardly noticeable once you season it, bake the crust, and add the toppings. But if you'd like to enjoy pizza flavors without cauliflower, I recommend this keto pizza casserole.
Some recipes instruct you to add Parmesan, and I'm sure it's delicious, but I don't think it's necessary. This crust is excellent without any cheese.
No. Even though it's not as sturdy as a traditional crust, it's sturdy enough to hold with your hands, as shown in the photo below.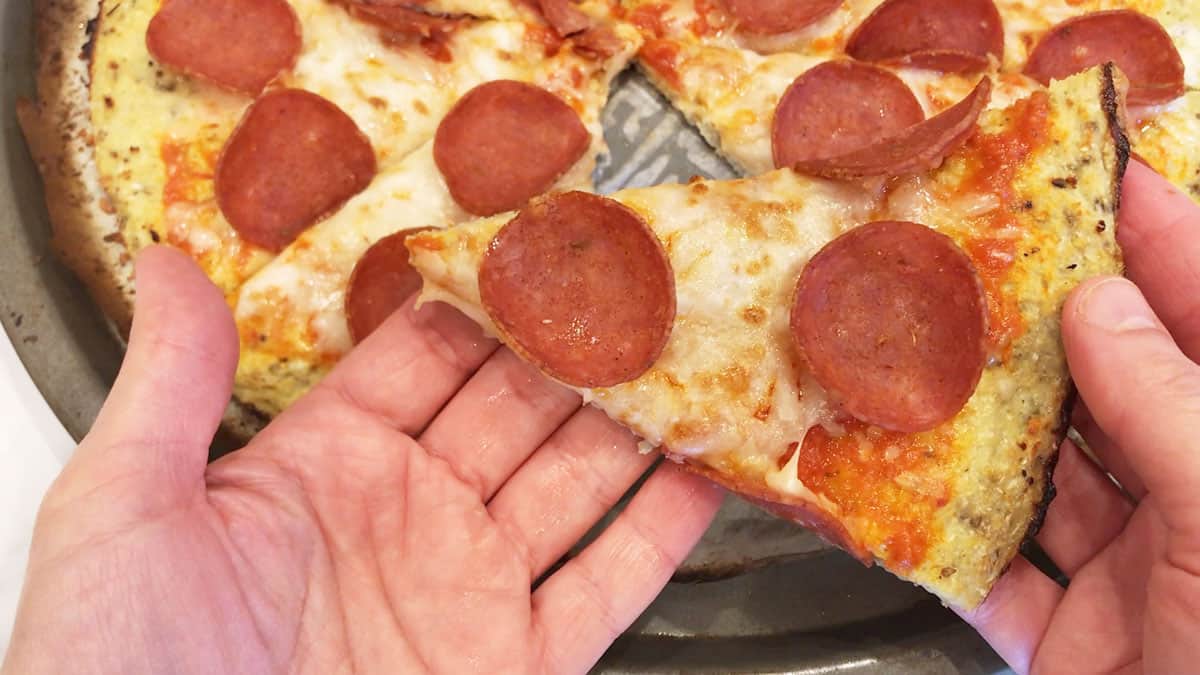
You can keep the leftovers in an airtight container in the fridge for 3-4 days. Place them on paper towels to absorb extra moisture, and replace the paper towels daily. Reheat the leftovers in a warm, nonstick skillet.
Yes. Cool it completely in the pan, and don't add any toppings. Carefully place it on a piece of cling wrap, top it with another piece of cling wrap, and gently seal. Place it flat on a freezer shelf.
Once it's frozen, you can keep it in the freezer for up to 3 months, and you can reheat it in the oven from its frozen state. Simply bake it in a 375°F oven for 10 minutes, then add your toppings and return the pizza to the oven to melt the cheese.
Serving Suggestions
I almost always serve this pizza with a side salad. Here are a few of my favorites:
Recipe Card

Crispy Cauliflower Pizza Crust
Video
Ingredients
- Olive oil - for the pan
- 14 ounces cauliflower florets - from a small head of cauliflower
- 2 large eggs - lightly beaten
- ½ teaspoon Diamond Crystal kosher salt - or ¼ teaspoon of any other salt, including Morton kosher salt
- ¼ teaspoon black pepper
- ½ teaspoon garlic powder
- ½ teaspoon dried oregano
Toppings:
- ½ cup pizza sauce
- ¾ cup mozzarella - shredded part-skim; 3 ounces
Instructions
- Preheat the oven to 400°F. Line a baking sheet with high-heat-resistant parchment paper (this is important - I tried without parchment, and the cauliflower crust got soggy instead of crispy) and lightly brush it with olive oil. You can also use a 13-inch pizza pan and cut a parchment circle to cover the bottom of the pan.Olive oil

- Place the cauliflower florets in your food processor and rice them - process them until their texture resembles rice.14 ounces cauliflower florets
- In a medium bowl, whisk together the eggs, kosher salt, black pepper, garlic powder, and oregano. Add the riced cauliflower and mix with a rubber spatula to combine.2 large eggs, ½ teaspoon Diamond Crystal kosher salt, ¼ teaspoon black pepper, ½ teaspoon garlic powder, ½ teaspoon dried oregano

- Transfer the mixture to the center of the prepared baking sheet and use the spatula to press it into a thin 13-inch circle. Try to even it out so that it's all the same thickness, and don't allow the edges to be too thin, or they'll burn (but even if they do get too dark, they're still delicious).
- Bake the crust until golden-brown and very set (so that the edges can be gently lifted up from the baking sheet without the circle falling apart), about 30 minutes.
- Remove the baking sheet from the oven, but keep the oven on. With a spatula, spread the pizza sauce on top of the crust. Sprinkle the cheese on top. You can add more toppings at this point (I like pepperoni), but not too many if you don't want a soggy crust.½ cup pizza sauce, ¾ cup mozzarella
- Return the pizza to the oven and bake it until the cheese has melted and the edges are crispy and browned, 5-7 minutes.

- Remove the pizza from the oven, cut it into eight triangles using a pizza cutter, and serve.


Notes
- Seasonings, especially salt, are guidelines. Adjust to taste.
- Pat the crust very thin, then bake it until it's deep golden brown with dark edges. That's how you'll get the best flavor and texture.
- Don't add too many toppings. This crust is not as sturdy as a regular one. Adding too many toppings could cause it to become soggy and floppy. So, add your toppings sparingly.
- Don't be afraid to bake the crust until the edges seem almost burned, especially in the last step of heating the toppings. That's exactly how you ensure a tasty, crispy crust.
- Since I don't know what toppings you will use, the nutrition info does not include any toppings except for pizza sauce and mozzarella.
- You can keep the leftovers in an airtight container in the fridge for 3-4 days. Place them on paper towels to absorb extra moisture, and replace the paper towels daily. You can reheat the leftovers in a warm, nonstick skillet.
- You can freeze this crust. Cool it completely on the pan, and don't add any toppings. Carefully place it on a piece of cling wrap, top it with another piece of cling wrap, and gently seal. Place it flat on a freezer shelf. Once it's frozen, you can keep it in the freezer for up to 3 months, and you can reheat it in the oven from its frozen state. Simply bake it in a 375°F oven for 10 minutes, then add your toppings and return the pizza to the oven to melt the cheese.
Nutrition per Serving
Save this Recipe!
We will also add you to our weekly newsletter. Unsubscribe anytime. See healthyrecipesblogs.com/privacy/ to learn how we use your email.
Disclaimers
Most recipes are low-carb and gluten-free, but some are not. Recommended products are not guaranteed to be gluten-free. Nutrition info is approximate - please verify it. The carb count excludes non-nutritive sweeteners. Please read these Terms of Use before using any of my recipes.


KARRINA R MOSS says
Would there be a problem with adding toppings before freezing it after crust is cooked? So essentially it would be a frozen pizza ready to take out and cook.
Vered DeLeeuw says
Great question, Karrina! You can freeze it fully topped, but with a cauliflower crust I don't recommend it. Cauliflower releases moisture when it's frozen and reheated, and if the sauce and cheese are already on the crust, that moisture will soak back in and make the crust soft. For best texture, I suggest freezing the crust on its own and adding sauce, cheese, and toppings when ready to use. It takes a few extra minutes, but the crust holds up much better. If you do freeze it fully topped, it will still be edible and convenient, just not as good.
Sandy Walters says
Thank you! I hate squeezing and wringing out the cauliflower and baking the crust only once is a game changer. I find that cooling the crust on a wire rack improves the texture of the crust.
Vered DeLeeuw says
Thanks for the tip about cooling the crust, Sandy!
Keith says
I've tried several recipes for low-carb pizza crusts, and this one is the BEST. I've made it many times, and the advice about baking until the edges appear "burnt" should be heeded. The pizza will taste just fine, even though it might appear to be overbaked.
Vered DeLeeuw says
Thank you so much, Keith! I'm glad you like this recipe.
Pat Sheets says
Thanks for making this recipe available. I am going to try it. It looks yummy!
Pat
Vered DeLeeuw says
I hope you enjoy it, Pat!
JETTA/ Constance A. Morrison says
Thank you for this Healthy Receipe for Cauliflower pizza crust.
Can I use my Pizza Stone to bake my crust?
Thank you,
JETTA
Vered DeLeeuw says
Yes, but you'll need to line the pizza stone with high-heat-resistant parchment paper such as this to prevent sticking.