Delightfully crispy and flavorful and made with ONE ingredient, these baked parmesan crisps are the ultimate homemade snack.

These parmesan crisps are amazing. When cheese crackers are made with flour, the flour dilutes the cheese flavor. But when they contain just one ingredient - Parmesan - the flavor is incredible. You don't even need to be on a low-carb diet to enjoy them. They are so good that everyone loves them. And the best part? They are super easy to make and ready in about 20 minutes.
Ingredients
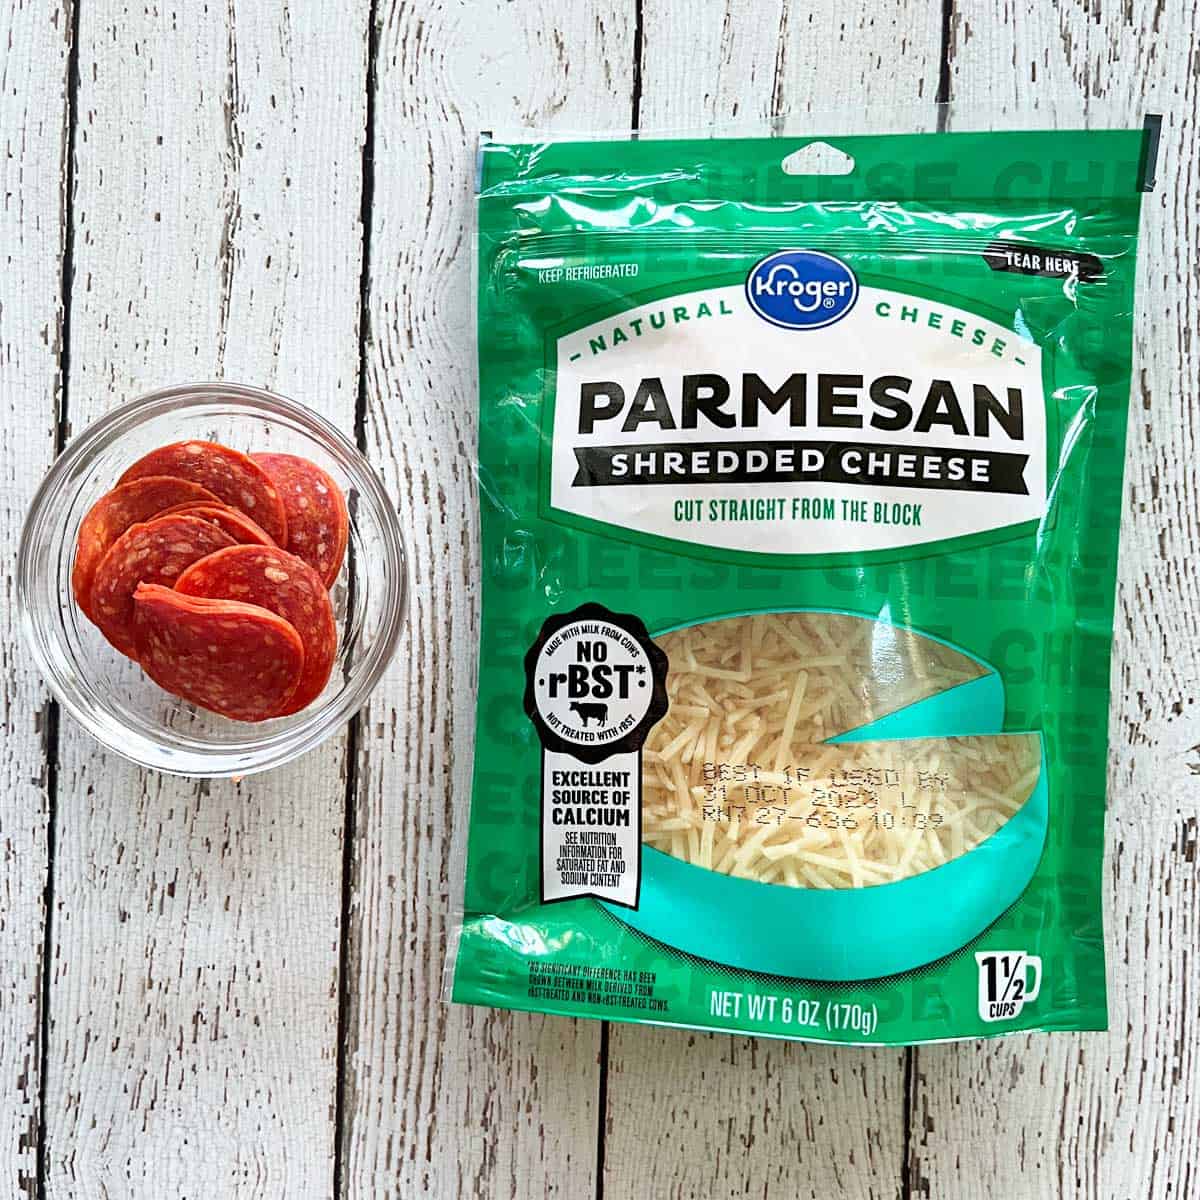
That's the beauty of this recipe. You only need one ingredient to make it: shredded Parmesan. Please make sure you use coarsely shredded Parmesan, not finely grated.
I sometimes add a single pepperoni slice to each of these crisps. This is completely optional, and although the pepperoni adds flavor and looks pretty, the plain crisps are, in fact, better because they are crispier.
See the recipe card for exact measurements.
Instructions
The detailed instructions and step-by-step photos are included in the recipe card. Here's a quick overview.
Line a rimmed baking sheet with parchment paper and preheat the oven to 350°F. Grab a measuring tablespoon and scoop out small mounds of shredded parmesan onto the baking sheet.

Gently flatten the mounds with your fingers. At this point, I sometimes top half of them with pepperoni.

Bake the cheese mounds until they are browned and crispy, 10-12 minutes. Let them cool on the baking sheet for a minute, then transfer them to a cooling rack and let them cool for five more minutes before enjoying them.

Recipe Tips
- Lining the baking sheet with parchment paper is a must to avoid sticking and ensure you can easily release the crisps from the pan after baking them.
- Storage: Once completely cool, you can store the plain crisps in a resealable bag or in an airtight container at room temperature for up to three days. They will lose some of their crunchiness, but they will still be very good. The ones with pepperoni are best kept in an airtight container in the fridge. I reheat them briefly in the microwave, 5 seconds per crisp at 50% power.
- Freezing: Theoretically, you can freeze these crisps in freezer bags. However, while they will be kept from spoiling, their texture will be affected by freezing, and they won't be as crispy. So, it's best to enjoy them while they are fresh.
Serving Suggestions
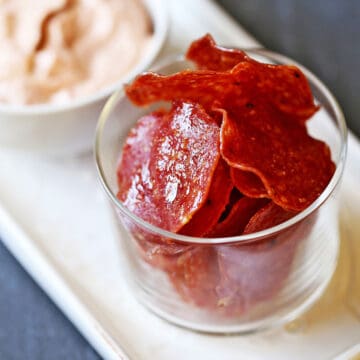
These crisps are delicious on their own, and that's how I typically enjoy them. But if you'd like to dip them into something, here are a few options:
- Pizza sauce, as shown in the photo below
- Sour cream dip
- Pimento cheese
- Ranch dressing
- Pesto sauce
- Cream cheese dip
- Greek yogurt dip

You can also add them to salads like this arugula salad, or use them as crackers - try them with cream cheese and smoked salmon! Amazing.
Recipe Card

Homemade One-Ingredient Parmesan Crisps
Video
Ingredients
- 12 tablespoons Parmesan cheese - shredded, not grated
- 6 pieces pepperoni - optional
Instructions
- Preheat the oven to 350°F. Line a rimmed baking sheet with parchment paper.

- Using a measuring tablespoon, scoop small mounds of the cheese onto the baking sheet, keeping them about an inch apart.12 tablespoons Parmesan cheese

- Gently flatten the mounds with your fingers.
- If you'd like, you can top half of the mounds with pepperoni slices.6 pieces pepperoni
- Bake the cheese mounds until browned and crisp, 10-12 minutes.

- Let them cool for a minute on the baking sheet, then transfer them to a cooling rack and let them cool for five more minutes before enjoying them.


Notes
- The nutrition info does not include the pepperoni slices, which are an optional ingredient.
- Lining the baking sheet with parchment paper is a must to avoid sticking and ensure you can easily release the crisps from the pan after baking them.
- Once completely cooled, you can store the plain crisps in a resealable bag or in an airtight container at room temperature for up to three days. Unfortunately, they will lose some of their crunchiness, but they will still be very good. The ones with the pepperoni are best kept in an airtight container in the fridge. I reheat them briefly in the microwave, 5 seconds per crisp at 50% power.
- You can freeze these crisps in freezer bags. However, while they will be kept from spoiling, their texture will be affected by freezing, and they won't be as crispy. So it's best to enjoy them while they are fresh.
Nutrition per Serving
Save this Recipe!
We will also add you to our weekly newsletter. Unsubscribe anytime. See healthyrecipesblogs.com/privacy/ to learn how we use your email.
Disclaimers
Most recipes are low-carb and gluten-free, but some are not. Recommended products are not guaranteed to be gluten-free. Nutrition info is approximate - please verify it. The carb count excludes non-nutritive sweeteners. Please read these Terms of Use before using any of my recipes.


Pamela J Pearman says
Made the pork rinds/chicharones as per this recipe. Turned out beautifully, crispy and very tasty! I will prepare again...YUMMY!
Vered DeLeeuw says
Glad you liked it, Pamela! I assume you mean this recipe for homemade pork rinds.