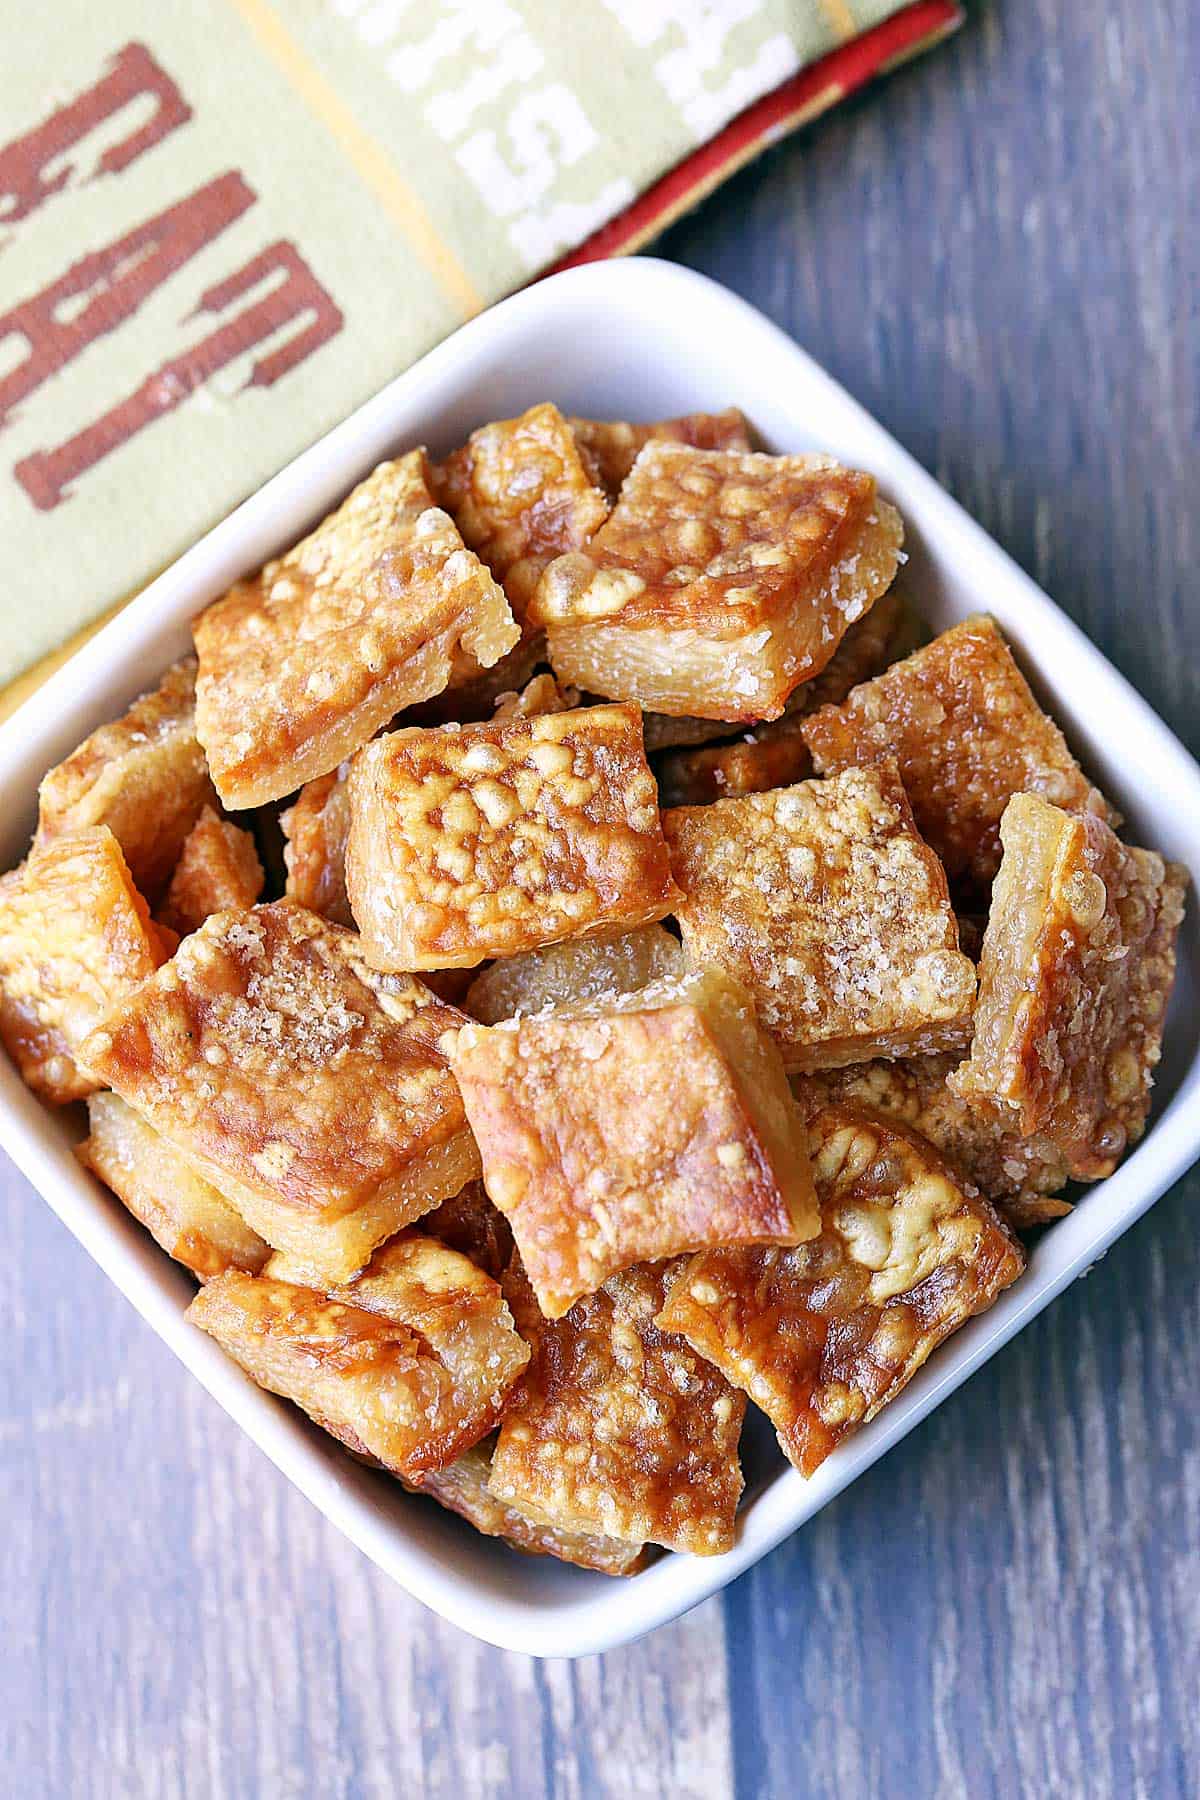
Homemade pork rinds are easy to bake in the oven. They are salty, crunchy, and savory, the perfect low-carb solution for a snack attack!
These homemade pork rinds are so good and so easy to make! I make this recipe whenever I get a chance to visit the local Hispanic market, where I can buy pork skin. It's a great way to make the tough skin edible and to use the entire animal. I use skin with a little bit of fat still attached. I enjoy the combination of crispy skin and chewy fat.
Ingredients
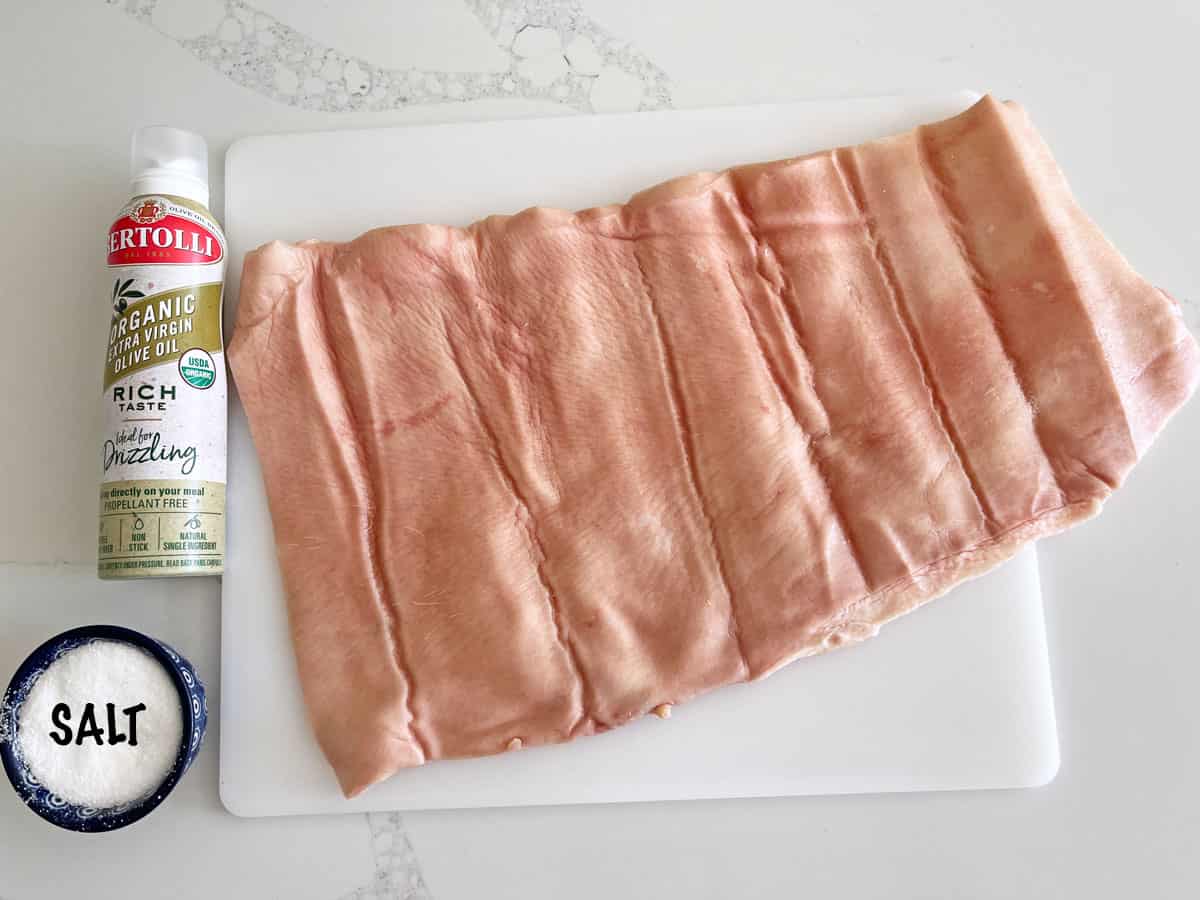
You'll need three ingredients to make this recipe. See the recipe card for exact measurements. Here are my comments on the ingredients.
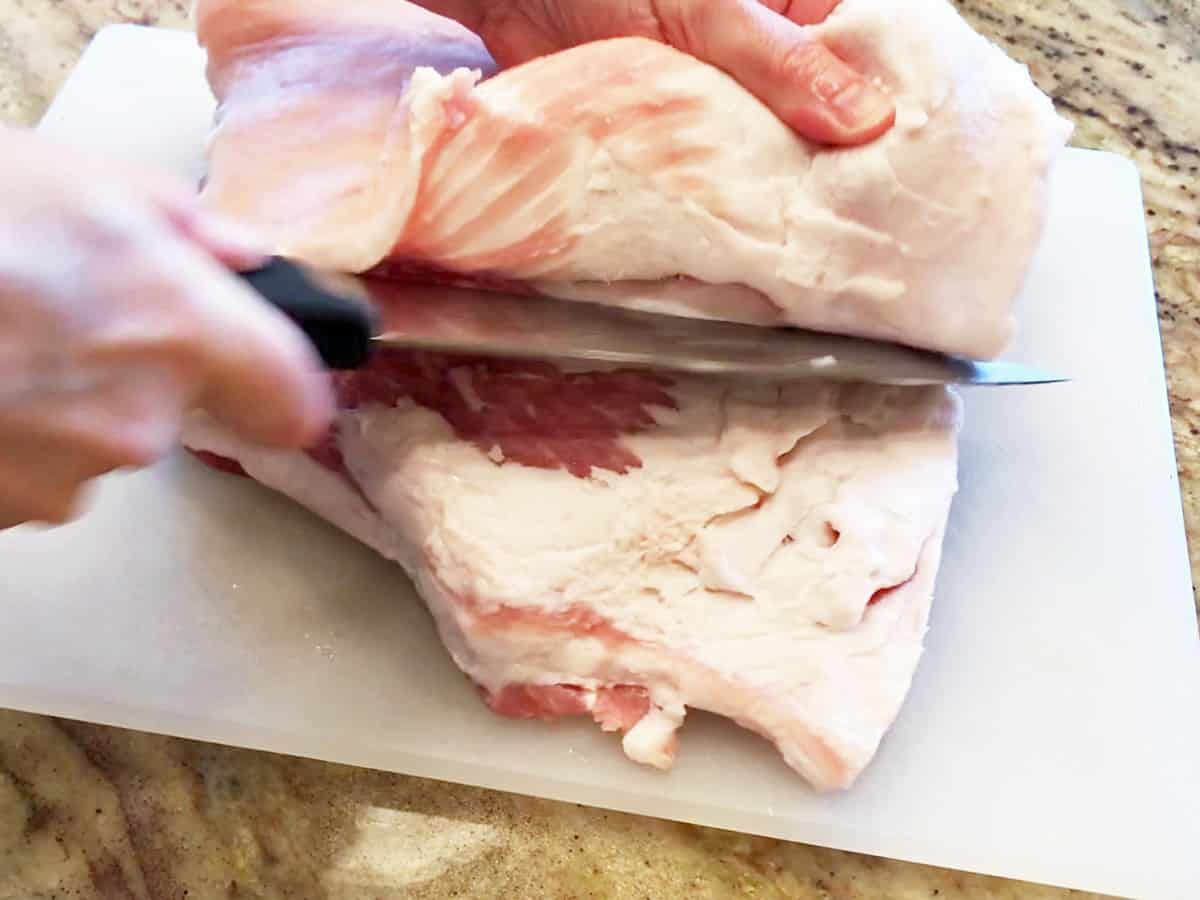
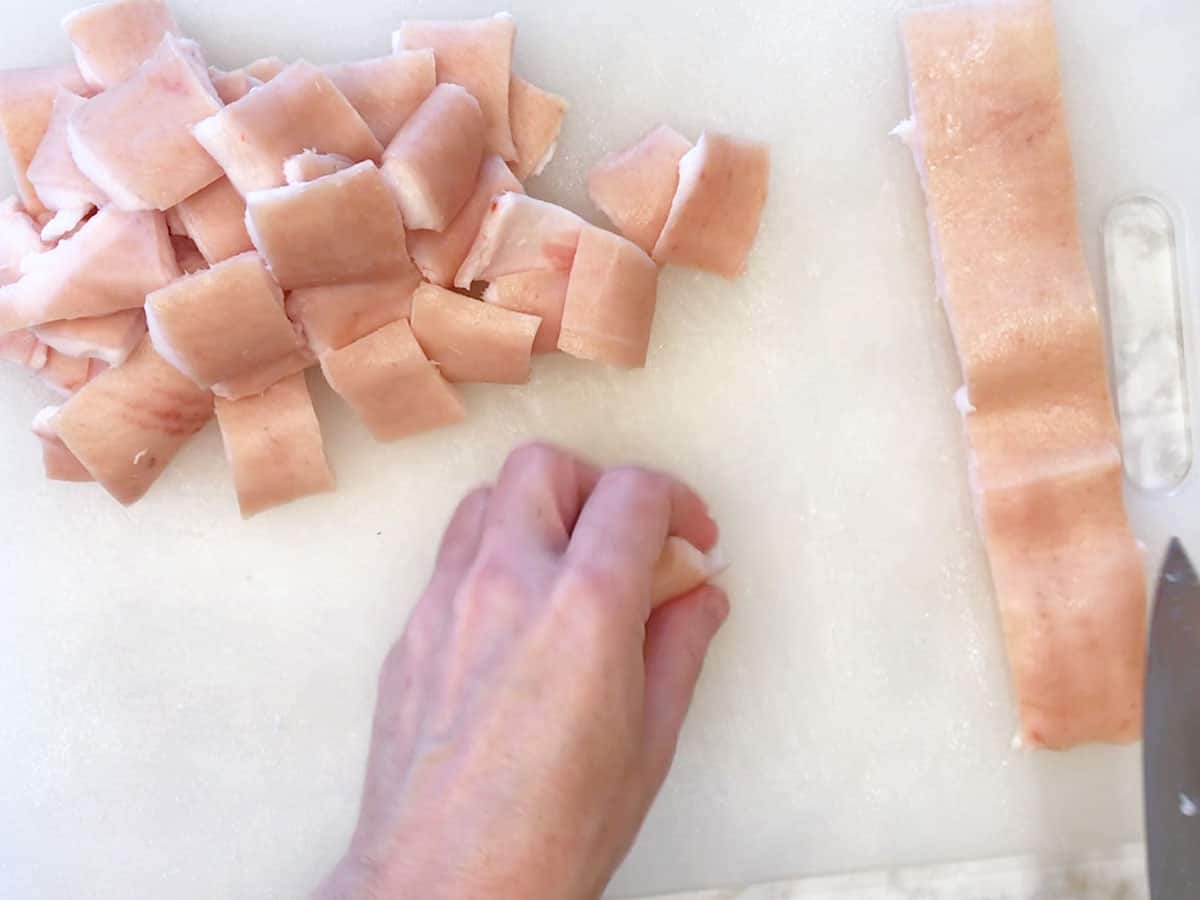
Raw pork skin: It's not available in U.S. supermarkets. If you have a Hispanic market nearby, you should be able to find it there. Another option is to buy a skin-on pork belly and use a sharp knife to remove the skin, as I do in the photo below.
The third option is to order pork skin online. The last time I made this recipe, I ordered it at Vincent's Meat Market. It came rolled in a vacuum package, as shown in the image below.

After you open the package and unroll it, this is what it looks like:
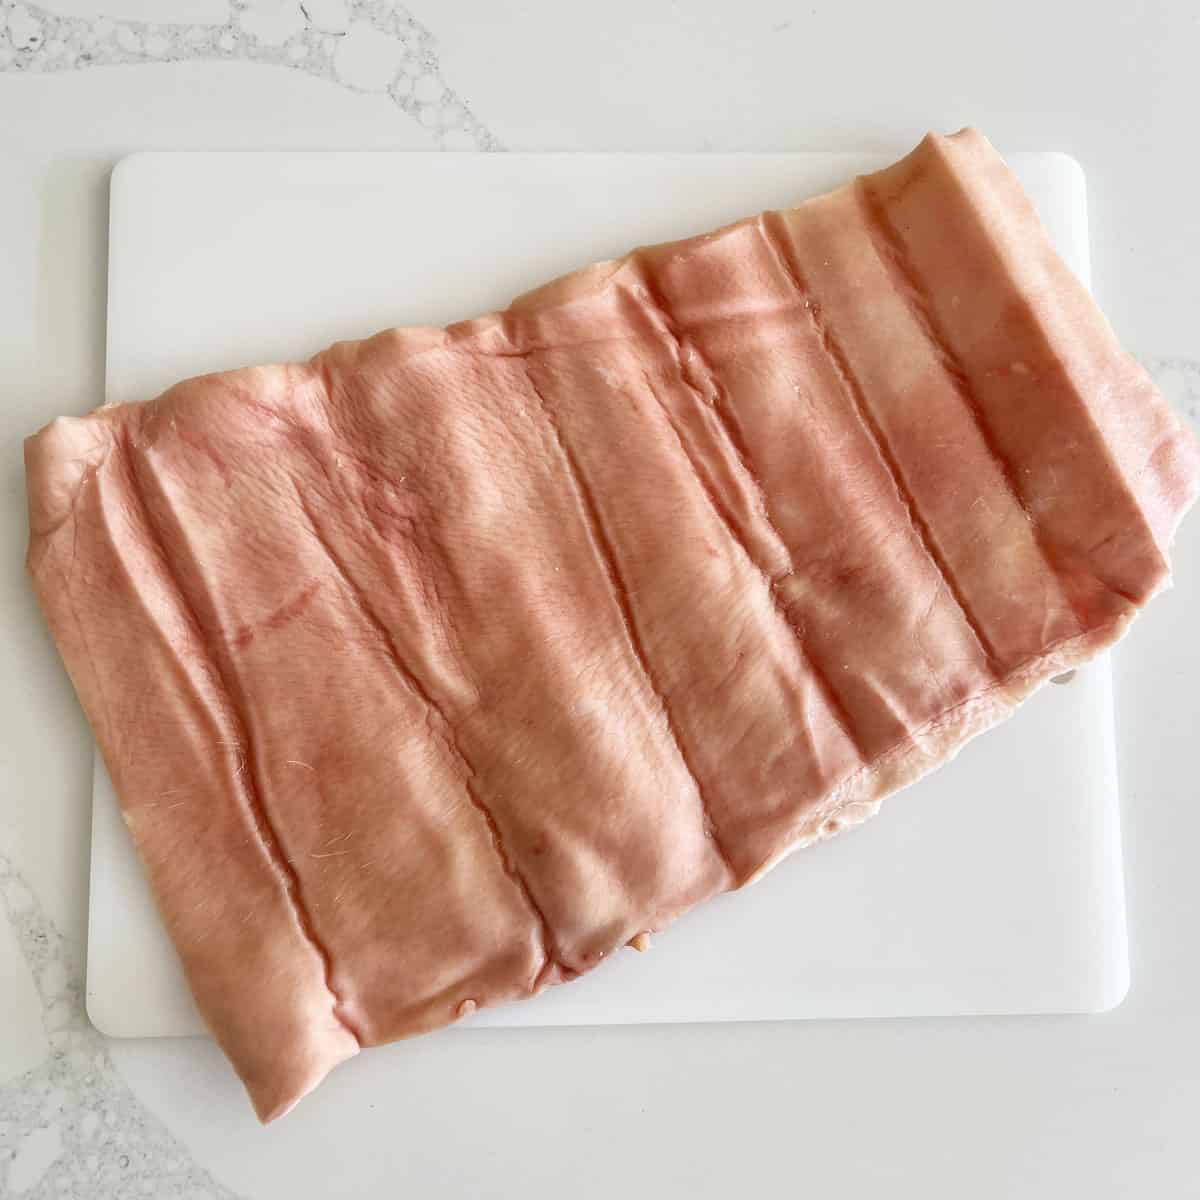
Unlike the skin I get at the Hispanic market, Vincent's skin has almost no fat attached to it, so there's no need to trim it.
Olive oil cooking spray: I love the taste of olive oil. And while its smoke point is fairly low, we're using low heat in this recipe, so it shouldn't be an issue.
Kosher salt: I highly recommend using Diamond Crystal kosher salt in this recipe. Fine salt will not be as good. You can use up to two teaspoons. If using any other salt (including other brands of kosher salt), use just one teaspoon.
Instructions
The detailed instructions and step-by-step photos are included in the recipe card. Here's a quick overview.
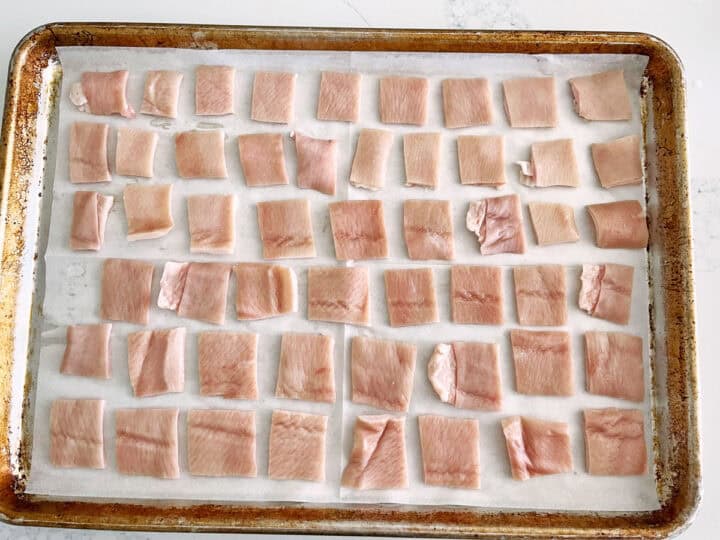
Using a sharp knife, cut the pork skin into bite-sized pieces.
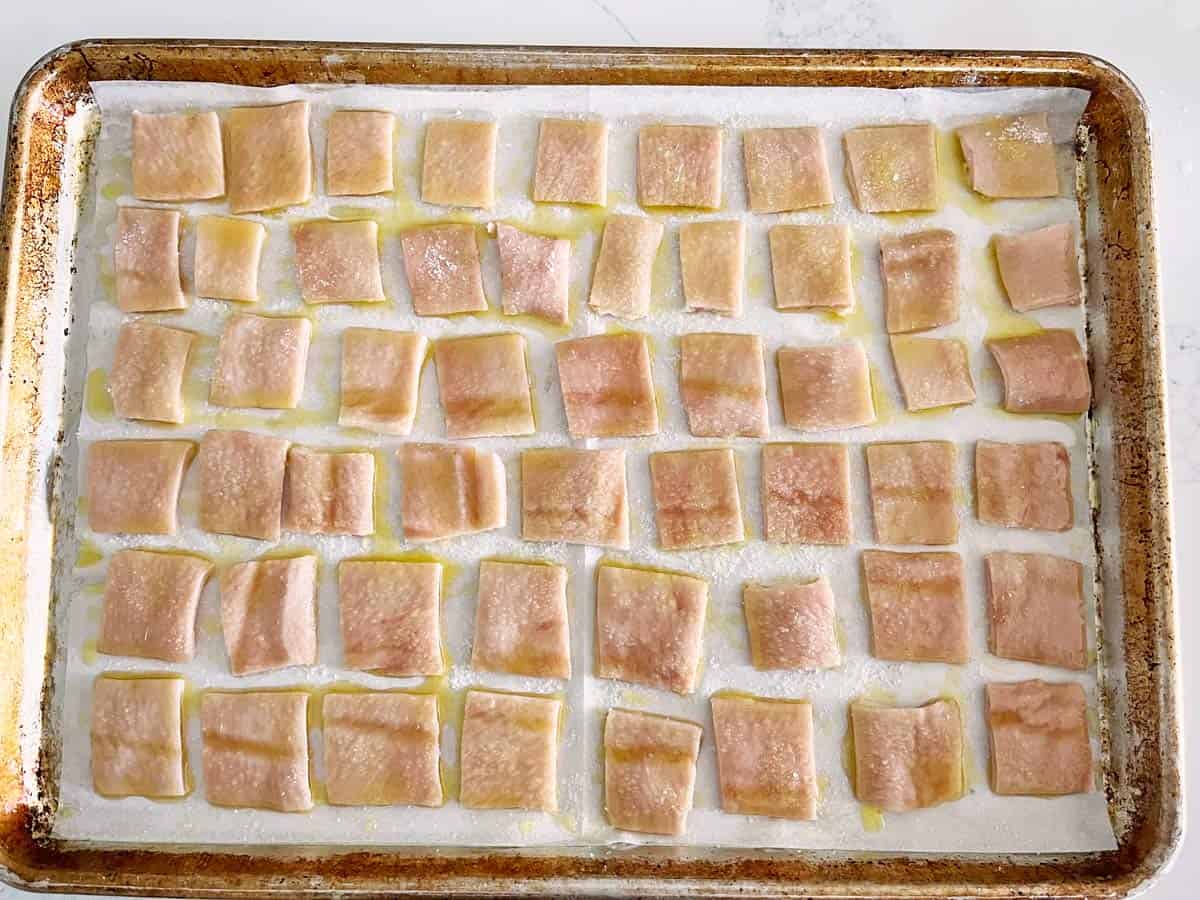
Arrange the pieces on a parchment-lined rimmed baking sheet, skin-side up and fat-side down. Spray them with olive oil and sprinkle them with kosher salt.
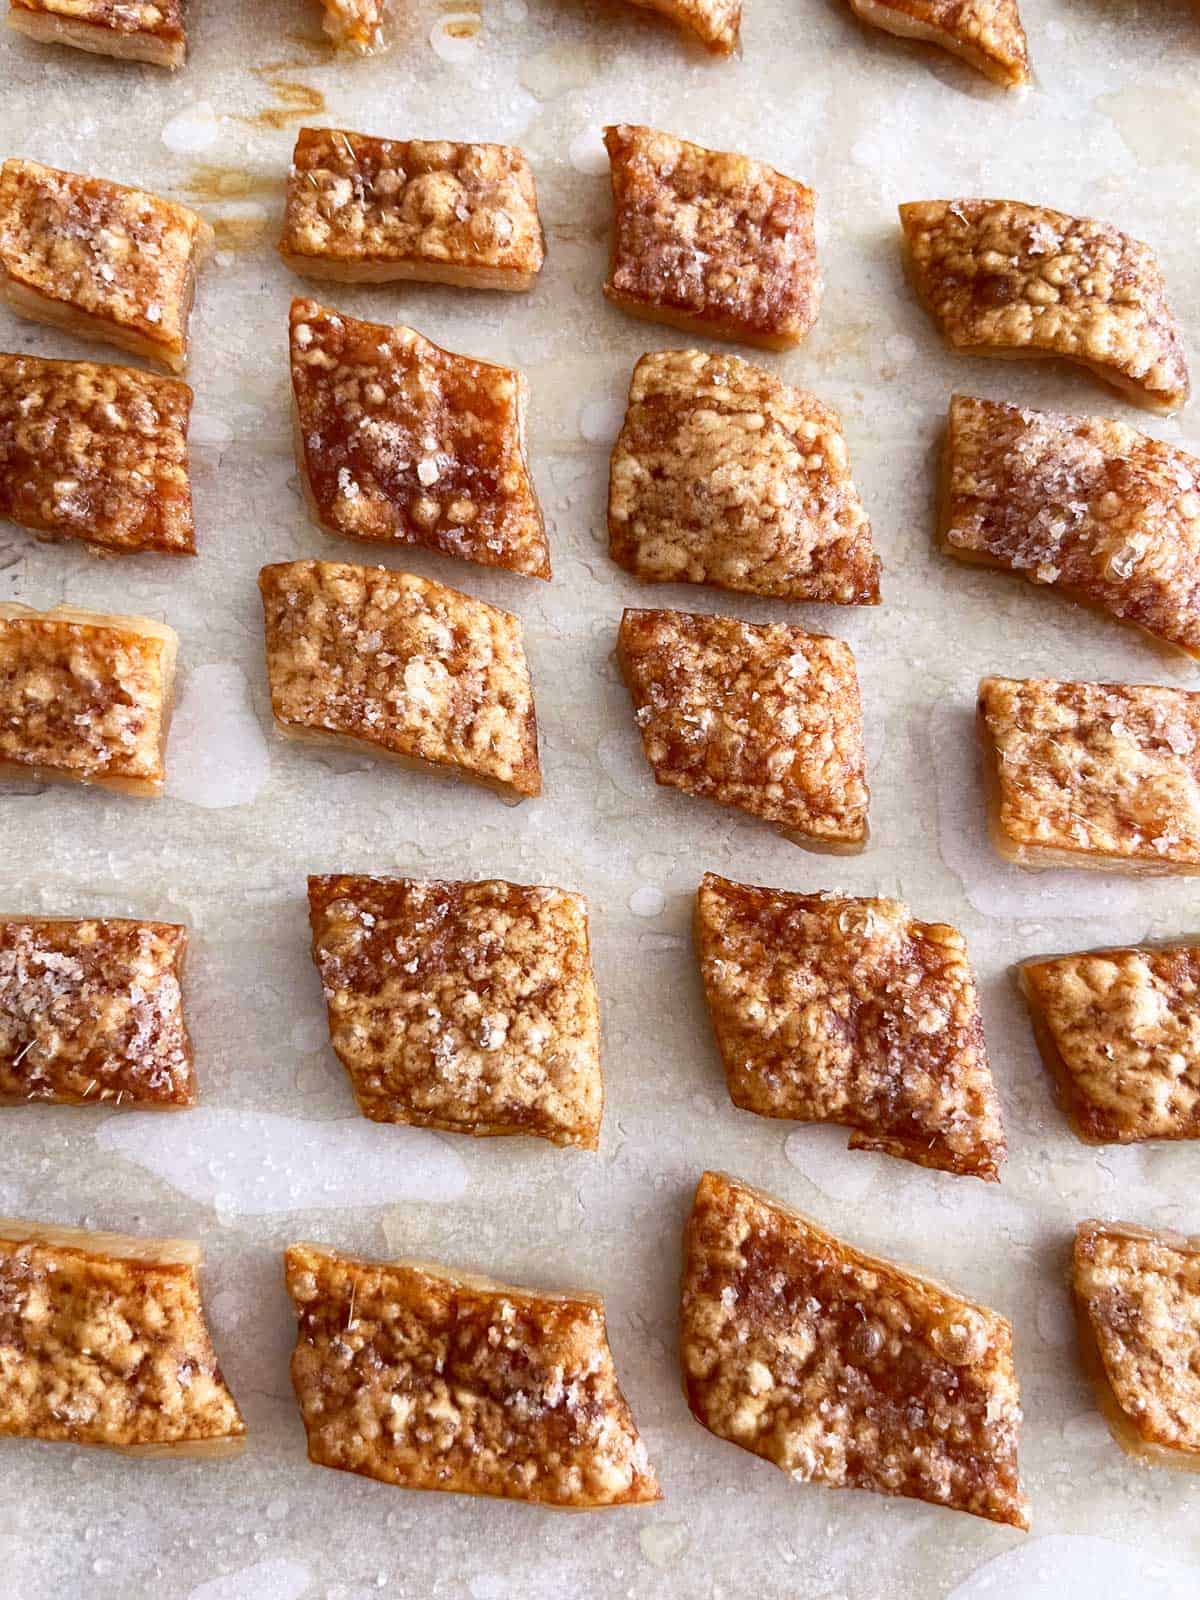
Bake at 325°F until golden and crispy. Depending on your oven and the pieces' thickness, this should take 1 to 2 hours.
Made this several times. Love the crunch and the extra fat on the skin. Great snack for a keto diet. No sugar or carbs!
King James
Read more comments
Recipe Tips
- Be liberal with the oil and salt. I start with 1 teaspoon of kosher salt, but sometimes I go up to two teaspoons. The salt greatly enhances the rinds' flavor.
- For the best flavor and texture, let the pork rinds cool completely before enjoying them. I place them skin-side up on paper towels and allow them to cool for about 20 minutes. They will continue to crisp up as they cool, and their flavor will greatly improve.
- Don't expect the light and puffy texture of commercial pork rinds. These are more like rich and dense cracklins.
Recipe FAQs
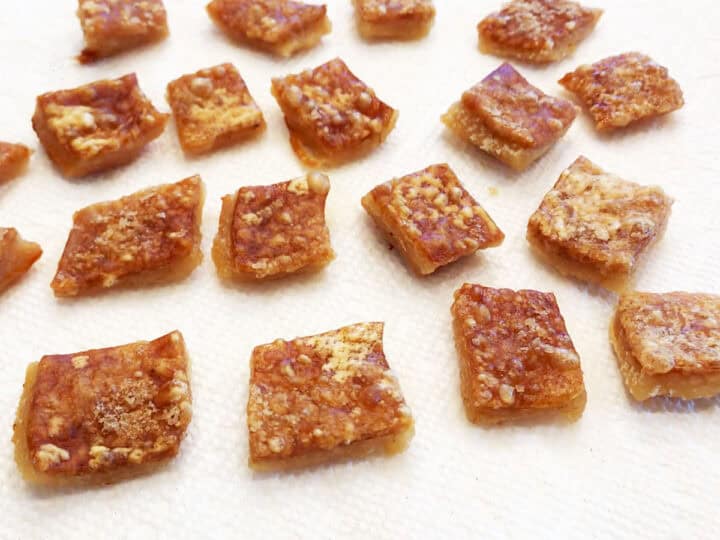
If the skin has a thick layer of fat attached, you can lightly trim it, but don't remove it completely. It's super tasty! The photo below shows the underside of the rinds. That fat layer you see is melt-in-your-mouth juicy and oh-so-delicious. 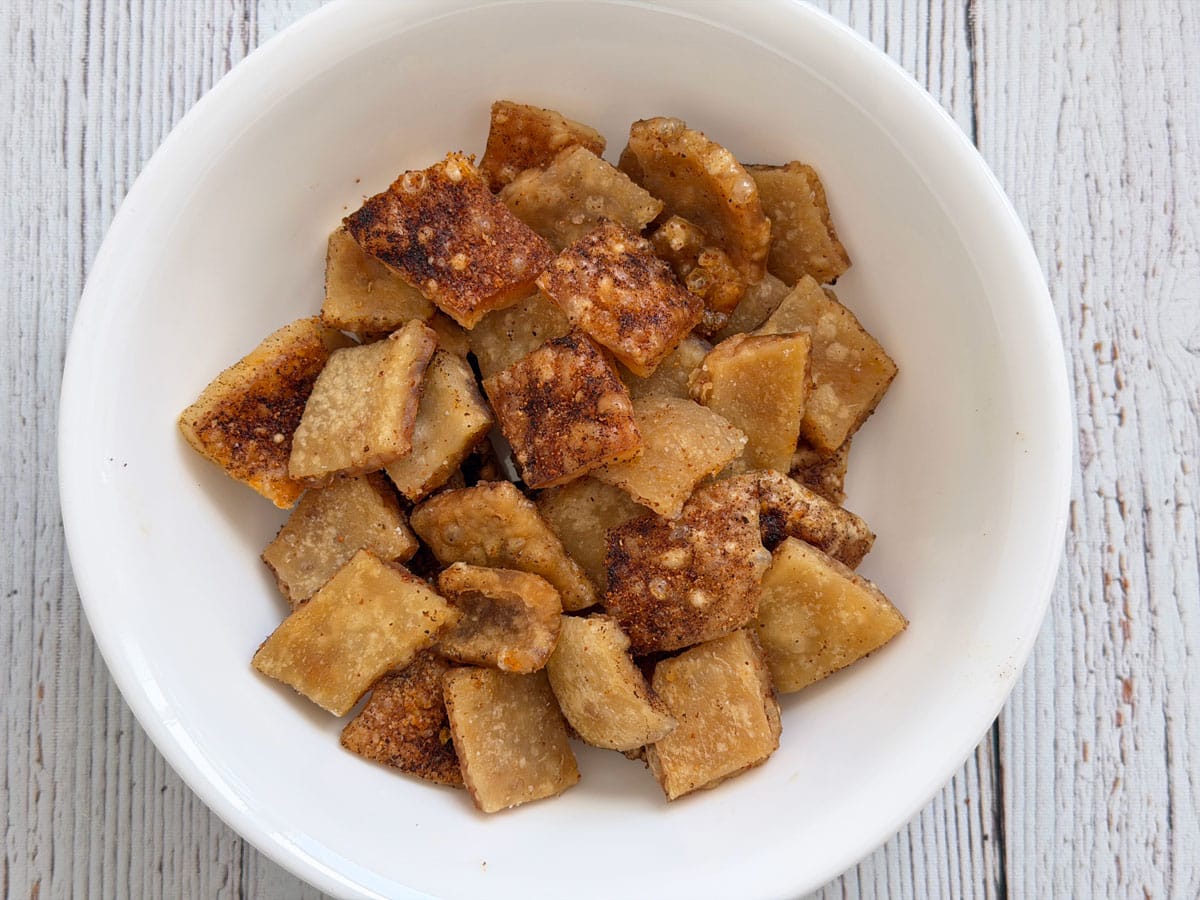
You want the skin golden brown and blistered, but not too dark. Over-baking makes them hard, so try not to over-bake.
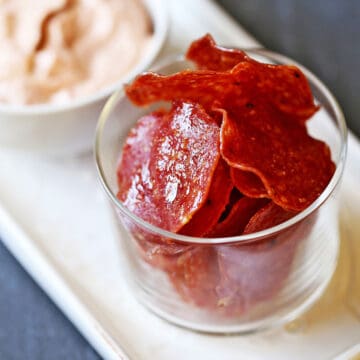
Yes, absolutely, and they greatly enhance the snack's flavor. Sprinkle the pieces with the added spices 30 minutes into baking. I like to use garlic powder and smoked paprika. The image below shows one bowl with plain rinds (seasoned with just salt) and one with seasoned ones. 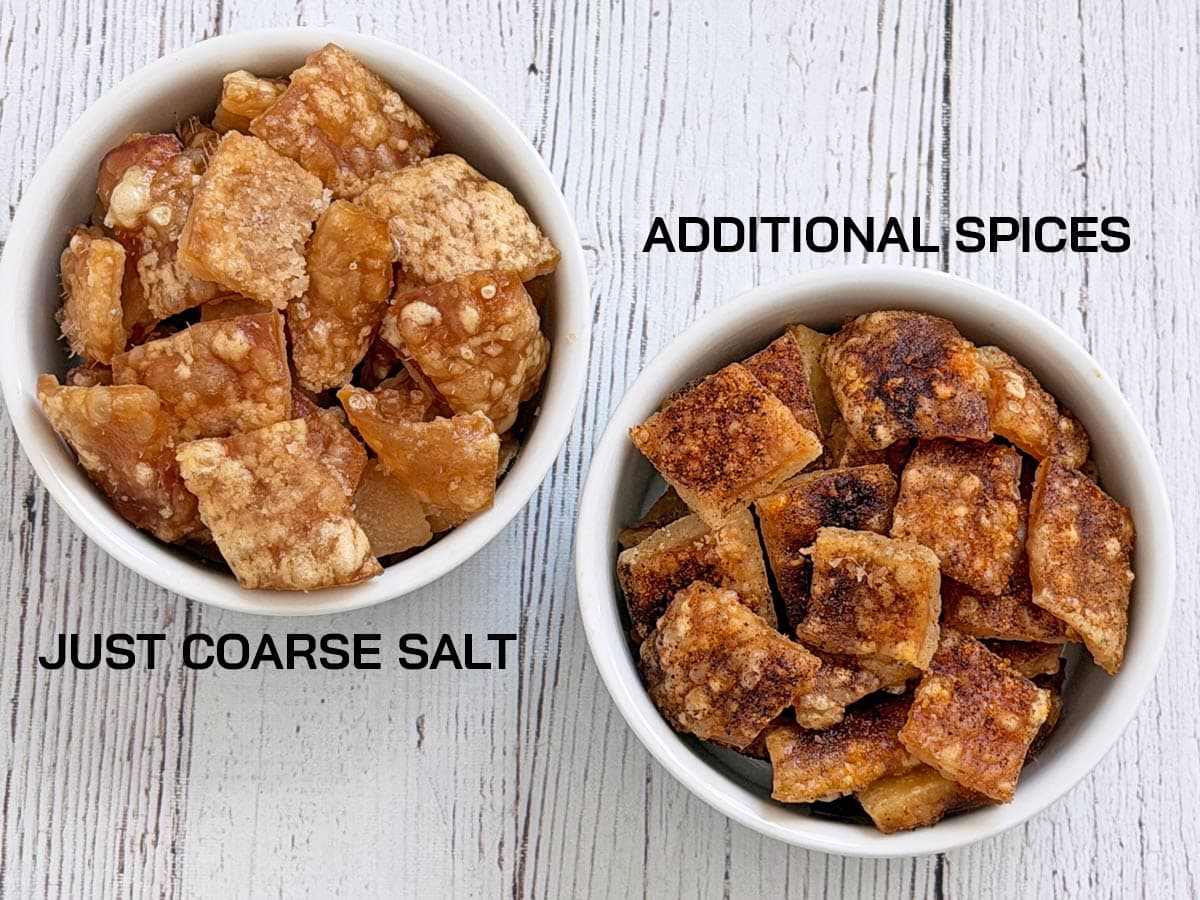
Absolutely. Use two rimmed baking sheets, as shown in the photo below, and rotate them midway through baking. 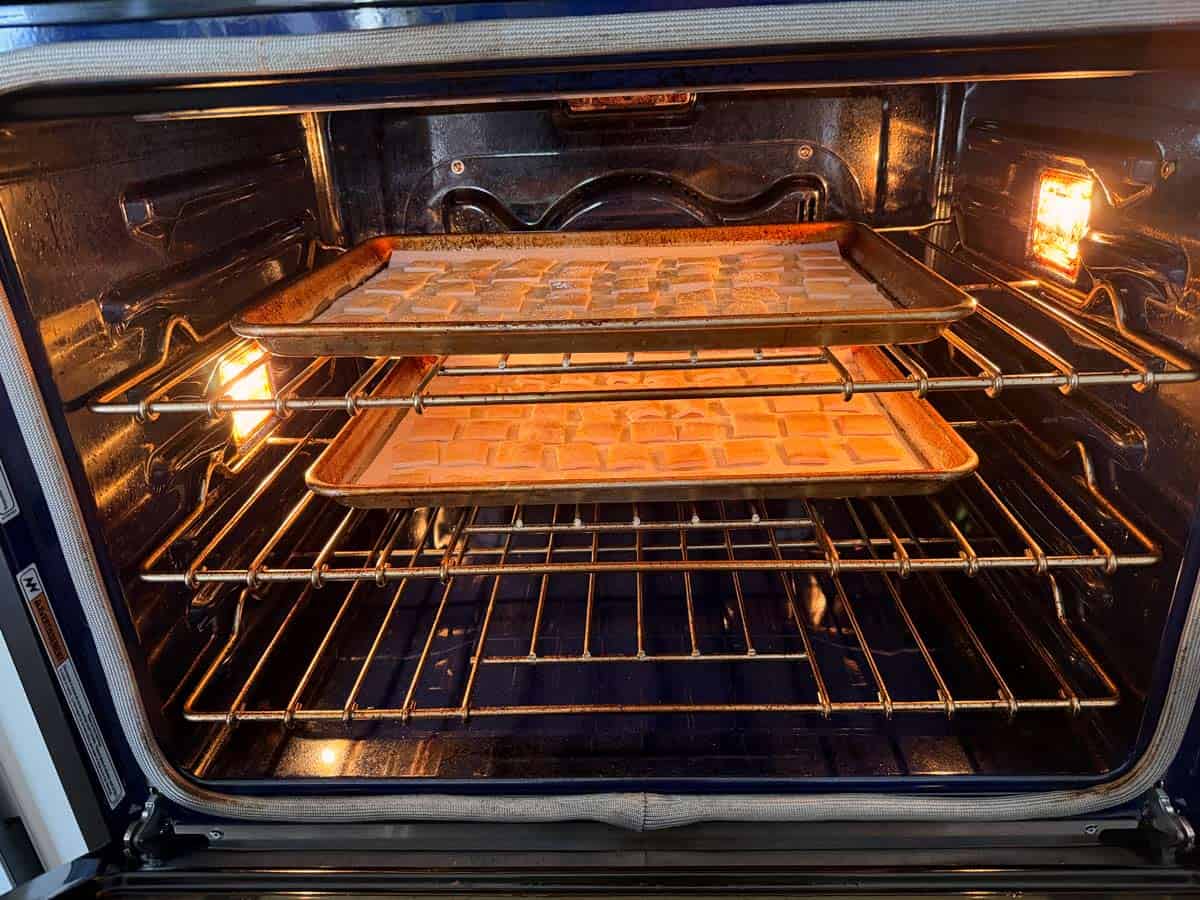
Serving Suggestions
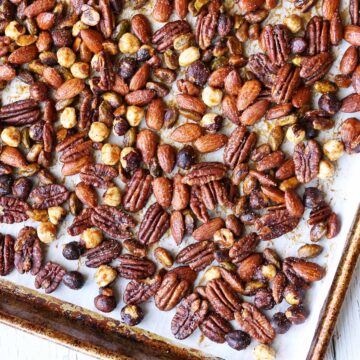
My favorite way to serve pork rinds is shown in the photo below. I make a snack platter with the rinds, nuts, salsa (or other dips), and fresh veggies.
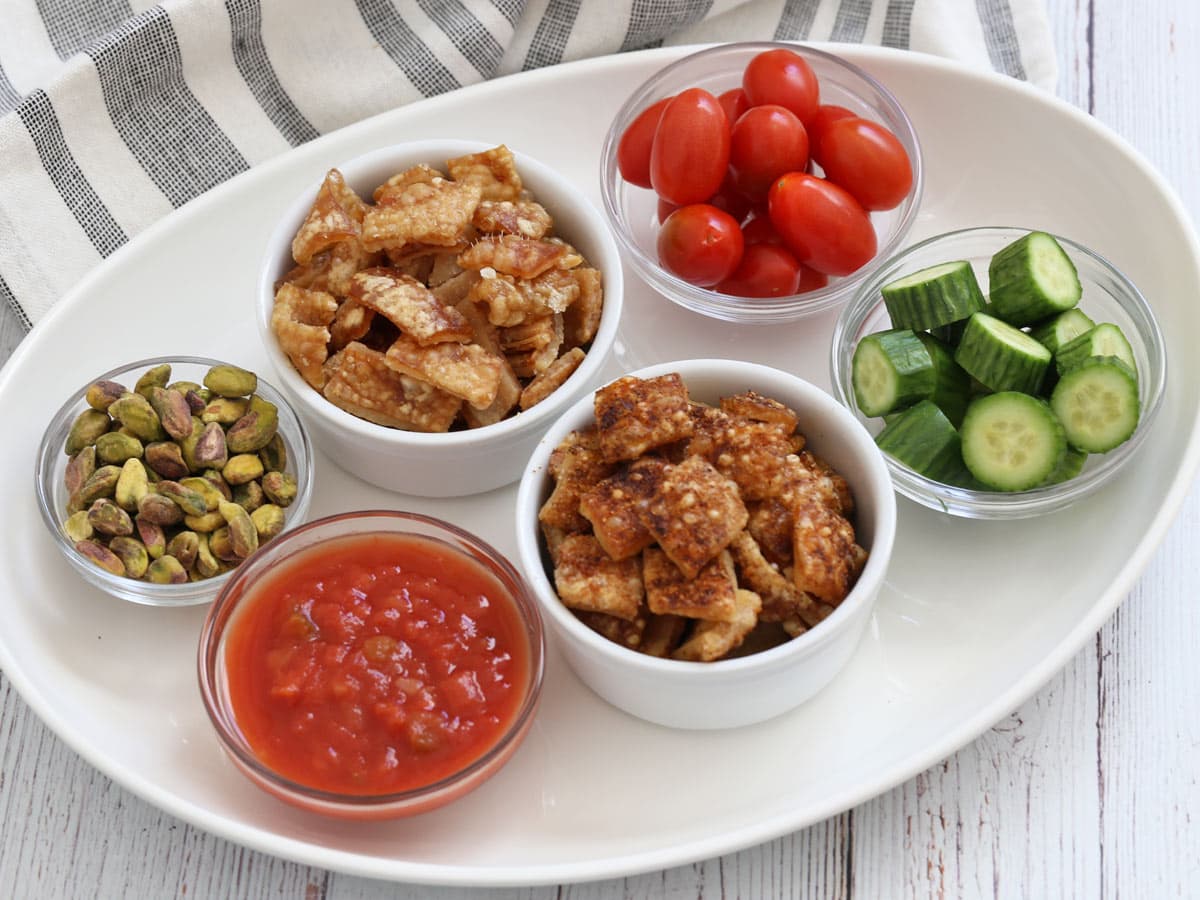
Other dips you can use include sour cream dip, Greek yogurt dip, and cream cheese dip. You can also use the rinds to scoop baked brie, spinach artichoke dip, pimento cheese, and pizza dip.
Storage Tips
Unlike store-bought pork rinds, homemade ones should be stored in an airtight container in the fridge. I don't recommend keeping them at room temperature.
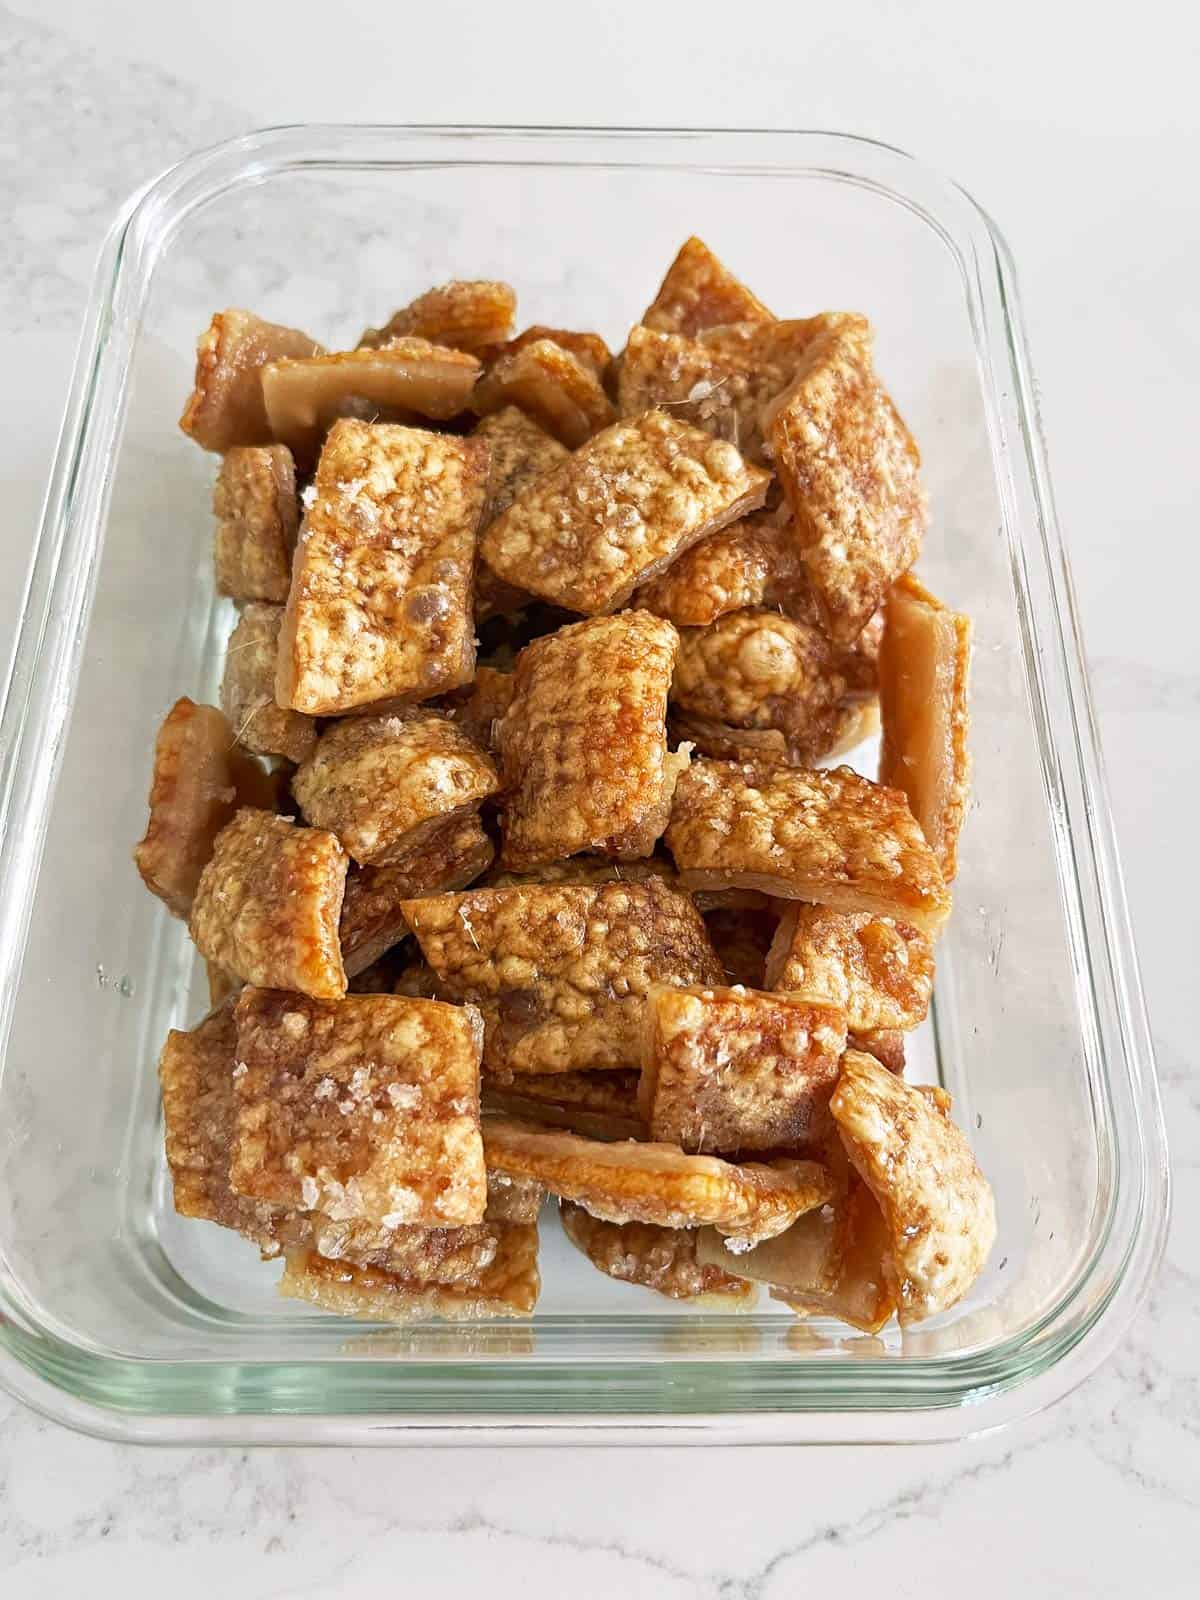
I usually keep them in the fridge in a glass food storage container (as shown in the image below) for about five days, and they stay delicious for that long. Although they're good right out of the fridge, it's best to set them on the counter about 30 minutes before enjoying them.
Recipe Card

Oven-Baked Homemade Pork Rinds
Video
Ingredients
- 1 pound raw pork skin
- Olive oil cooking spray
- 1 teaspoon Diamond Crystal kosher salt
Instructions
- Preheat the oven to 325°F. Line a rimmed baking sheet with parchment paper.

- Using a sharp knife, cut the pork skin into bite-sized pieces. If the skin has a thick layer of lard attached to it, trim some of the fat, but don't go nuts about it - it's OK and very tasty to leave a thin layer of fat attached to the skin.1 pound raw pork skin
- Arrange the pieces on the prepared baking sheet, skin side up and fat side down, in a single layer. Make sure they don't touch each other.
- Generously spray the pork skin squares with olive oil and sprinkle them with salt.Olive oil cooking spray, 1 teaspoon Diamond Crystal kosher salt
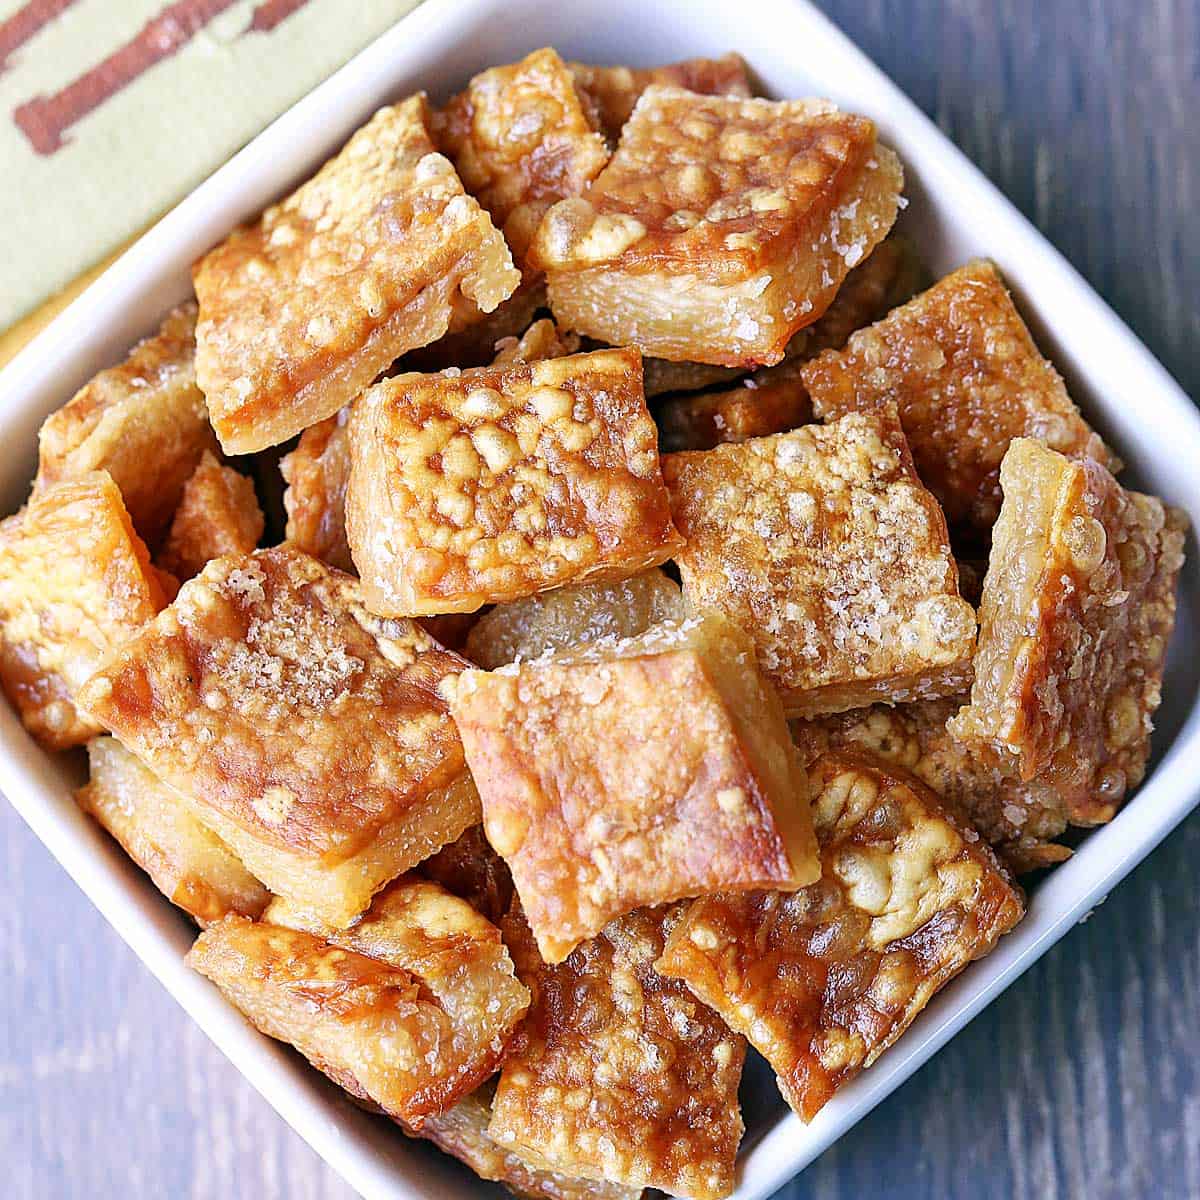
- Bake until crispy and golden. Depending on your oven and the thickness of the skin pieces, this should take between 1 and 2 hours. Please start checking after an hour. When overbaked, they become hard. The photo should give you an idea of what they look like when they are ready. You want the skin golden brown and blistered, but not too dark.
- Transfer the rinds to paper towels, skin-side up, and let them cool for at least 20 minutes before enjoying them. They greatly improve in taste and texture after they cool.


Notes
- If using Diamond Crystal Kosher Salt, you can use up to two teaspoons. If using any other salt, stick with one teaspoon. Here's why. That said, seasonings, especially salt, are guidelines. Adjust to taste.
- Don't expect the light and puffy texture of commercial pork rinds. These are more like rich and dense cracklins.
- When calculating the nutrition info, I used the widely available nutrition info for commercial deep-fried pork rinds.
- I season these delicious snacks very simply, with just kosher salt. But you can add more seasonings 30 minutes into baking. My favorites are garlic powder and smoked paprika.
- Homemade pork rinds should be stored in an airtight container in the fridge. I don't recommend keeping them at room temperature. I usually keep them in the fridge for about five days and find that they stay delicious for that long. Although they're good right out of the fridge, it's best to set them on the counter about 30 minutes before enjoying them.
Nutrition per Serving
Save this Recipe!
We will also add you to our weekly newsletter. Unsubscribe anytime. See healthyrecipesblogs.com/privacy/ to learn how we use your email.
Disclaimers
Most recipes are low-carb and gluten-free, but some are not. Recommended products are not guaranteed to be gluten-free. Nutrition info is approximate - please verify it. The carb count excludes non-nutritive sweeteners. Please read these Terms of Use before using any of my recipes.


mh says
Wonderful recipe. They came out wonderful and I ate too much......
Vered DeLeeuw says
Haha of course you did! I do too, every time. 🙂
Joe Wagner says
Skinned a pork belly for bacon, thought "what can I do with that skin", and wound up here.
Baked the pieces for 90 minutes, with some of the pieces being a bit too hard, should have been cooked about 10 minutes less. Obviously, a bit of a learning curve.
Loved the recipe.
Thanks,
Joe
Vered DeLeeuw says
Hi Joe,
There can definitely be a little trial and error with crisping them up just right, and it sounds like you nailed it pretty well. I’m so glad you loved the recipe, and I really appreciate the review!