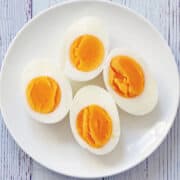
Making perfect hard-boiled eggs is surprisingly challenging, and one of the biggest challenges is peeling them. Here's how to do it!
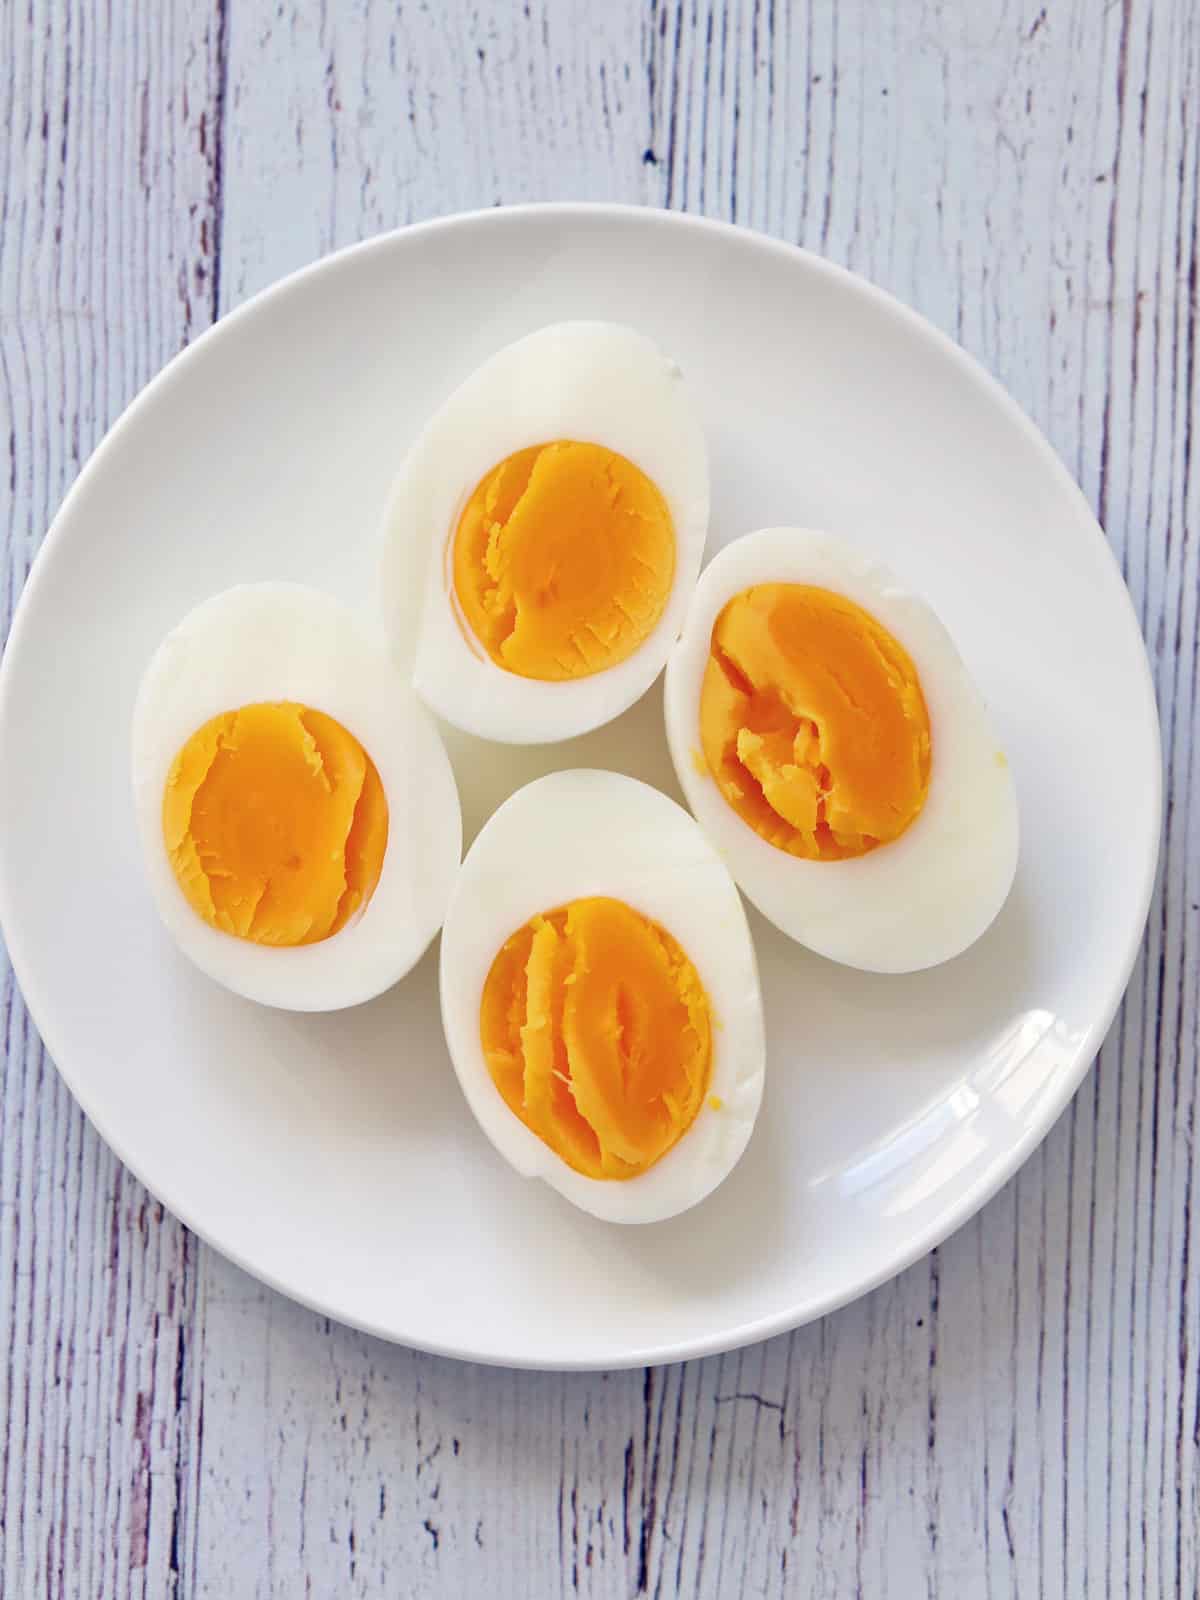
Hard-boiled eggs are a great snack, but peeling them is one of those theoretically easy tasks that can easily go wrong. And when it does, you're left with deformed eggs, big chunks of the whites coming off as you try to peel them. It took years of trial and error, but I now have the perfect method for cooking eggs that peel easily.
Ingredients
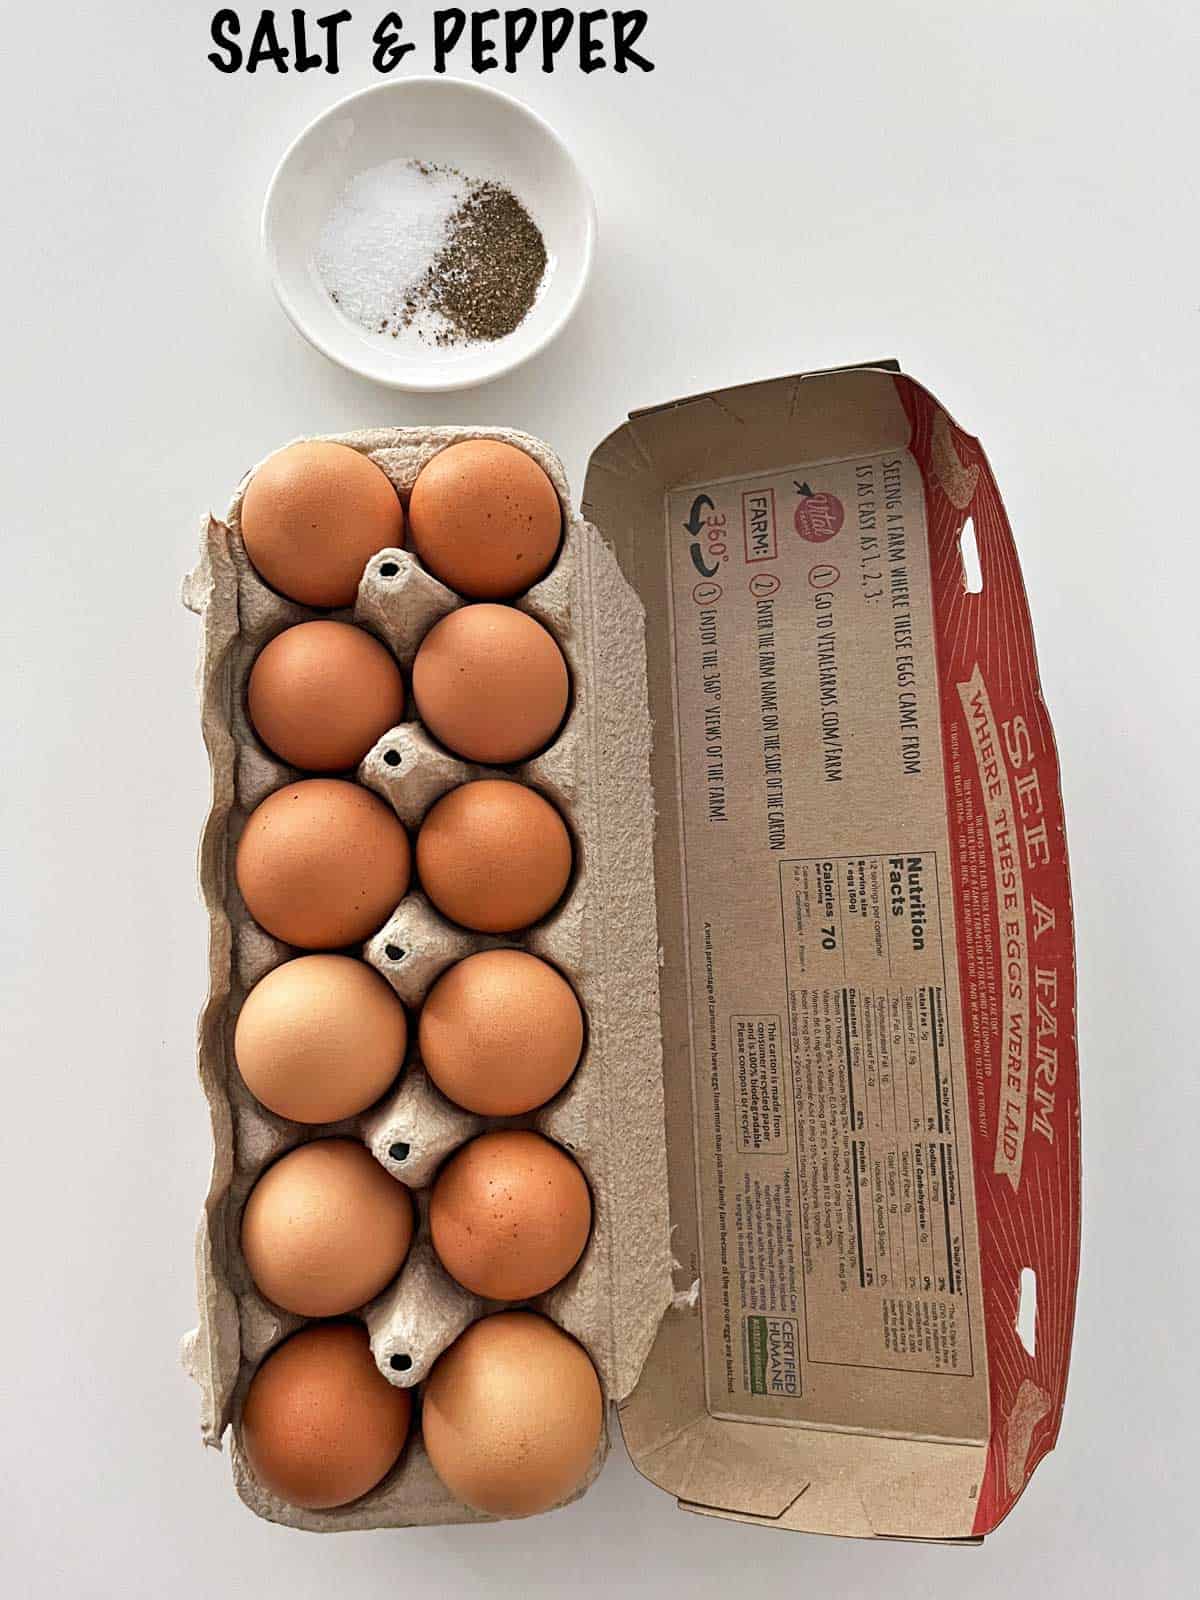
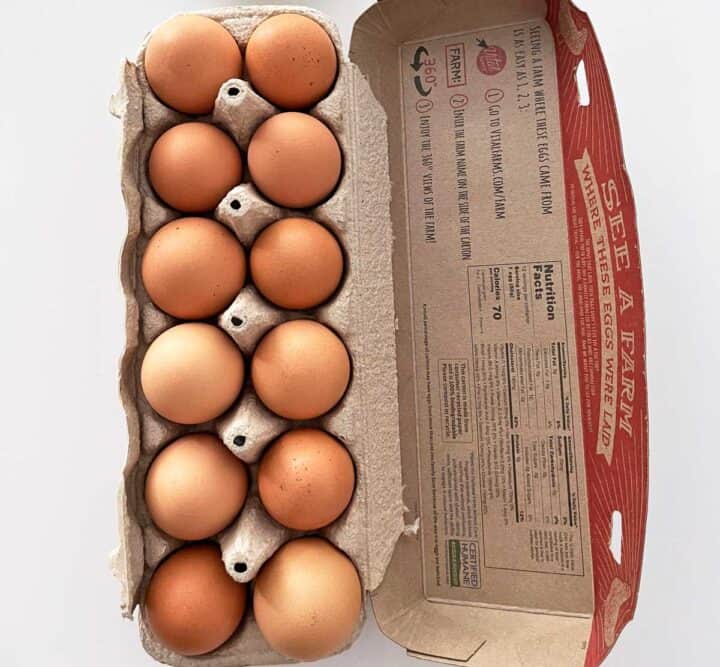
You'll only need three ingredients to make this recipe: large eggs, salt, and freshly ground black pepper.
Explaining the Challenge
Eggs have an outer shell and a thin inner membrane. When the thin membrane sticks to the egg, peeling becomes difficult.
We aim for a cooking method where the thin membrane would adhere to the outer shell instead of the egg. This way, the membrane would easily peel off when we peel the shell.
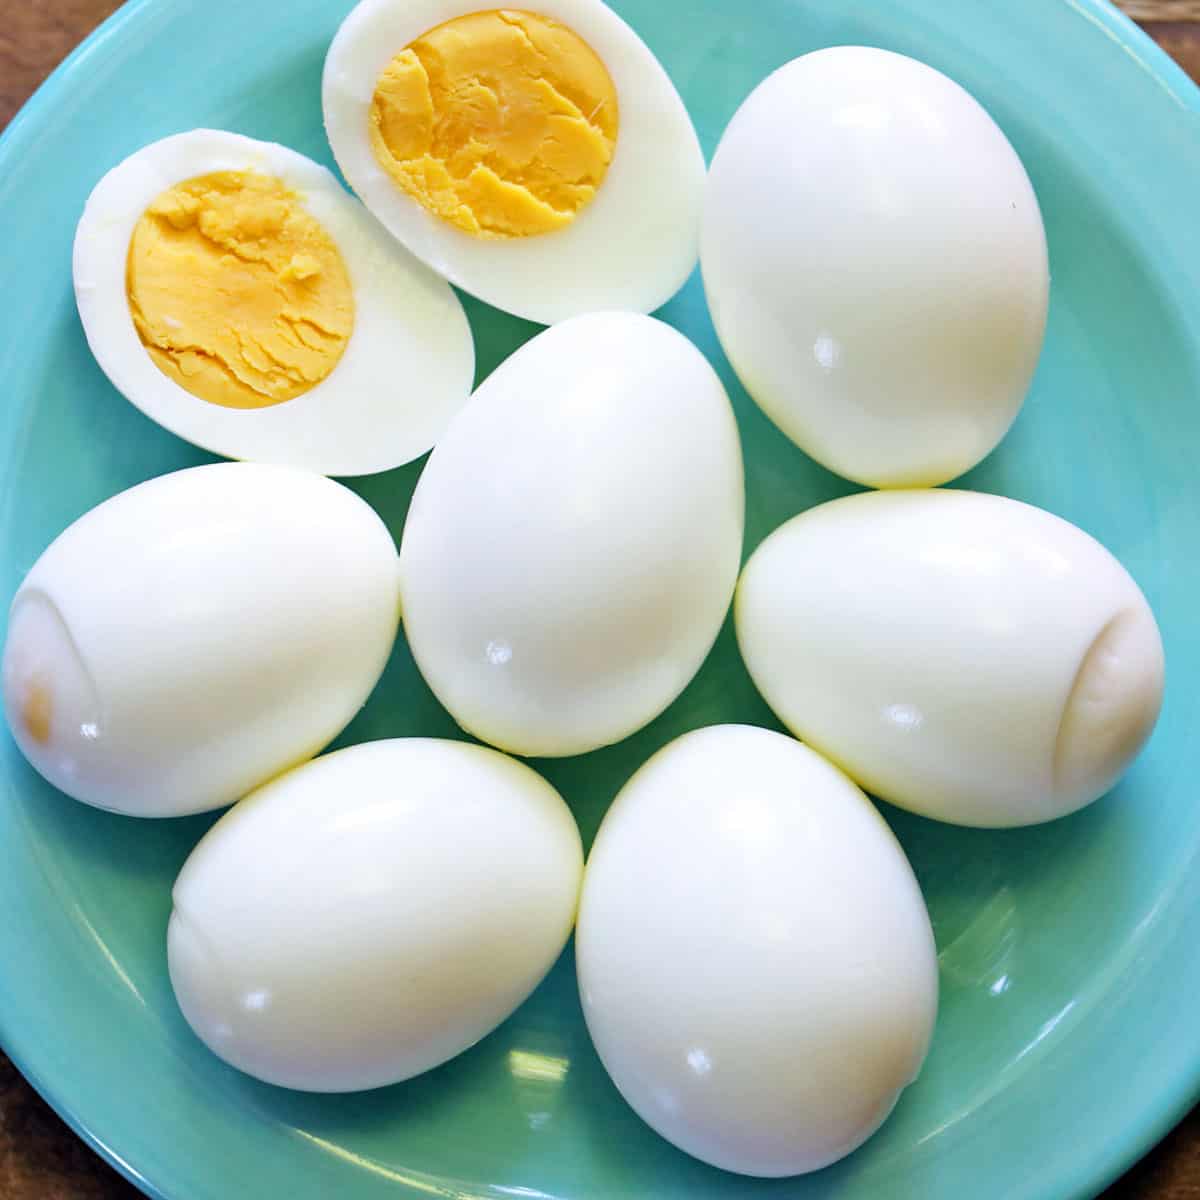
In the image below, you can see that as I peeled the egg, the inner membrane stuck to the egg white, so chunks of egg whites were removed when I tried to peel the egg:
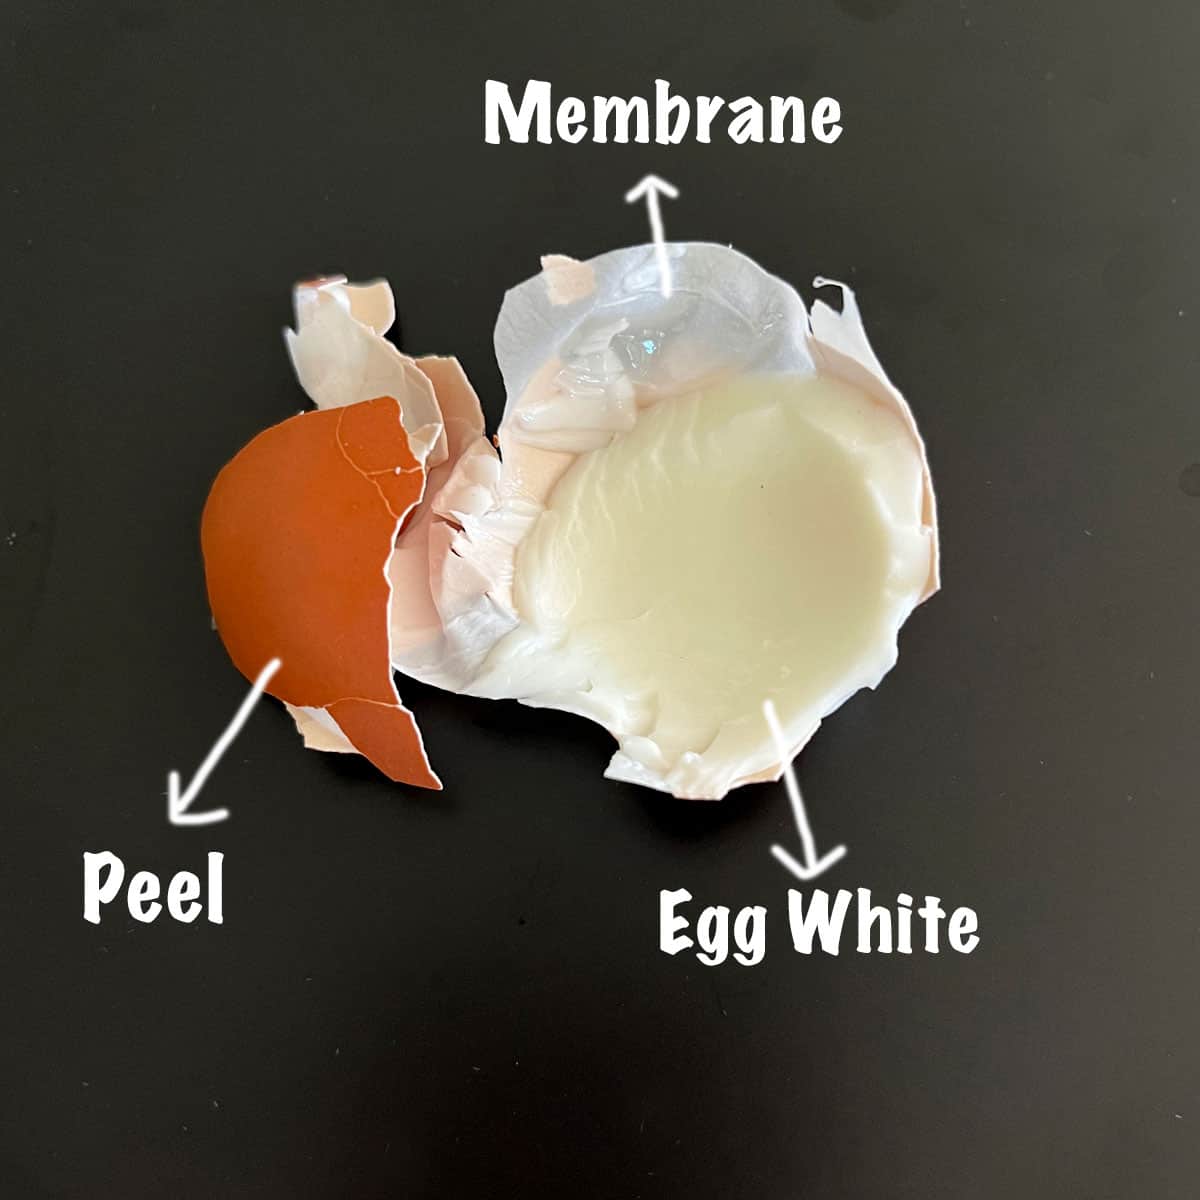
The result, as shown below, was deformed eggs - still tasty, but not pretty to look at:
The cooking method outlined here aims to prevent this from happening. The reason it happened was that I used very fresh eggs. I should have used older eggs, but I didn't have any! We go through eggs fast in my house because I make so many egg recipes, including soft-boiled eggs and poached eggs.
Instructions
The detailed instructions and step-by-step photos are included in the recipe card. Here's a quick overview
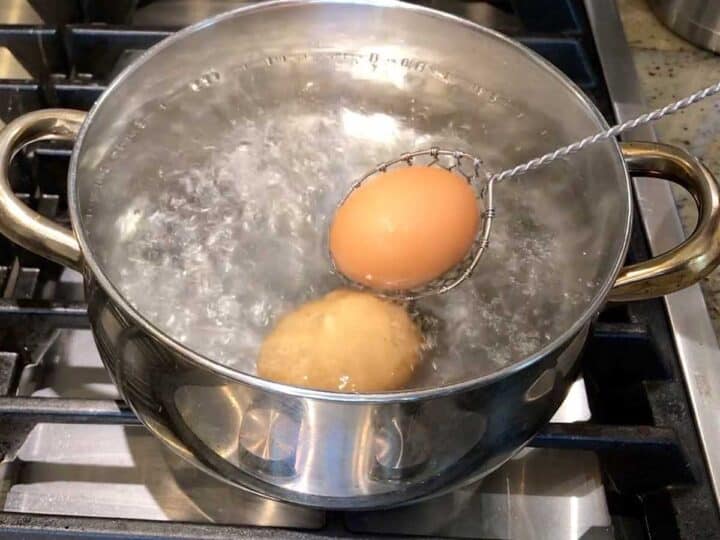
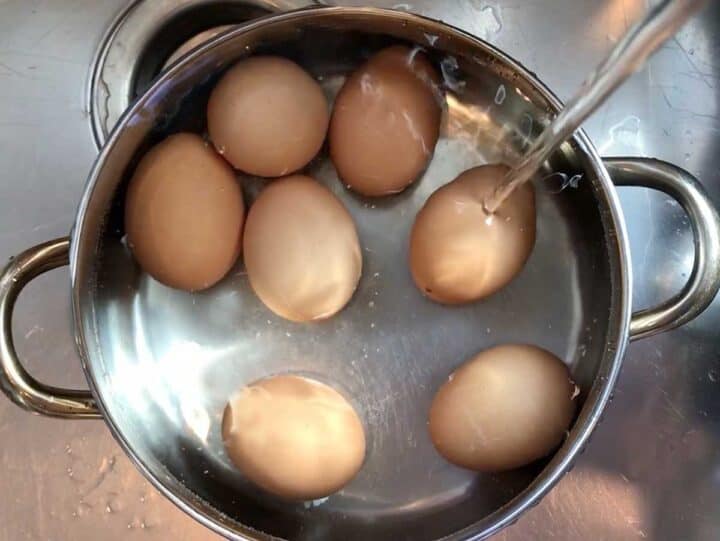
Remove the eggs from the fridge. Bring a medium pot of water to a boil. Carefully lower the eggs into the water. Bring the water back to a boil. Allow the eggs to cook for one minute.
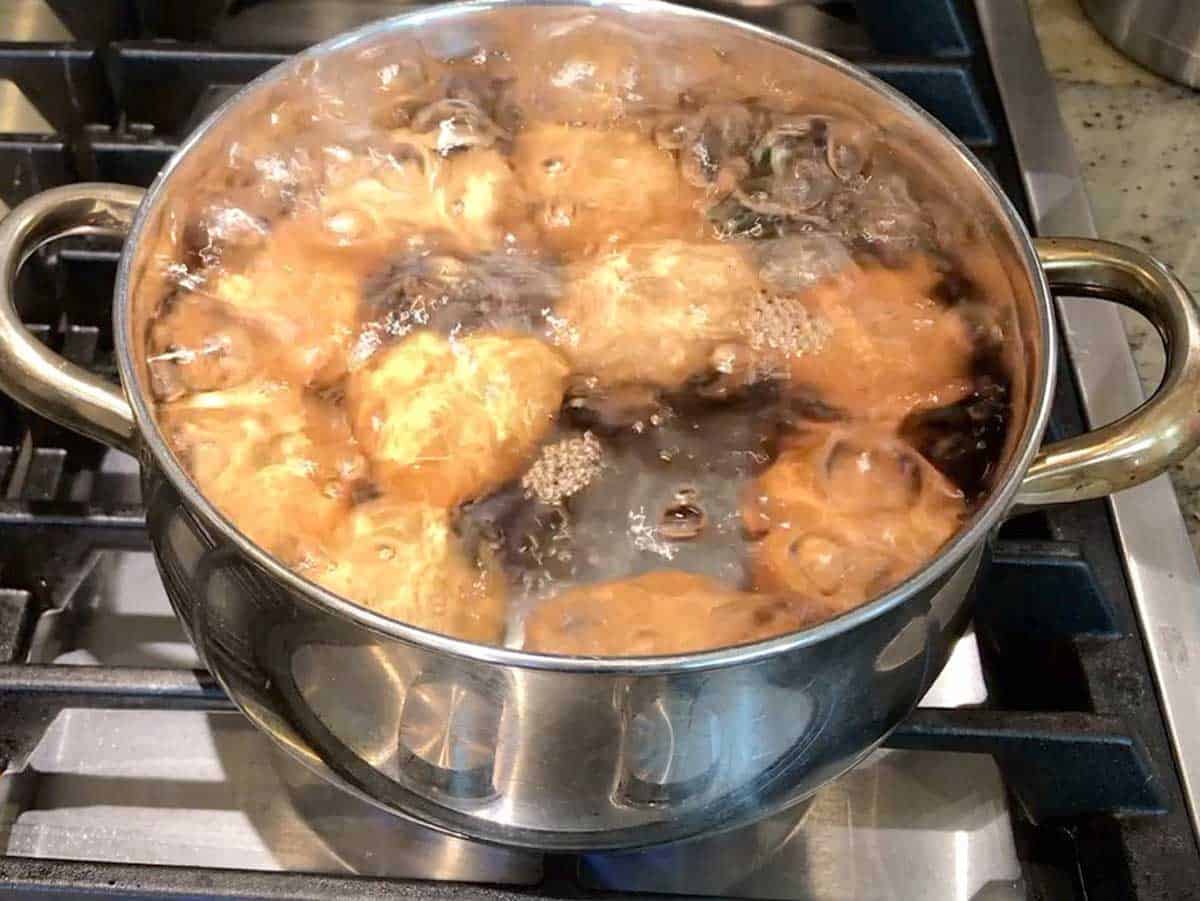
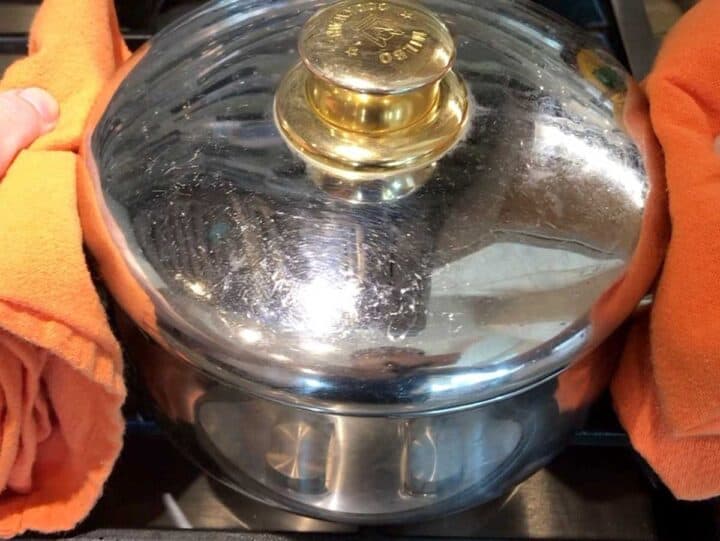
Turn the heat off, remove the pot from the heat, cover it, and set your timer for 10 to 13 minutes, depending on the eggs' size and how dry you want the yolks. Carefully drain the hot water from the pot and immediately fill it with cold water. Allow the cold water to run over the eggs for 2 minutes.
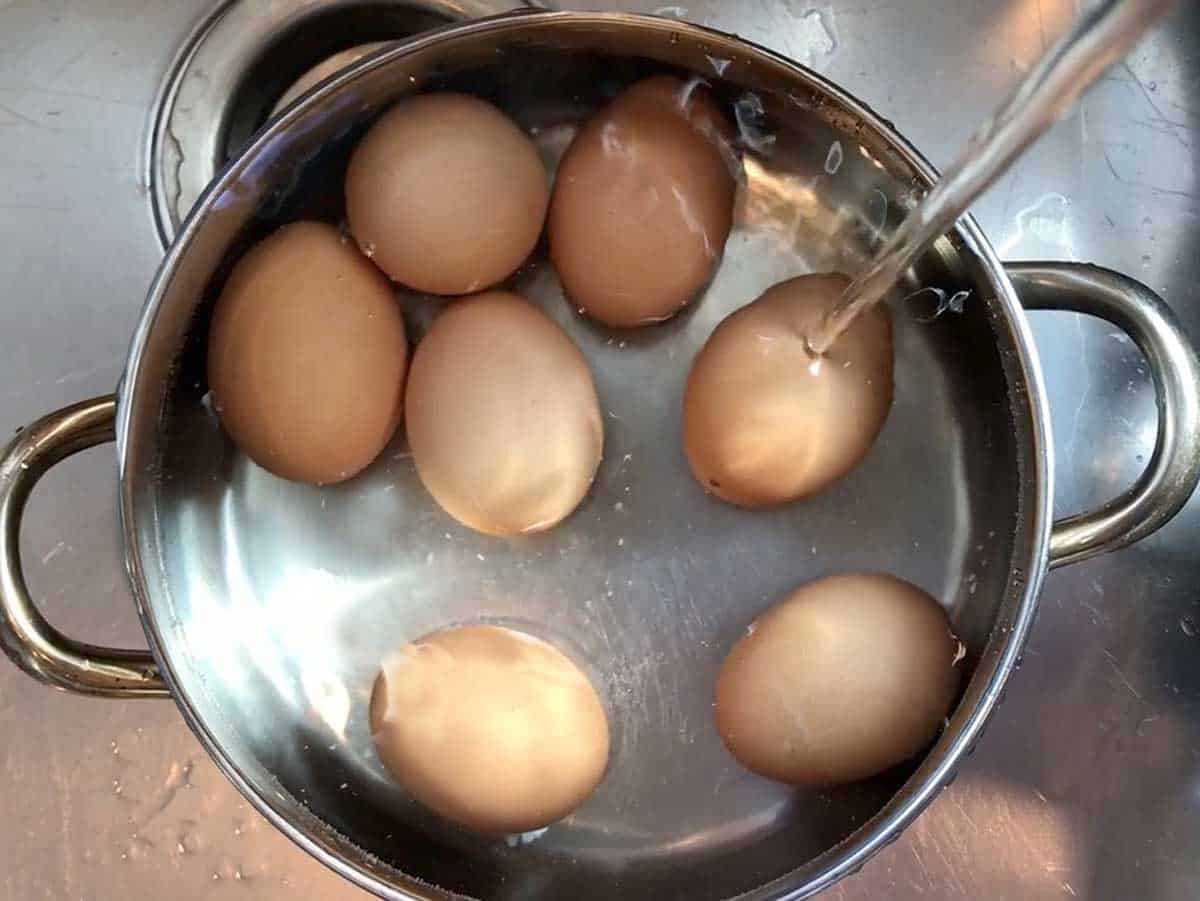
Gently crack the eggs and peel them under cold running water. Serve immediately, or refrigerate for later use.

I consider myself a pretty good cook, but hard boiled eggs were something I was never able to master, until I found this recipe! Thank you, Vered. Your method is not 100% foolproof, but I would say it works 90% of the time, so I’m grateful!
Brianna
Read more comments
Recipe Tips
- Use old eggs. Not so old that they're past their "use by" date. But the closer they are to that date, the easier it will be to peel them. So, I use the freshest eggs when frying and poaching, saving the older ones for boiling.
- Boil your water first, then lower the eggs into the water. This helps loosen the thin membrane that tends to stick to the eggs, making them impossible to peel.
- Cool the eggs immediately after they are done cooking. Do this by pouring the hot water and filling the pot with cold water.
- Use eggs with a thick shell. If the eggs you use have very thin and fragile shells, they could crack when you put them in hot water. This method works best with thick-shelled eggs. Even with a thick shell, the first egg you lower into the hot water might slightly crack. But this method is so effective, I think it's worth it.
- Removing the eggs from the fridge 30 minutes before cooking them is another way to prevent cracking.
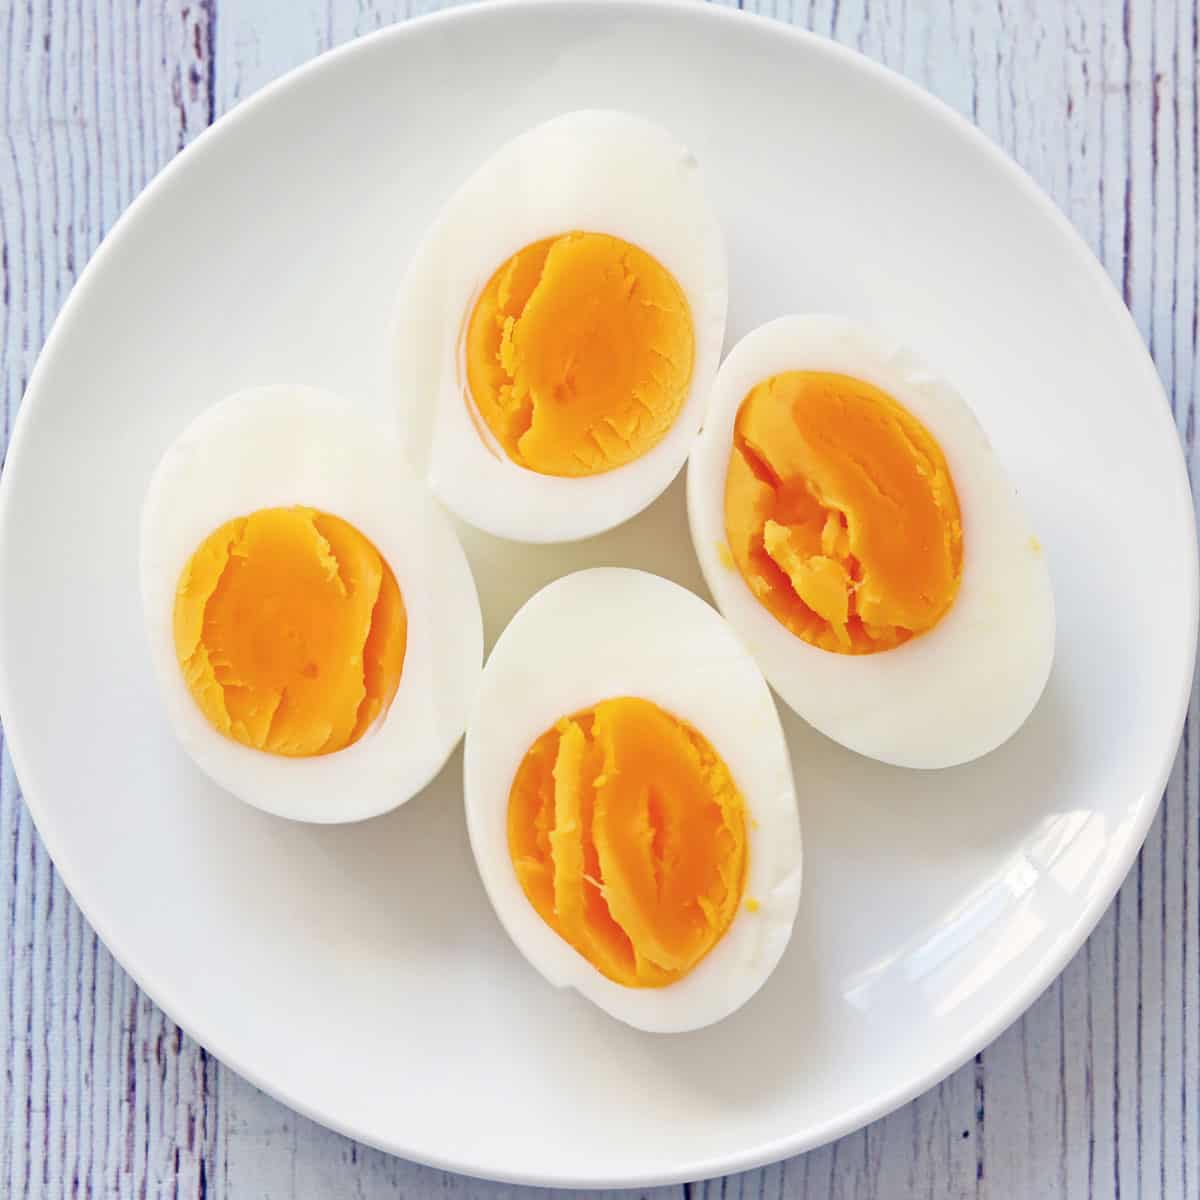
- If you're going to use the eggs for deviled eggs, you'll want the yolks to be dry, so you should leave them in the water for 13 minutes. The photos below illustrate the difference between 11-minute yolks and 13-minute yolks.
Recipe FAQs
I've tried adding vinegar to the cooking water. I also tried adding salt. None of these methods made any difference. Vinegar does help poached eggs keep their shape. But in my experience, it's ineffective at making the eggs easier to peel.
This ring is a chemical reaction between the sulfur in the egg whites and the iron in the yolks. It's harmless but unattractive and is caused by overcooking the eggs.
Some say it does, and there's no harm in trying. But just like vinegar, in my own experiments, I haven't found it to be effective.
According to the USDA, hard-boiled eggs, whether peeled or unpeeled, can be kept in an airtight container in the fridge for up to a week. I don't recommend freezing them. Their texture won't survive the process of freezing and thawing.
Serving Suggestions
Hard-boiled eggs are the perfect snack, and that's how I usually enjoy them. But here are a few more ideas:
- Make them into a creamy egg salad.
- Use them to make egg-stuffed meatloaf or Scotch eggs.
- Slice them and use them in a Cobb salad.
- Fry boiled eggs in butter. It's delicious!
- Make deviled eggs. This is my favorite way to use them.
- Or make lazy deviled eggs and top them with a dollop of sriracha mayo!
- Have them for breakfast on thick, buttered slices of almond flour bread.
- Use them to make chopped liver.
- Make an easy lunch plate, as shown in the photo below, with boiled eggs, meat sticks, canned seafood, and veggies.

Recipe Card
Easy Peel Hard-Boiled Eggs
Video
Ingredients
- 12 large eggs - not fresh
- Salt and pepper - to taste
Instructions
- Remove the eggs from the fridge 30 minutes before boiling the water.

- Bring a medium pot of water to a boil. Using a slotted spoon, carefully lower the eggs into the boiling water one by one. A perforated serving spoon makes this task easier.

- Bring the water back to a boil and allow the eggs to boil for 1 minute.

- Turn the heat off, remove the pot from the heat, cover the pot, and set your timer for 10 to 12 minutes. 10 minutes for yolks that are still slightly soft in the center, 11 minutes for fully cooked yolks, and 12 minutes for well-cooked, dry yolks (best for deviled eggs).
- Drain the hot water from the pot and fill it with running cold water. Allow the cold water to run over the eggs for 2 minutes.
- Gently crack the eggs and peel them under cold running water. Season, if you wish, with salt and pepper.


Notes
- Use old eggs. Not so old that they're past their "use by" date. But the closer they are to that date, the easier it will be to peel them. So I use the freshest eggs when frying and poaching, saving the older ones for boiling.
- Boil your water first, then lower the eggs into the water. This helps loosen the thin membrane that tends to stick to the eggs, making them impossible to peel.
- Cool the eggs immediately after they are done cooking. Do this by pouring out the hot water and filling the pot with cold water.
- Use eggs with a thick shell. If the eggs you use have very thin and fragile shells, they could crack when you put them in hot water. This method works best with thick-shelled eggs. Even with a thick shell, the first egg you lower into the hot water might slightly crack. But this method is so effective, I think it's worth it.
- Removing the eggs from the fridge 30 minutes before you start cooking is another way to prevent cracking.
- The nutrition info does not include salt and pepper.
Nutrition per Serving
Save this Recipe!
We will also add you to our weekly newsletter. Unsubscribe anytime. See healthyrecipesblogs.com/privacy/ to learn how we use your email.
Disclaimers
Most recipes are low-carb and gluten-free, but some are not. Recommended and linked products are not guaranteed to be gluten-free. Nutrition info is approximate. Please verify it independently. The carb count excludes non-nutritive sweeteners. Please read these Terms of Use before using any of my recipes.


Brianna says
I consider myself a pretty good cook, but hard boiled eggs were something I was never able to master, until I found this recipe! Thank you, Vered. Your method is not 100% foolproof, but I would say it works 90% of the time, so I’m grateful!
Vered DeLeeuw says
Yay! I'm so glad you find this recipe useful, Brianna. 🙂