These delicious roasted peppers are seasoned with olive oil, garlic, oregano, and crushed red peppers. Oven roasting highlights their unique flavor.
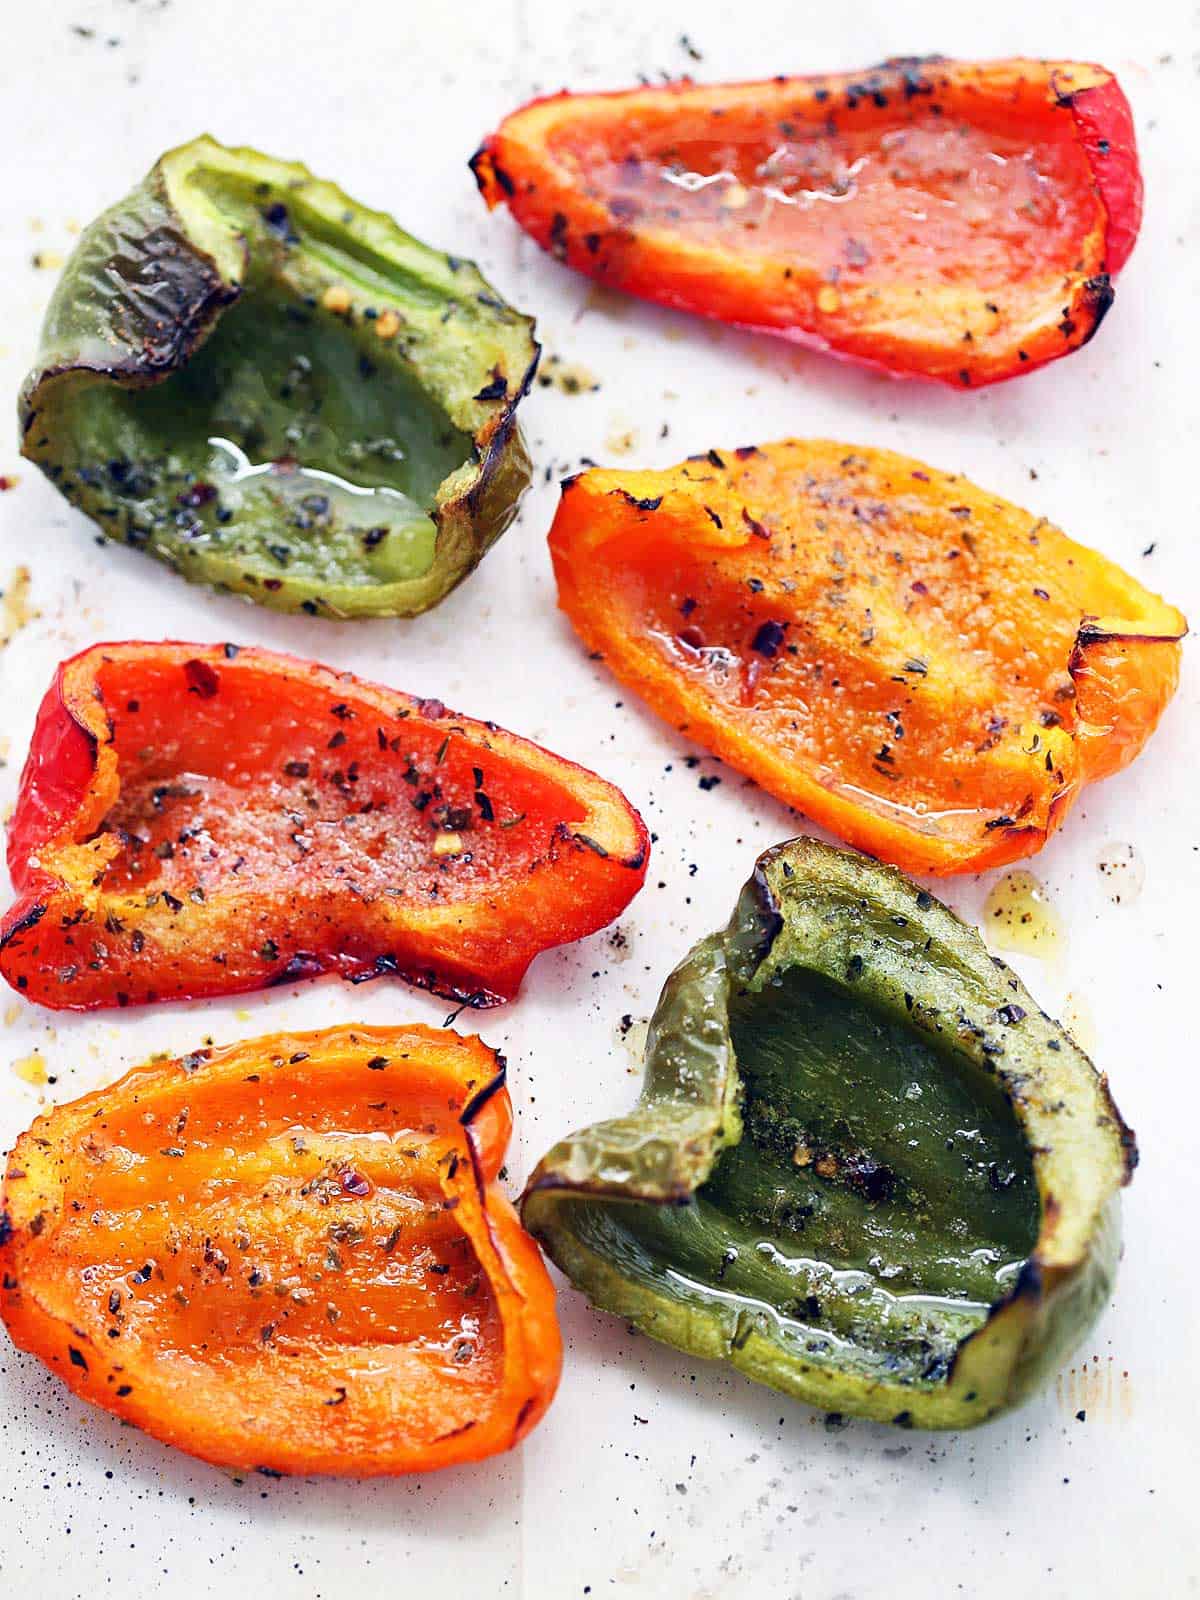
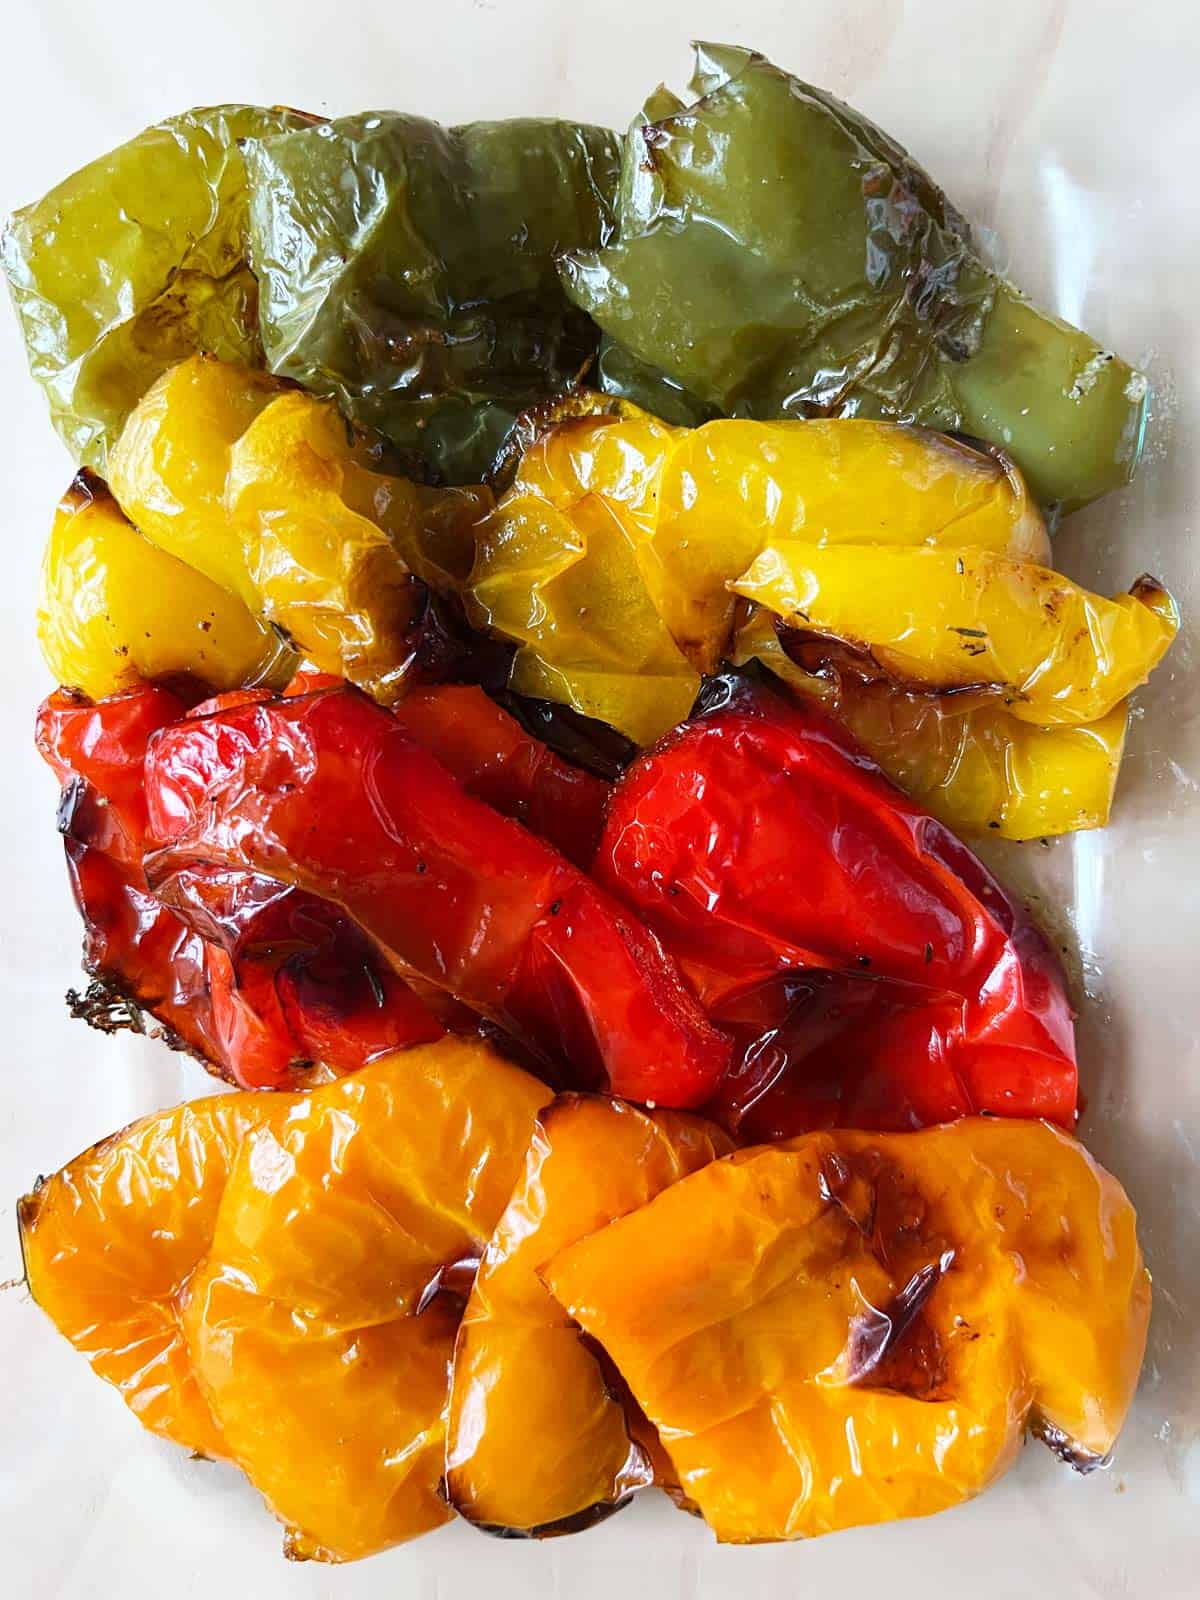
Look at these gorgeous, colorful roasted peppers! They are as flavorful as they are pretty. Plus, they are so easy to make and ready in 30 minutes. They're one of my easiest vegetable recipes. Raw peppers dipped in cream cheese dip are one of my favorite snacks, but they are even better when roasted, transforming from crunchy and slightly sweet into intensely savory.
Ingredients
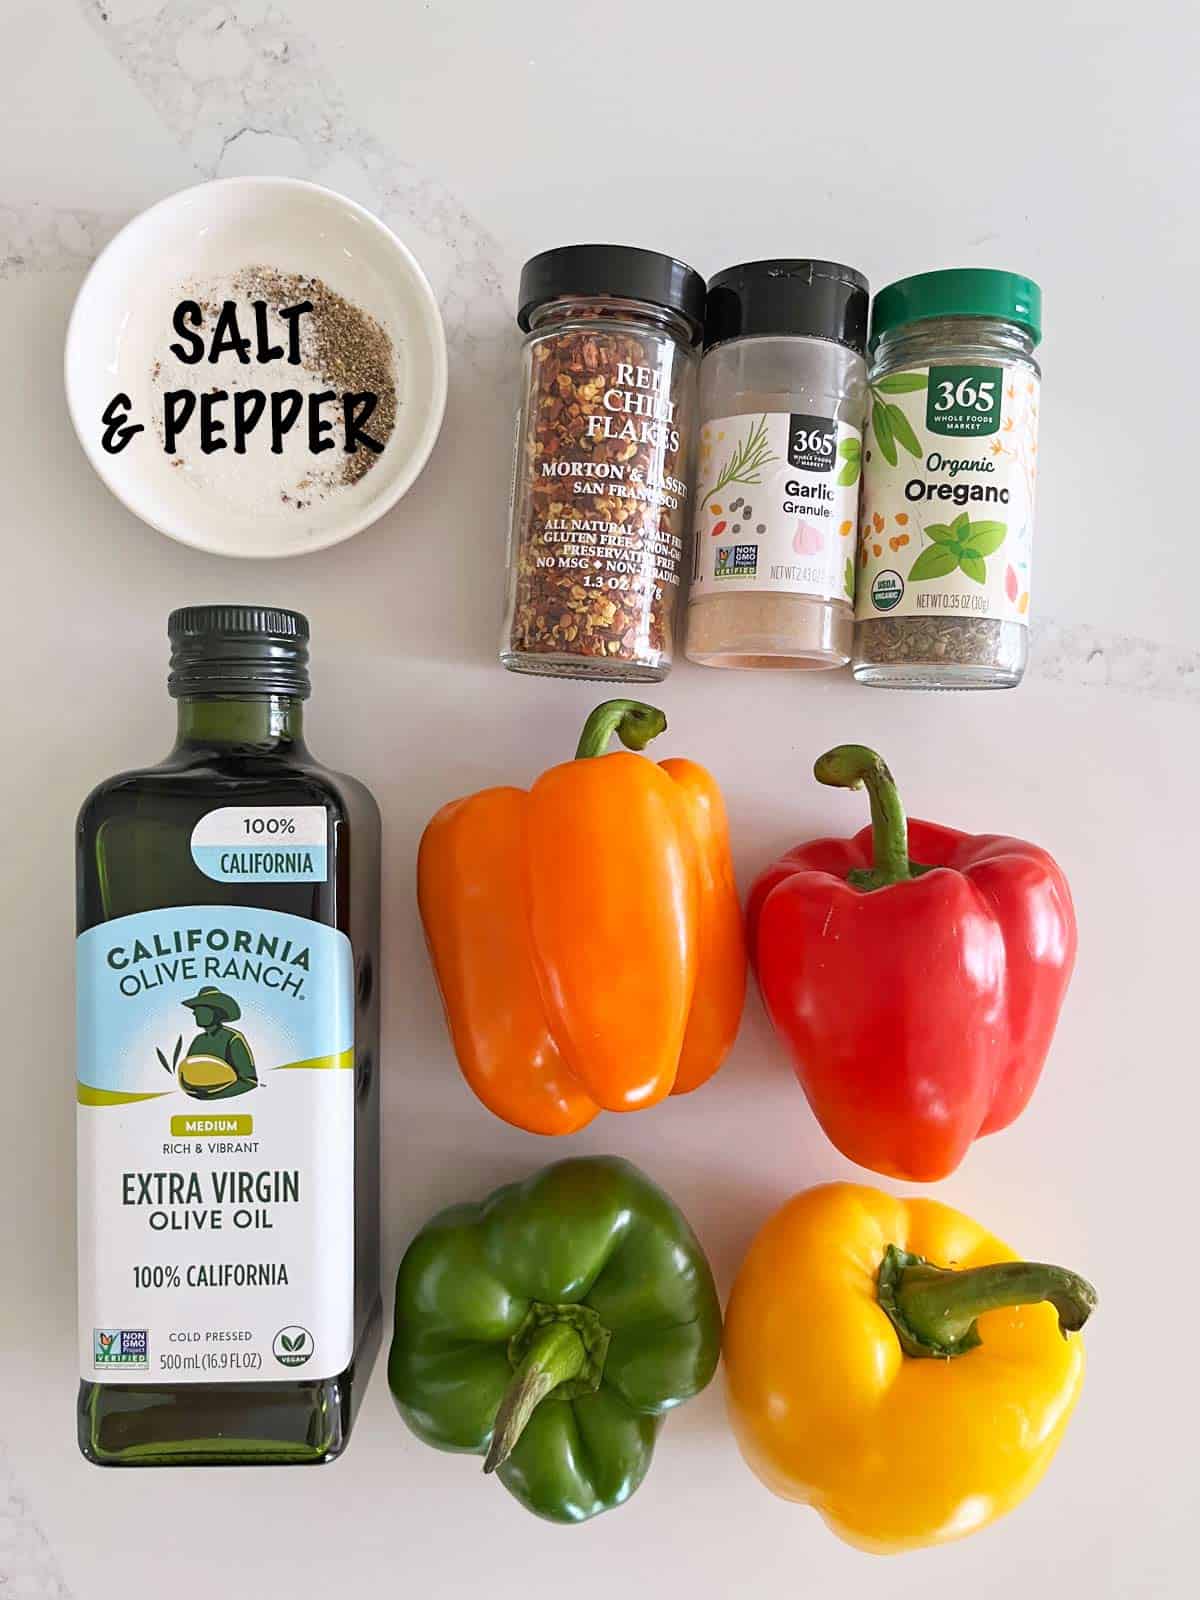
See the recipe card for exact measurements. Here are my comments on some of the ingredients.
- Bell peppers: Red, orange, green, or yellow. I like to use several colors - it makes for a pretty presentation, as seen in the photos on this page. But if you have just one color, that's fine, too!
- Olive oil: You can drizzle the peppers with olive oil or spray them with olive oil spray.
- To season: Kosher salt, black pepper, garlic powder, dried oregano, and red pepper flakes.
Variations
- Instead of olive oil, I sometimes coat the peppers with melted butter.
- You can use a teaspoon of fresh minced garlic instead of garlic powder.
- You can use dried thyme as a substitute for oregano.
- Add a teaspoon of chili powder for a Tex-Mex flavor profile. This is my husband's favorite version.
- After 10 minutes in the oven, sprinkle the peppers with grated parmesan and return them to the oven to finish cooking.
Instructions
The detailed instructions and step-by-step photos are included in the recipe card. Here's a quick overview.
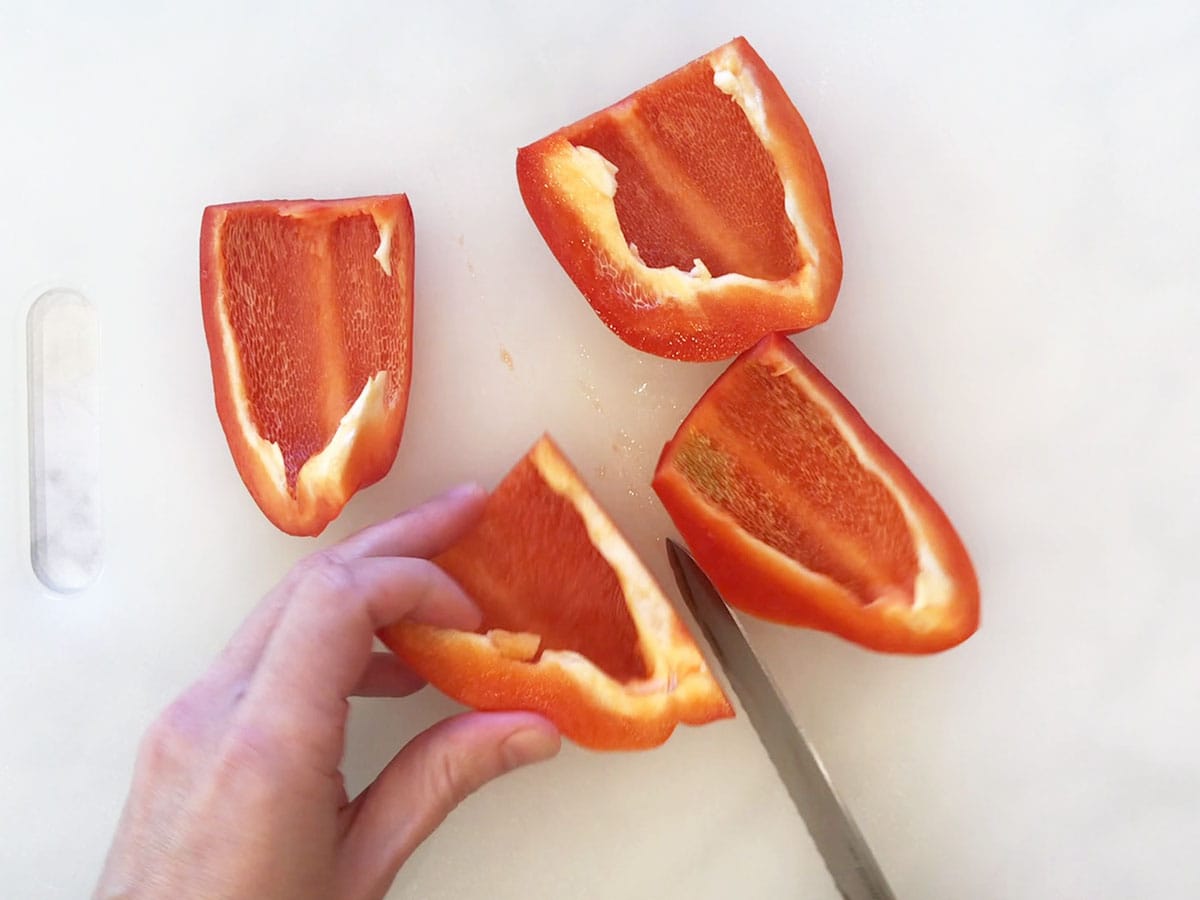
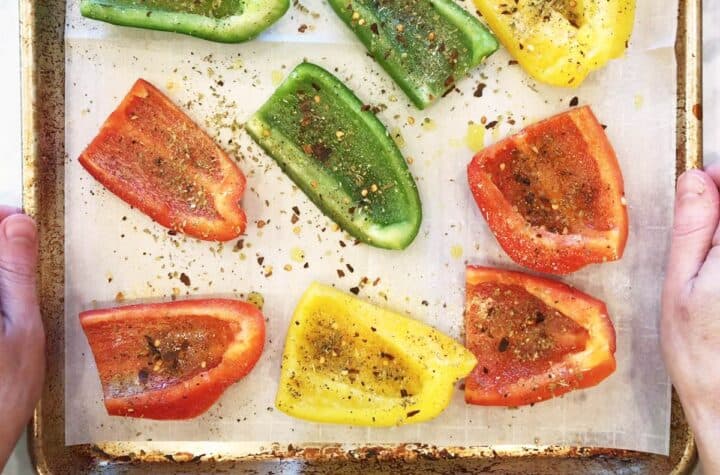
Cut the bell peppers into quarters and remove the seeds and membranes.
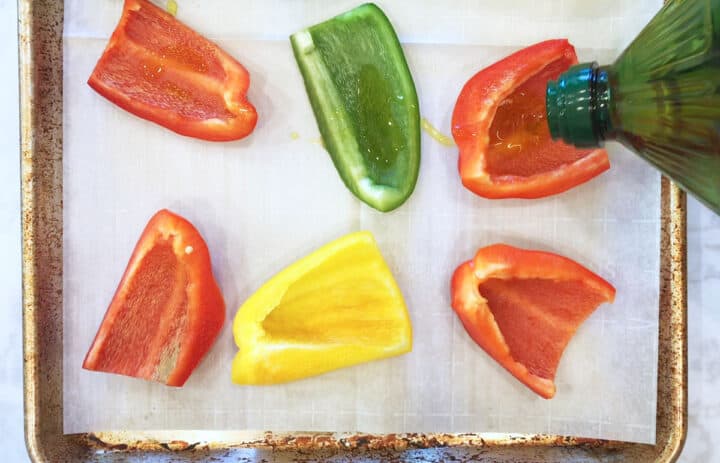
Arrange the peppers in a single layer on a rimmed baking sheet. I line the baking sheet with parchment paper for easy cleanup. Drizzle or spray the peppers with olive oil and sprinkle them with spices.

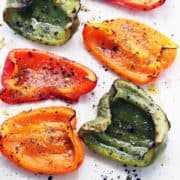
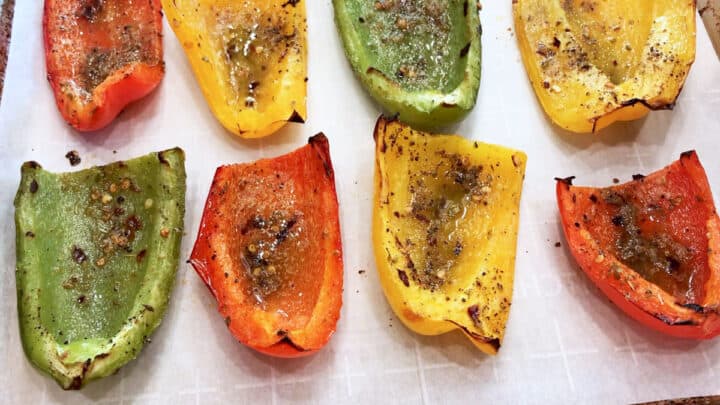
Bake them until tender and charred in spots, about 20 minutes, in a 450°F oven. There's no need to flip them. Serve immediately.

I just made this recipe now. I used red peppers because that's what I had. They came out so delicious! Thank you!
Jeanne Verity
Read more comments
Recipe Tips
- Different pepper colors make for a pretty presentation - pretty enough to serve this dish to guests. There are also subtle flavor differences between different-colored bell peppers, making for a more interesting dish all around, not just visually. The most noticeable difference is between green (the least ripe) and red (the ripest) peppers. Red peppers are significantly sweeter than green ones, which are slightly bitter.
- Bell peppers have thin, edible skin. There's no need to peel it.
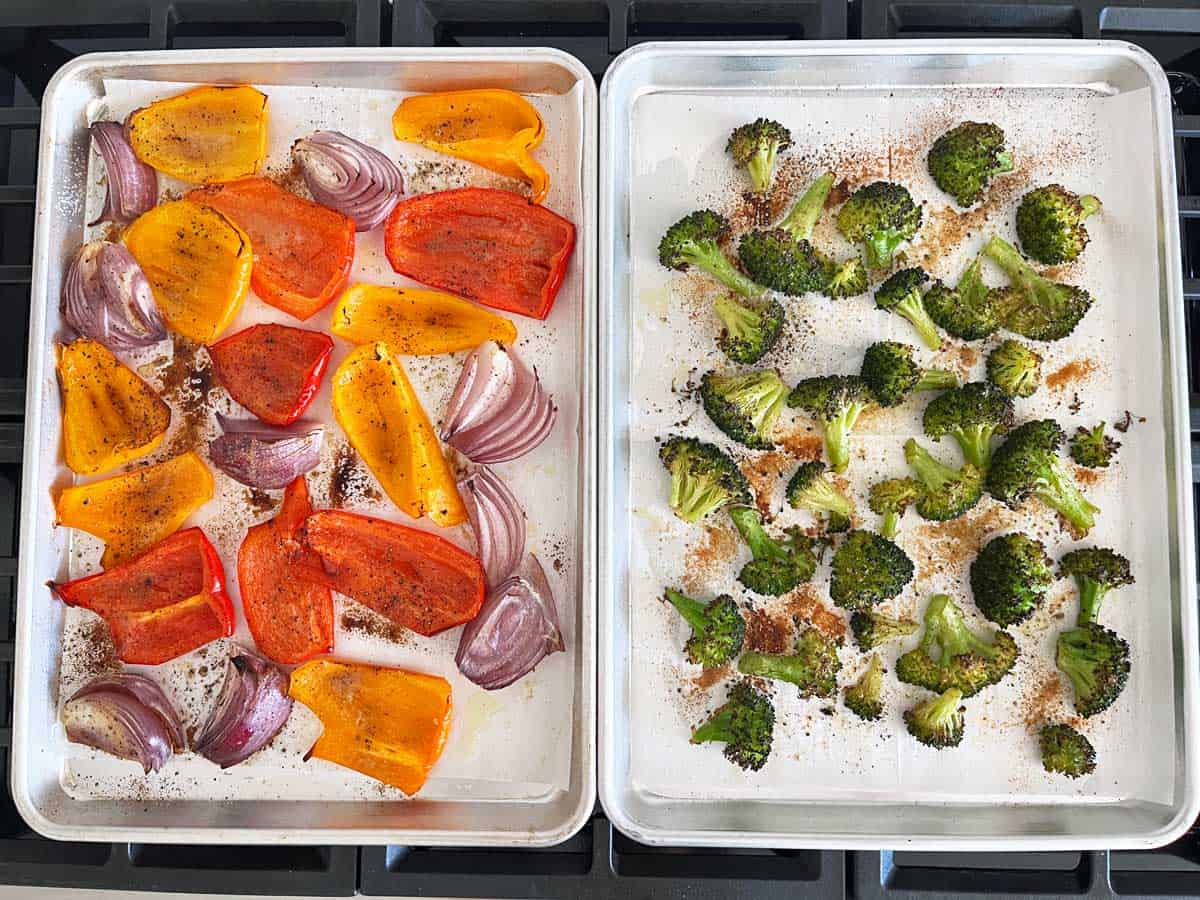
- You can roast additional veggies with the peppers using the same sheet pan or a separate one. See the photo below - I baked bell peppers, red onions, and broccoli, all at the same time. This made for a delicious and colorful side dish! They all needed about 20 minutes in a 450°F oven.
Serving Suggestions
Since I roast the peppers in a 450°F oven, I like to serve them with a main dish I can cook in the same oven, such as:
- Shrimp parmesan
- Roasted pork tenderloin
- Turkey legs
- Pesto chicken
- Baked catfish
- Cajun chicken
- Oven chicken kabobs
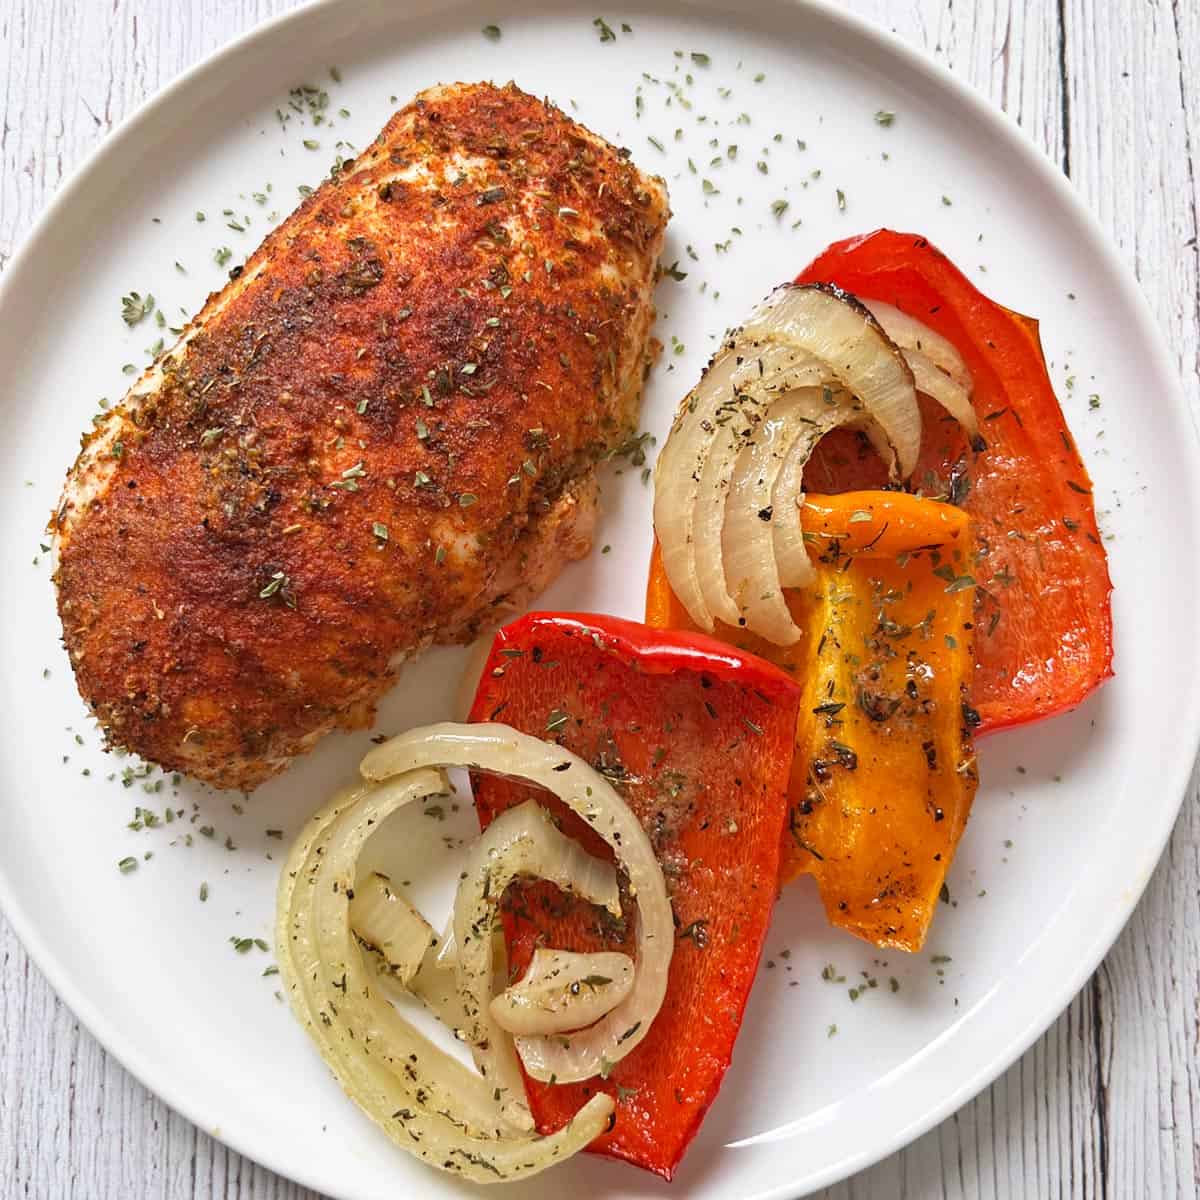
- Baked chicken breast, as shown in the photo below:
Storing Leftovers
Roasted peppers can be stored in a sealed container in the fridge for 3-4 days. Here's how I store them in a glass food container:
To serve the leftovers, gently reheat them in the microwave at 50% power. Or do as I do and eat them cold the next day for lunch, with cold cuts, cheese, and hard-boiled eggs. They make a great antipasti plate!
Recipe Card
Easy Weeknight Roasted Peppers
Video
Ingredients
- 4 bell peppers - medium-sized
- 2 tablespoons olive oil
- ½ teaspoon Diamond Crystal kosher salt - or ¼ teaspoon of any other salt, including Morton kosher salt
- ¼ teaspoon black pepper
- ½ teaspoon garlic powder
- ½ teaspoon dried oregano
- ¼ teaspoon red pepper flakes
Instructions
- Preheat the oven to 450°F. Line a rimmed baking sheet with high-heat-resistant parchment paper or foil.

- Cut the bell peppers into quarters, then remove the seeds and membranes.
- Place the peppers on the prepared baking sheet. Drizzle them with olive oil and use your hands to coat them well.

- Sprinkle the peppers with salt, pepper, garlic powder, oregano, and red pepper flakes.

- Roast until tender and charred in spots, about 20 minutes. Serve immediately.


Notes
- Different pepper colors make for a pretty presentation, enough to serve this dish to guests. There are also subtle flavor differences between different-colored bell peppers, making for a more interesting dish all around, not just visually.
- There's no need to turn the peppers midway through baking.
- There's no need to peel the peppers.
- These peppers keep well in a sealed container in the fridge for 3-4 days. To serve the leftovers, gently reheat them in the microwave at 50% power or serve them cold like antipasti.
Nutrition per Serving
Save this Recipe!
We will also add you to our weekly newsletter. Unsubscribe anytime. See healthyrecipesblogs.com/privacy/ to learn how we use your email.
Disclaimers
Most recipes are low-carb and gluten-free, but some are not. Recommended and linked products are not guaranteed to be gluten-free. Nutrition info is approximate. Please verify it independently. The carb count excludes non-nutritive sweeteners. Please read these Terms of Use before using any of my recipes.
Deborah Nagle-Burks says
Clear, concise instructions with seasonings that make these peppers really stand out. Thank you!
Vered DeLeeuw says
You're welcome, Deborah! Glad you liked this recipe.
Star says
THE GO TO Recipe for roasted peppers.
Thanks for sharing!
Vered DeLeeuw says
You're very welcome, Star! Glad you like it.
Eileen says
Oh so YUMMY!!!!
Vered DeLeeuw says
Glad you liked it, Eileen!
Ariaa says
Nice
Diane copeland says
Can roasted peppers be frozen?
Vered DeLeeuw says
Hi Diane,
Yes. Freeze them in a single layer in freezer bags for up to three months. Thaw them overnight in the fridge and then remove them from the bags and reheat them in the microwave.
Rebecca Aisenbach says
Vered is a Hebrew name which means rose. Was that your givennname?
Vered DeLeeuw says
Hi Rebecca,
Yes. Vered is my first name.
Pam says
These are wonderful! Hot or cold. I had a bunch of peppers to use up.. Made 6 instead of 4. Recipe is perfect! Cooking time was longer.
Vered DeLeeuw says
I'm so glad you enjoyed this recipe, Pam! I agree - they're excellent hot or cold. Thanks for the feedback about the cooking time.
Claire Louise Teague says
This is so easy and delicious that I've made it twice this first week!
Vered DeLeeuw says
Yay! I'm so glad this was a success, Claire!
Jeanne Verity says
I just made this recipe now. I used red peppers because that's what I had. they came out so delicious! Thank you!
Vered DeLeeuw says
I'm so glad you enjoyed this recipe, Jeanne! Many thanks for taking the time to review it.
Elaine Paoletti says
No need to peel skin off after roasting?
Vered DeLeeuw says
Hi Elaine,
No need. You can peel it if you want, but I don't.