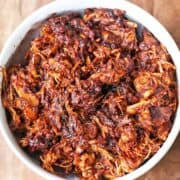
This succulent pulled chicken is smothered in a homemade barbecue sauce and baked in the oven until wonderfully tender. It's delicious on its own, in a bun or a sandwich, or as a filling for a lettuce wrap.

Slowly cooked meat is pure comfort! In this recipe, you will coat chicken thighs with homemade BBQ sauce and bake them until they are so tender that you can shred them with a fork. One of the best things about this recipe is that the leftovers are just as good as the freshly cooked dish.
Ingredients and Variations
See the recipe card for exact measurements. Here are my comments on some of the ingredients.
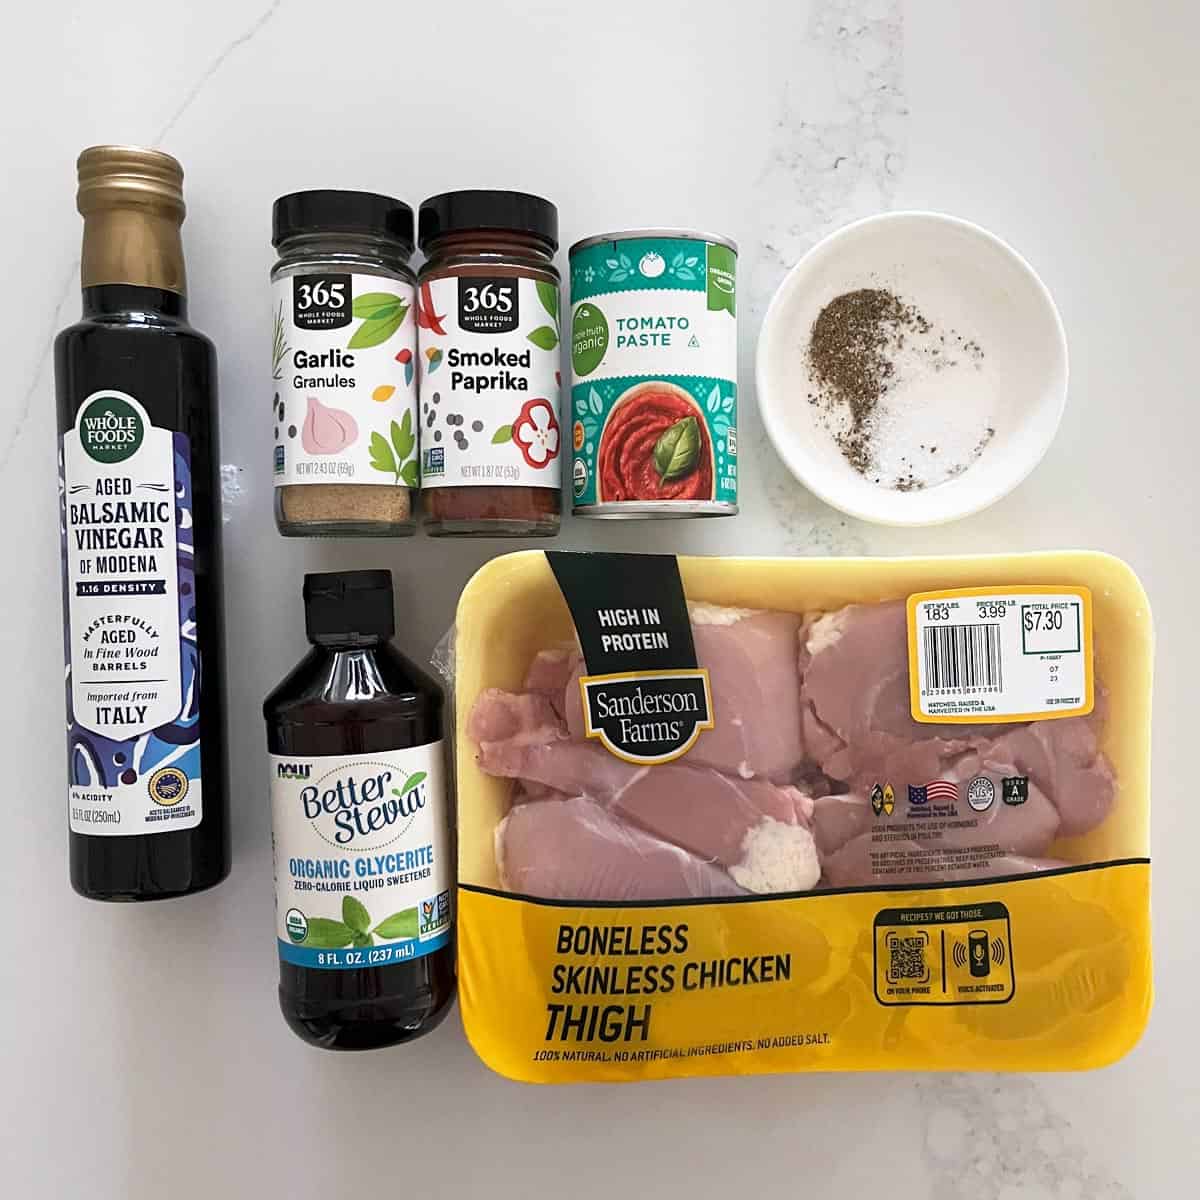
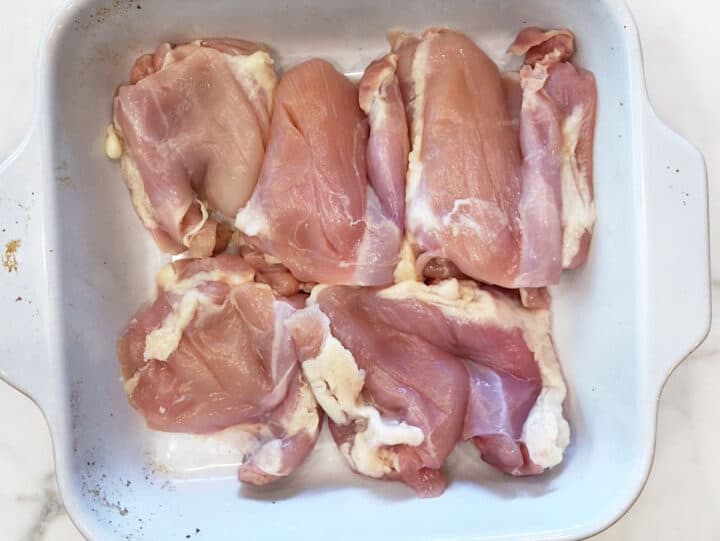
- Fresh chicken: I use boneless, skinless chicken thighs. I don't trim the fat - it helps the chicken stay moist and adds flavor. I don't recommend using chicken breast. It's too lean for slow-cooking.
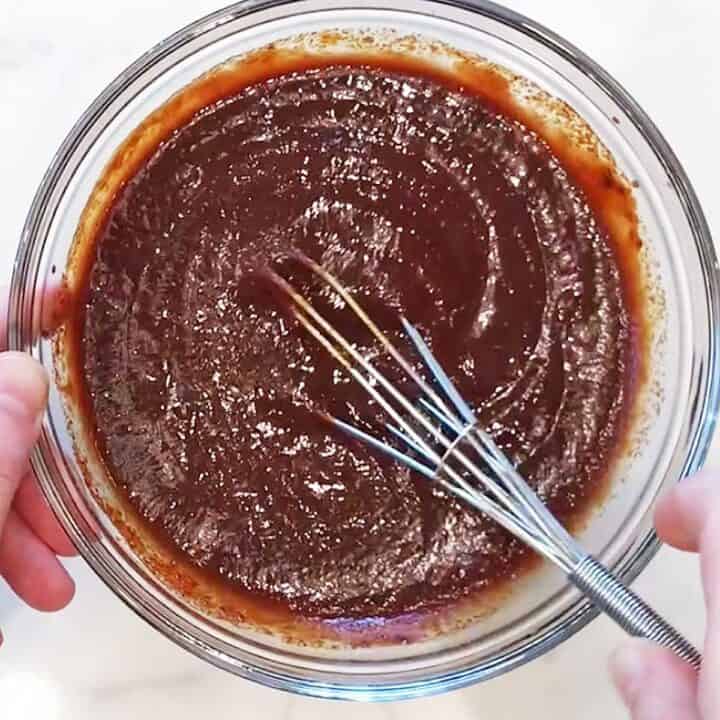
- For the homemade BBQ sauce: Tomato paste, balsamic vinegar, salt and pepper, garlic powder, smoked paprika, and a sweetener. Please use aged balsamic vinegar. A young one will be too acidic.
- Variations: Sometimes, I add ¼ teaspoon of cayenne pepper to make it spicy. Other additions I've tried and liked include a teaspoon of onion powder and ¼ teaspoon of ground cumin.
Instructions
The detailed instructions and step-by-step photos are included in the recipe card. Here's a quick overview.
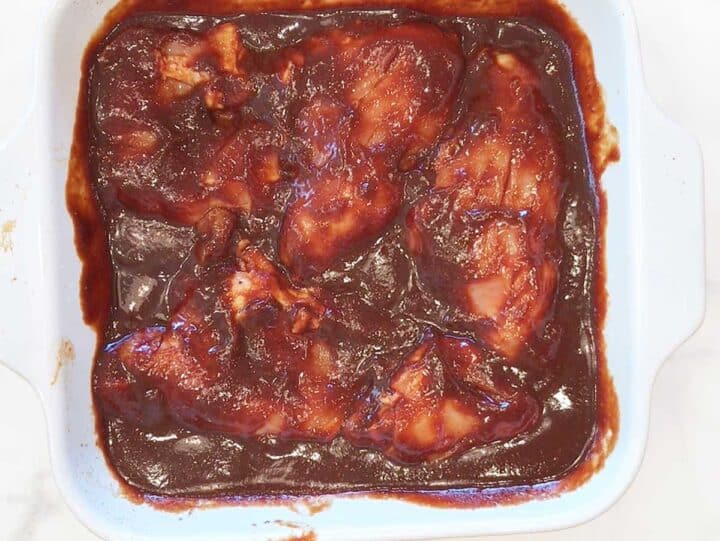
Mix the homemade BBQ sauce. Place the chicken in a baking dish. Add the sauce, making sure it covers the chicken.

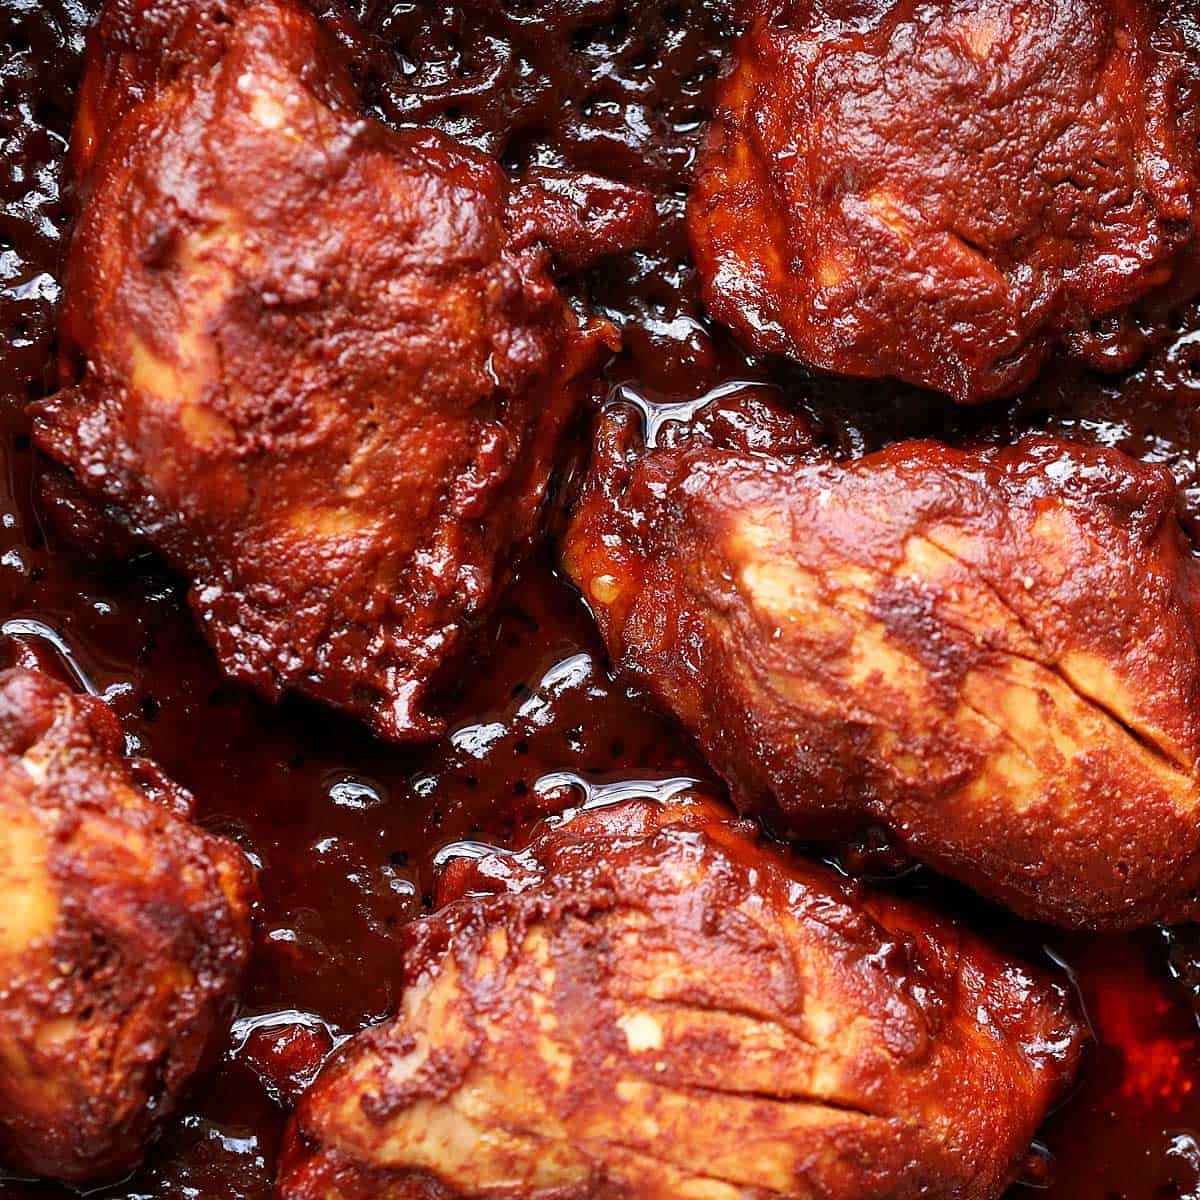
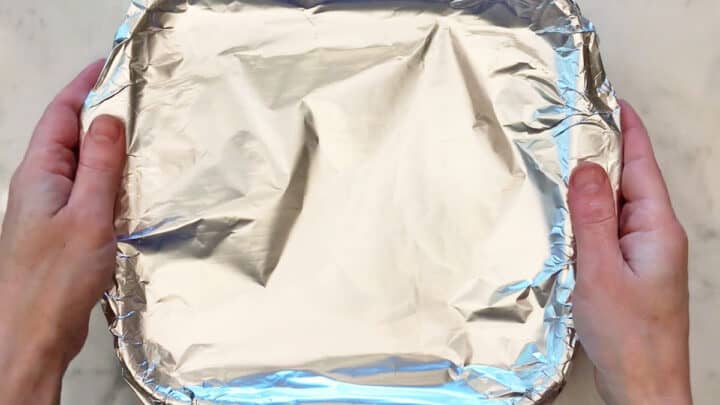
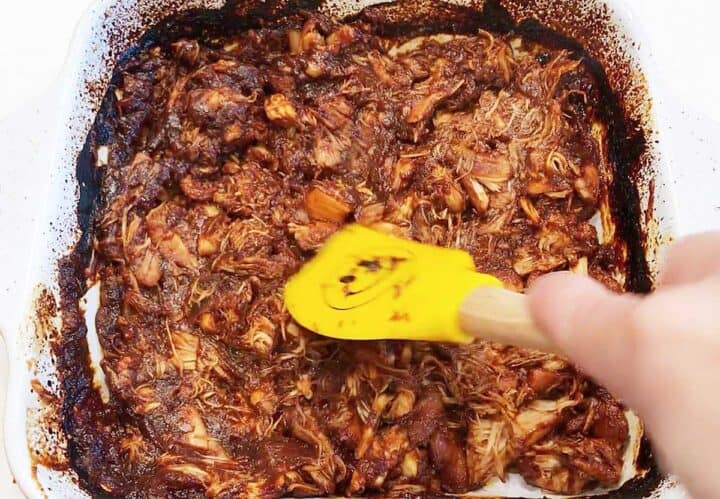
Cover the pan in a double layer of foil and bake the chicken in a 300°F oven for 3-4 hours, until very tender. The image below shows what the chicken looks like when done. Gorgeous!
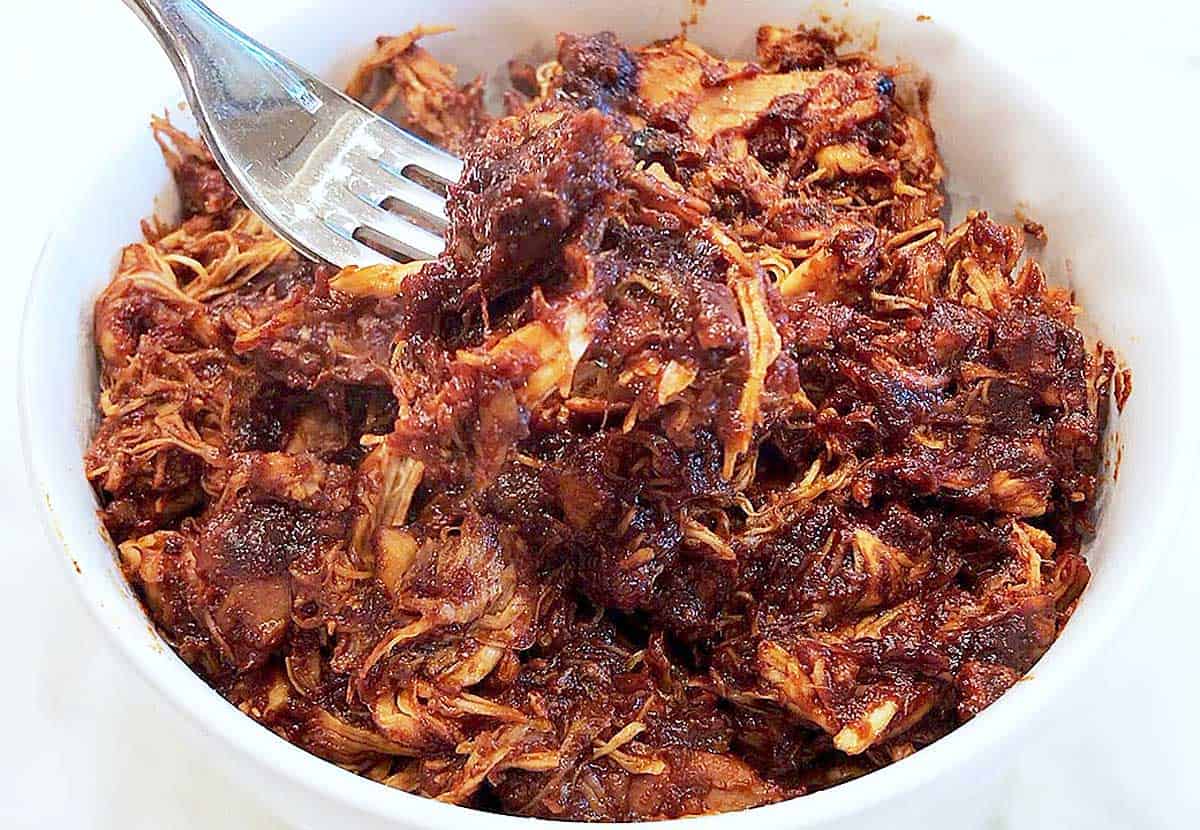
Shred the chicken with two forks or a spatula, mix it well with the BBQ sauce, and serve.
This was amazing! I can't stop eating it just out of the bowl and can't believe it is protein and good for me. I'm not limiting carbs so I've added a couple teaspoons of brown sugar. I've also added maybe 2 tablespoons of Worcestershire sauce.
Lana
Read more comments
Recipe Tips
How long to cook the chicken
I usually bake the chicken for three hours. Baking for 4 hours makes the chicken exceptionally tender, but if you bake it for that long, the barbecue sauce sometimes reduces too much, even with the foil.
In fact, pressed for time one afternoon, with only two hours until dinner, I baked the chicken at 400°F, covered, for 2 hours. The result was delicious and moist, so this is an option if you're in a rush.
Easy cleanup tips
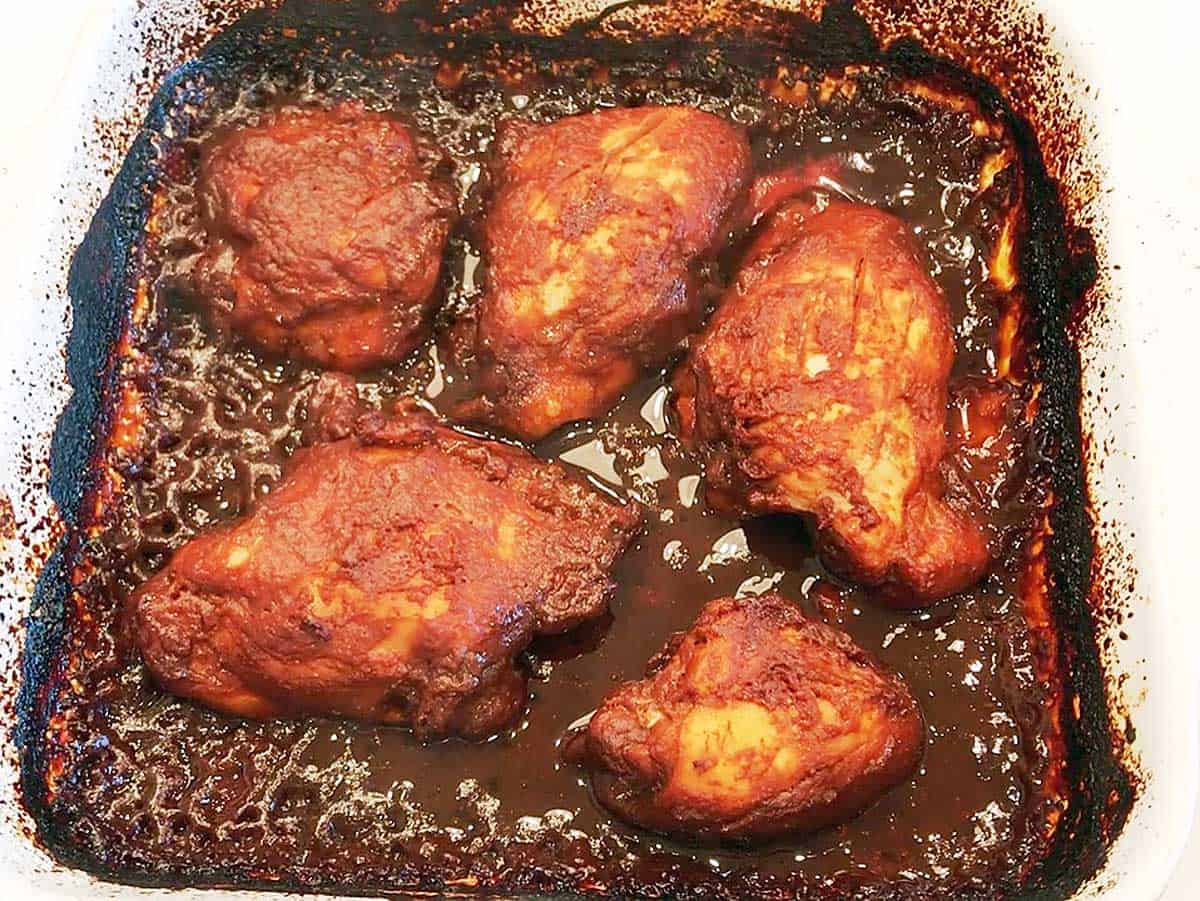
One important tip is to line the bottom and sides of the baking dish with foil. The barbecue sauce gets beautifully caramelized as the dish slowly bakes, making for a delicious dinner - and a tough cleanup job later on, as shown in the photo below.
However, if you prefer not to use foil when cooking, let the baking dish cool a little (so it doesn't explode), then fill it with hot, soapy water. Let it soak overnight on a dishtowel on the counter (never put a hot Pyrex dish directly on a cold counter). The following day, cleanup is a breeze.
Recipe FAQs
No. Only aged balsamic vinegar works in this recipe. However, you want it aged, but not super-aged. Very aged balsamic can make the dish quite sweet. It'll still be delicious - just noticeably sweet.
You can tell how aged the vinegar is by checking the nutrition label. The brand I usually use has 5 grams of sugar per tablespoon. Super-aged balsamic is highly viscous and can have 10 grams per tablespoon. When I tested it in this recipe, the chicken came out too sweet for my palate.
Yes. Using store-bought BBQ sauce is a timesaver and also a good way to vary the recipe, making it slightly different each time. Just remember that these sauces are often high in sugar.
Yes. You can use any sweetener to equal 2 tablespoons of sugar, including maple syrup.
Please don't. It adds flavor and helps prevent this slow-cooked dish from drying out. As you can see in the photo below, I leave the chicken untrimmed. 
You can keep the leftovers refrigerated in an airtight container, such as the one shown in the image below, for 3-4 days. It's best to reheat them gently to avoid drying them. Reheat them in the microwave, covered, at 50% power.
You can also freeze the cooled leftovers for up to three months. It's best to portion them, place the portions in microwave and freezer-safe containers, and freeze them. You can thaw each portion as needed overnight in the fridge, then reheat it covered in the microwave.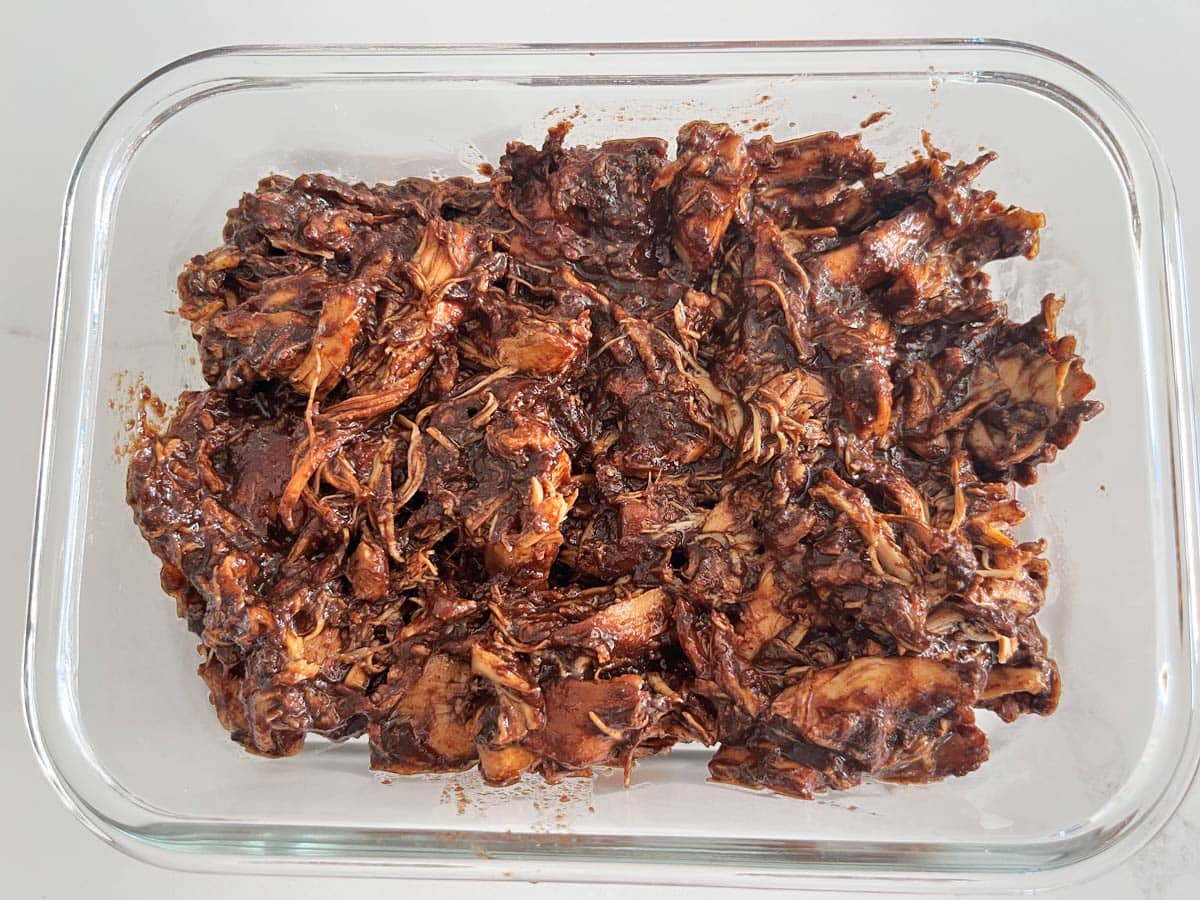
Serving Suggestions
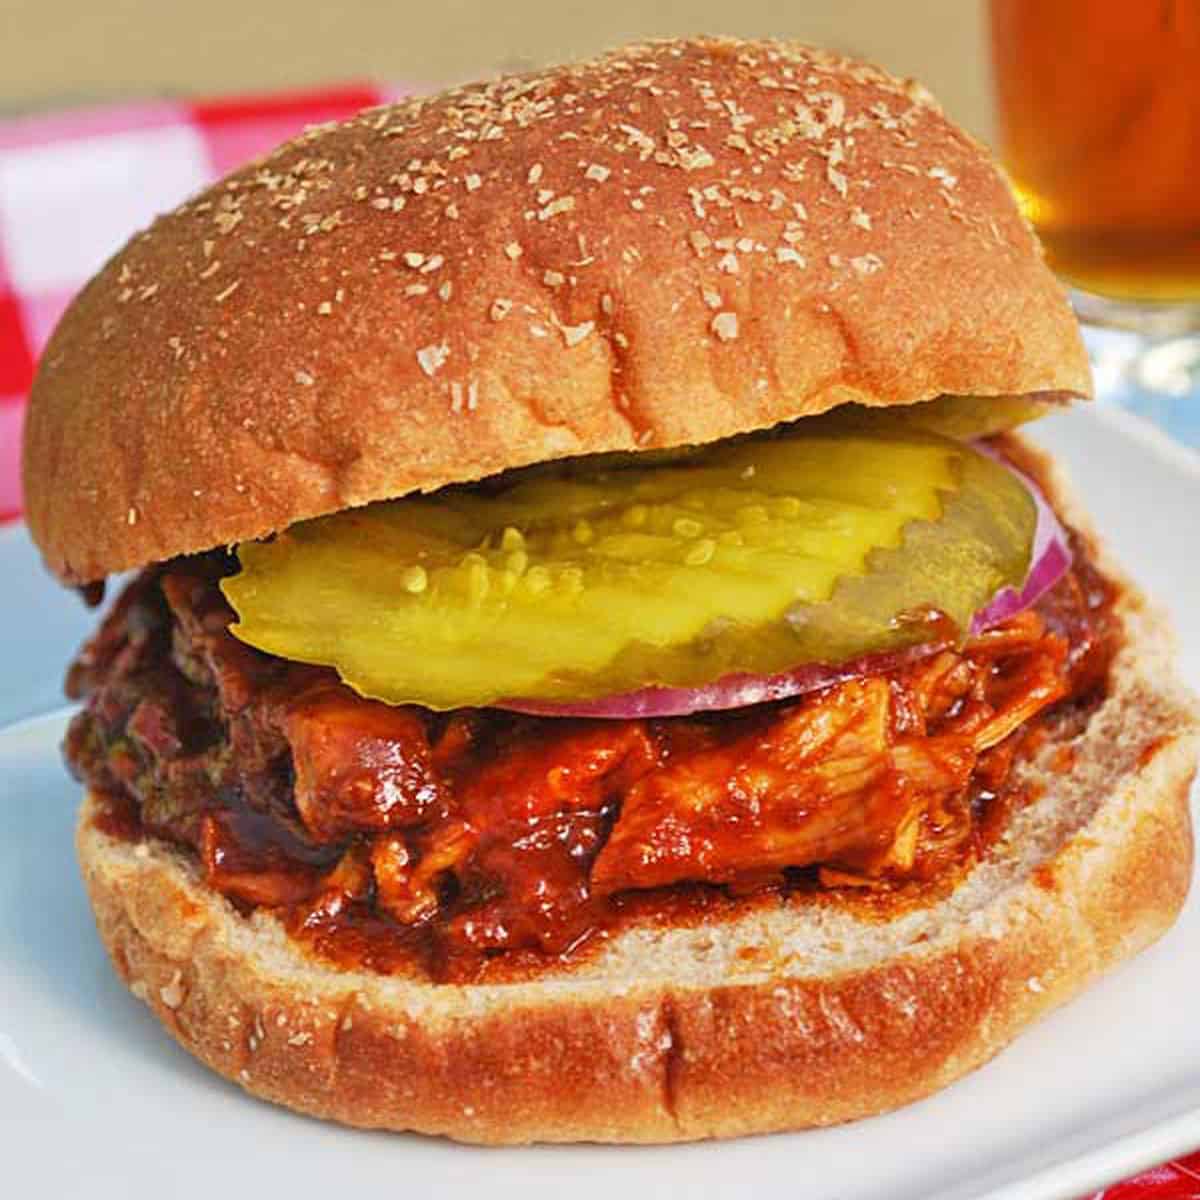
The classic way to serve pulled chicken is in a hamburger bun with pickles, as shown in the image below. You can use a gluten-free or low-carb bun if needed.
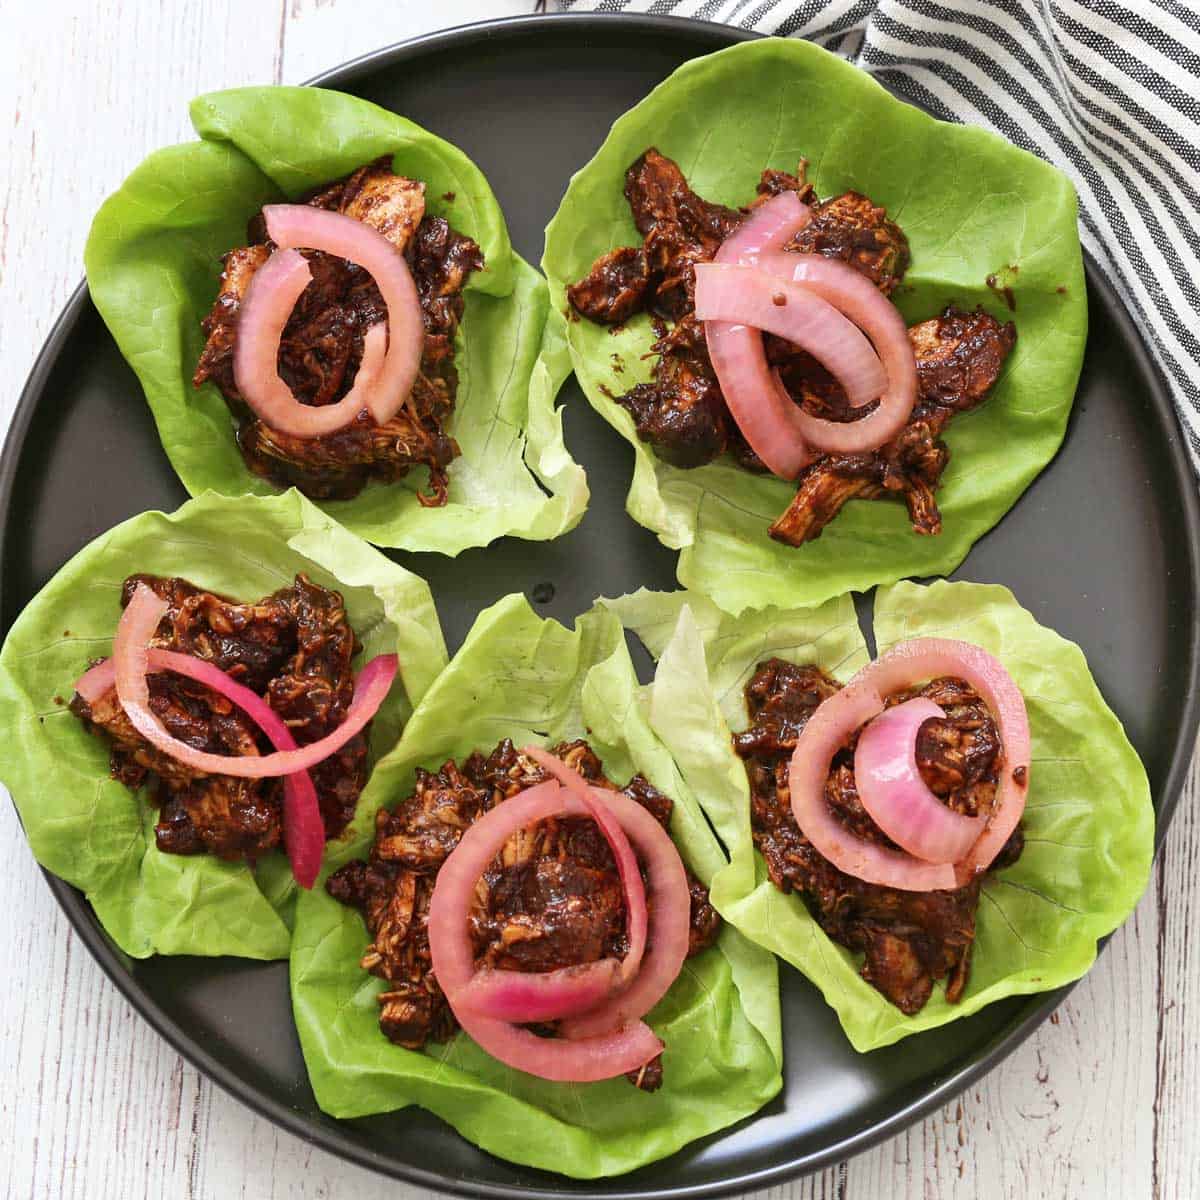
In the photo below, you can see it served in lettuce wraps and topped with pickled red onions.
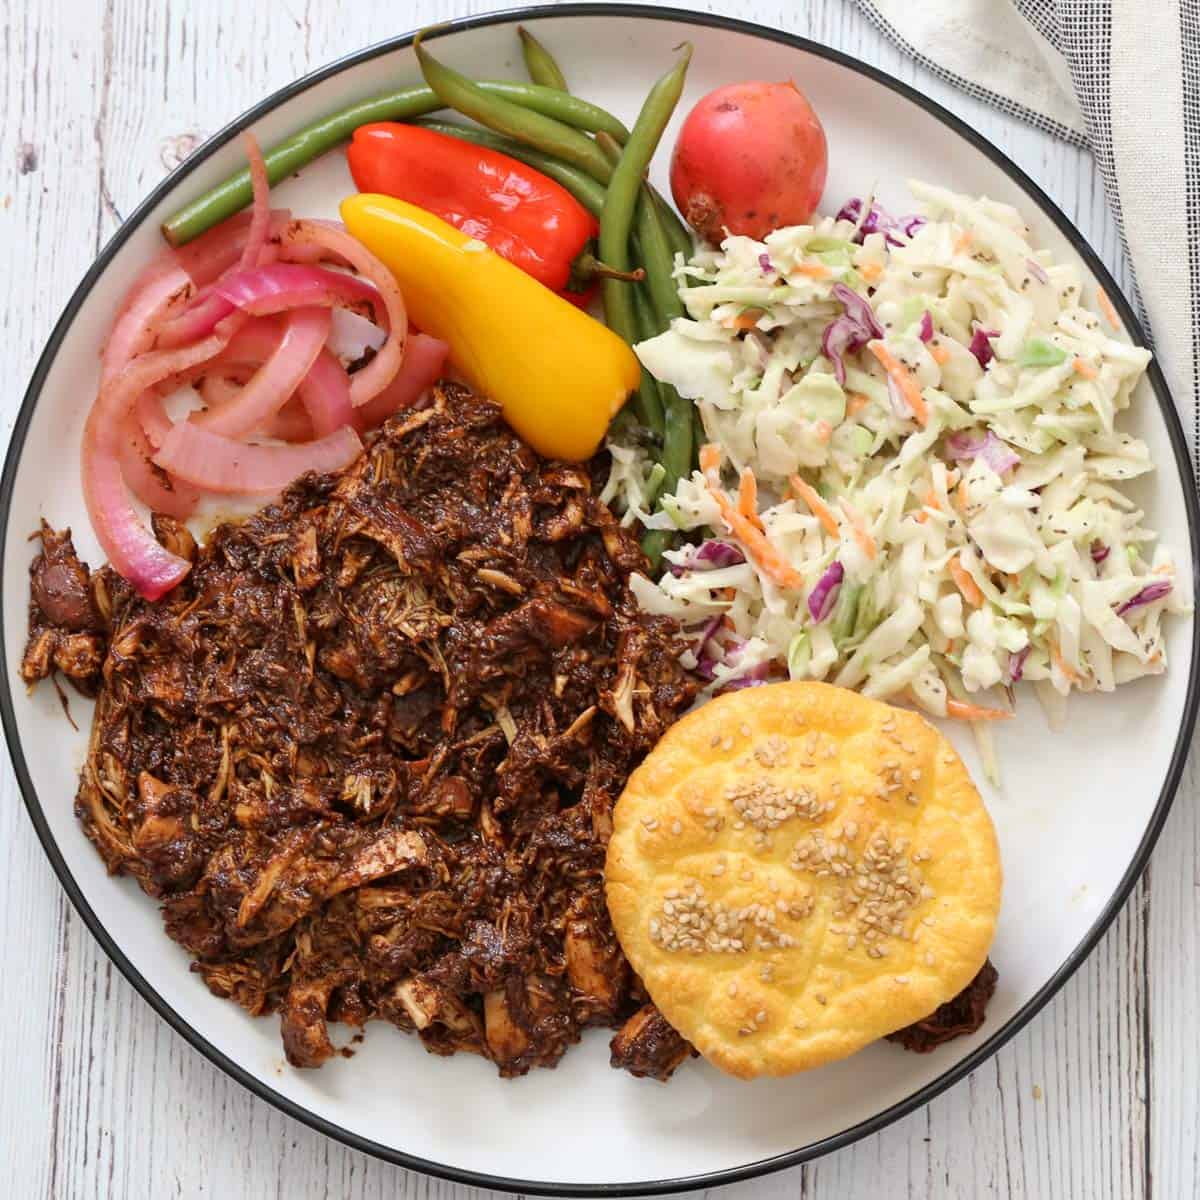
You can also make a plate, like the one shown below, with pulled chicken, coleslaw, quick pickles, and bread (I used cloud bread).
Recipe Card
Oven-Baked Pulled Chicken
Video
Ingredients
- 1 ½ pound boneless skinless chicken thighs
Barbecue sauce:
- ¾ cup tomato paste - 7-ounce jar
- ¾ cup aged balsamic vinegar
- ½ teaspoon sea salt
- ½ teaspoon black pepper
- 1 teaspoon garlic powder
- 1 teaspoon smoked paprika
- ½ teaspoon stevia glycerite
Instructions
- Preheat the oven to 300°F. Place the chicken thighs in an 8-inch square baking dish. Make a few slits in the chicken with a sharp knife.1 ½ pound boneless skinless chicken thighs

- To make the barbecue sauce, mix the tomato paste, balsamic vinegar, salt, pepper, garlic powder, smoked paprika, and sweetener in a medium bowl.¾ cup tomato paste , ¾ cup aged balsamic vinegar, ½ teaspoon sea salt, ½ teaspoon black pepper, 1 teaspoon garlic powder, 1 teaspoon smoked paprika, ½ teaspoon stevia glycerite

- Pour the sauce over the chicken, coating it evenly. Use your hands to ensure the sauce not just covers the chicken but also gets inside the slits.
- Cover the baking dish tightly with a double layer of foil and place it in the oven. It will start to smell amazing after about 2 hours, but you should cook it for 3 hours, until it is very tender.

- Remove the pan from the oven. Carefully remove the foil - hot steam will escape - and allow the dish to cool for about 5 minutes until easier to handle.
- Using a knife and fork or a rubber spatula, shred the chicken in the baking dish and toss it with the sauce.

- Serve immediately.


Notes
- Serving size: The recipe makes about 3 cups. Each serving, a quarter of the recipe, is about ¾ cup.
- Sweetener: You can replace the stevia with 2 tablespoons of maple syrup. Each serving of this version has about 332 calories, 22 grams of carbs, and 10 grams of sugar. Saltiness and sweetness preferences are highly personal. Adjust to taste.
- Vinegar: While it's important to use aged balsamic vinegar, stick with one with about 5 grams of sugar per tablespoon. Those with 10 grams of sugar per tablespoon are too sweet, at least to my palate.
- How long to bake: I usually bake this dish for three hours. Baking for four hours makes the chicken exceptionally tender. But if you bake for so long, the barbecue sauce sometimes reduces too much despite the foil. In fact, pressed for time one afternoon, with only two hours until dinner, I baked the chicken at 400°F, covered, for 2 hours. The result was delicious and moist, so this is an option if you're in a rush.
- Cleanup tips: The barbecue sauce gets beautifully caramelized as the dish slowly bakes, which makes for a delicious dinner - and a tough cleanup job later on. So, you should line the baking dish with foil. If you prefer not to use foil, allow the baking dish to cool a little (so it doesn't explode), then fill it with hot, soapy water. Let it soak overnight on a dishtowel on the counter (never put a hot Pyrex dish directly on a cold counter!). The following day, cleanup is a breeze.
- Storing leftovers: You can keep the leftovers in a sealed container in the fridge for 3-4 days. Reheat them in the microwave, covered, at 50% power. You can also freeze the cooled leftovers for up to three months.
Nutrition per Serving
Save this Recipe!
We will also add you to our weekly newsletter. Unsubscribe anytime. See healthyrecipesblogs.com/privacy/ to learn how we use your email.
Disclaimers
Most recipes are low-carb and gluten-free, but some are not. Recommended products are not guaranteed to be gluten-free. Nutrition info is approximate - please verify it. The carb count excludes non-nutritive sweeteners. Please read these Terms of Use before using any of my recipes.


Molly says
I doubled the recipe and used a 9 x 13 pan. Worked perfectly. Used maple syrup to sweeten. Amazing.
Vered DeLeeuw says
Glad you liked it, Molly! Many thanks for the review.
Christine Kuznicki says
Can I use chicken breast and can I double it?
Vered DeLeeuw says
Hi Christine,
I don't recommend using chicken breast. It's too lean for slow-cooking.
You can double the recipe and use a 9x13-inch pan.
Suzie says
Tasted too vinegary. How do I compensate next time? I used Kirkland aged balsamic vinegar.
Vered DeLeeuw says
Hi Suzie,
If you mean this vinegar, it's a great one. Balsamic vinegars can vary quite a bit in acidity, though, and some taste sharper than others when used in larger amounts.
Next time, you can try adding a bit more sweetener to balance the acidity. Another option is to slightly reduce the vinegar (try reducing it by 2-4 tablespoons) and add chicken broth instead to mellow the sauce.
I hope this helps!
KENNETH PELTON says
Winner, winner chicken dinner!!!
Vered DeLeeuw says
Haha I'm so glad you liked it, Kenneth! Thank you very much for the review.
Lori says
Aloha,
How long and what temp (high/low) would it cook in a crock pot?
Mahalo(Thank you)
Vered DeLeeuw says
Aloha, Lori
Cook for 6-8 hours on LOW or 3-4 hours on HIGH. If you have a standard 6-quart slow cooker, you'll need to double the recipe. If your slow cooker is small (4 quarts), you can make the recipe as is.
Jennifer Anderson says
Can you triple this recipe?
Vered DeLeeuw says
Hi Jennifer,
Yes. Triple all the ingredients. Use a 9×13-inch baking dish and make sure the chicken is in one layer so it cooks evenly. Cooking time should stay about 3 hours at 300°F, but if you layered the chicken or it's very crowded in the pan, it might need 30–45 extra minutes until very tender. If the sauce reduces too much, add 2–4 tablespoons of water near the end.
Jackie says
Has anyone tried this recipe in an air fryer?
Ray Richiardi says
I love the look of the recipe. As somebody who avoids sugar and sweeteners, I should like to know why sweeteners are necessary.
Vered DeLeeuw says
Hi Ray,
Without a sweetener, the homemade barbecue sauce is too tangy for most palates.