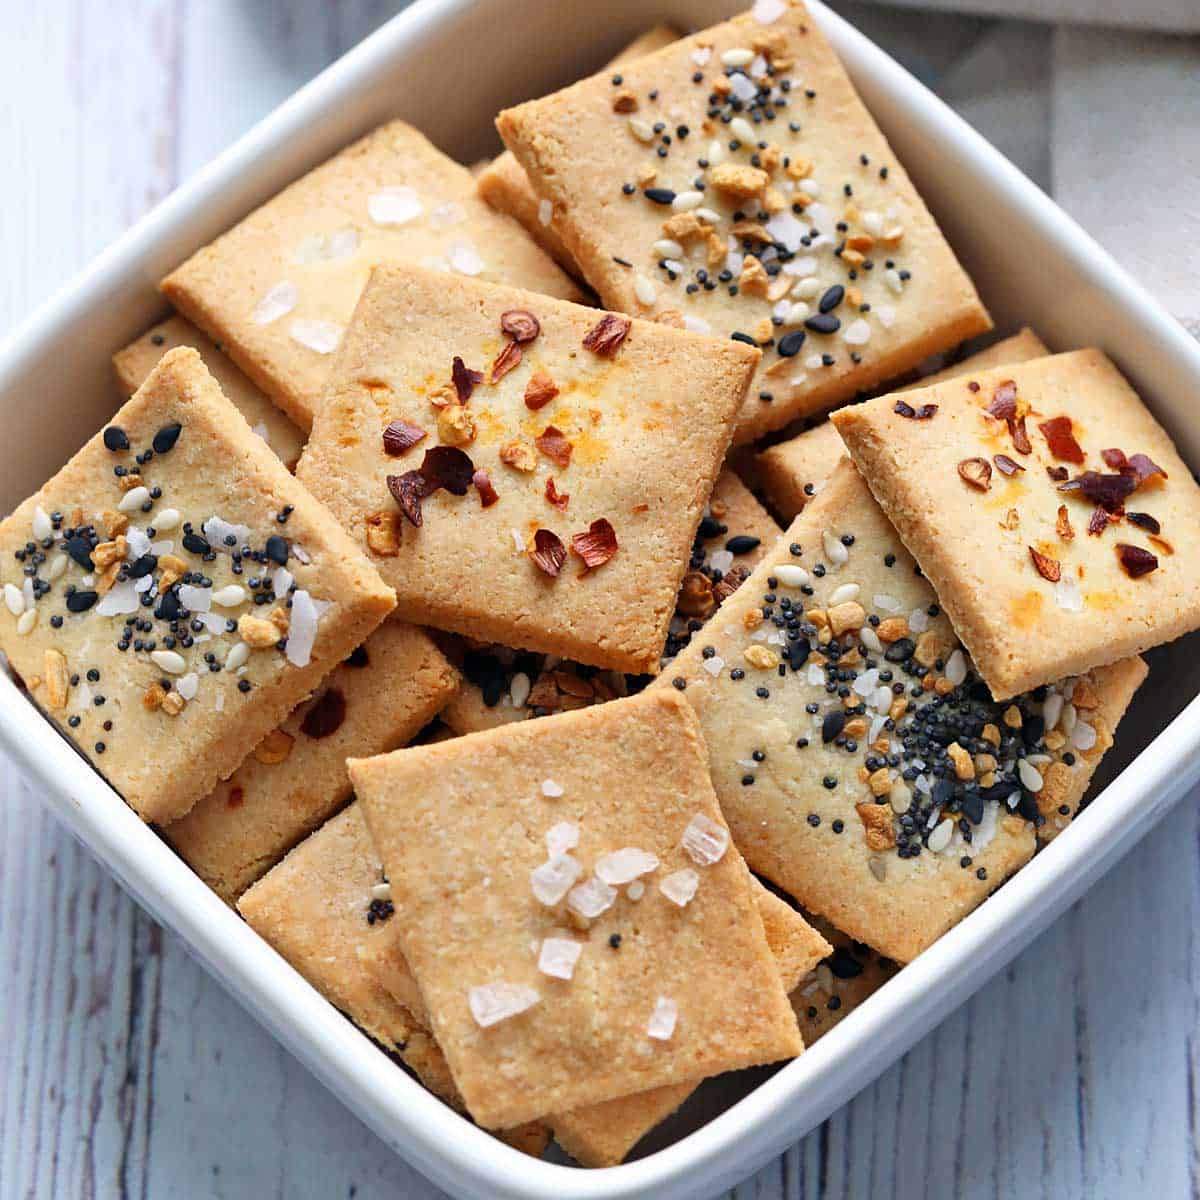
These 3-ingredient almond flour crackers are savory, crispy, and flavorful. The almond flour gives them a wonderfully nutty flavor.
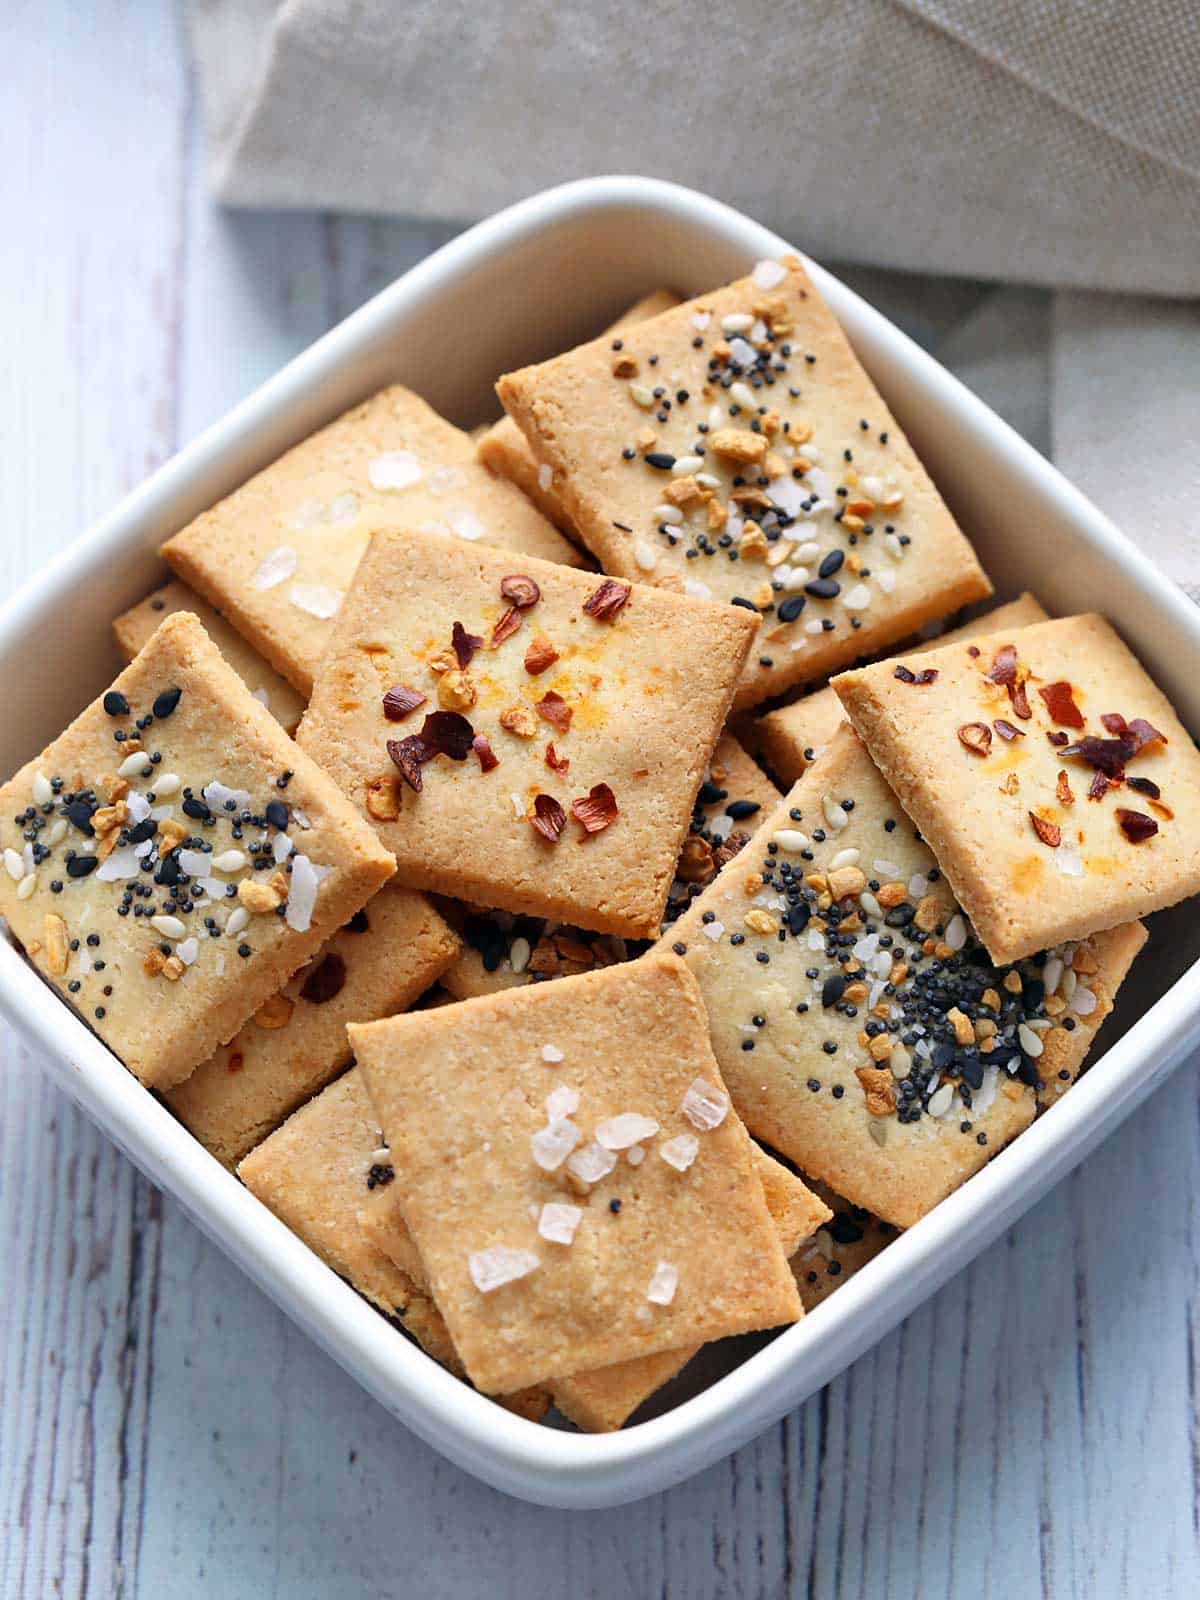
These keto crackers amazed me when I first made them. I expected a compromise, but these are just as good as wheat crackers. You can top them with many fun toppings, including Everything but the Bagel seasoning, sesame seeds, red pepper flakes, and more.
Ingredients
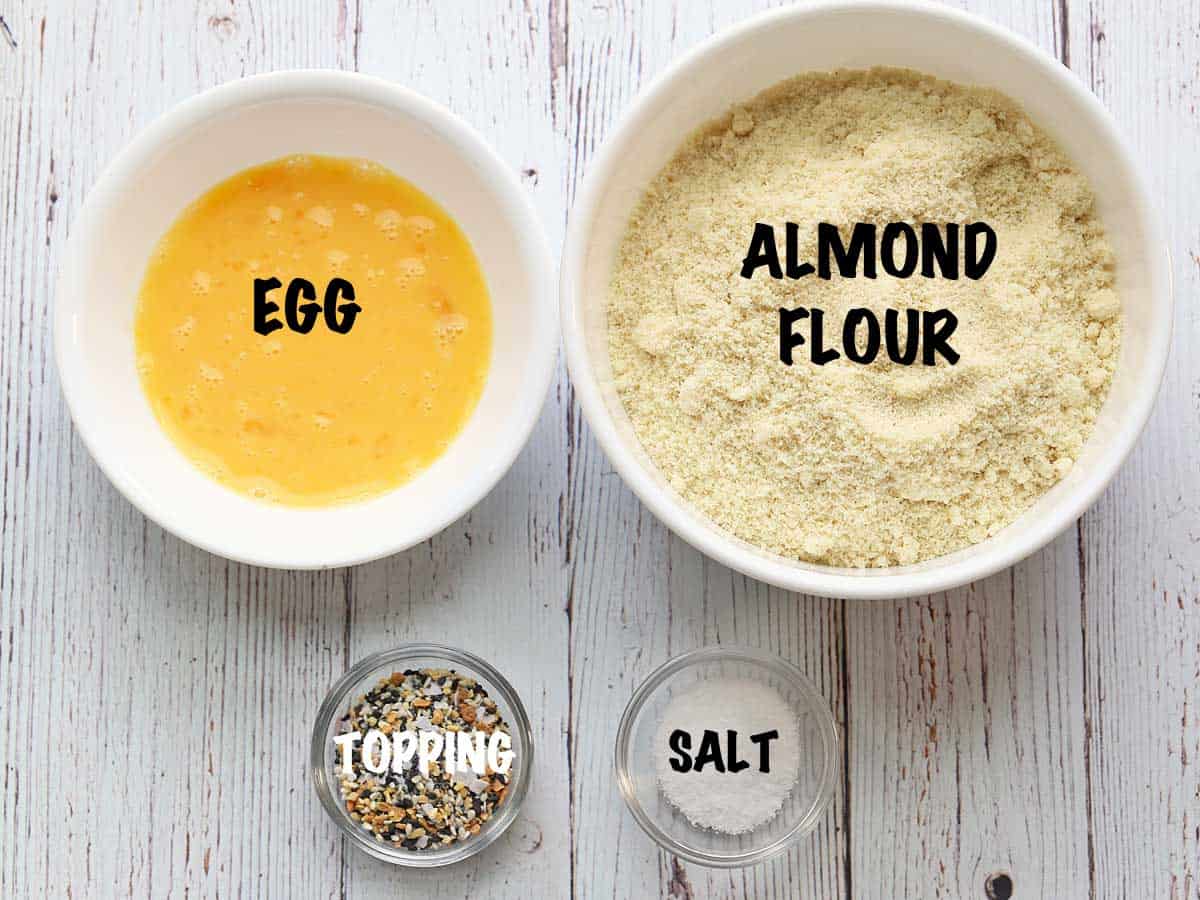
See the recipe card for exact measurements. Here are my comments on the ingredients.
- Almond flour: I use superfine almond flour.
- Egg: I use large eggs in most of my recipes, including this one.
- Salt: I use sea salt.
- Optional toppings: I typically use Everything but the Bagel seasoning.
Variations
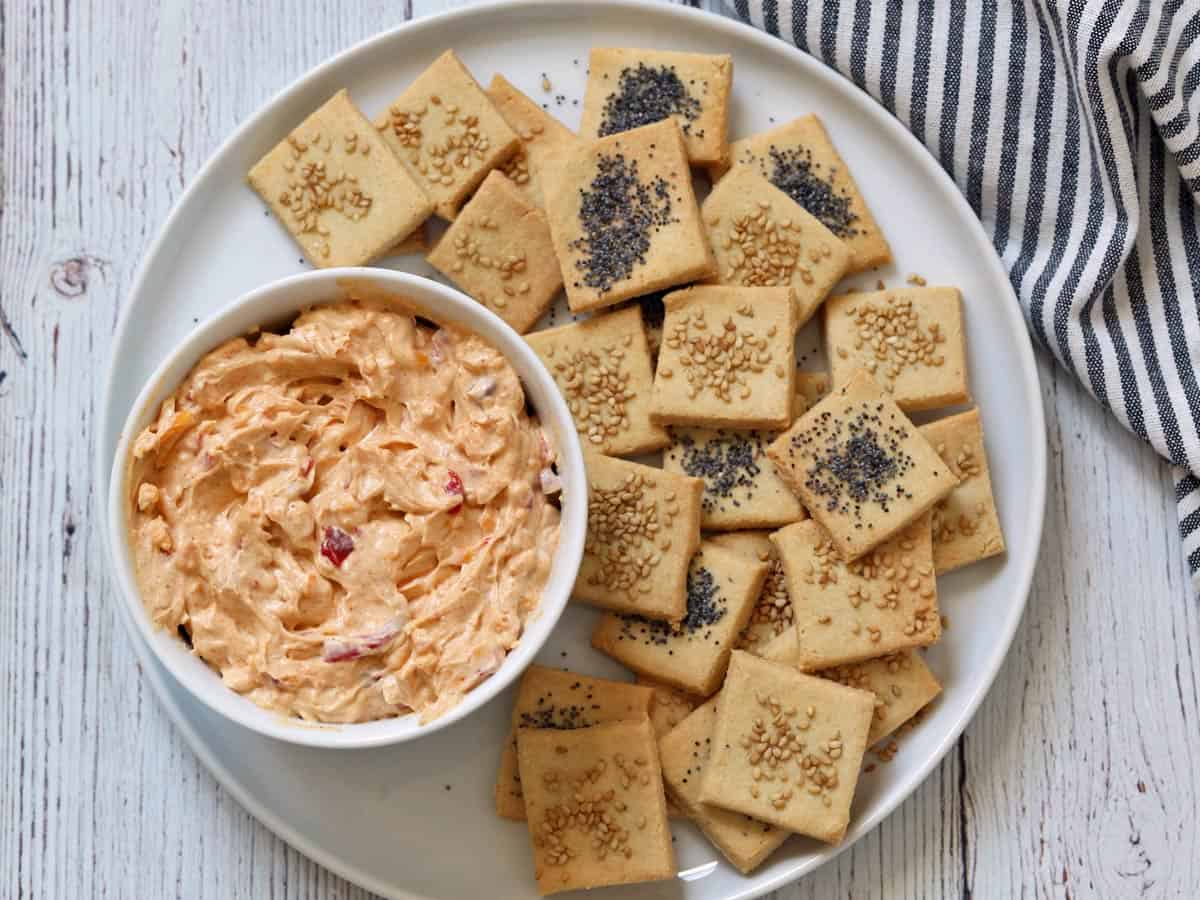
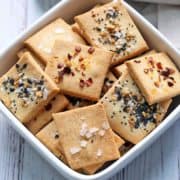
- The best way to vary this recipe is to use different toppings. I like to use Everything but the Bagel seasoning, but I also enjoy sesame seeds, poppy seeds, red pepper flakes, and coarse salt flakes. If you plan on topping these crackers with coarse salt, it's best not to add salt to the dough, or they'll be too salty. The image below shows a frequent variation I make with sesame and poppy seeds.

- Add a tablespoon of melted butter to the dough (and then you'll need just 1 tablespoon of water). It makes the crackers richer.
- Sometimes, I add ¼ cup of grated Parmesan for extra flavor. If you go this route, add an extra tablespoon of water to the dough.
Instructions
The detailed instructions and step-by-step photos are included in the recipe card. Here's a quick overview.
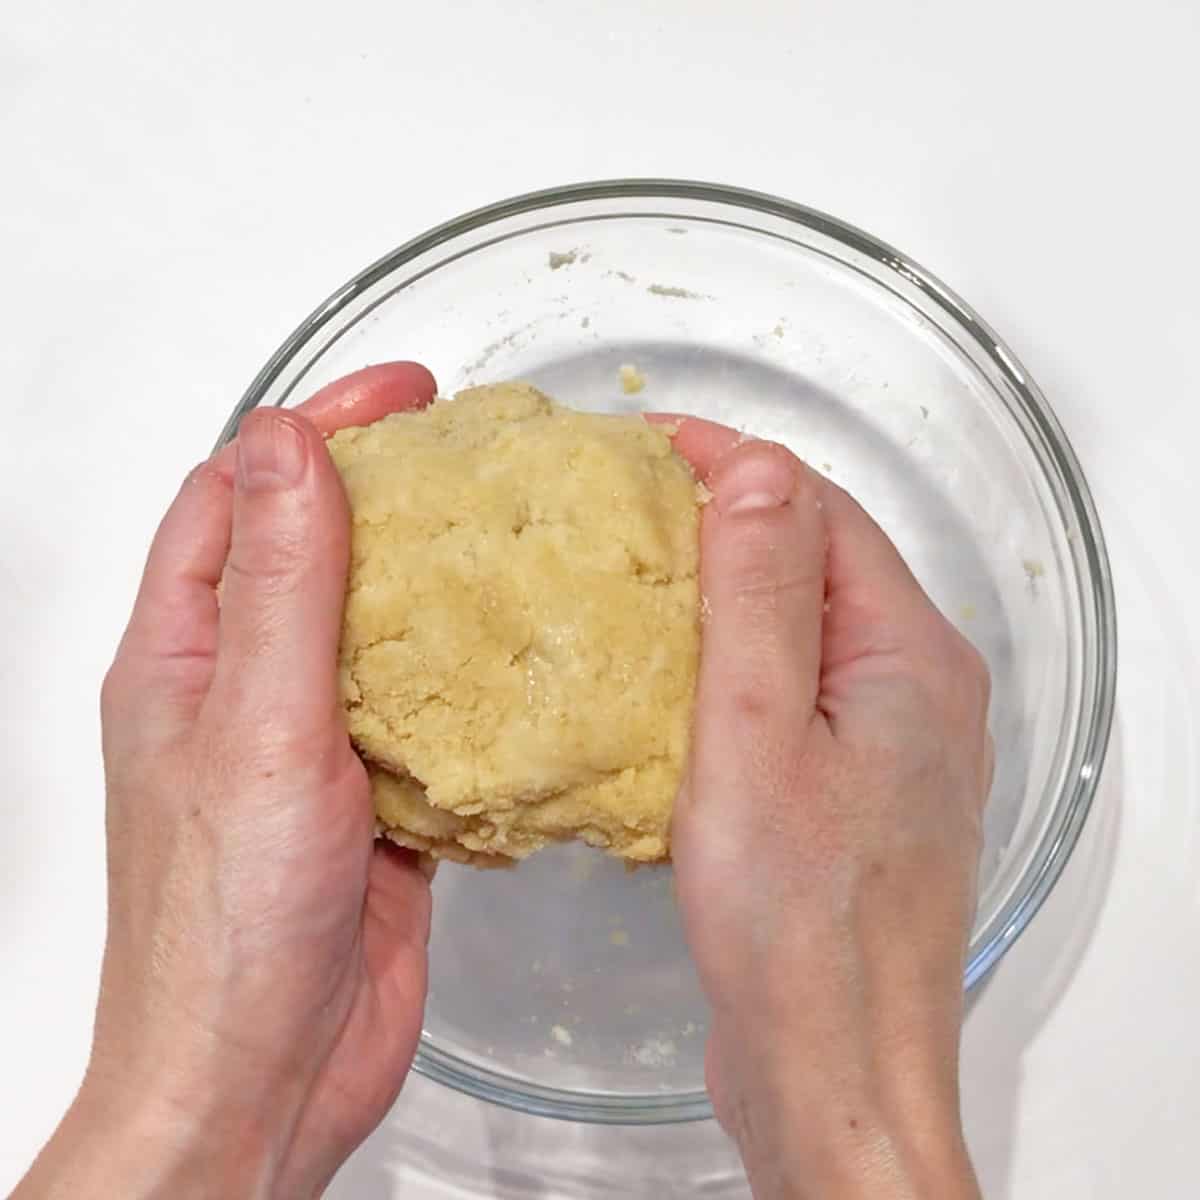
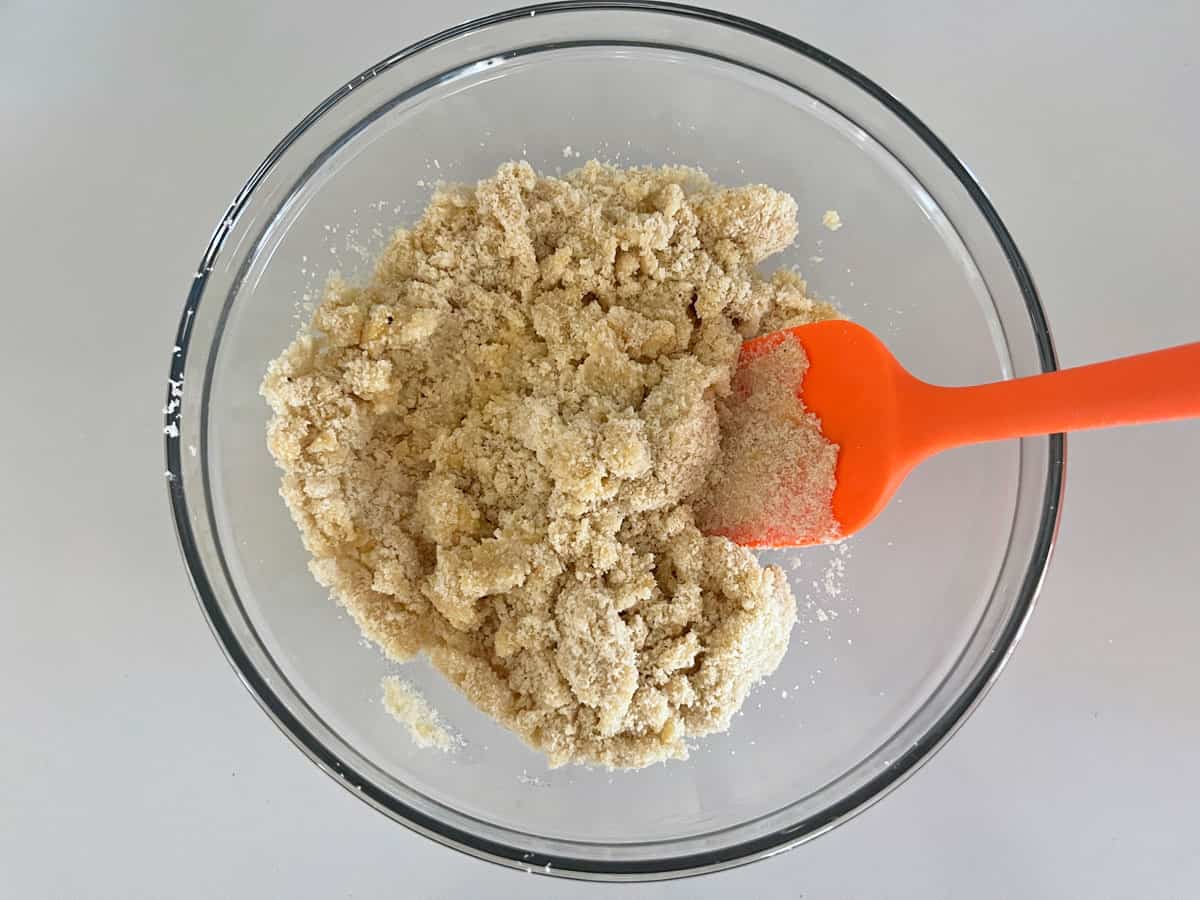
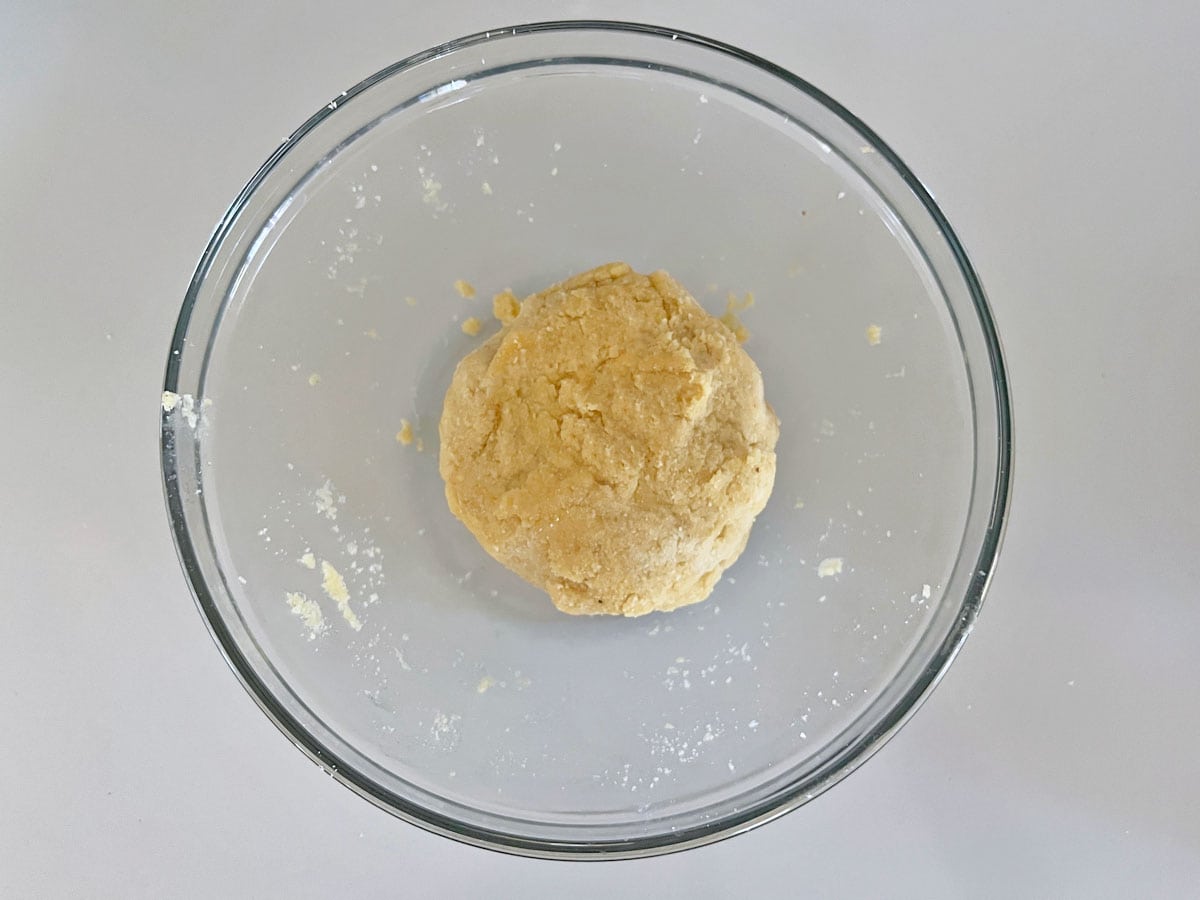
Mix the almond flour, salt, and egg plus a bit of water to form a cohesive dough.
Roll the dough out thinly between two sheets of parchment paper. Remove the top parchment sheet, and use a pizza cutter to cut the dough into squares. Transfer the crackers to a sheet pan and sprinkle them with your toppings.

Bake the crackers until browned. Let them cool on a cooling rack before serving. They crisp up as they cool.

I have made these crackers twice this week. I melted butter & brushed on before adding the toppings of coarse salt, Thyme, Rosemary, and shredded cheese blend. They are delicious.
Katherine Morvan
Read more comments
Recipe Tips
- It's best to use a rimless cookie sheet. This enables you to roll and cut the dough right on the pan. It's OK to use a rimmed baking sheet, but then you'll need to roll the dough and cut the crackers on parchment paper on your work surface, then carefully transfer them to the baking sheet. A rimmed baking sheet won't allow you the space needed to roll the dough.
- The crackers go from pale to brown fairly quickly, so keep an eye on them and check them often after the first 15 minutes. See the photo below - the ones on the edges brown faster than the ones in the middle of the pan, so you should remove them sooner.

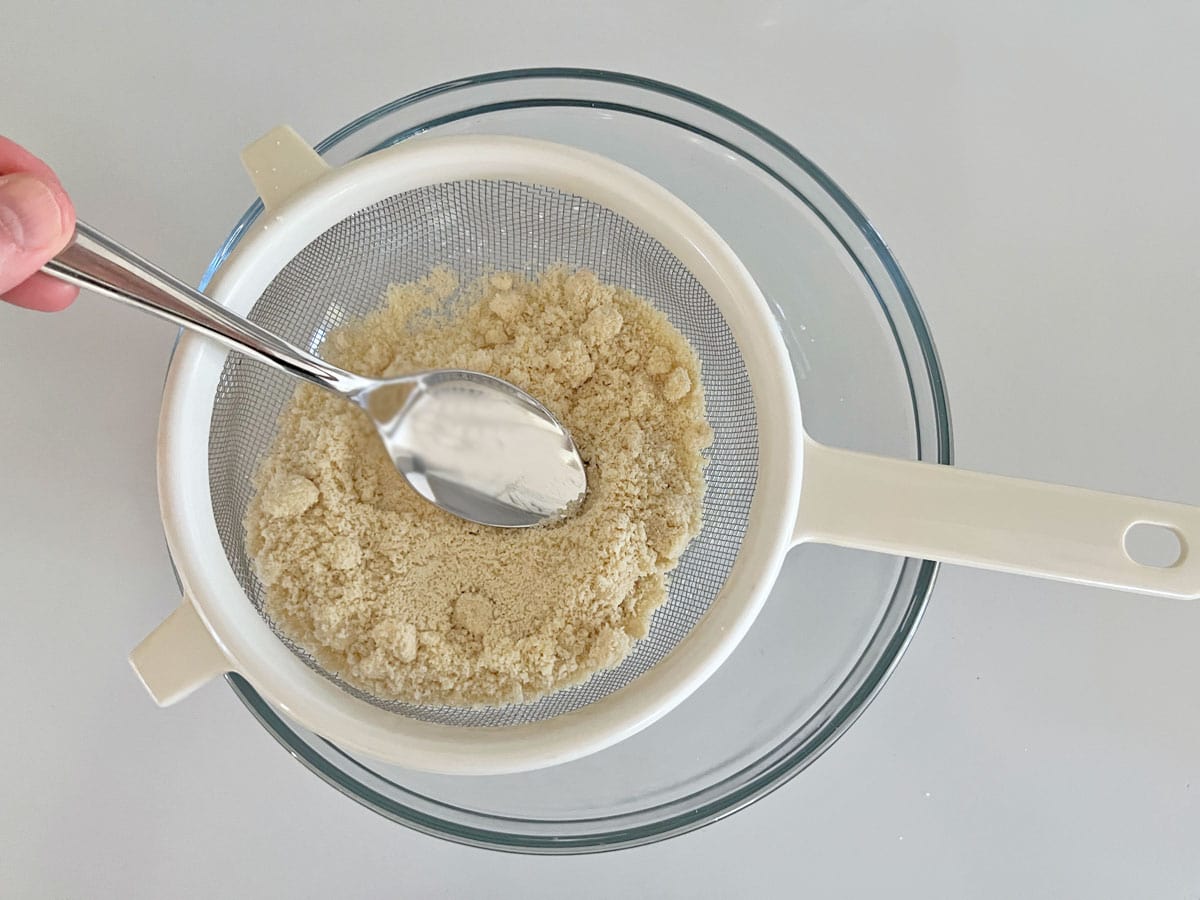
- Almond flour can have clumps. If yours does, push it through a strainer to remove the clumps, as shown in the photos below.

- The dough will start out crumbly. Add enough water to form a smooth, cohesive dough. The images below show the process.
Recipe FAQs
That would depend on how thin you roll the dough, how much of the dough scraps you use before giving up on them, and how large or small you cut the crackers. For me, this recipe consistently yields about 60 crackers. One serving is ten crackers.
I only tested this recipe with superfine almond flour.
Once completely cool, you can store these crackers in an airtight container at room temperature for up to 3 days. If you'd like to keep them longer than that, store them in an airtight container in the fridge for up to a week.
Place them in a 350°F oven for 5 minutes to crisp them back up before serving. In the photo below, you can see them in a pan alongside leftover cheese chips. I reheated both together. 
Yes. Once completely cool, you can freeze them in freezer bags (as shown in the photo below) for up to three months, separating layers with wax paper. Reheat them for a few minutes in a 350°F oven directly from their frozen state. 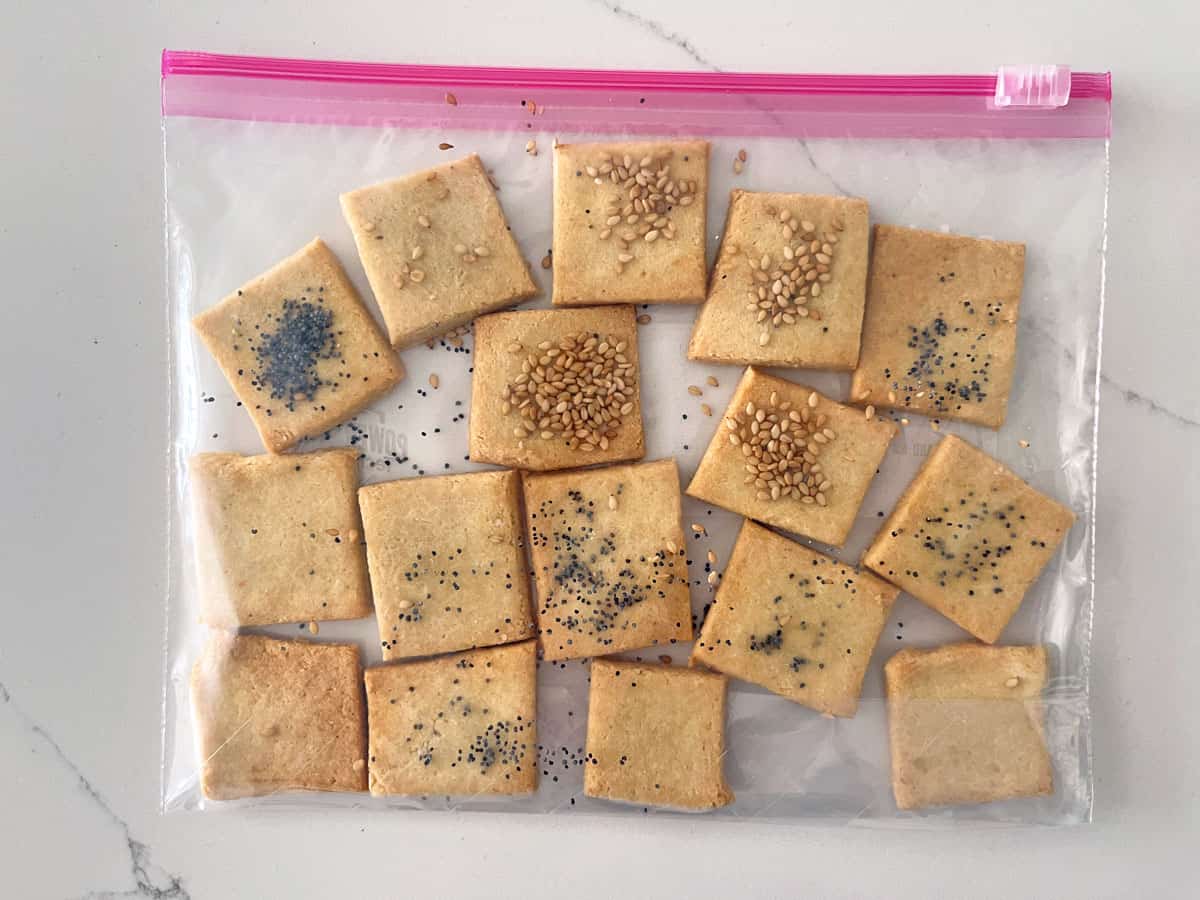
Serving Suggestions
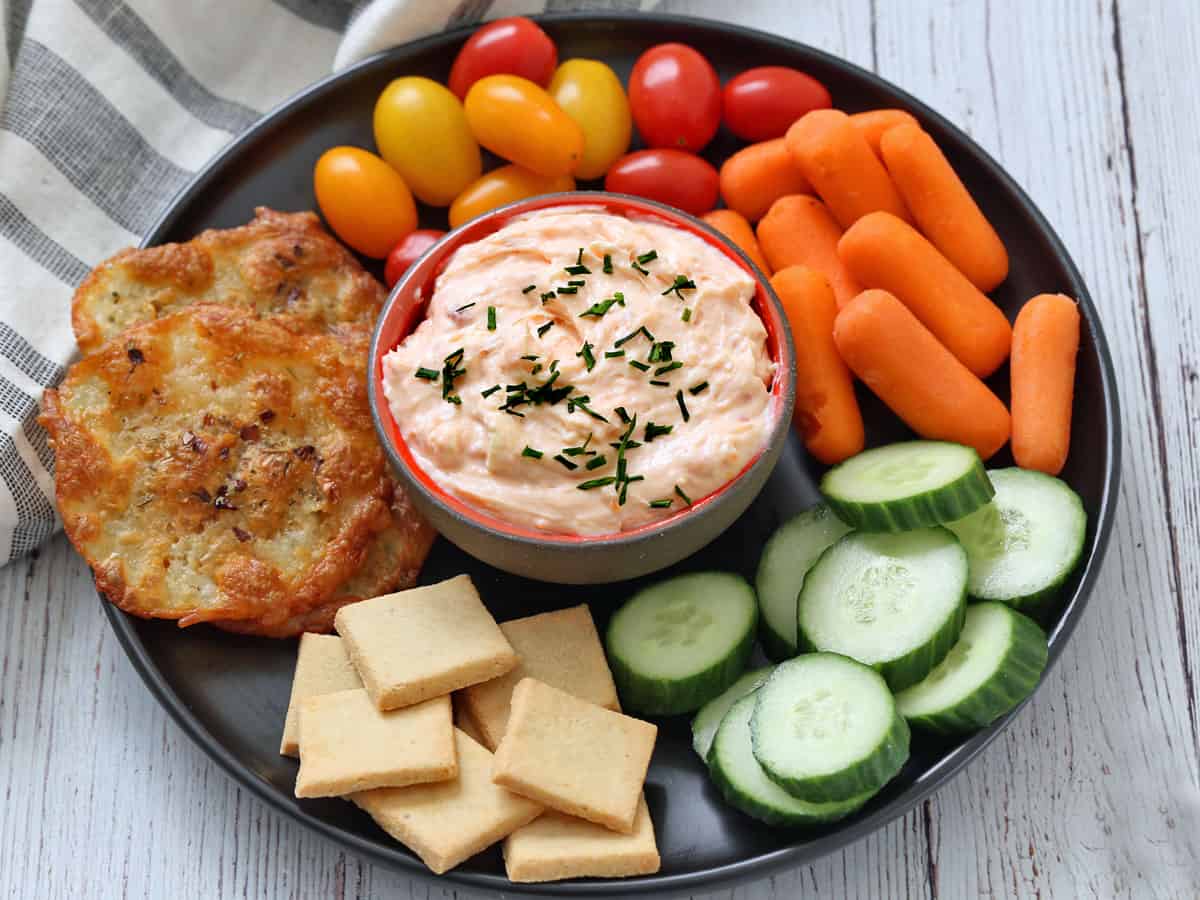
These crackers are delicious on their own as a snack. If you're in a fancy mood, serve them with salmon mousse (as shown in the image below), lobster salad, crab salad, chicken liver pate, or chopped liver.
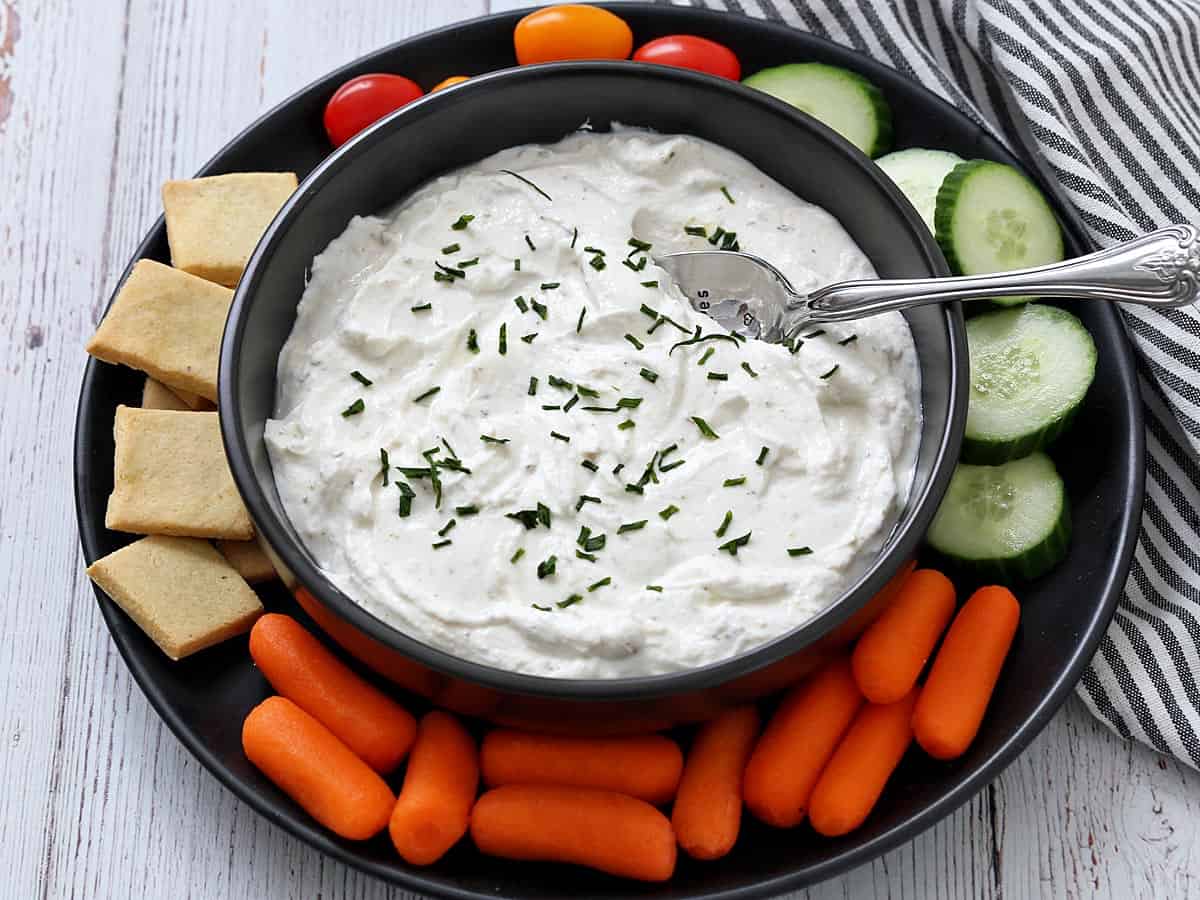
Or use them to scoop up baked brie, cream cheese dip, tahini sauce, Greek yogurt dip, tuna casserole, pimento cheese, or any other condiment that needs a vehicle to transfer into your mouth. The photos below show the crackers served with pimento cheese and Greek yogurt dip.
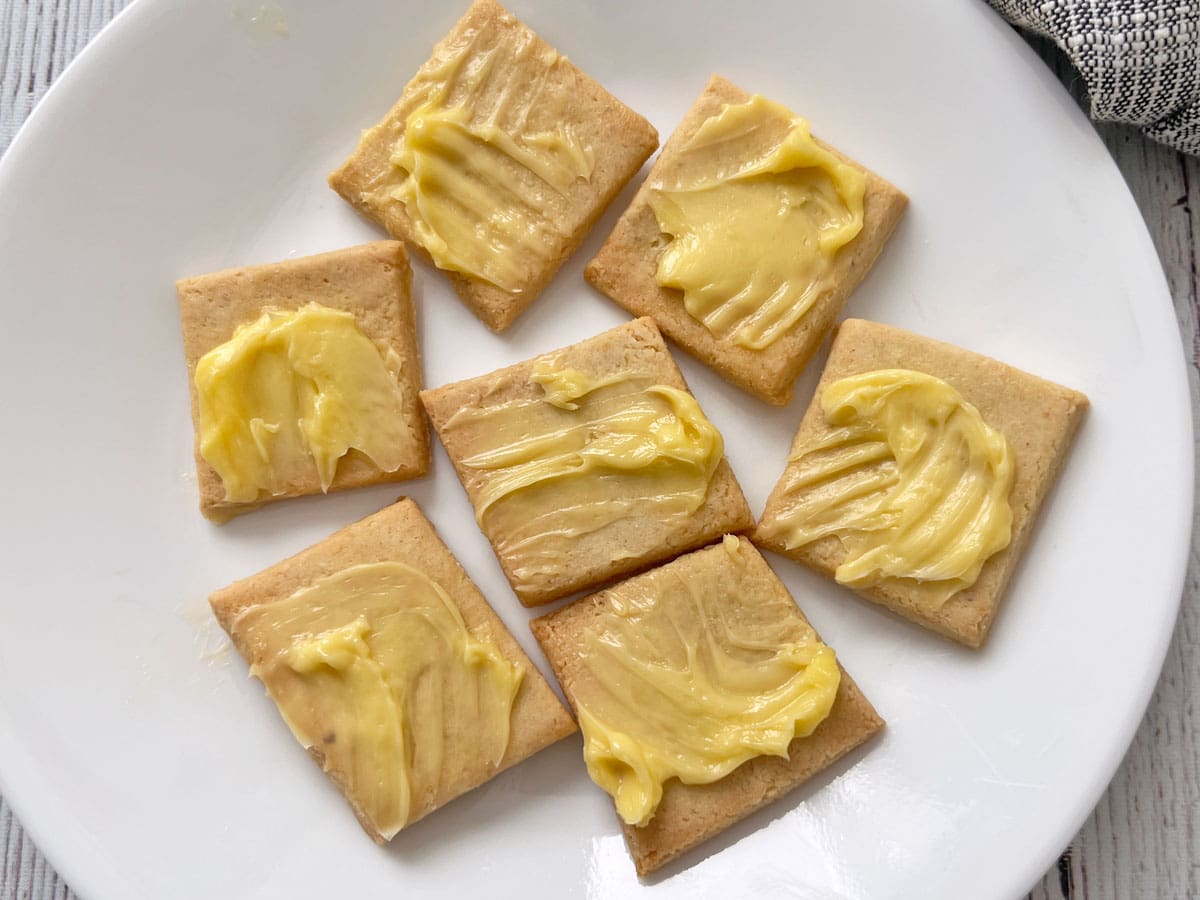
As much as all of these options are delicious, I most often top these crackers with a pat of salted butter, as shown in the photo below. I used to do that with Ritz crackers as a kid and teenager, and I really missed it. It was one of my childhood comfort foods. It's good to have a low-carb substitute!
Recipe Card
Crispy Almond Flour Crackers
Video
Ingredients
- 2 cups almond flour - 8 ounces; It's best to measure it by weight and not by volume
- 1 large egg - lightly whisked
- ½ teaspoon sea salt
Optional:
- Your choice of toppings - Such as Everything but the Bagel, red pepper flakes, and coarse salt
Instructions
- Preheat the oven to 350°F. Line a baking sheet with parchment paper.

- Place the almond flour, egg, and salt in a medium bowl. Mix with a rubber spatula, then with your hands, until the mixture forms into a dough. Add 1-2 tablespoons of water if needed.2 cups almond flour, 1 large egg, ½ teaspoon sea salt

- Place the dough on a sheet of parchment paper. Press it into a disc. Cover it with another sheet of parchment, and roll it out very thin, as thin as you can (about ⅛-inch thick).

- Remove the top parchment and cut the dough into 1-inch squares using a pizza cutter.
- Transfer the squares to the prepared baking sheet, spacing them ½-inch apart.
- Gather the scraps and re-roll them between two more sheets of parchment. Cut more crackers and add them to the baking sheet. If the dough becomes soft and difficult to work with, place it in the freezer for a couple of minutes to firm up.

- Sprinkle the crackers with the toppings. Place a sheet of parchment over the crackers and gently roll to help the toppings adhere (otherwise, they tend to fall off after baking).Your choice of toppings
- Bake until the crackers are golden brown and crispy, 15-20 minutes. If you're like me and didn't manage to roll your dough out evenly, you'll need to remove the thinner crackers first, then place the rest of them back in the oven.
- Cool the crackers for at least 15 minutes (and preferably 30 minutes) on a wire rack before enjoying them.


Notes
- Seasonings, especially salt, are guidelines. Adjust to taste.
- It's important to roll the crackers very thinly. If they're too thick, they won't be crispy.
- It's best to use a rimless cookie sheet. This enables you to roll the dough right on the baking sheet. It's OK to use a rimmed baking sheet like I do in the video, but then you'll need to roll the dough and cut the crackers on parchment paper on your work surface, then carefully transfer them to the baking sheet. A rimmed baking sheet won't allow you the space needed to freely roll the dough.
- The crackers go from pale to brown fairly quickly, so keep an eye on them and check on them periodically after the first 15 minutes.
- How many crackers this recipe makes will depend on how thin you roll the dough, how much of the dough scraps you use before giving up on them, and how large or small you cut the crackers. For me, this recipe consistently makes about 60 crackers. A serving is ten crackers.
- The crackers firm and crisp up as they cool. Cooling them for at least 15 minutes is very important. 30 minutes is even better!
- Once completely cool, you can store these crackers in an airtight container at room temperature for up to 3 days. If you'd like to keep them longer than that, store them in an airtight container in the fridge for up to a week. Place them in a 350°F oven for 5 minutes to crisp them back up before serving.
- Once completely cool, you can also freeze them in freezer bags for up to three months, separating layers with wax paper. Briefly reheat them in a 350°F oven.
- The nutrition info doesn't include toppings.
Nutrition per Serving
Save this Recipe!
We will also add you to our weekly newsletter. Unsubscribe anytime. See healthyrecipesblogs.com/privacy/ to learn how we use your email.
Disclaimers
Most recipes are low-carb and gluten-free, but some are not. Recommended products are not guaranteed to be gluten-free. Nutrition info is approximate - please verify it. The carb count excludes non-nutritive sweeteners. Please read these Terms of Use before using any of my recipes.

Sally says
I love these perfectly light and crispy crackers. Have made them several times and they are so yummy.
Vered DeLeeuw says
I'm so happy to hear that, Sally! Many thanks for taking the time to leave a revieww.
Cindy B. says
Could you advise how thin to roll? Like an 1/8"?
Vered DeLeeuw says
Yes, about 1/8 inch.
Charlotte says
I was unsure of this recipe at first as many others I checked also needed cheese as a binding agent. But these worked perfectly! I had to sub in a few ounces of coconut flour as I didn’t have enough almond, so needed a bit of extra water. They came out great and even my fussy husband chose them over normal crackers.
Vered DeLeeuw says
Thank you for giving this recipe a try, Charlotte! I'm so glad you liked it.
Katherine Morvan says
I have made these crackers twice, this week. I melted butter & brushed on before adding the toppings of coarse salt, Thyme, Rosemary, and shredded cheese blend. They are delicious.
Vered DeLeeuw says
I'm so glad you like these crackers, Katherine! Thank you for taking the time to review this recipe.