A wonderfully short list of ingredients and a 10-minute prep time make these fat bombs one of the easiest keto treats in my repertoire.
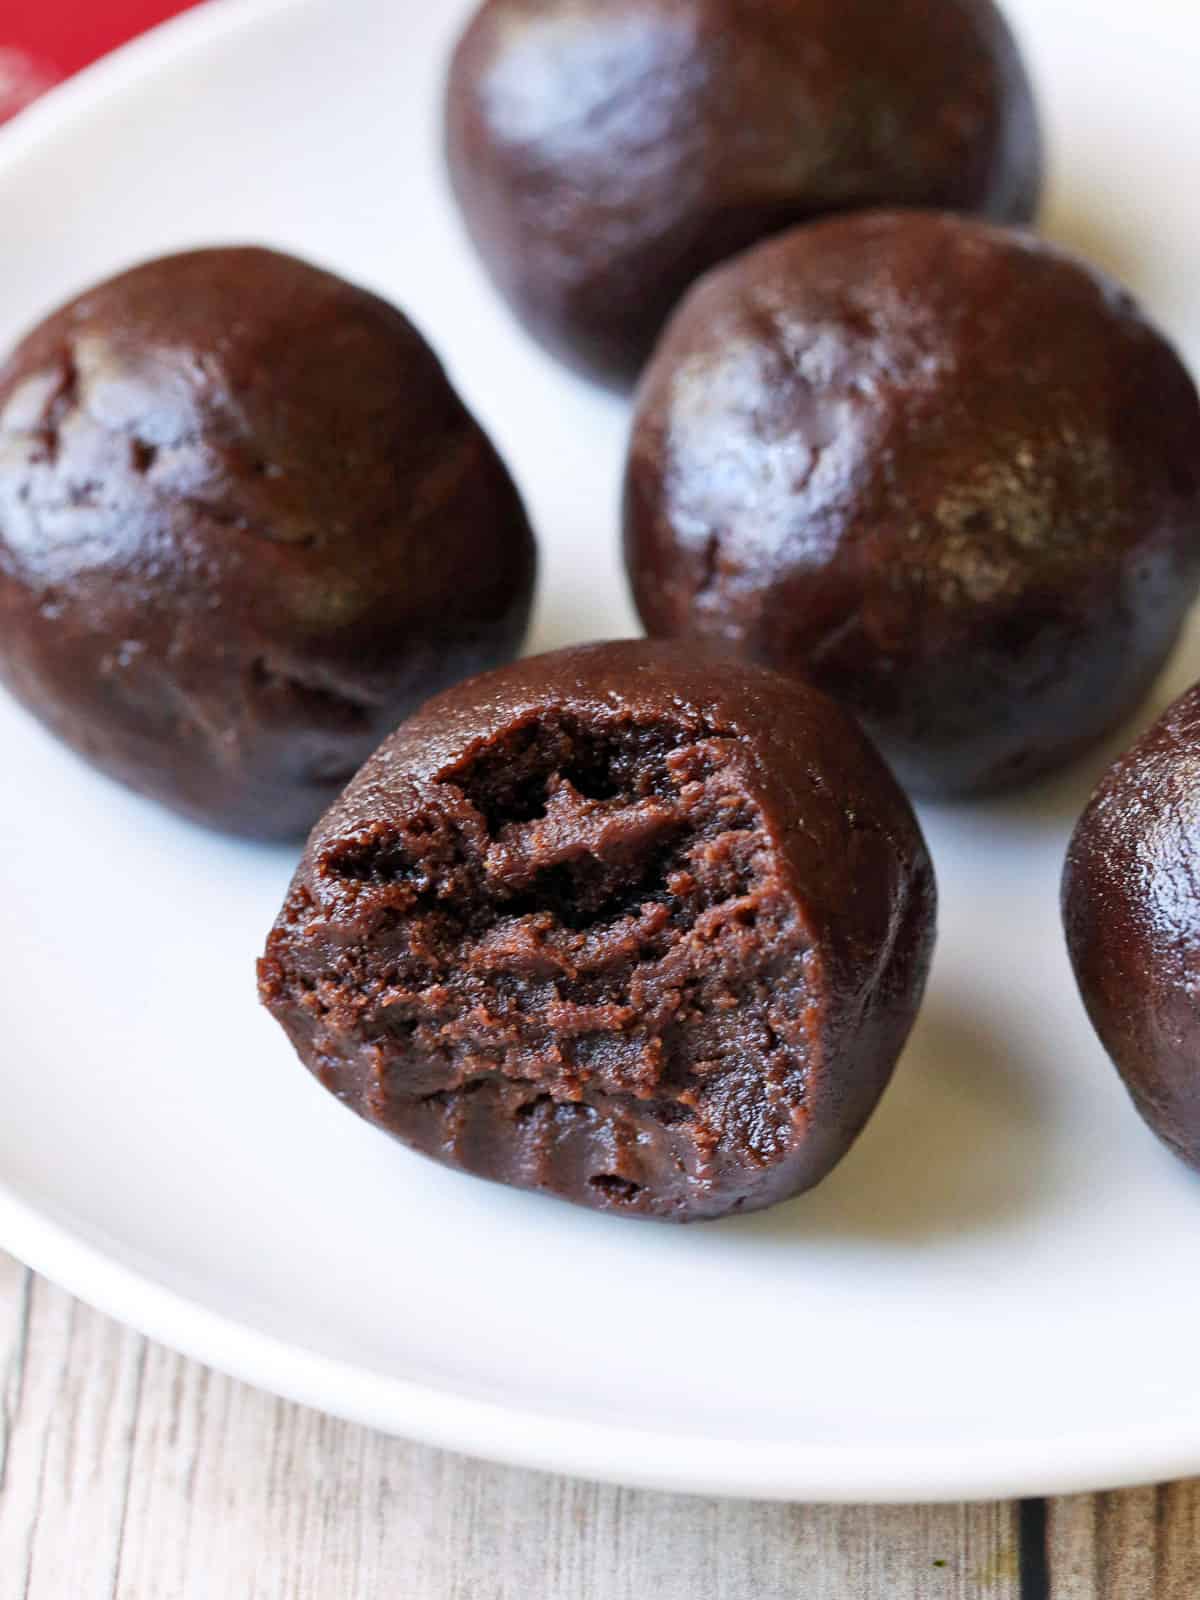
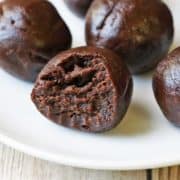
These fat bombs are a wonderful treat. Chocolaty and melt-in-your-mouth, I love having one as my after-dinner keto dessert. Since we go through them quickly (they are irresistible!), I often double the recipe and make a dozen. I store them in the fridge and place them on the counter an hour before eating.
Ingredients
See the recipe card for exact measurements. Here are my comments on the ingredients.
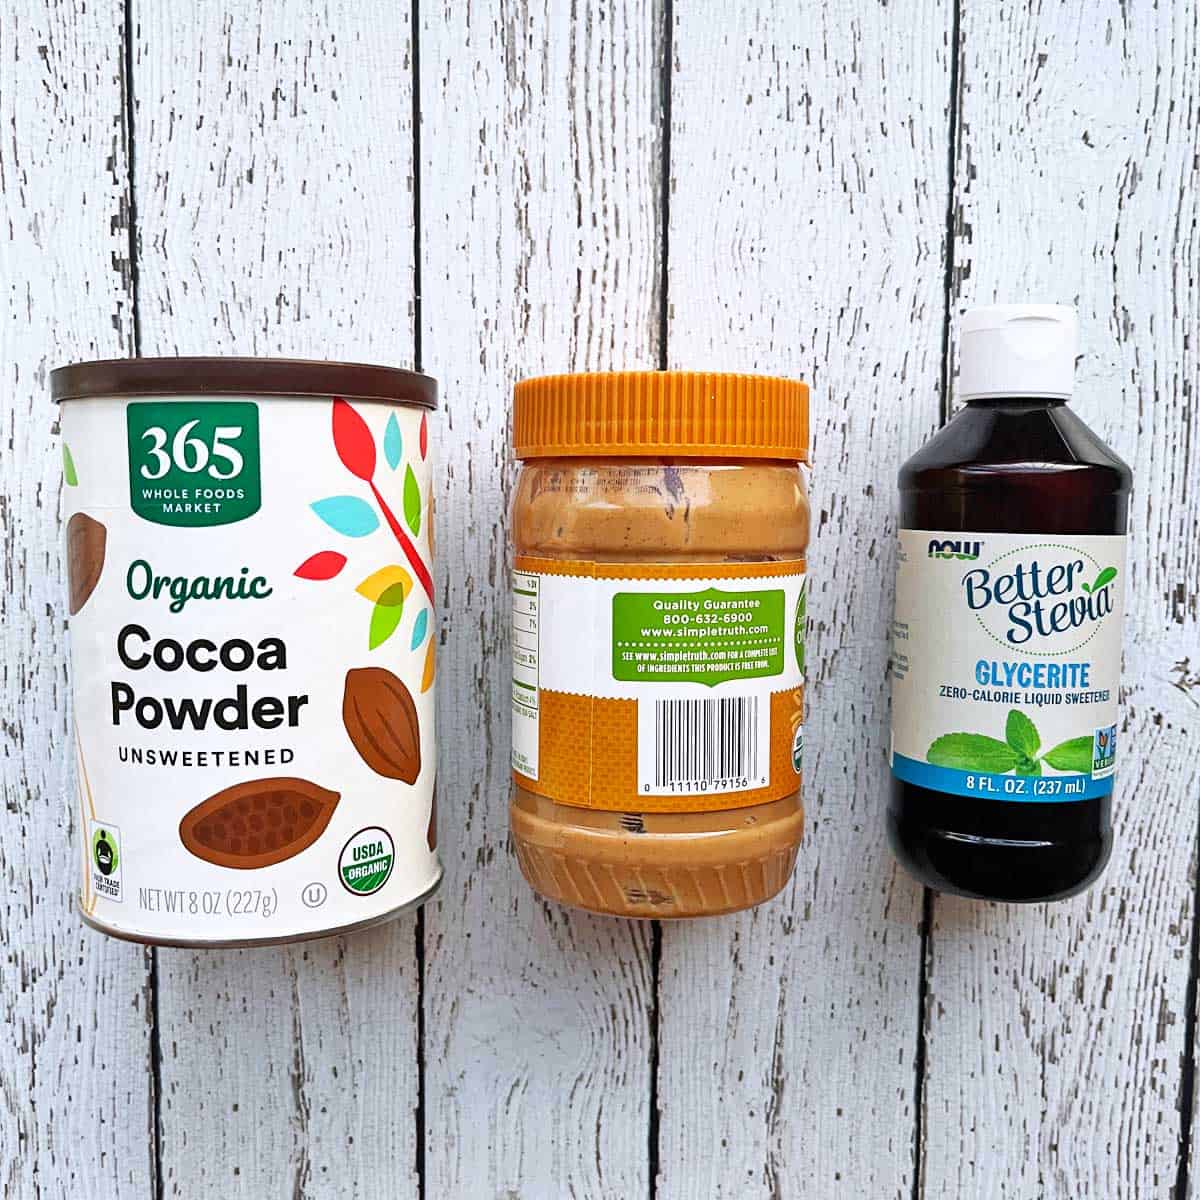
- Natural creamy peanut butter: The only ingredients listed on the jar are peanuts and salt. You should stir it well before using it.
- Sweetener: I use stevia glycerite.
- Cocoa powder: I recommend using unsweetened, Dutch-processed cocoa powder. It's milder, darker, and less acidic than natural cocoa powder. The package should say that the cacao was processed with alkali.
Instructions
The detailed instructions and step-by-step photos are included in the recipe card. Here's a quick overview.
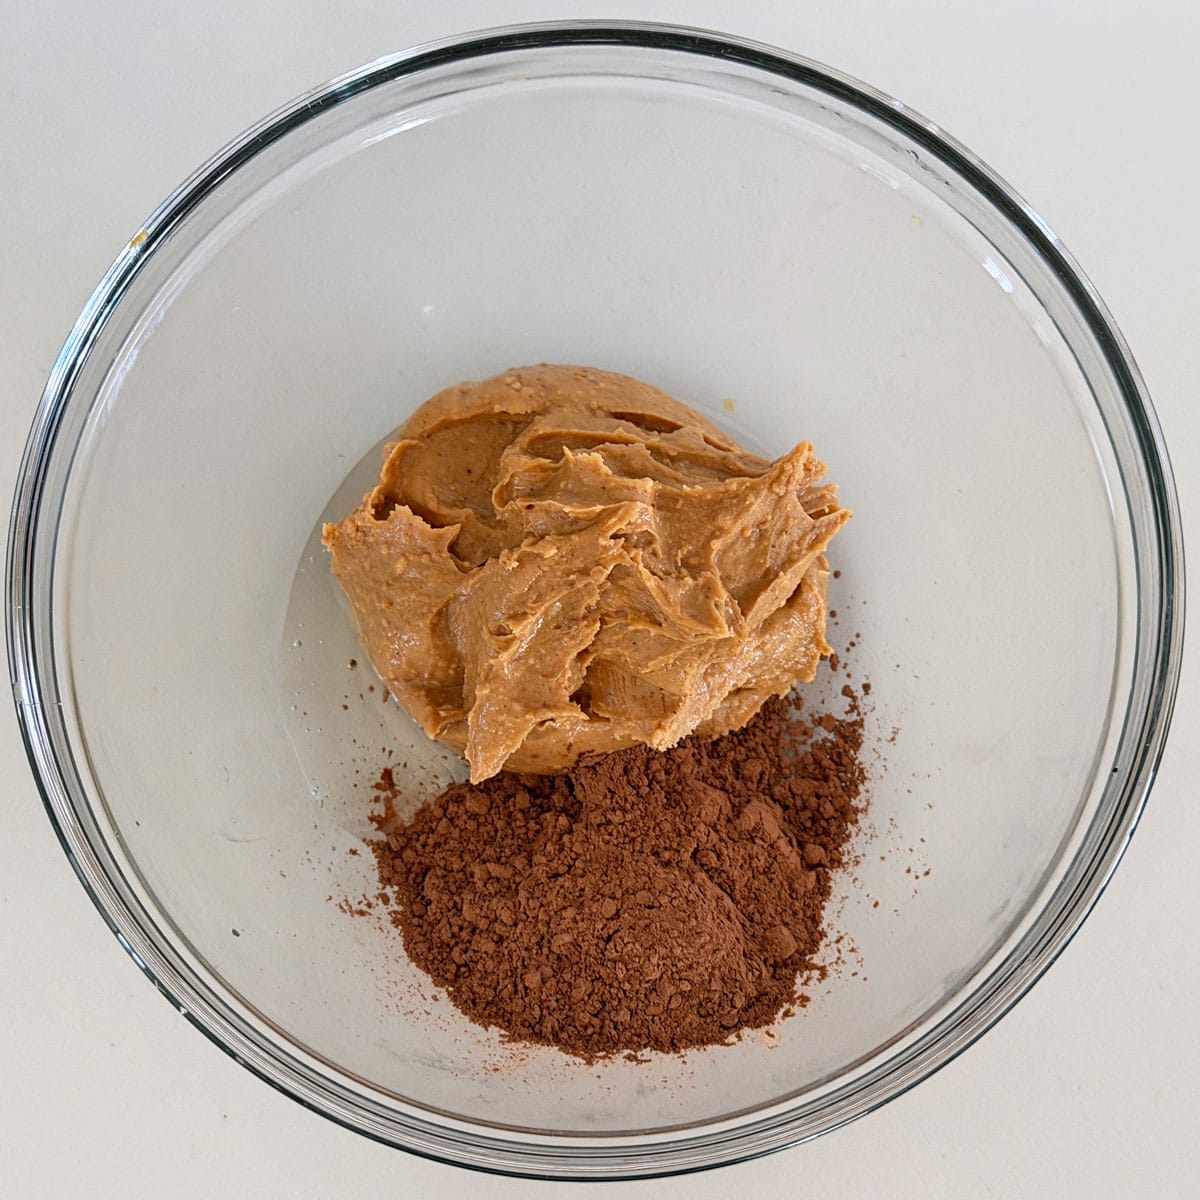
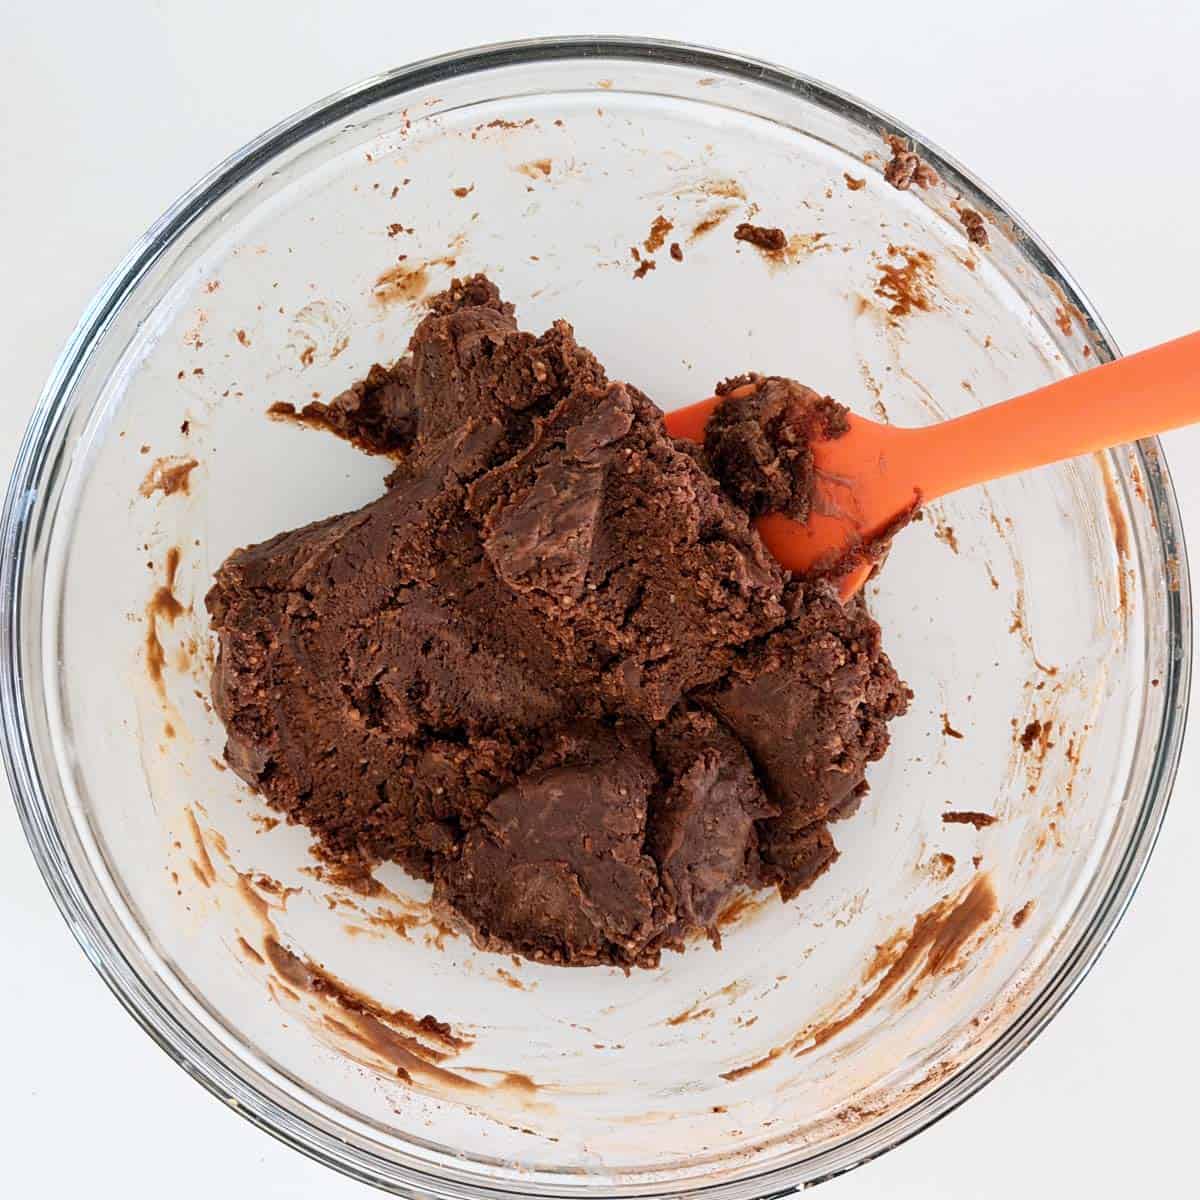
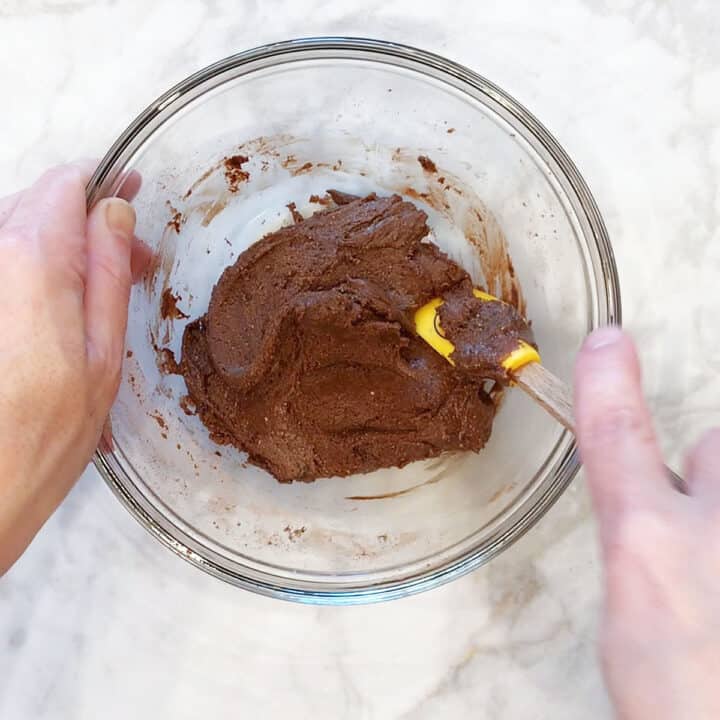
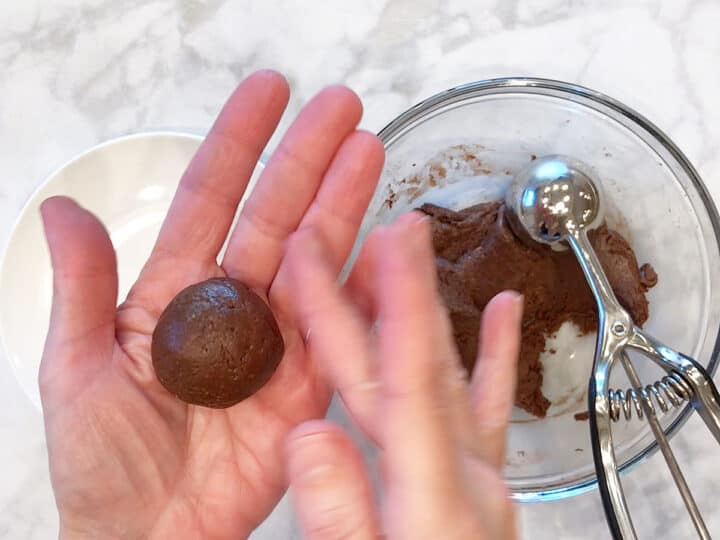
Combine the peanut butter, stevia, and cocoa powder.
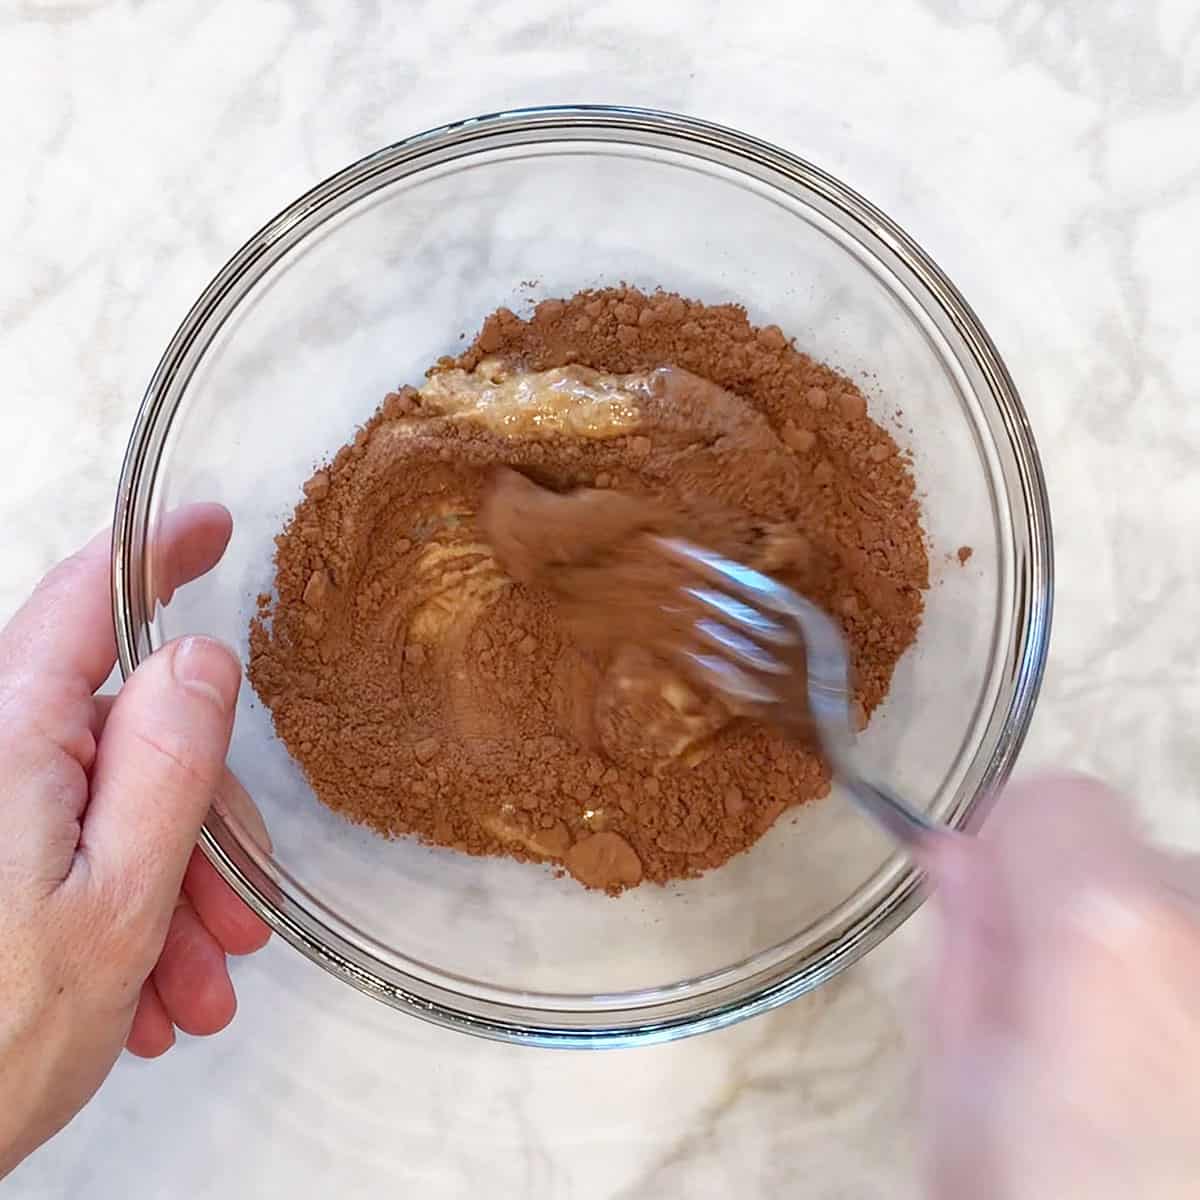
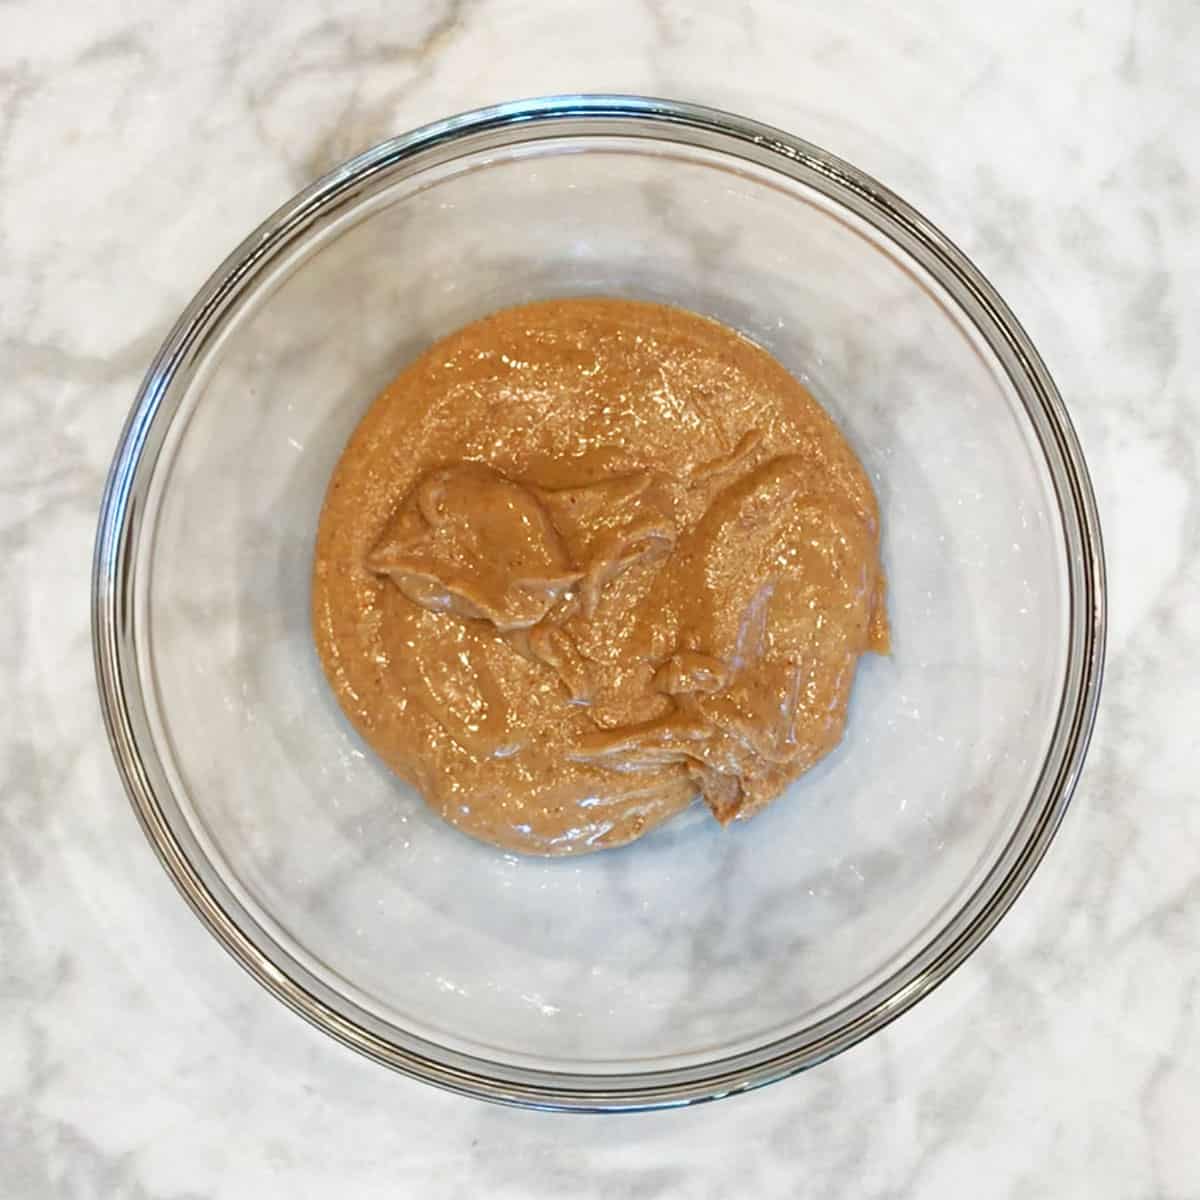
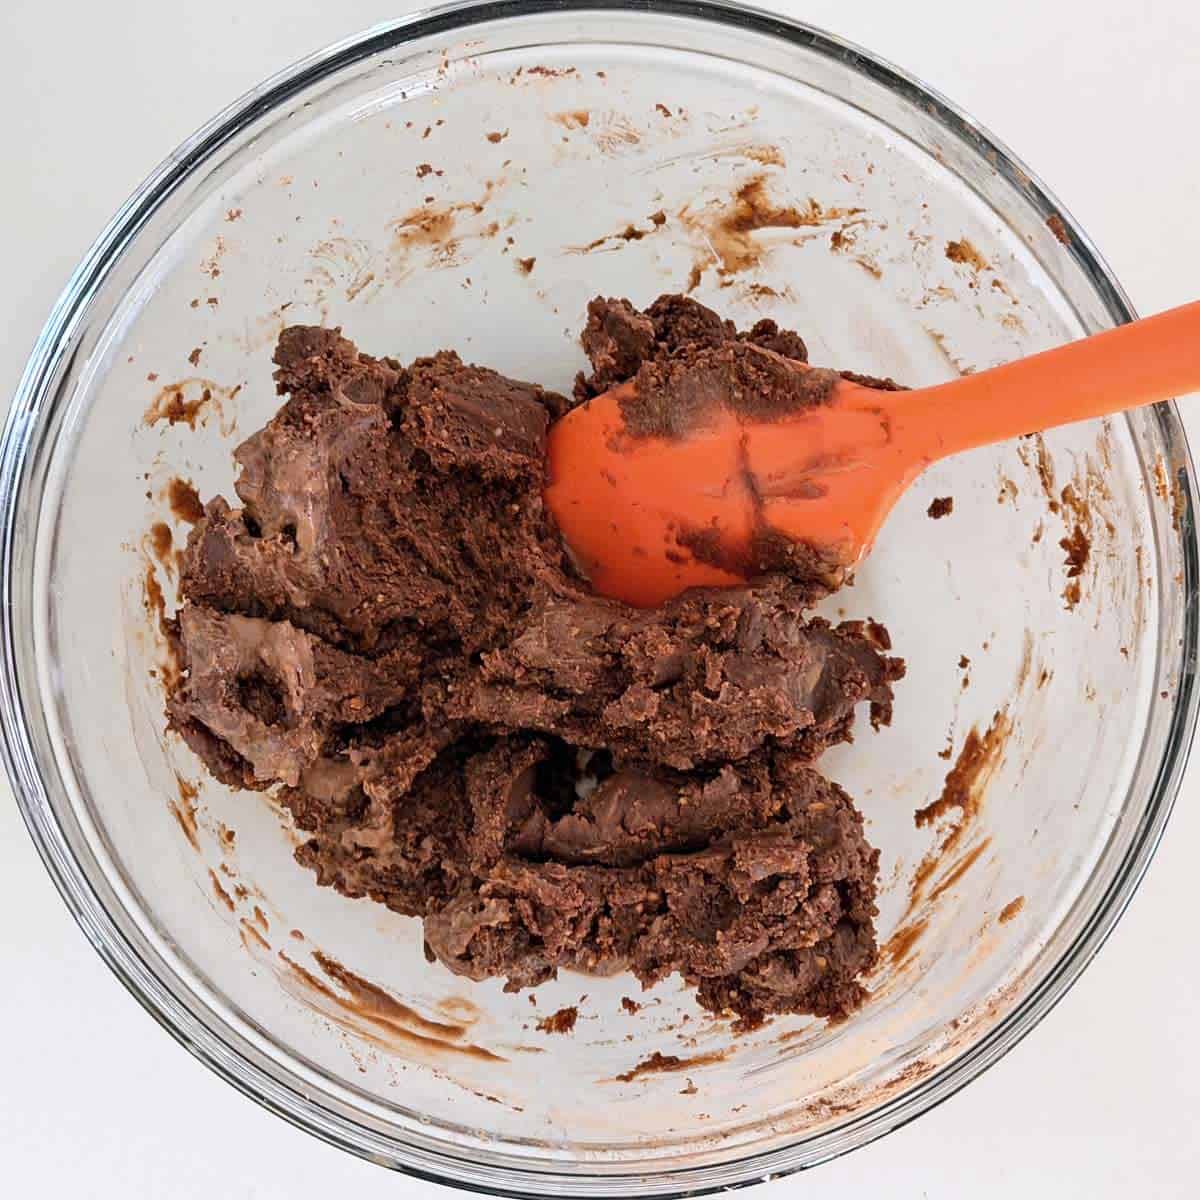
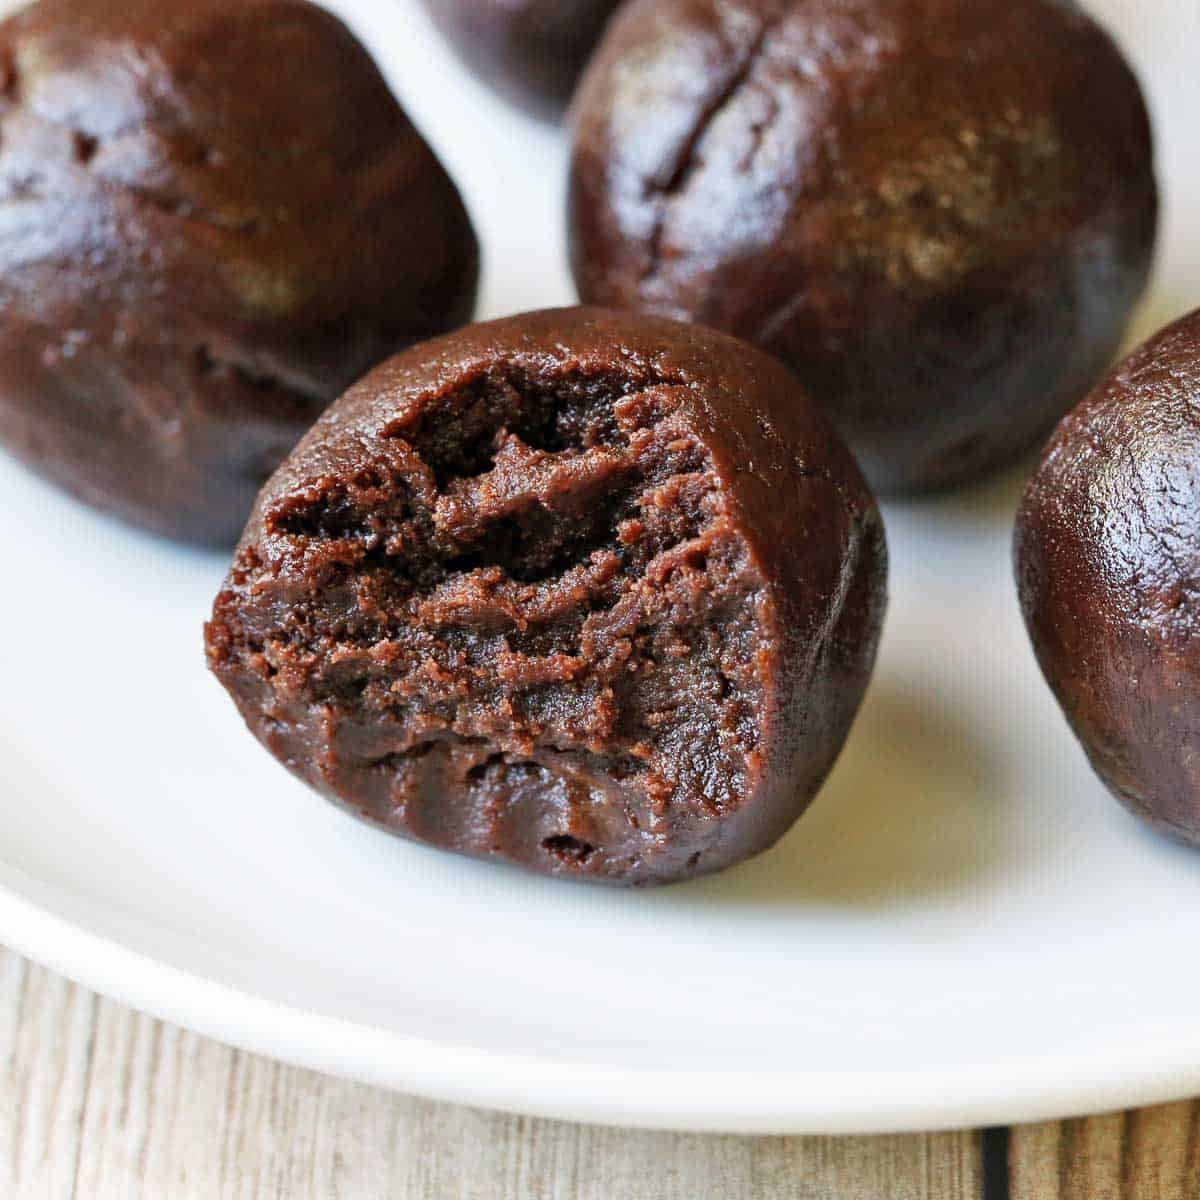
Mix the ingredients with a fork or rubber spatula until smooth. The mixture should be very thick and resemble edible playdough, as shown in the photo below.
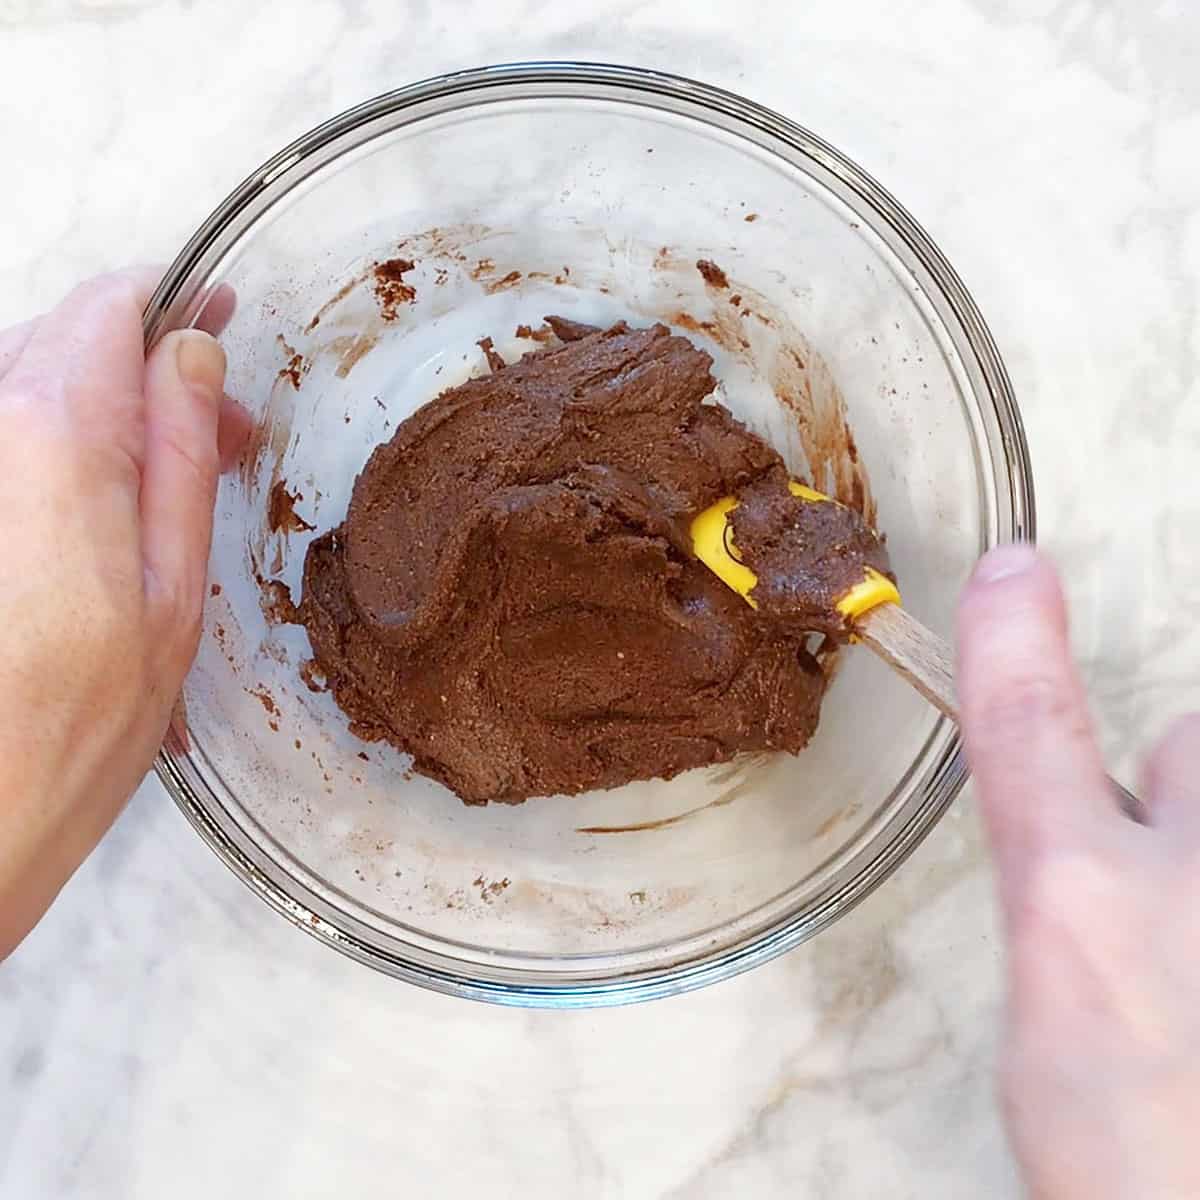
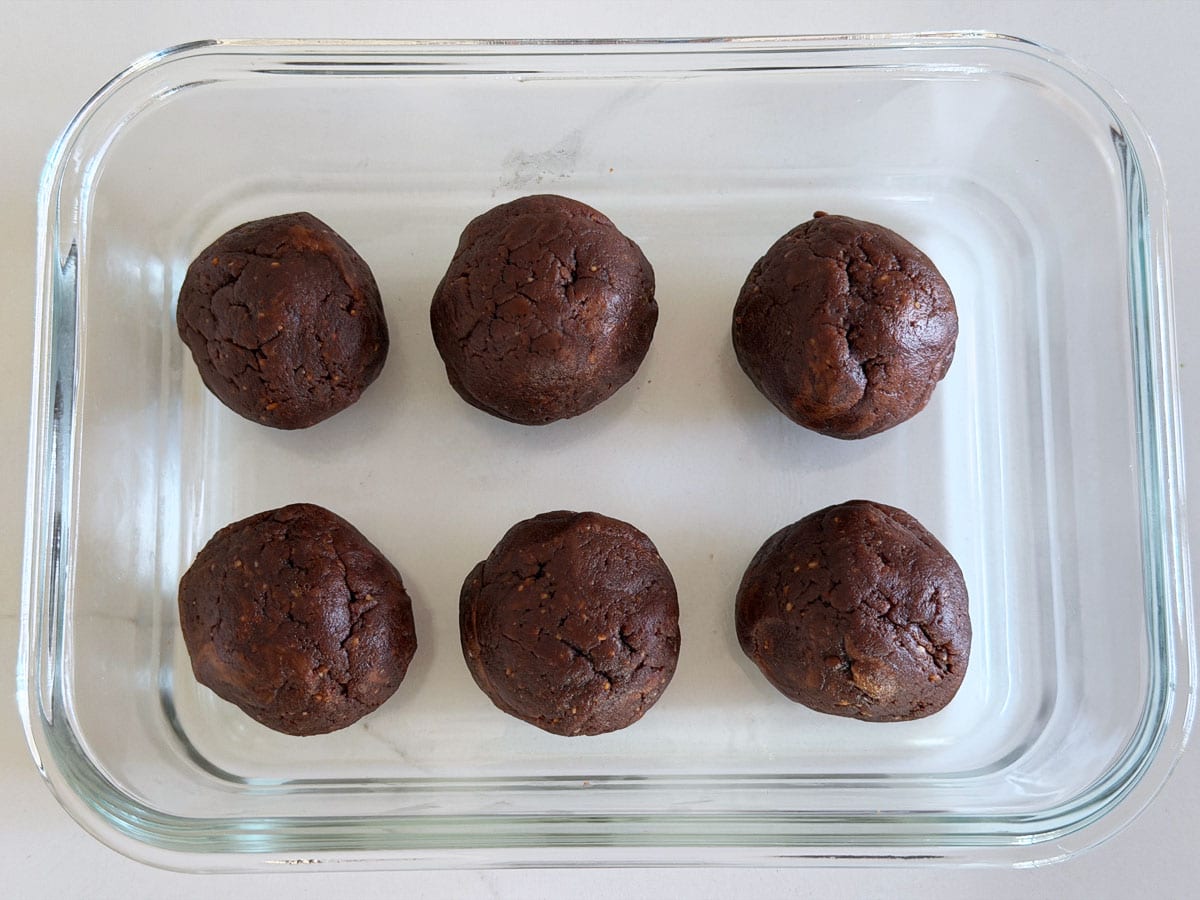
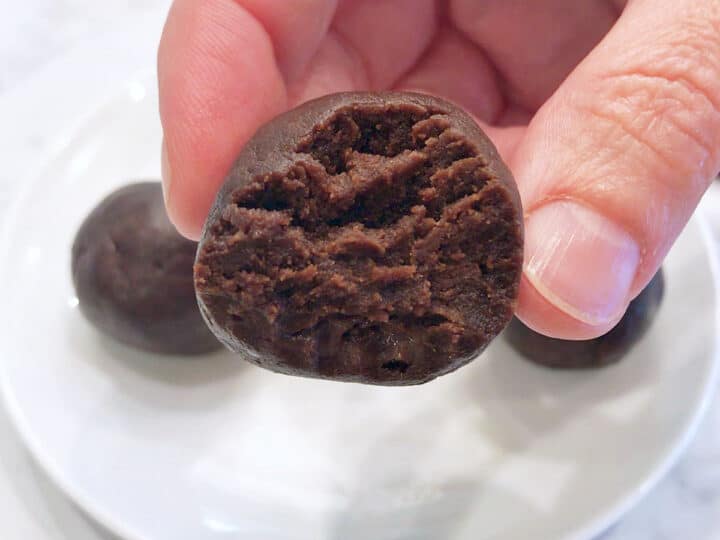
Use a scant cookie scoop to portion the mixture, then shape each portion into a smooth ball with your hands. Enjoy immediately or store on the counter for 1-2 days.

My husband loves these! A cross between a chocolate truffle and a gooey brownie.
Tara Deiana
Read more comments
Recipe Tips
- The flavor of stevia does come through in this recipe, more so than in other keto desserts, so even with stevia glycerite, which is milder, you might be able to detect some bitterness. A pinch of salt should help, especially if your peanut butter isn't salted. It's also helpful to let them sit for a few hours before enjoying them, as the flavors meld and any bitterness mellows.
That said, if you're sensitive to the typical stevia aftertaste, it's best to use a powdered sweetener instead. Avoid granulated sweeteners, as they can result in a grainy mouthfeel. Another option is to use this highly concentrated monk fruit sweetener. - If using a powdered sweetener, add water to the mixture to prevent it from becoming too dry and chalky. In my experiments, I found that adding 2 tablespoons of water works well. But start with one tablespoon, mix it well into the batter, and then decide whether to add another. Your goal is a smooth dough you can shape with your hands.
- Even if using stevia, the mixture might be too dry. If this is the case, add water, a teaspoon at a time, until you achieve a smooth dough.
- I highly recommend using a jar of peanut butter that has just been opened and thoroughly stirred. This will ensure the peanut butter is fairly liquid and not too thick. Once refrigerated, it thickens. And no matter how well you stir, the peanut butter near the bottom of the jar tends to be too dry. The photo below shows the texture of the peanut butter I usually use.
Using Peanut Butter Spread
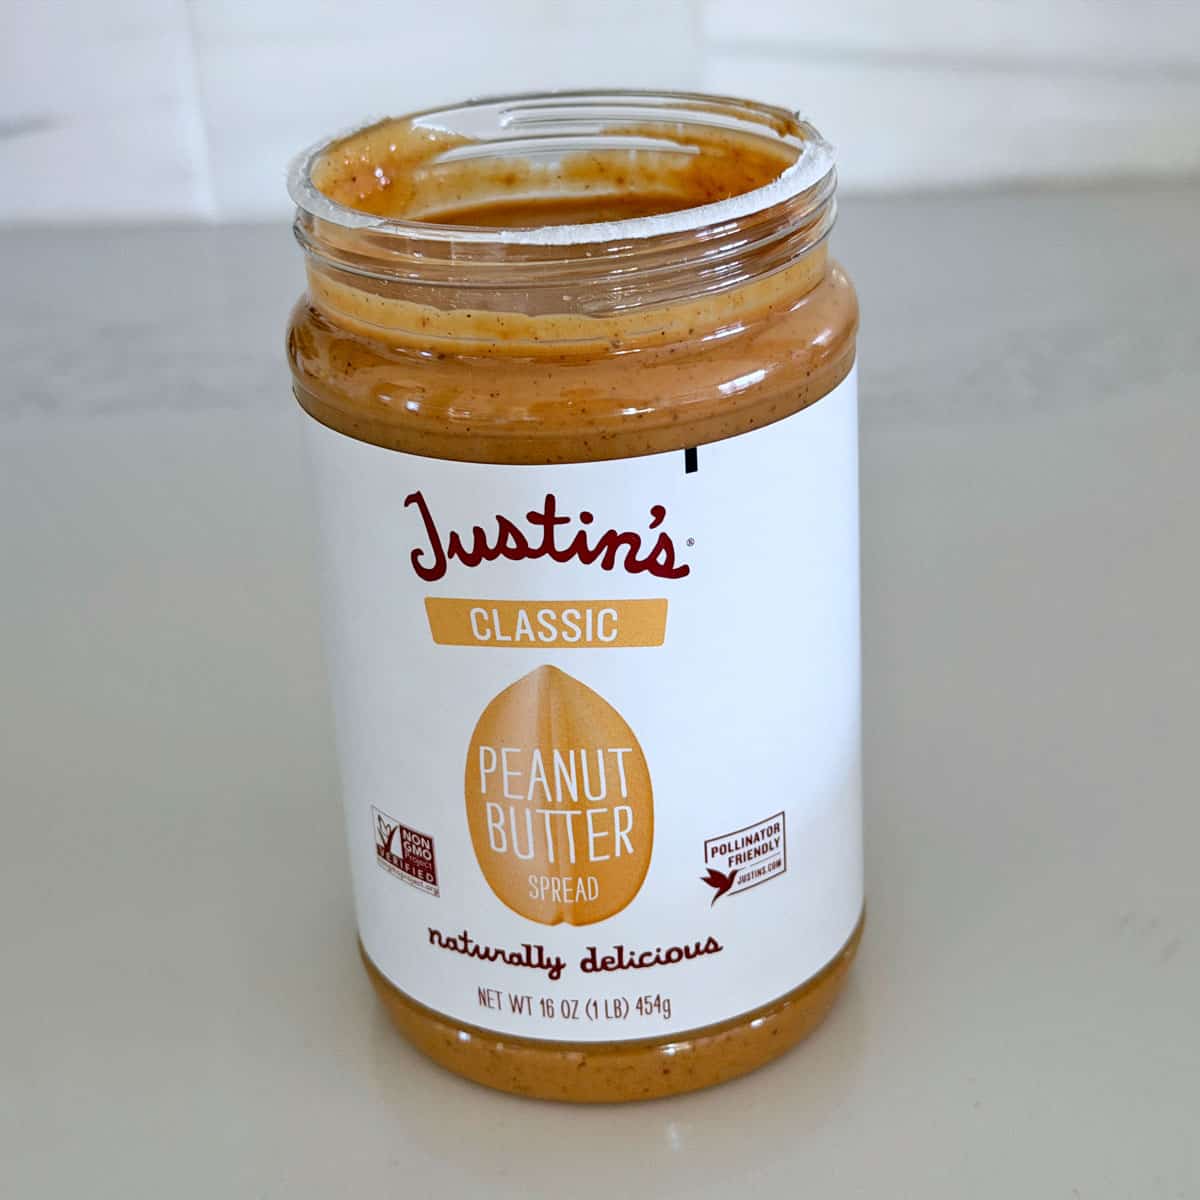
I typically use natural peanut butter, but I've been asked a few times if it's OK to use creamy peanut butter spread, so I experimented. My conclusion is that yes, you can use peanut butter spread and add water to achieve a playdough-like consistency.
The four photos below show the process. I used Justin's classic creamy peanut butter spread, which contains peanuts and palm oil. You can see that the peanut butter is quite thick. After adding cocoa powder and stevia (plus a pinch of sea salt), it was too dry, so I added 2 tablespoons of water. Then it became playdough-like, and I was able to shape it into balls.
Recipe FAQs
I consider them a dessert, similar to keto truffles, keto cheesecake bites, or keto peanut butter fudge, but they are easier to make. Some consider them as snacks, and that's fine, too. You can grab one for a quick and delicious midmorning or afternoon pick-me-up. They are portable if you place them in a container that prevents them from being squished.
On occasion, when pressed for time in the morning, I have two of them with my coffee and call it breakfast, as shown in the photo below.
I don't recommend that. The syrup would add too much liquid. If you don't want to use stevia, you can use a powdered sweetener and add water. It's best to use a powdered, not a granulated one, to prevent a grainy mouthfeel.
Yes. You can use any creamy, natural nut butter instead of peanut butter. The flavor won't be quite the same, but it will still be very good. I tried making this recipe with almond butter, and it was excellent. Walnut butter is another tasty option.
Dutch-processed cocoa powder works best in this recipe, but if all you have on hand is natural cacao powder, that works, too.
Storage Tips
You can store these treats in an airtight container (like the one shown in the image below) at room temperature for 1-2 days. I don't recommend storing them in the fridge as they will harden.
However, if your kitchen is hot, you might need to place them in the fridge. To decide whether they need refrigeration, keep them at room temperature for a few hours, then check how they're doing and whether they're becoming too soft.
You should also store them in the fridge if you plan to keep them longer than a day or two. In the fridge, you can keep them in an airtight container for up to five days.
If you determine they should be refrigerated, remove them from the fridge an hour before you plan to enjoy them so they soften.
Recipe Card
3-Ingredient Keto Fat Bombs
Video
Ingredients
- ½ cup peanut butter - 128 grams; Natural, creamy; use a freshly opened jar
- 1 teaspoon stevia glycerite - Scant. Equals a scant ⅓ cup of powdered sugar
- 2 tablespoons cocoa powder - Unsweetened, processed with alkali
Optional:
- Pinch sea salt - If your peanut butter isn't salted
- 1-2 tablespoons water - If using a powdered sweetener or a peanut butter spread, and the batter is too dry
Instructions
- Combine the peanut butter, sweetener, and cocoa powder in a medium bowl.½ cup peanut butter, 1 teaspoon stevia glycerite, 2 tablespoons cocoa powder

- Mix the ingredients with a fork or rubber spatula until smooth. The mixture will be very thick. It should have the texture of edible playdough. See the notes section below for tips.
- Use a scant cookie scoop (a 2-tablespoon scoop) to portion the mixture, then shape each portion into a smooth ball with your hands. If you use stevia, you should get six balls. With a powdered sweetener, you should get seven.

- Enjoy immediately, or, better yet, let them rest for a few hours to allow the flavors to meld and any stevia bitterness to mellow. They improve after a few hours' rest.

Notes
- The flavor of stevia does come through in this recipe, more so than in other keto desserts, so even with stevia glycerite, which is milder, you might be able to detect some bitterness. A pinch of salt should help, especially if your peanut butter isn't salted. But if you're sensitive to the typical stevia aftertaste, it's best to use a powdered sweetener instead. Avoid granulated sweeteners, as they can result in a grainy mouthfeel. If you use a powdered sweetener, you'll likely need to add 1-2 tablespoons of water to the mixture. Your goal is to have a smooth dough that you can shape with your hands. Another option is to use this highly concentrated monk fruit sweetener.
- I recommend using cocoa powder processed with alkali. It's milder, darker, and less acidic than natural cocoa powder.
- Sweetness is a personal preference. Use these amounts as a guide and adjust to taste.
- I highly recommend using a jar of natural peanut butter that has just been opened and stirred. This will ensure the peanut butter is fairly liquid and not too thick. Once refrigerated, it thickens. And no matter how well you stir, the peanut butter near the bottom of the jar tends to be too dry. Alternatively, it's OK to use creamy peanut butter spread and add 1-2 tablespoons of water.
- The texture of the batter depends on the type of peanut butter you use. If the batter is too liquid, stir in coconut flour, 1 teaspoon at a time, until it becomes firmer. If it's too dry, add water, a tablespoon at a time. As mentioned above, your goal is to have a smooth dough that you can shape with your hands.
- Store the leftovers in an airtight container on the counter for up to two days. If your kitchen is hot or if you want to store them for longer, store them in the fridge for up to 5 days. Remove them from the fridge an hour before enjoying them to allow them to soften.
Nutrition per Serving
Save this Recipe!
We will also add you to our weekly newsletter. Unsubscribe anytime. See healthyrecipesblogs.com/privacy/ to learn how we use your email.
Disclaimers
Most recipes are low-carb and gluten-free, but some are not. Recommended products are not guaranteed to be gluten-free. Nutrition info is approximate - please verify it. The carb count excludes non-nutritive sweeteners. Please read these Terms of Use before using any of my recipes.

Patty Dickerson says
I made these Fat Bombs with sunflower seed butter. I used a little extra cocoa powder. The stevia I use is a powdered, pure stevia, so I use about half of an 1/8 tsp. Also, I roll them into smaller balls, so I get about 26 little balls. One to two is just enough to satisfy my sweet tooth after eating, or a small snack.
Thank you for your wonderful recipes! You help to make being on restricted diet, easy and very tasty.
Vered DeLeeuw says
Aww, Patty, thank you so much for this heartwarming review! I'm so happy my recipes are helpful. ❤️
VINCENT GIARDINA says
Any substitute for peanut butter? I'm allergic to nuts.
Vered DeLeeuw says
Hi Vincent,
If you're not allergic to seeds, you can replace the peanut butter with a nut-free seed butter. Sunflower seed butter works especially well and can be used 1:1 in this recipe.
Cheryl says
Lovely!
Vered DeLeeuw says
Glad you enjoyed them, Cheryl! Thanks for the review.
Habooba Ready says
how long can you store? and can i refrigerate them
Vered DeLeeuw says
I'm glad you like them!
You can store the leftovers in an airtight container on the counter for up to two days. If your kitchen is hot or if you want to store them for longer, store them in the fridge for up to 5 days. Remove them from the fridge an hour before enjoying them to allow them to soften.