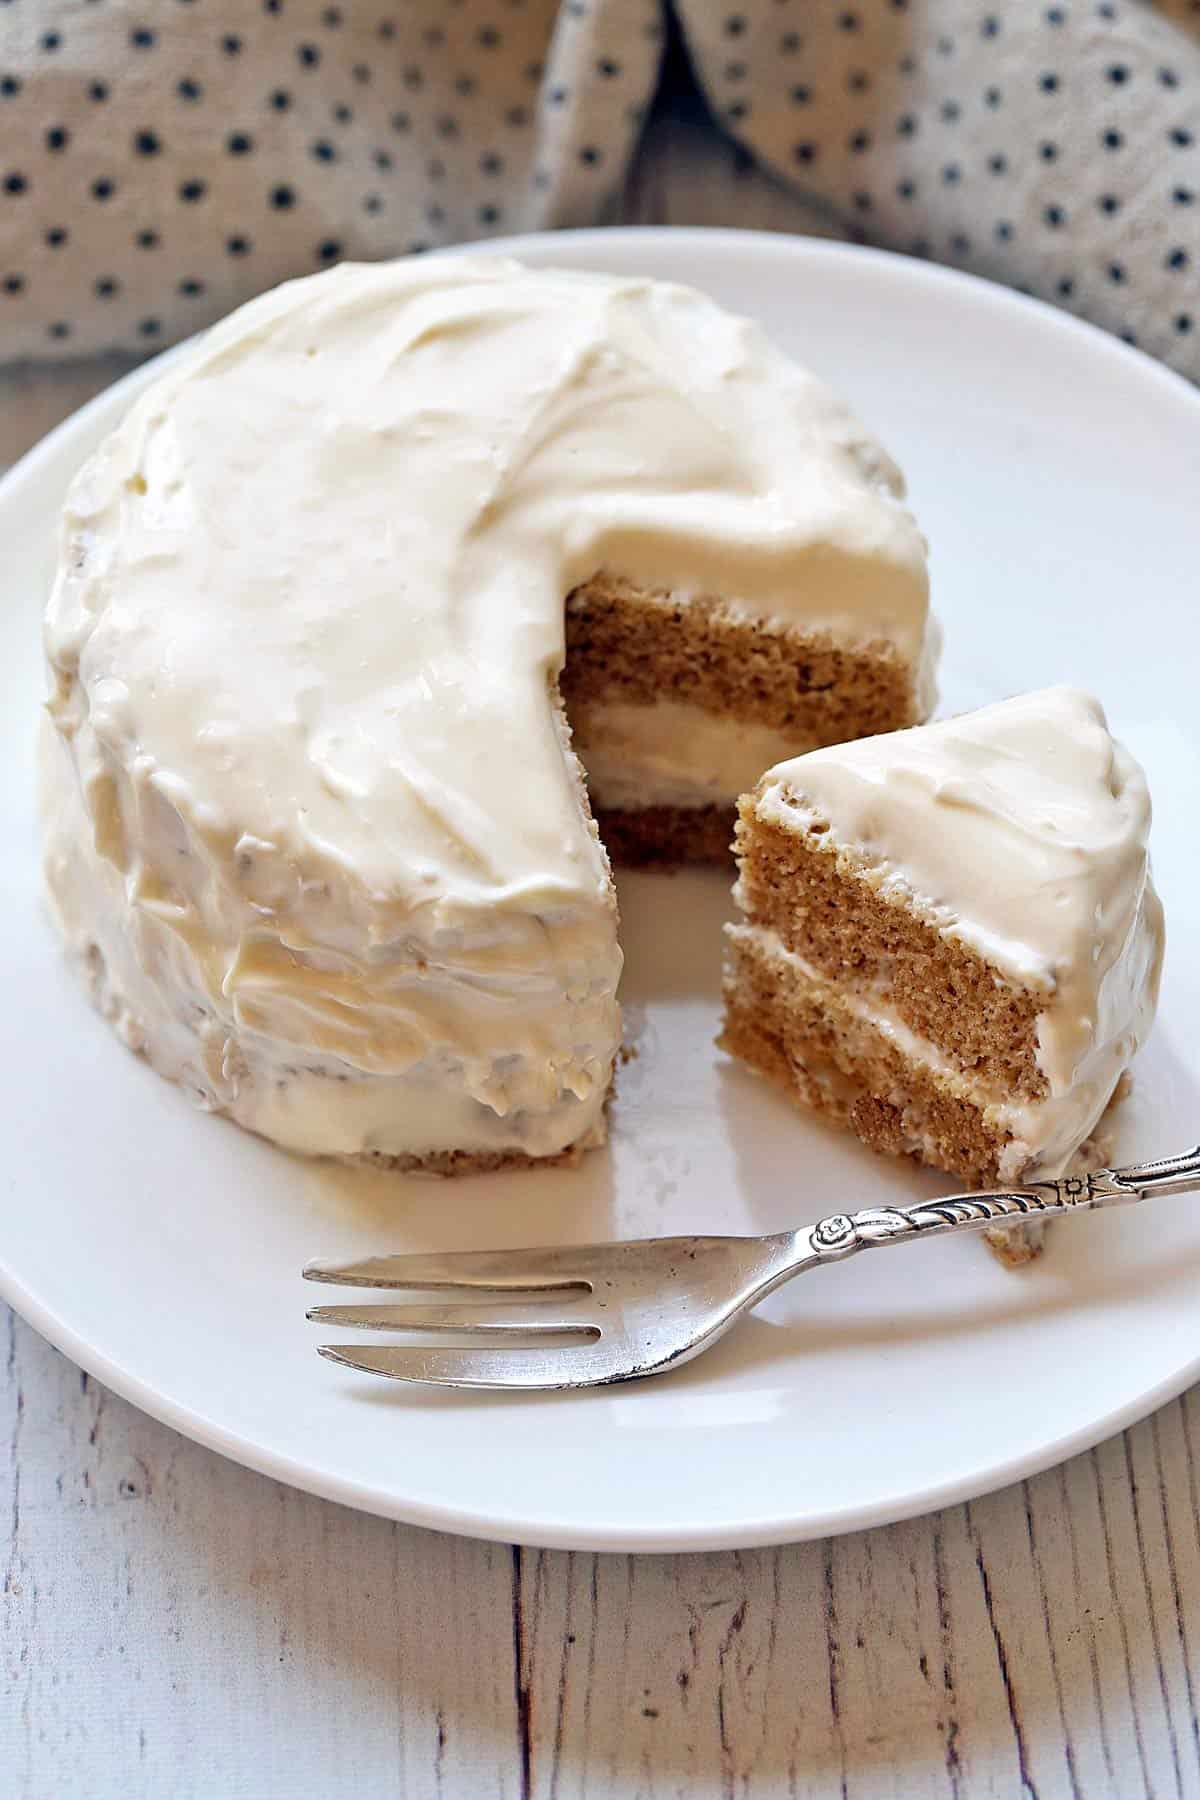
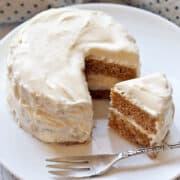
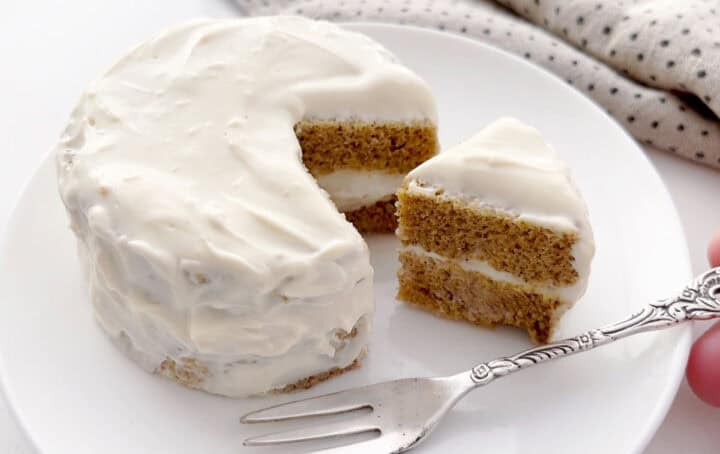
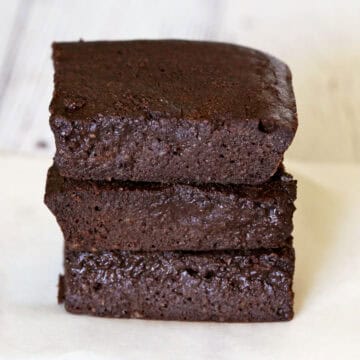
This 10-minute keto mug cake features a fluffy crumb and delicious, creamy frosting. Without the frosting, it makes a great breakfast or snack cake. With the frosting, it's a rich dessert.
Low-carb baking is amazing. A few of my favorite cakes are keto chocolate cake, keto birthday cake, and almond flour cake. But when I want something quick, this keto mug cake is perfect. In this recipe, I decided to take it up a notch and added frosting. As a result, this cake is a true indulgence that is ready in minutes. Other mug cakes I enjoy are chocolate mug cake, peanut butter mug cake, and microwave cheesecake.
Ingredients

See the recipe card for exact measurements. Here are my comments on some of the ingredients.
- Cream cheese: Please use full-fat cream cheese.
- Stevia glycerite: You can use a granulated sweetener in the cake and a powdered sweetener in the frosting instead of stevia.
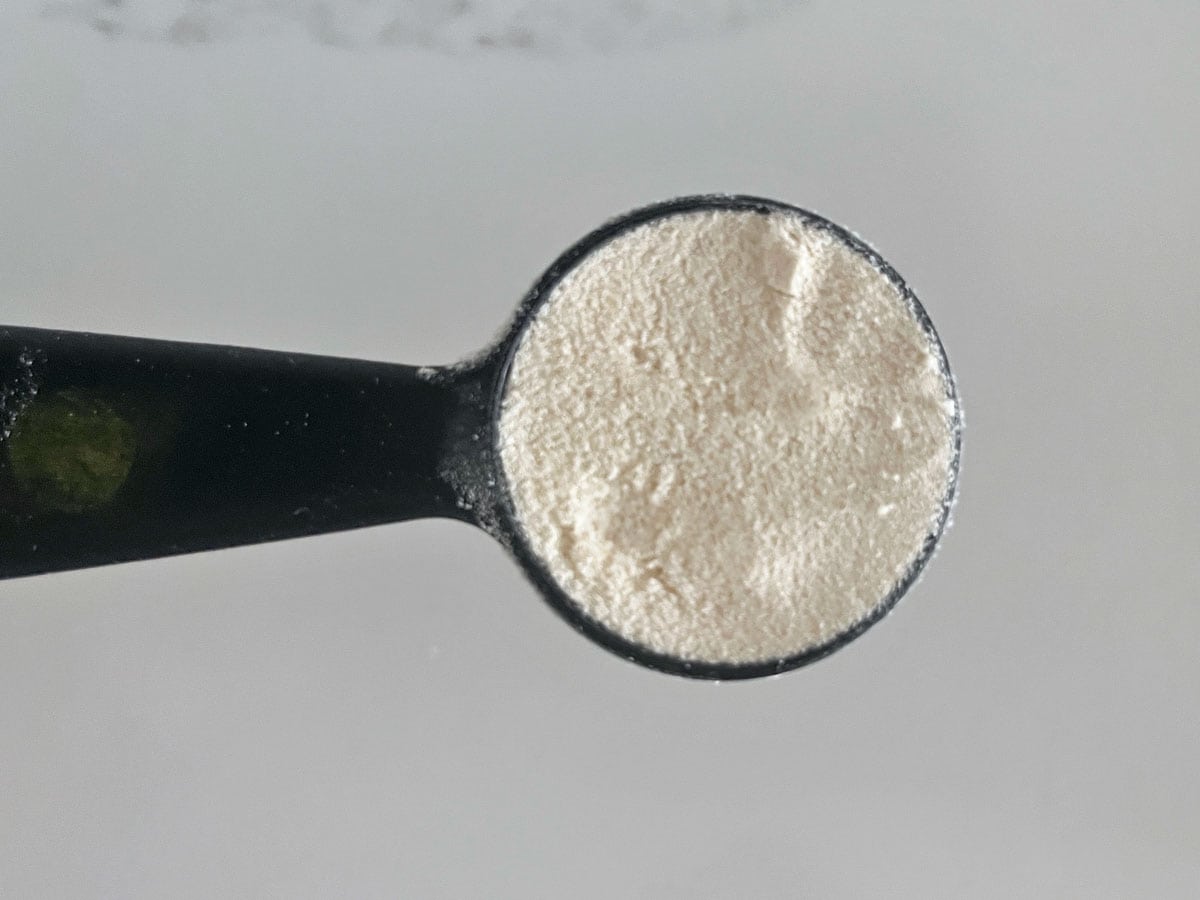
- Coconut flour: Please measure it by weight and not by volume. It's very absorbent, so each gram makes a difference.
- Cinnamon: I love it in this cake! It makes a big difference, so please don't skip it.
Instructions
The detailed instructions and step-by-step photos are included in the recipe card. Here's a quick overview.
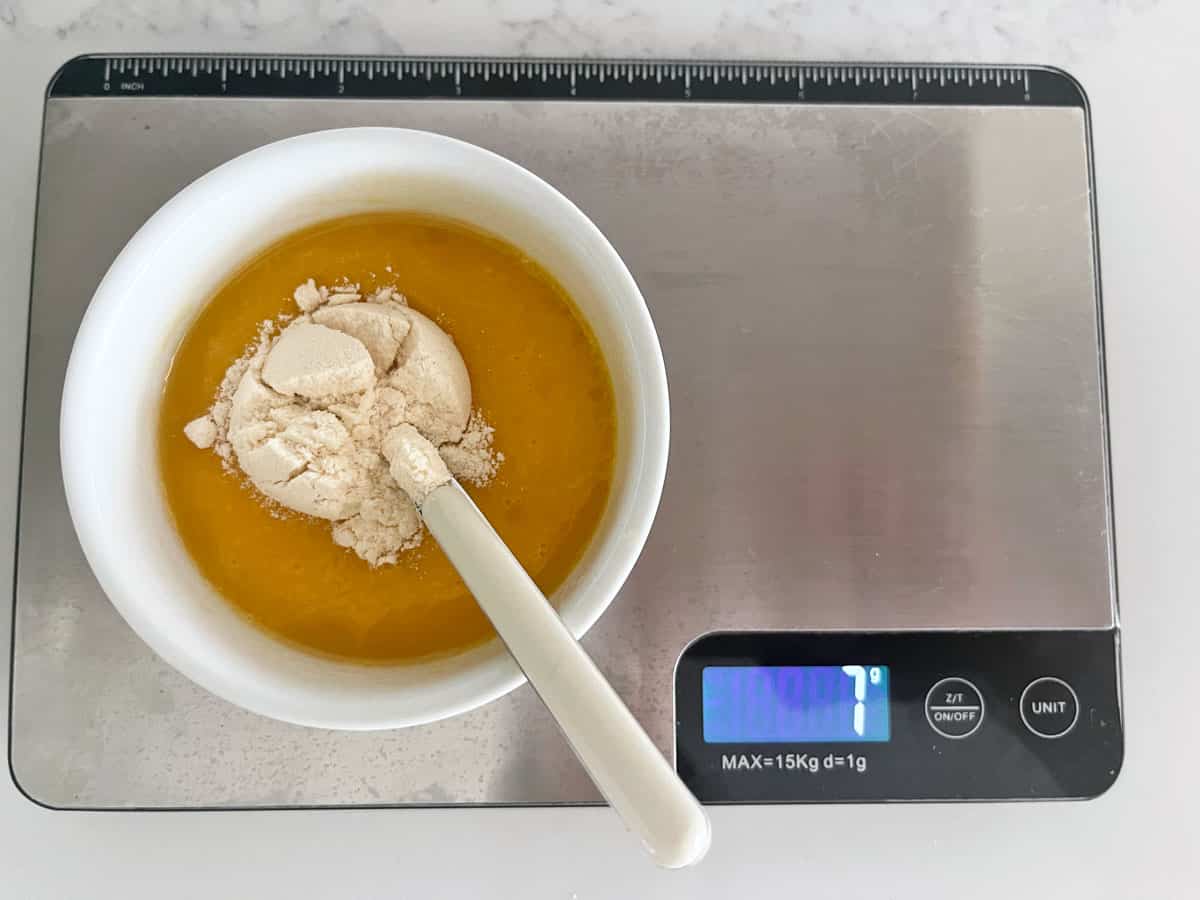
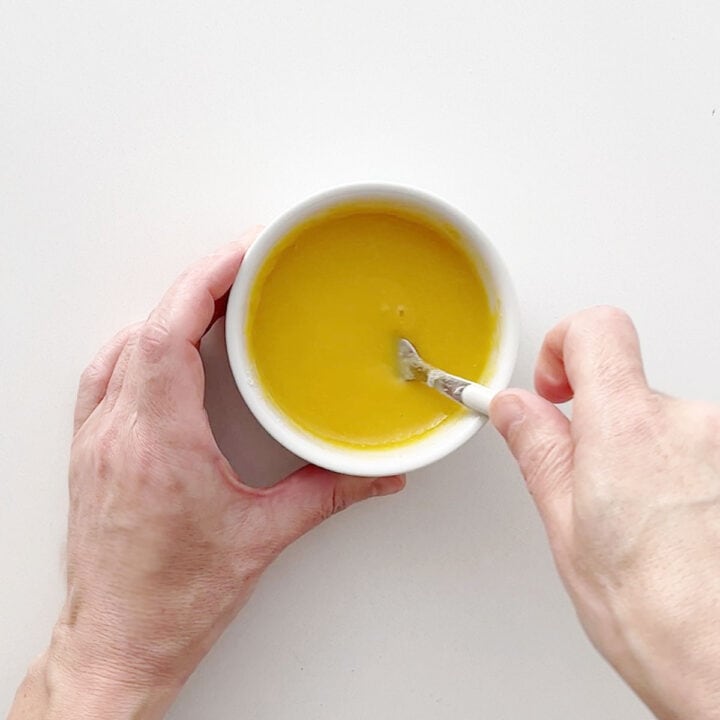
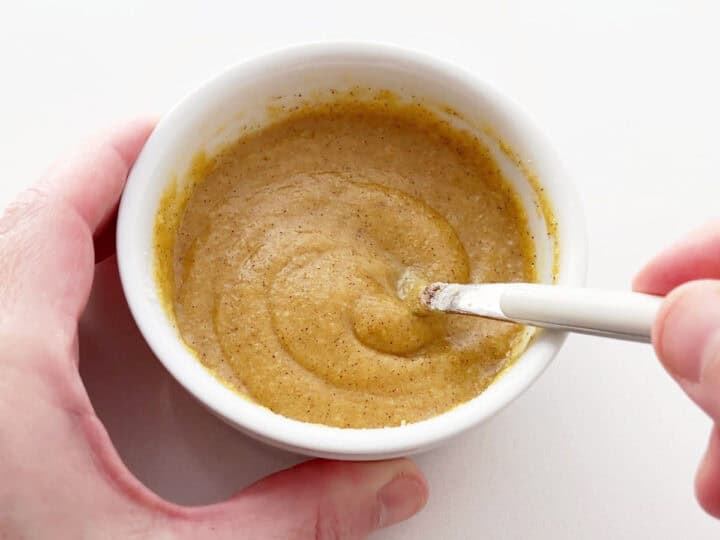
Mix the frosting and set it aside. Then, melt the butter in a ramekin and whisk in the stevia, vanilla, egg, and coconut flour. Mix in the cinnamon, followed by the baking powder.

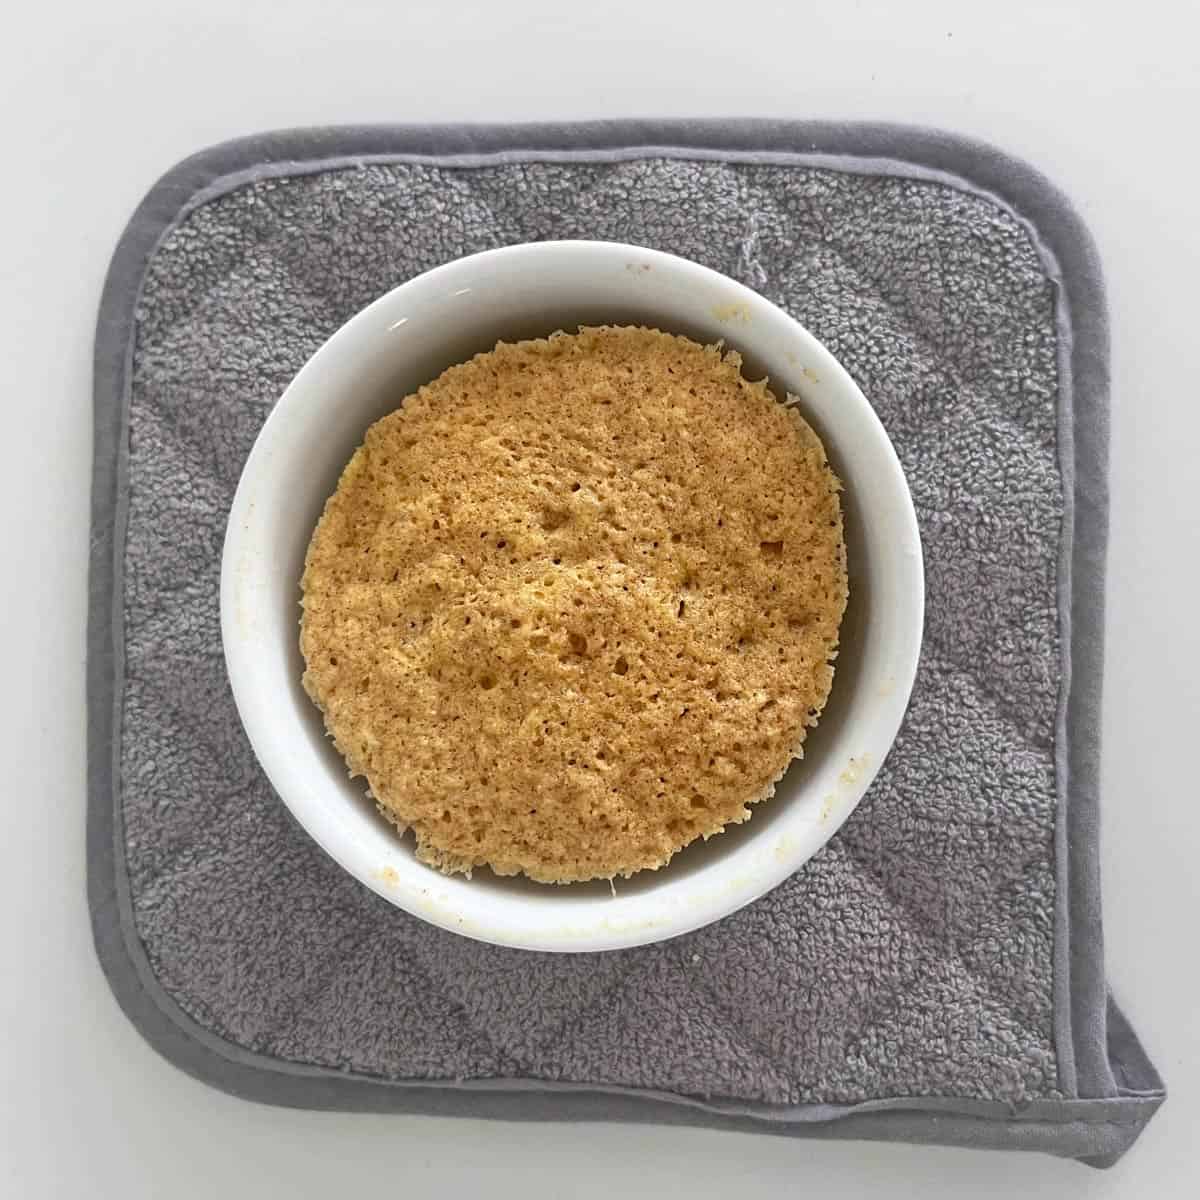
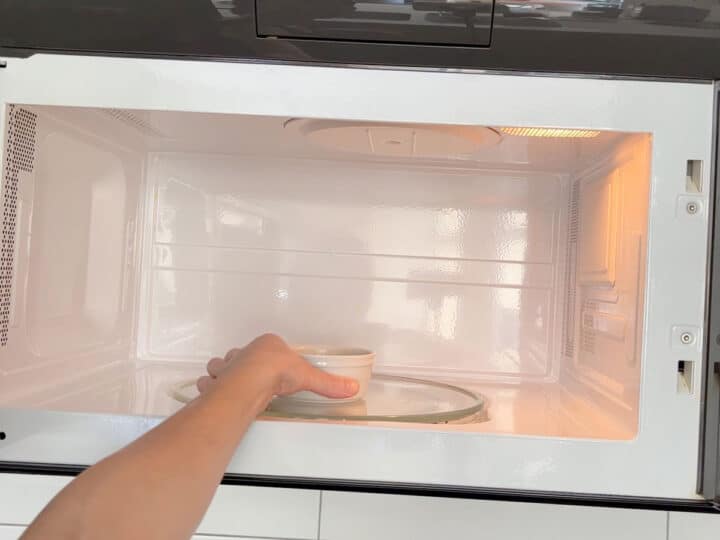
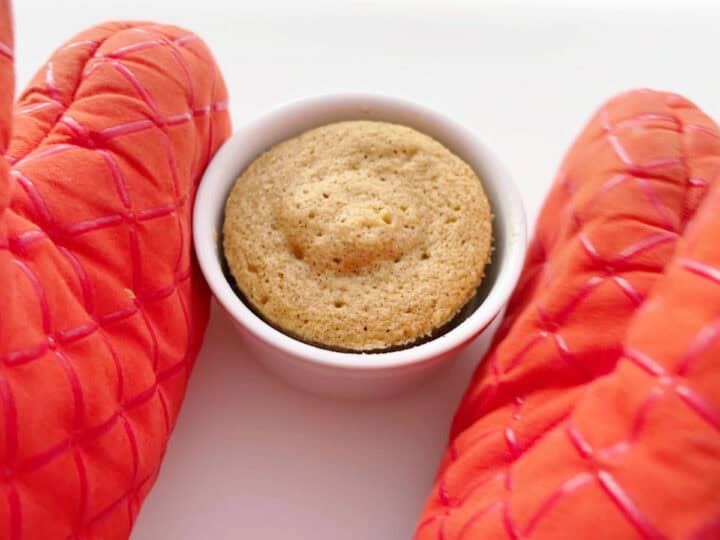
Microwave the cake for about 70 seconds, until a toothpick inserted in its center comes out clean. Gently remove the cake from the ramekin and allow it to slightly cool.

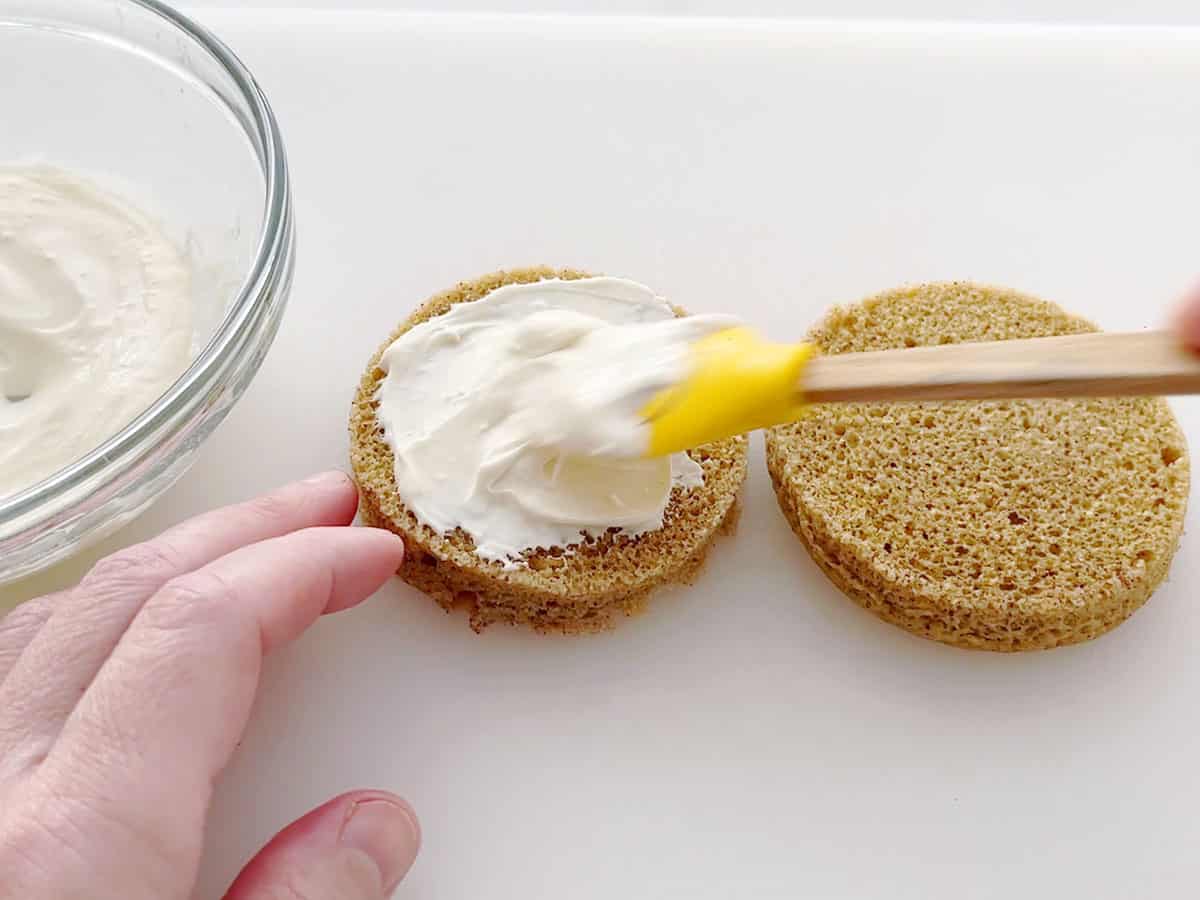
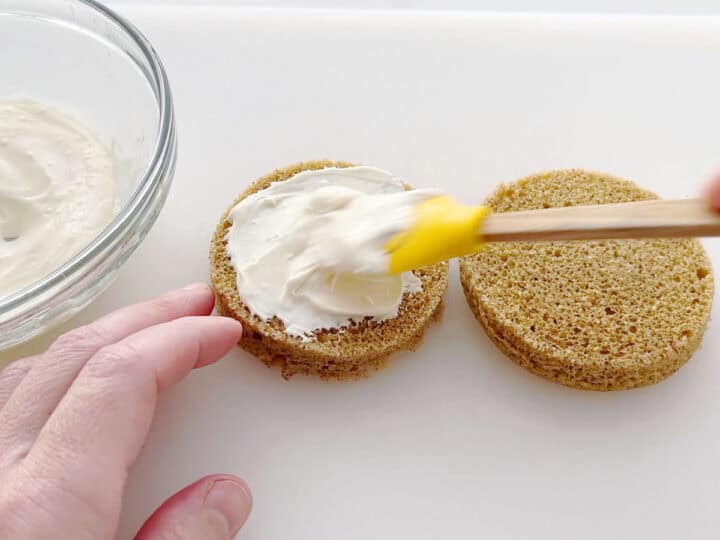
To frost the cake, slice it in half crosswise. Frost the center, then the top and sides. Enjoy immediately.
This cake was quick and delicious. FYI, I used a tub of cream cheese (not a block) and it turned out fine.
Rachel
Read more comments
Recipe Tips
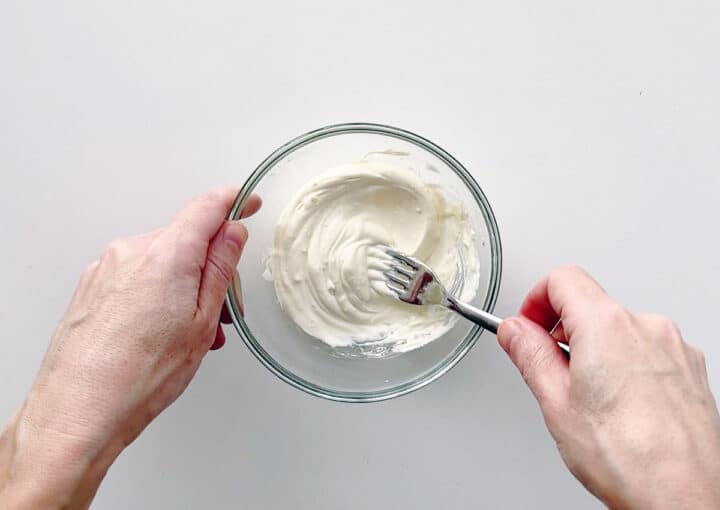
Mix Thoroughly
After you add the coconut flour, the batter will be lumpy. It takes time and patience for the batter to become smooth, so just keep mixing. It takes a few minutes, but eventually, it WILL happen, as shown in the image below.

Measuring Coconut Flour
As mentioned above, since coconut flour is so drying, it's best to measure it by weight with a kitchen scale. But in case you don't own a scale, I experimented and found that when you gently spoon the flour and then level it off with the flat edge of a knife, you should get a pretty accurate measure, as shown in the two photos below. Make sure to avoid packing the flour in or using a heaping tablespoon. That would be too much.
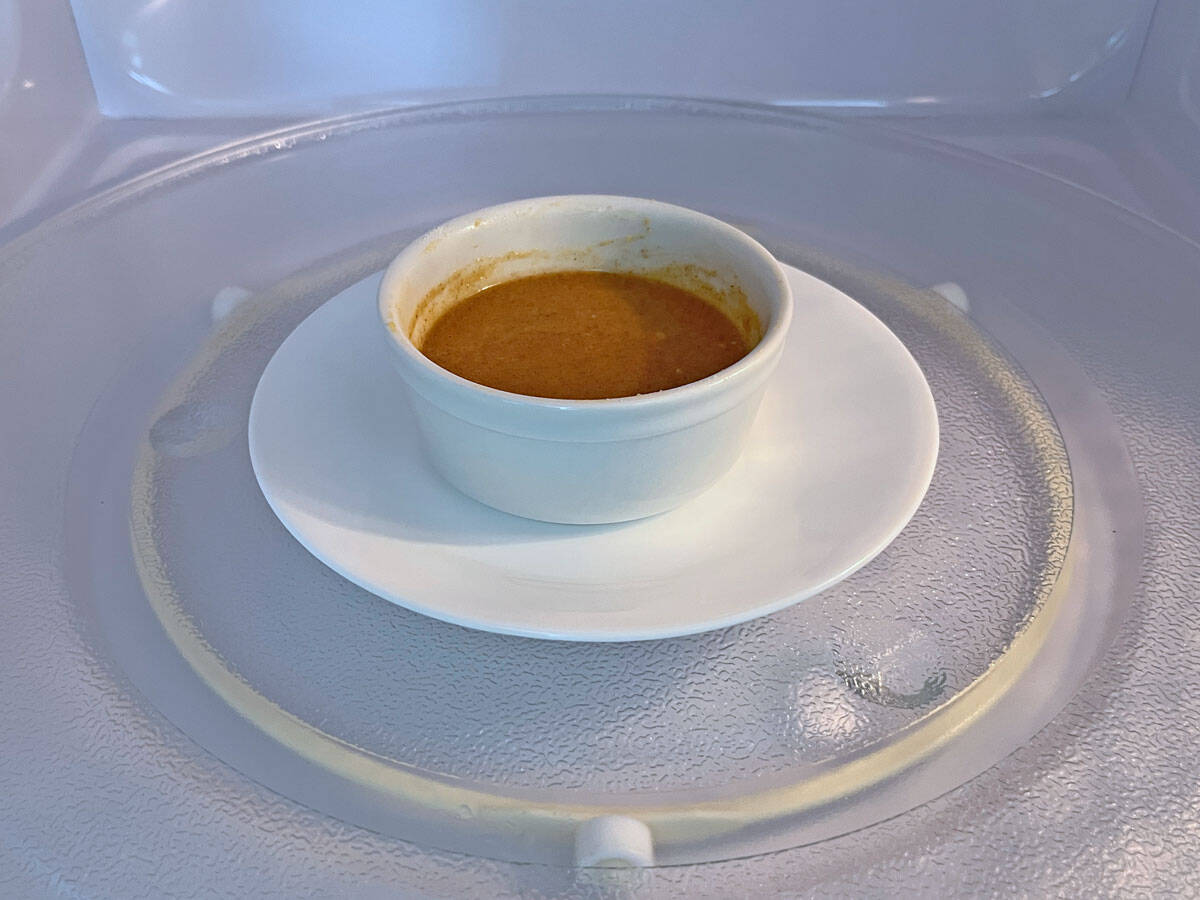
Catching Spills
Microwave baking is unpredictable, so it's a good idea to place the ramekin on a microwave-safe plate to catch any spills, as shown in the image below.
Use a Trivet
The ramekin will likely be hot when it emerges from the microwave, so it's a good idea to use oven mitts and place it on a heatproof trivet, as shown in the photo below.
Recipe FAQs
Without the frosting, I consider the entire cake a personal cake, but with the frosting, it's so rich and filling that half of it is the perfect serving size. I usually share it with my husband.
I don't recommend using a liquid sweetener other than stevia unless you're prepared to experiment with adding more microwave time or more coconut flour.
Unfortunately, you can't. These flours act very differently and are not interchangeable in recipes, especially in baked goods recipes.
Yes. You can keep one in an airtight container in the fridge for up to three days. Remove them from the fridge 30 minutes before enjoying.
Serving Suggestions
This cake is perfect in the summer because it saves you from heating the oven. It goes well with a tall glass of almond milk, iced tea, or iced coffee, as shown in the photo below.
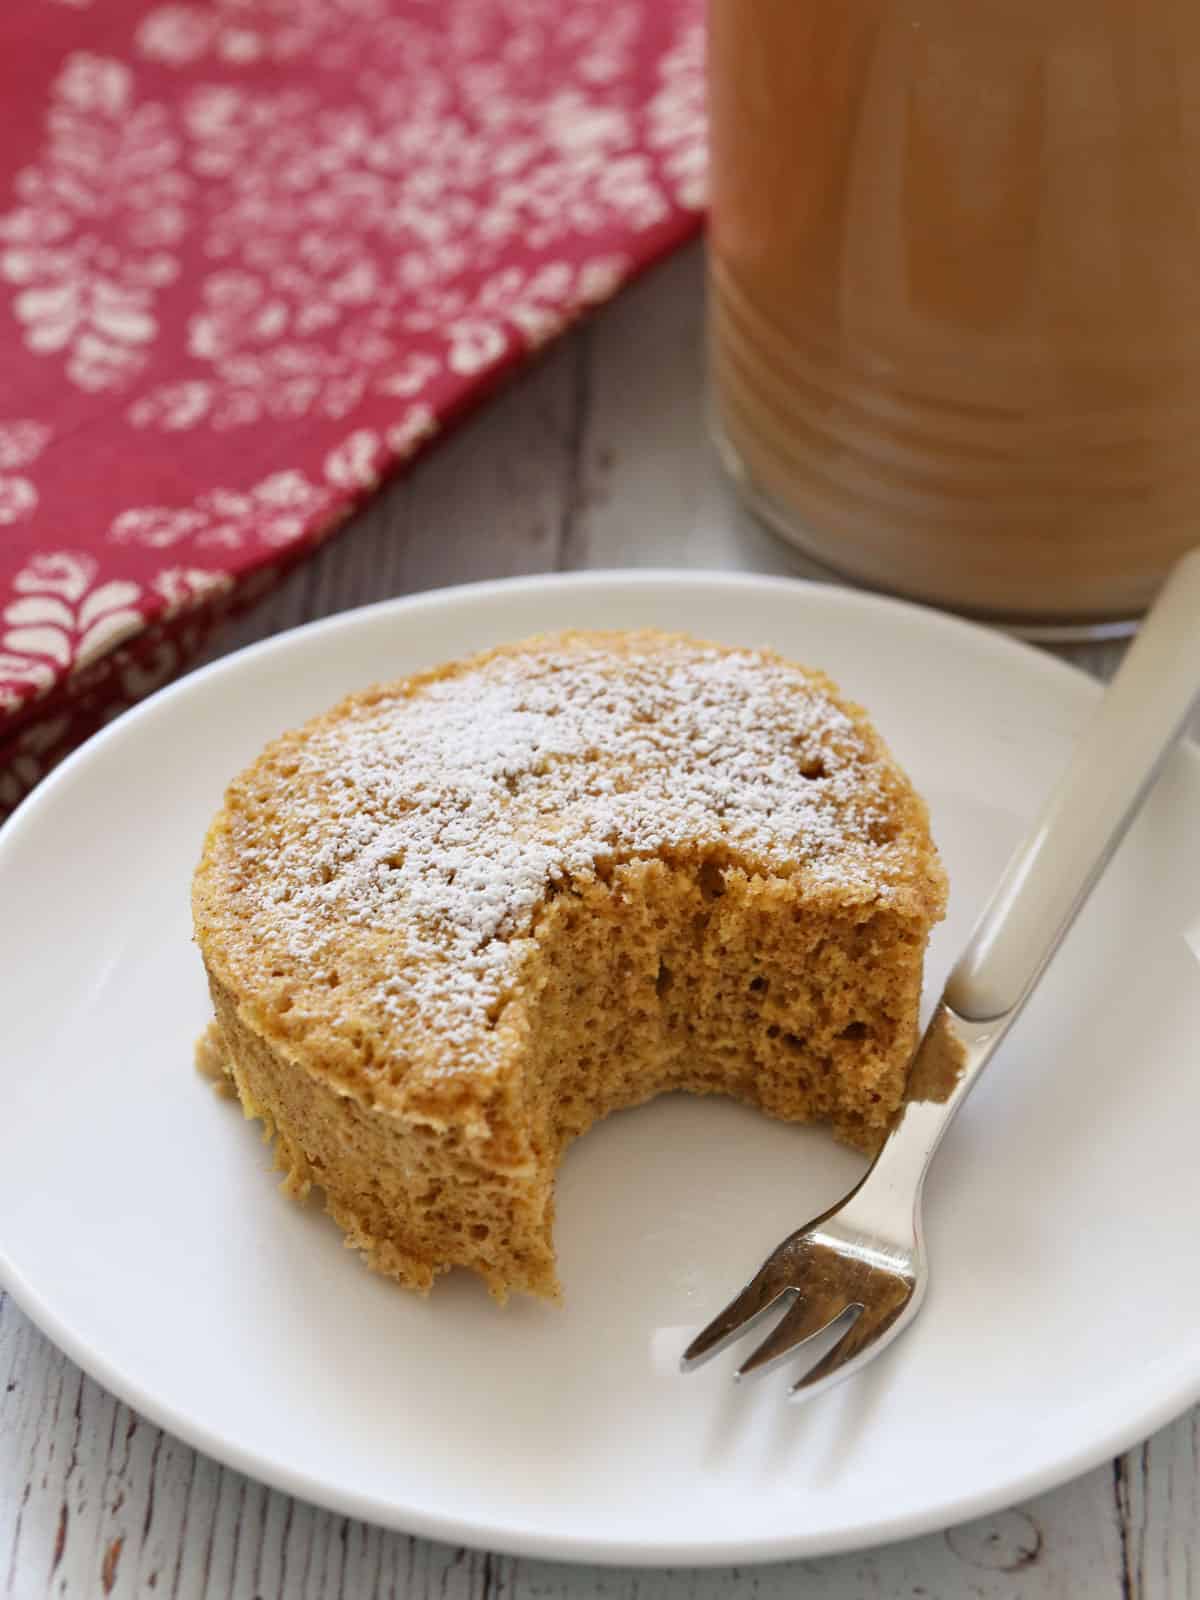
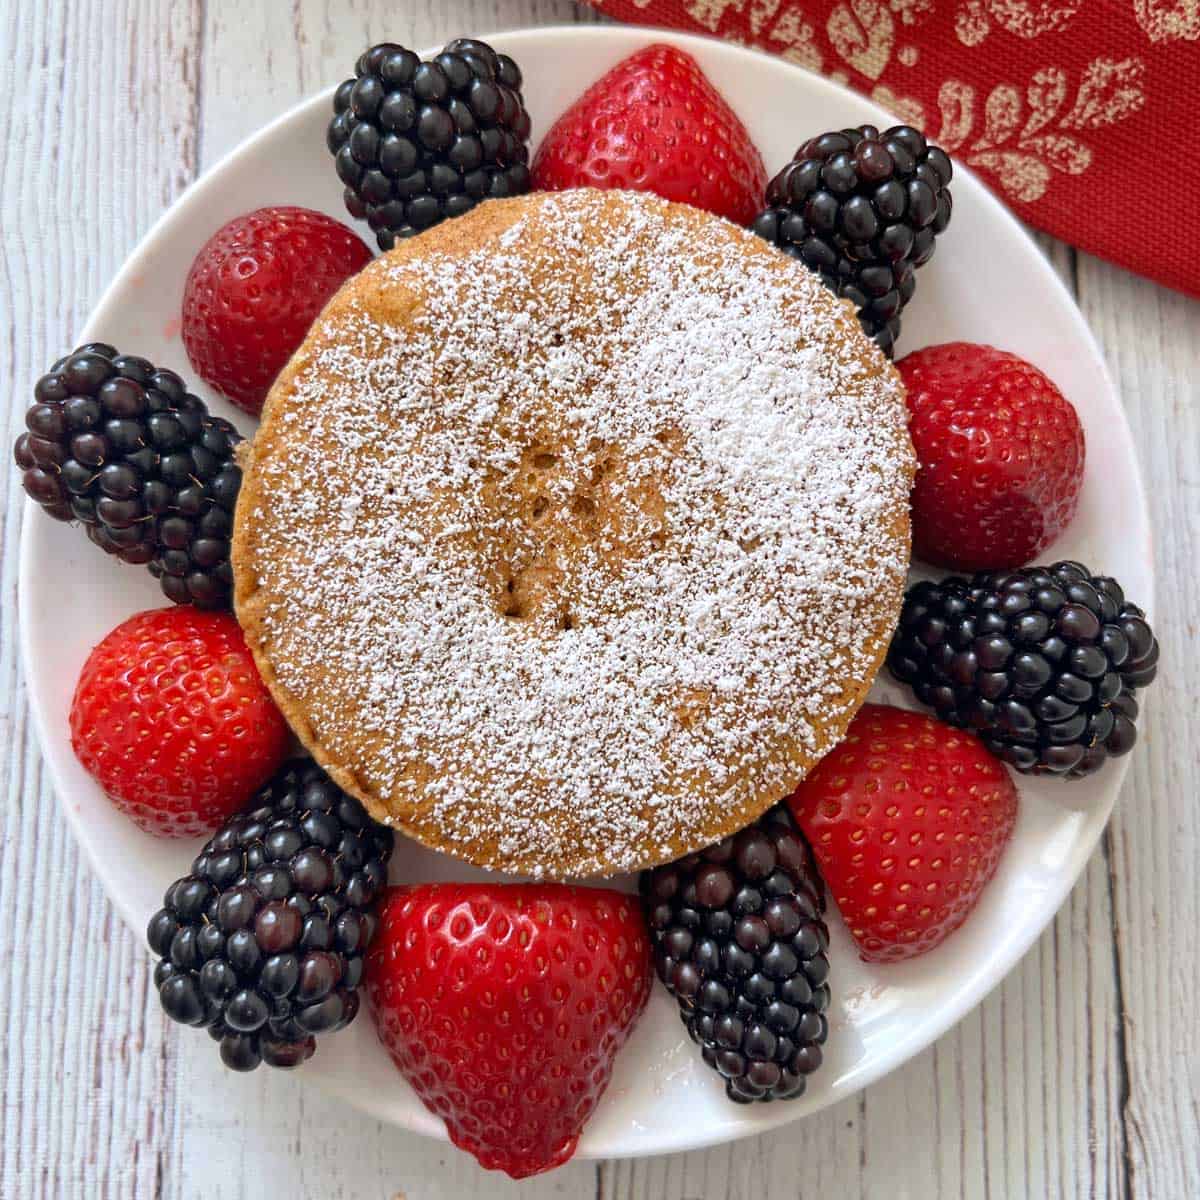
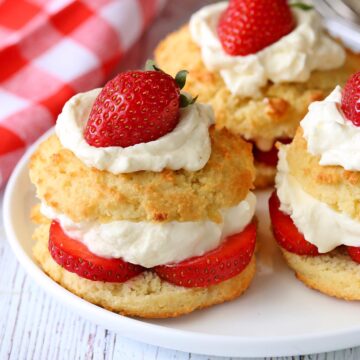
As mentioned above, you can make it without the frosting and have it for breakfast or as a snack cake. When I skip the frosting, I like to dust it with a powdered sweetener to make it prettier. Sometimes, I serve it with fresh berries, as shown in the image below.
Recipe Card
Keto Mug Cake
Video
Ingredients
Frosting:
- 2 ounces cream cheese - cubed
- ¼ teaspoon stevia glycerite - equals 1 tablespoon of sugar
- ⅛ teaspoon vanilla extract
Cake:
- 1 tablespoon unsalted butter
- ½ teaspoon stevia glycerite - scant; equals 2 tablespoons of sugar
- ½ teaspoon vanilla extract
- 1 large egg
- 1 tablespoon coconut flour - 7 grams; see notes below
- ¼ teaspoon ground cinnamon
- ¼ teaspoon baking powder - fresh, gluten-free if needed
Instructions
- Make the frosting: Place the cream cheese on a microwave-safe plate. Soften it in the microwave for about 10 seconds. Mix in the stevia and vanilla extract. Whisk with a small fork until smooth. Set aside.2 ounces cream cheese, ¼ teaspoon stevia glycerite, ⅛ teaspoon vanilla extract

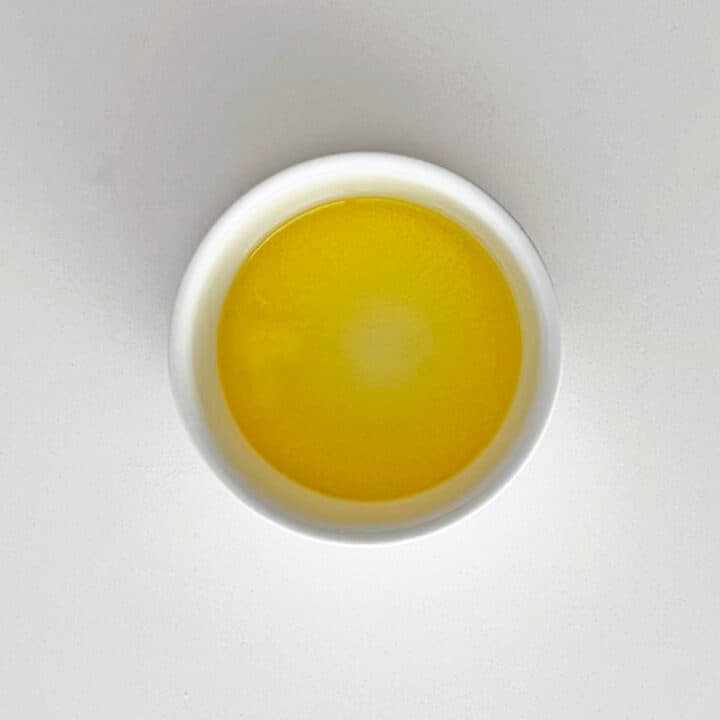
- Place the butter in a microwave-safe ¾-cup, 3.5-inch ramekin (the one I use is similar to this one). Melt it in the microwave in two 10-second sessions.1 tablespoon unsalted butter

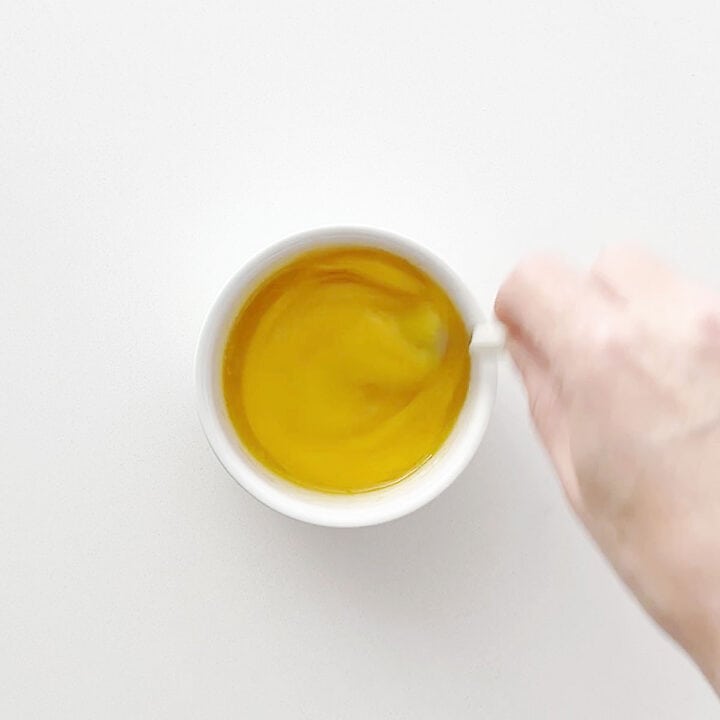
- Using a small hand whisk or a fork, whisk in the stevia, vanilla, and egg until well incorporated.½ teaspoon stevia glycerite, ½ teaspoon vanilla extract, 1 large egg
- Add the coconut flour. Whisk until smooth, scraping the sides and bottom and making sure the batter is completely smooth, well incorporated, and free of lumps. Especially check the bottom of the ramekin to make sure there are no unmixed areas.1 tablespoon coconut flour
- Mix in the cinnamon, followed by the baking powder.¼ teaspoon ground cinnamon, ¼ teaspoon baking powder

- Microwave the cake for about 70 seconds (in a 1200-watt microwave), just until a toothpick inserted in its center comes out clean. See notes below about timing.
- Carefully remove the ramekin from the microwave. Use oven mitts - it will be hot. Place it on a heatproof trivet or cutting board.
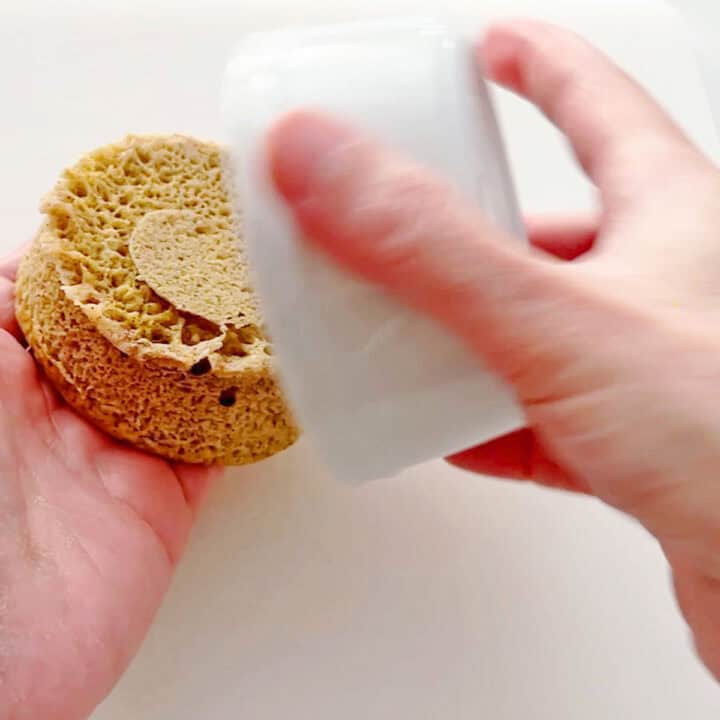
- Gently remove the cake from the ramekin. Run a knife around the edges and slide a small rubber spatula under the bottom if needed. Turn the cake upside down to allow the bottom to air out and prevent sogginess. Allow it to slightly cool.
- To frost the cake, slice it in half crosswise. Frost the center, then the top and sides. You can watch the video below to see exactly how I do it.
- Cut the cake and serve.

Notes
- Since coconut flour is so drying, it's best to measure it by weight with a kitchen scale. But in case you don't own a scale, I experimented and found that when you gently spoon the flour and then level it off with the flat edge of a knife, you should get a pretty accurate measure. Make sure to avoid packing the flour in or using a heaping tablespoon. That would be too much.
- After you add the coconut flour, the batter will be quite lumpy. It takes time and patience for the batter to become smooth, so just keep mixing. It takes a few minutes, but eventually, it WILL happen.
- I used to microwave this cake for 90 seconds in my old 1000-watt microwave. In my new 1200-watt microwave, the cake is ready after 70 seconds. After 80 and certainly 90 seconds, it's too dry. The cooking time can also vary depending on how shallow your bowl/ramekin is and on whether you measured the coconut flour accurately. So, it's a good idea to start with 70 seconds. You can always add 10 more seconds if needed, but you can't fix a dry cake.
- Microwave baking is unpredictable, so it's a good idea to place the ramekin on a microwave-safe plate to catch any spills.
- You can use a granulated sweetener in the cake and a powdered sweetener in the frosting instead of stevia. Sweetness is a personal preference. Use these amounts as a guide and adjust to taste.
- You can keep the leftovers in an airtight container in the fridge for up to three days. Remove them from the fridge about 30 minutes before enjoying them.
- Approximate nutrition info for the cake without frosting (the entire cake): 210 calories, 8g protein, 17g fat, 6g carbs, 3g fiber.
Nutrition per Serving
Save this Recipe!
We will also add you to our weekly newsletter. Unsubscribe anytime. See healthyrecipesblogs.com/privacy/ to learn how we use your email.
Disclaimers
Most recipes are low-carb and gluten-free, but some are not. Recommended products are not guaranteed to be gluten-free. Nutrition info is approximate - please verify it. The carb count excludes non-nutritive sweeteners. Please read these Terms of Use before using any of my recipes.


Kayleigh says
This was absolutely delicious! It didn’t have a weird egg flavor like other healthy recipes I’ve made sometimes have. I used truvia in place of the stevia glycerite and it turned out good. I will definitely make this again.
Vered DeLeeuw says
I'm so glad you enjoyed this cake, Kayleigh! Thank you very much for taking the time to leave a review.
Cookie says
None of that stevia here…will have to use icing sugar
Vered DeLeeuw says
That's fine! You can use a tablespoon in the frosting and two tablespoons in the cake.
Deborah says
can I use almond flour for this mug cake
Vered DeLeeuw says
Hi Deborah,
I haven't tried it, but you could try using 1/4 cup of superfine almond flour and see what happens.
It would definitely be an experiment, and I recommend placing the mug on a microwave-safe plate in case of overflow.
Melissa says
Hello Vered,
We do not own a microwave. Can this cake be baked in the oven? If so, what temp/time?
Vered DeLeeuw says
Hi Melissa,
I would try baking it for 10-15 minutes in a preheated 350°F oven.
Melissa says
Thank you! I enjoy a number of recipes on your website. Especially the baked cauliflower steaks and oven baked chicken. Thank you
Vered DeLeeuw says
You're very welcome, Melissa! I'm so glad my website is useful.
Rachel says
This cake was quick and delicious. FYI, I used a tub of cream cheese (not a block) and it turned out fine.
Vered DeLeeuw says
I'm glad you enjoyed this cake, Rachel! Thanks for letting us know about the cream cheese.