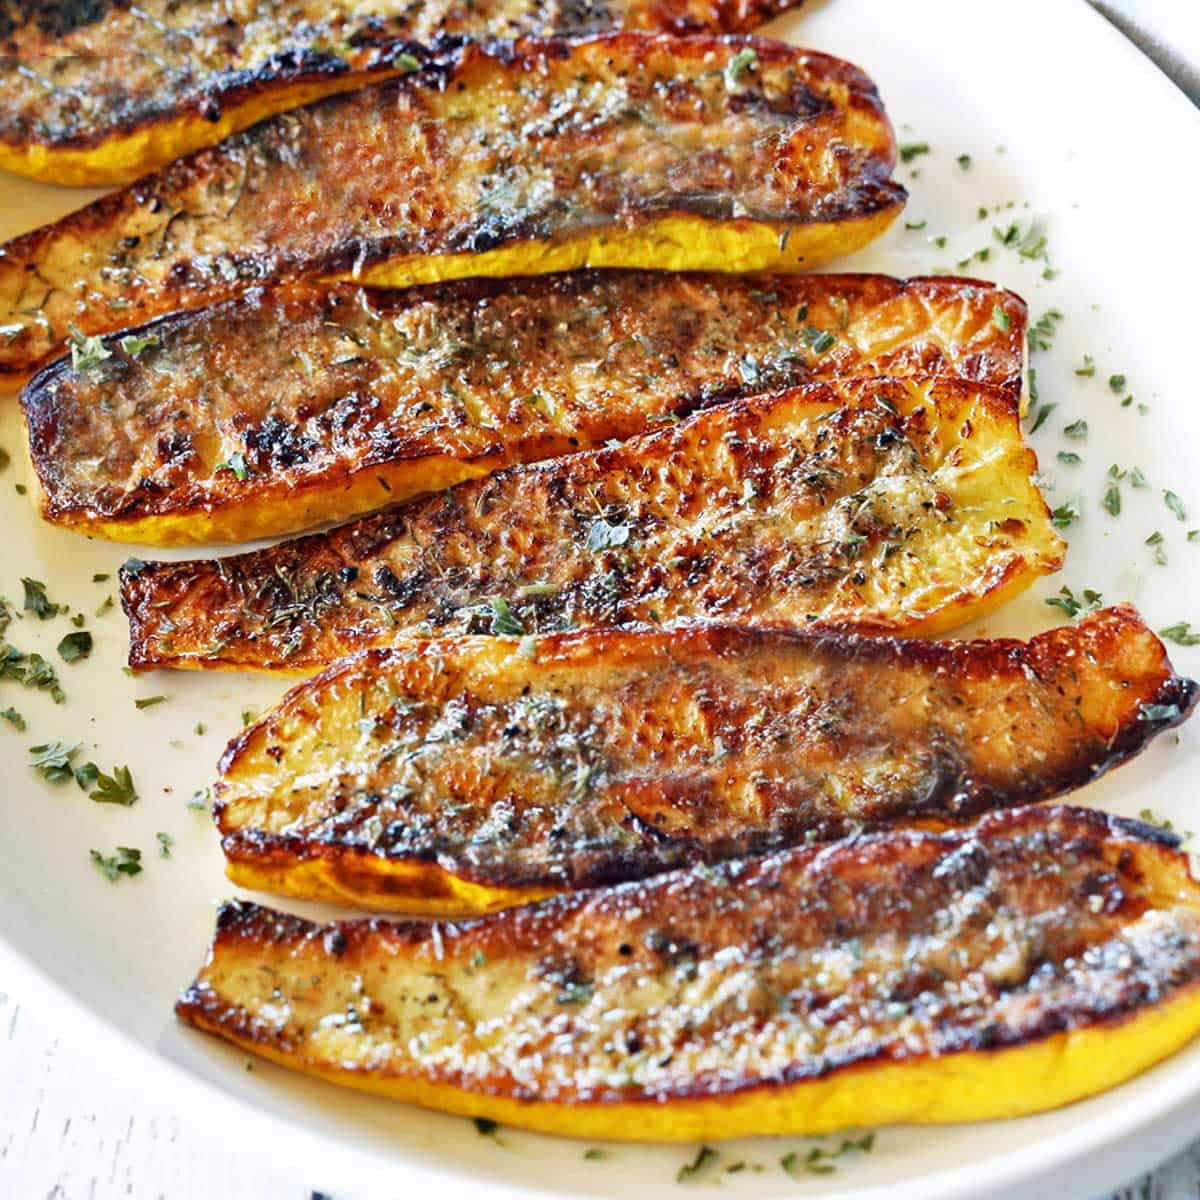
For perfectly roasted yellow squash, salt it to draw out water, quickly pan-fry, then finish it in the oven. Your reward: Flavorful, deeply caramelized squash that tastes great freshly roasted and just as good as cold leftovers.
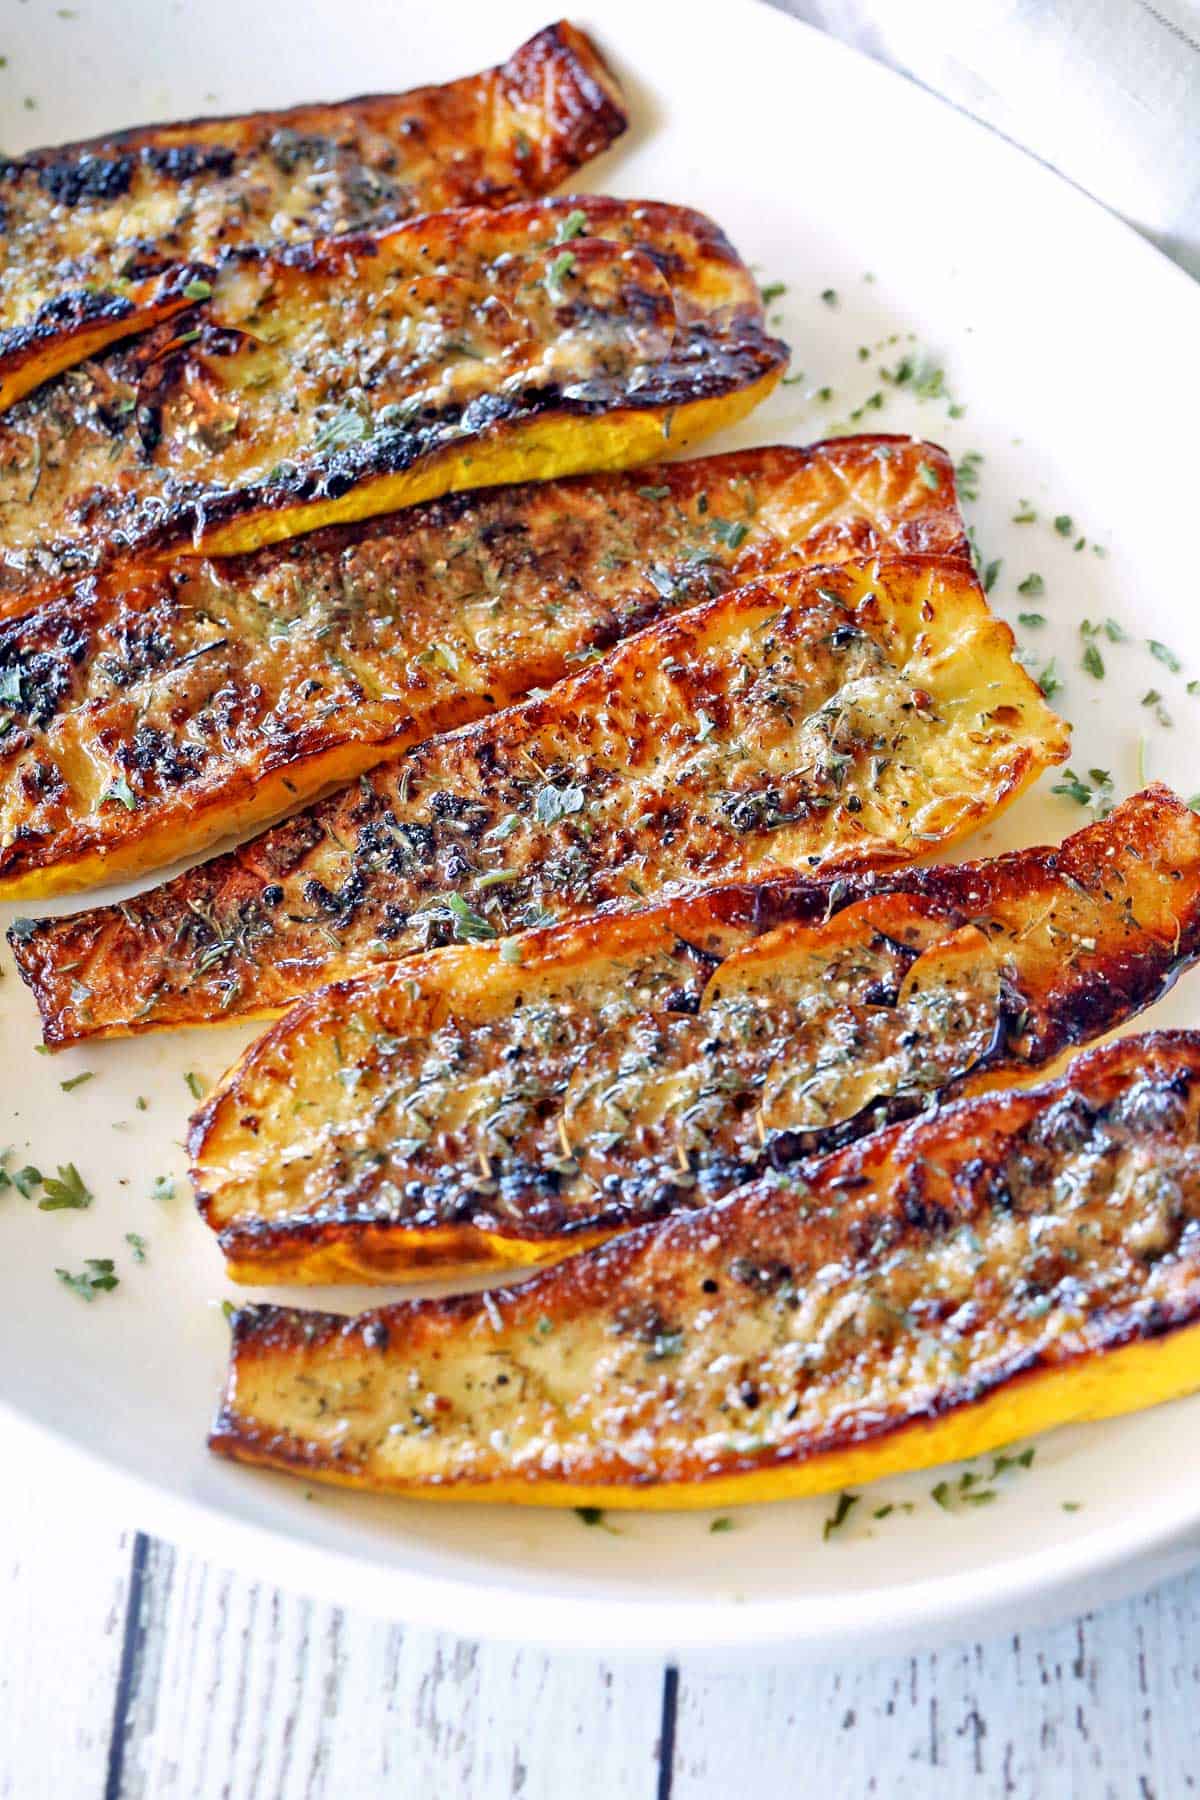
The first time I made roasted zucchini using Chef Thomas Keller's method, I knew immediately that I would apply the same method to squash and eggplant. Despite being a multi-step method, I don't think I'll ever roast these vegetables any other way. This roasted yellow squash is absolutely perfect. The extra steps of salting and pan-frying it are worth the superb result.
Ingredients and Variations
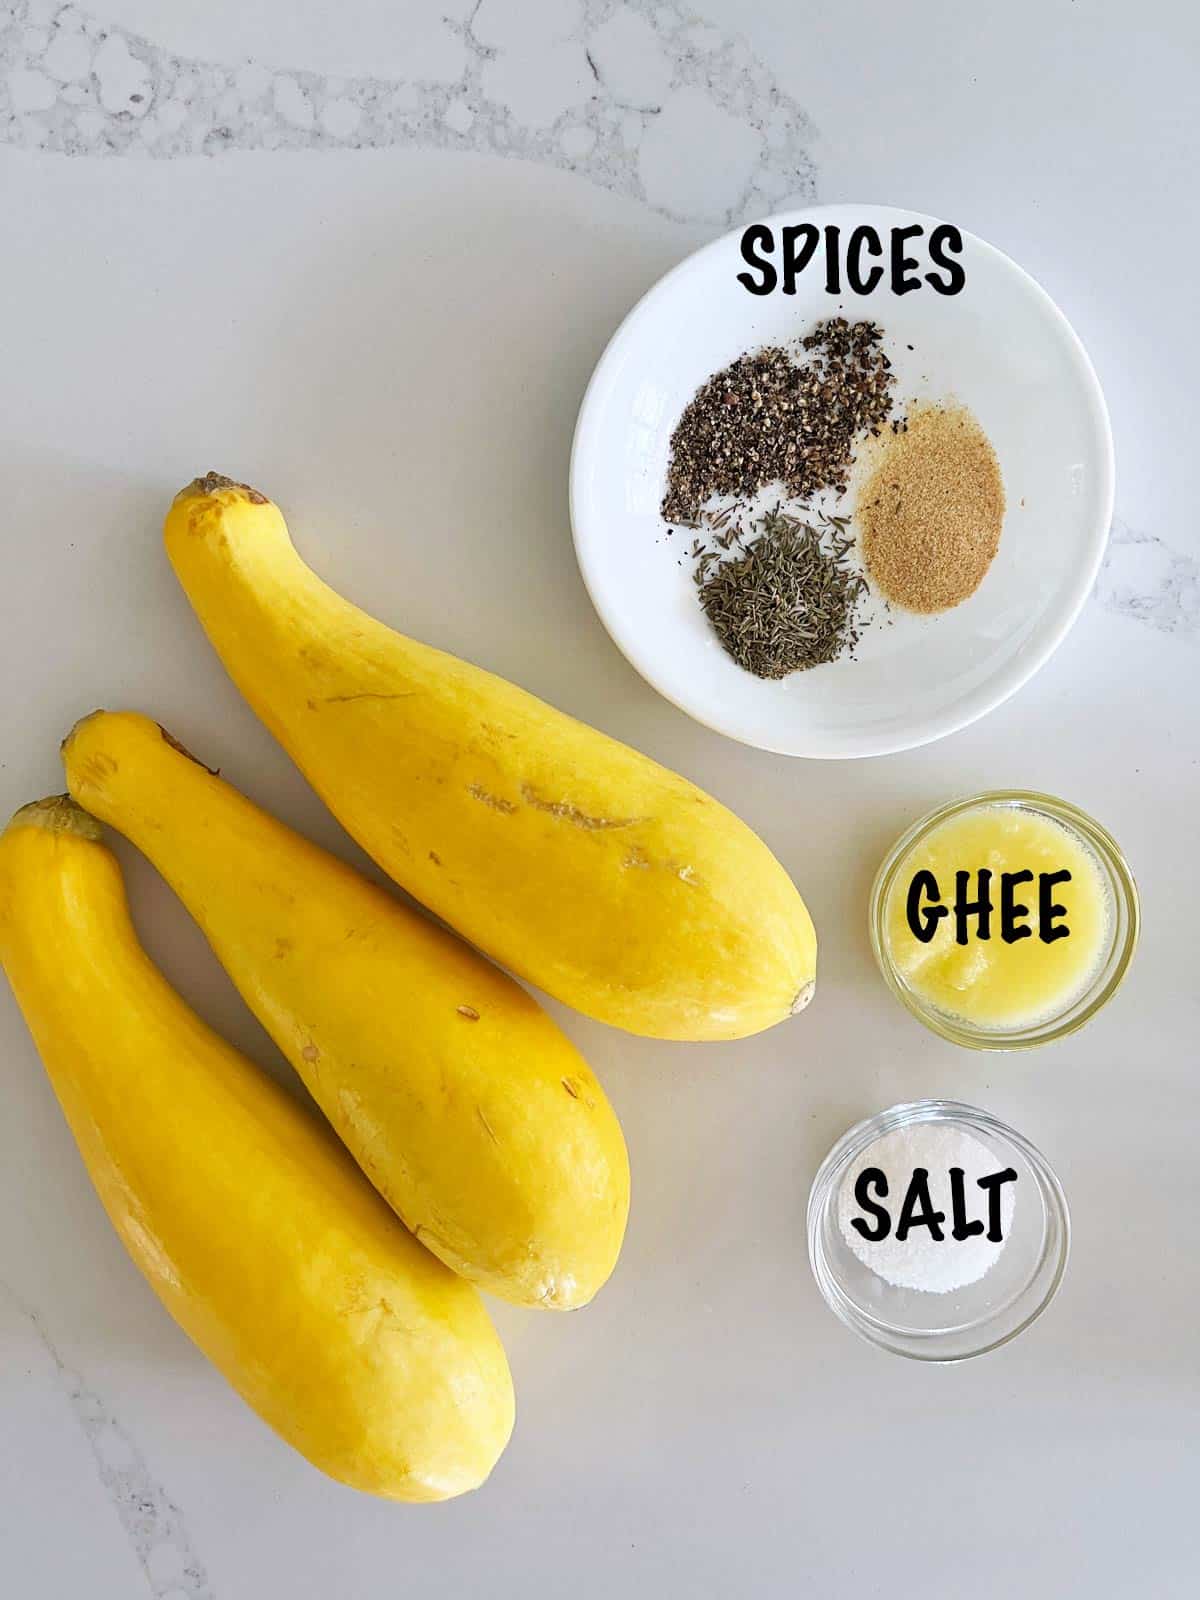
See the recipe card for exact measurements. Here are my comments on the ingredients.
- Yellow squash: We will use three medium squashes in this recipe. Trim their ends, but leave them unpeeled.
- Kosher salt: Used to draw water out of the squash.
- Ghee: Used for sautéing the squash before roasting it. You can use avocado oil or refined coconut oil instead of ghee.
- To season: Black pepper, garlic powder, and dried thyme.
Sometimes, I sprinkle the squash with grated Parmesan cheese before placing it in the oven.
Instructions
The detailed instructions and step-by-step photos are included in the recipe card. Here's a quick overview.
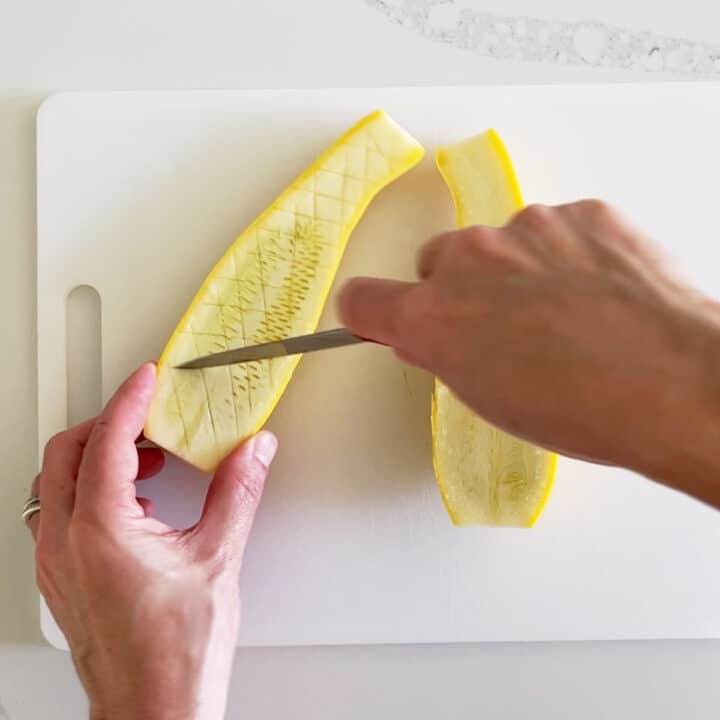
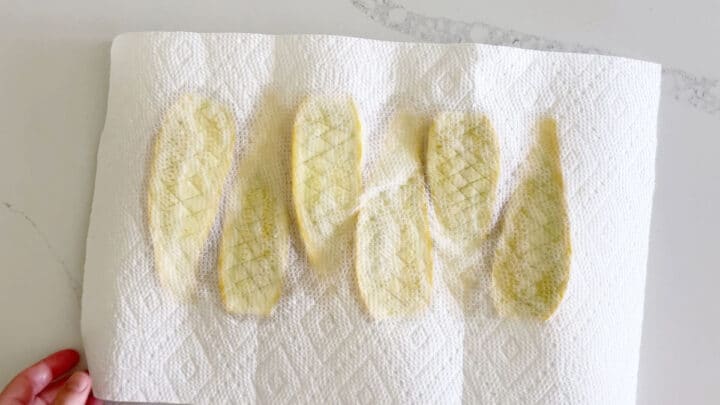
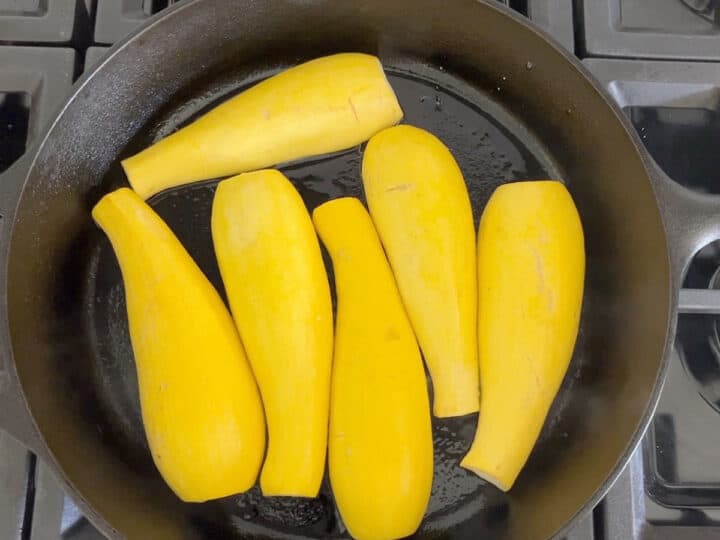
Cut each squash in half lengthwise. Make shallow cuts in a crosshatch pattern on the flesh side. Sprinkle the squash with salt and let it rest for 15 minutes. After 15 minutes, the squash will have visible water droplets on its surface. Pat it dry using paper towels.

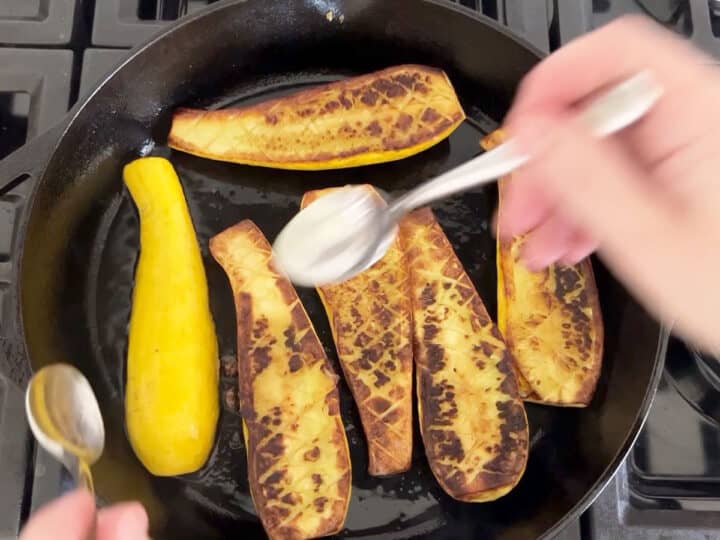
Heat the ghee over medium-high heat in a large oven-safe skillet. Add the squash in a single layer, flesh side down. Cook for about 5 minutes, until the bottom is browned. Turn the heat off. Flip the squash. Sprinkle it with black pepper, garlic powder, and dried thyme.

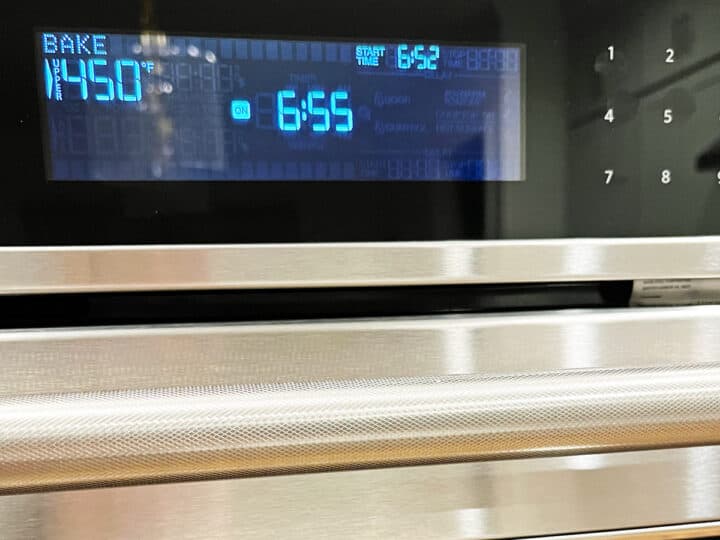
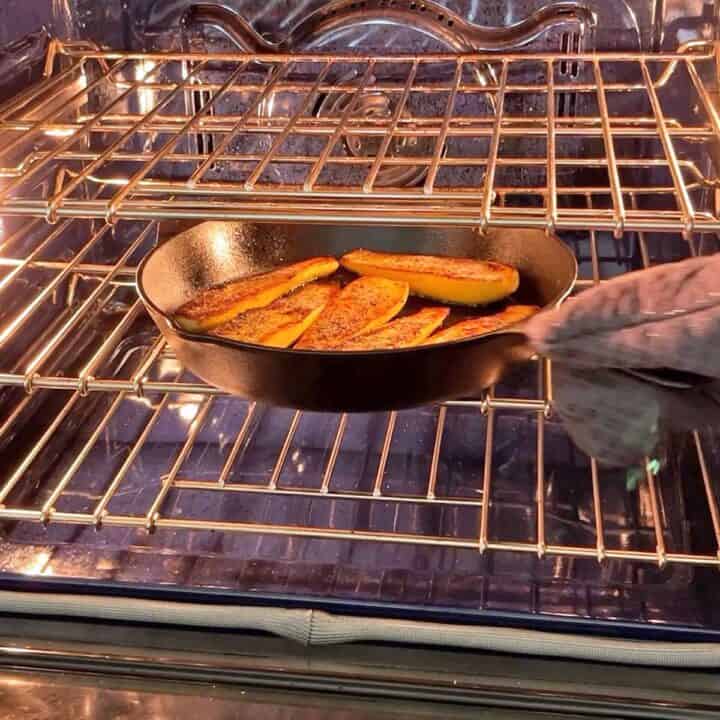
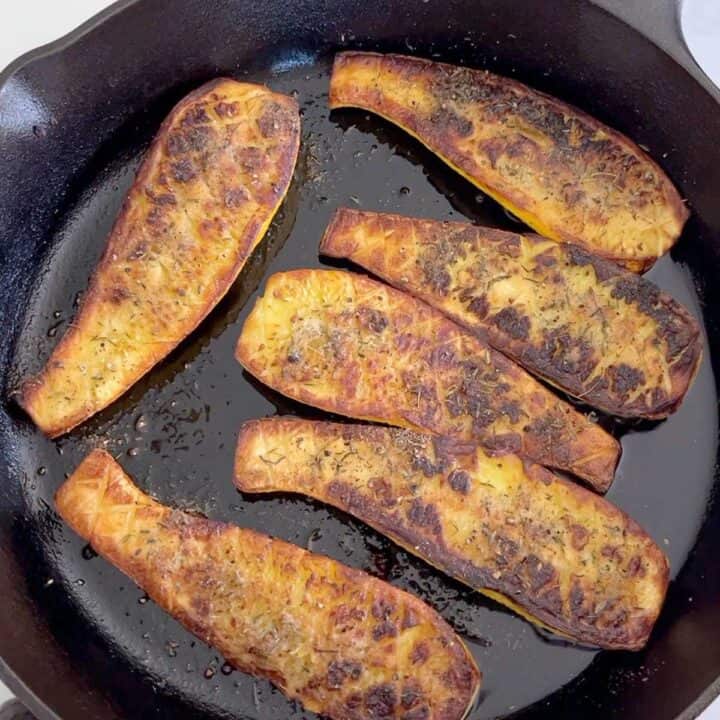
Transfer the skillet to an oven preheated to 450°F. Roast the squash until tender, for about 20 minutes. Serve immediately.

I make and eat a lot of yellow squash. Grew up on it, love it, and got my husband to like it too, but this recipe was better than any I've ever made. Simple and delicious. And the technique made it beautiful as well. Thank you!
Michele E Howell
Read more comments
An Alternative (Lazy) Method
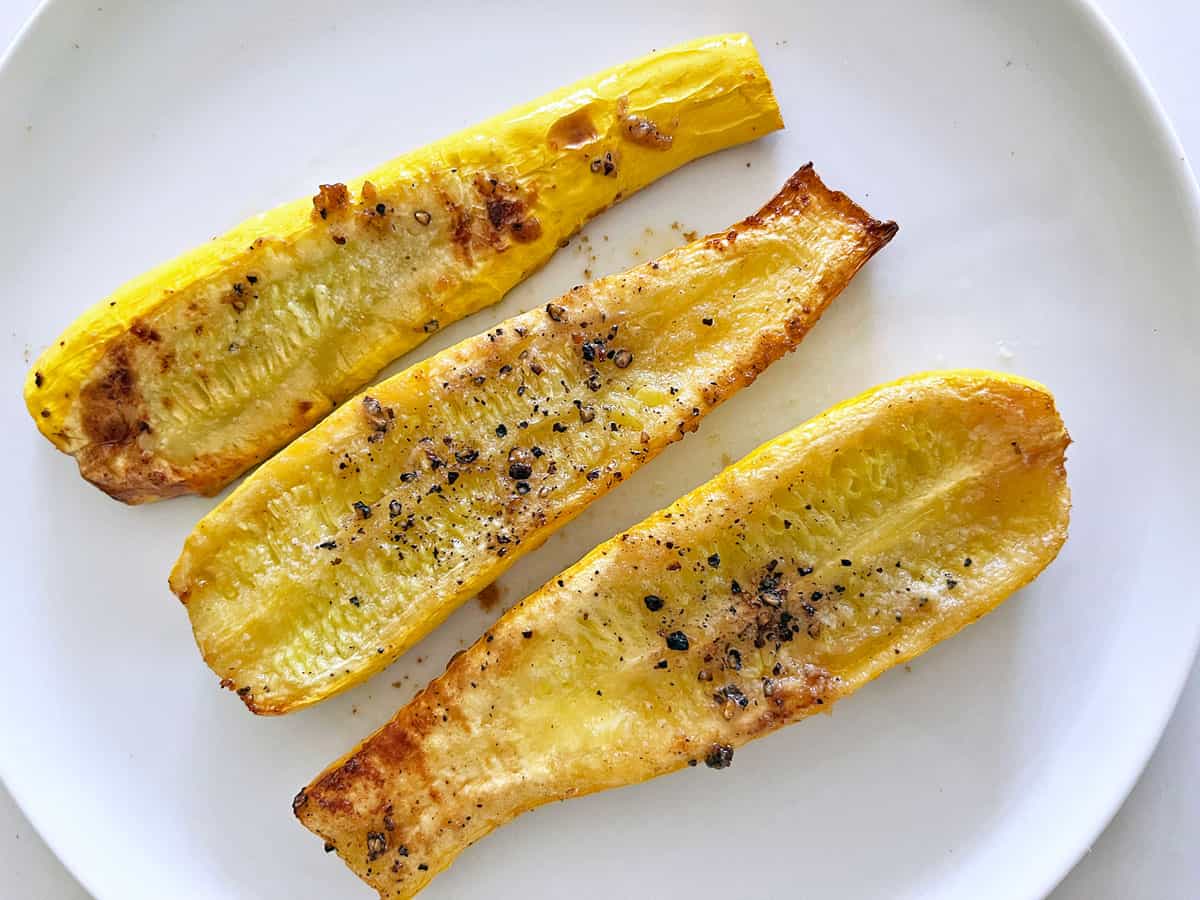
I'm a big advocate of the three-step method outlined here because it leads to perfect results. But if you're feeling lazy, you can simply roast the squash in the oven and skip salting and pan-frying. Its texture will be soggy, but its flavor will be excellent.
I experimented and roasted the squash in the photo below in a 425°F oven for 20 minutes per side. I didn't salt it beforehand. I simply halved it lengthwise, sprayed it with a generous amount of olive oil on both sides, seasoned it with salt, black pepper, and garlic powder, and roasted it.
It was delicious! But its texture was soggy because I skipped salting. Additionally, it wasn't as caramelized as when I took the extra step of sauteing it before roasting.
Recipe FAQs
Salting removes excess water, preventing the roasted squash from being soggy. Look at these water droplets on the squash after it's been salted - it's important to remove that excess water for optimal results: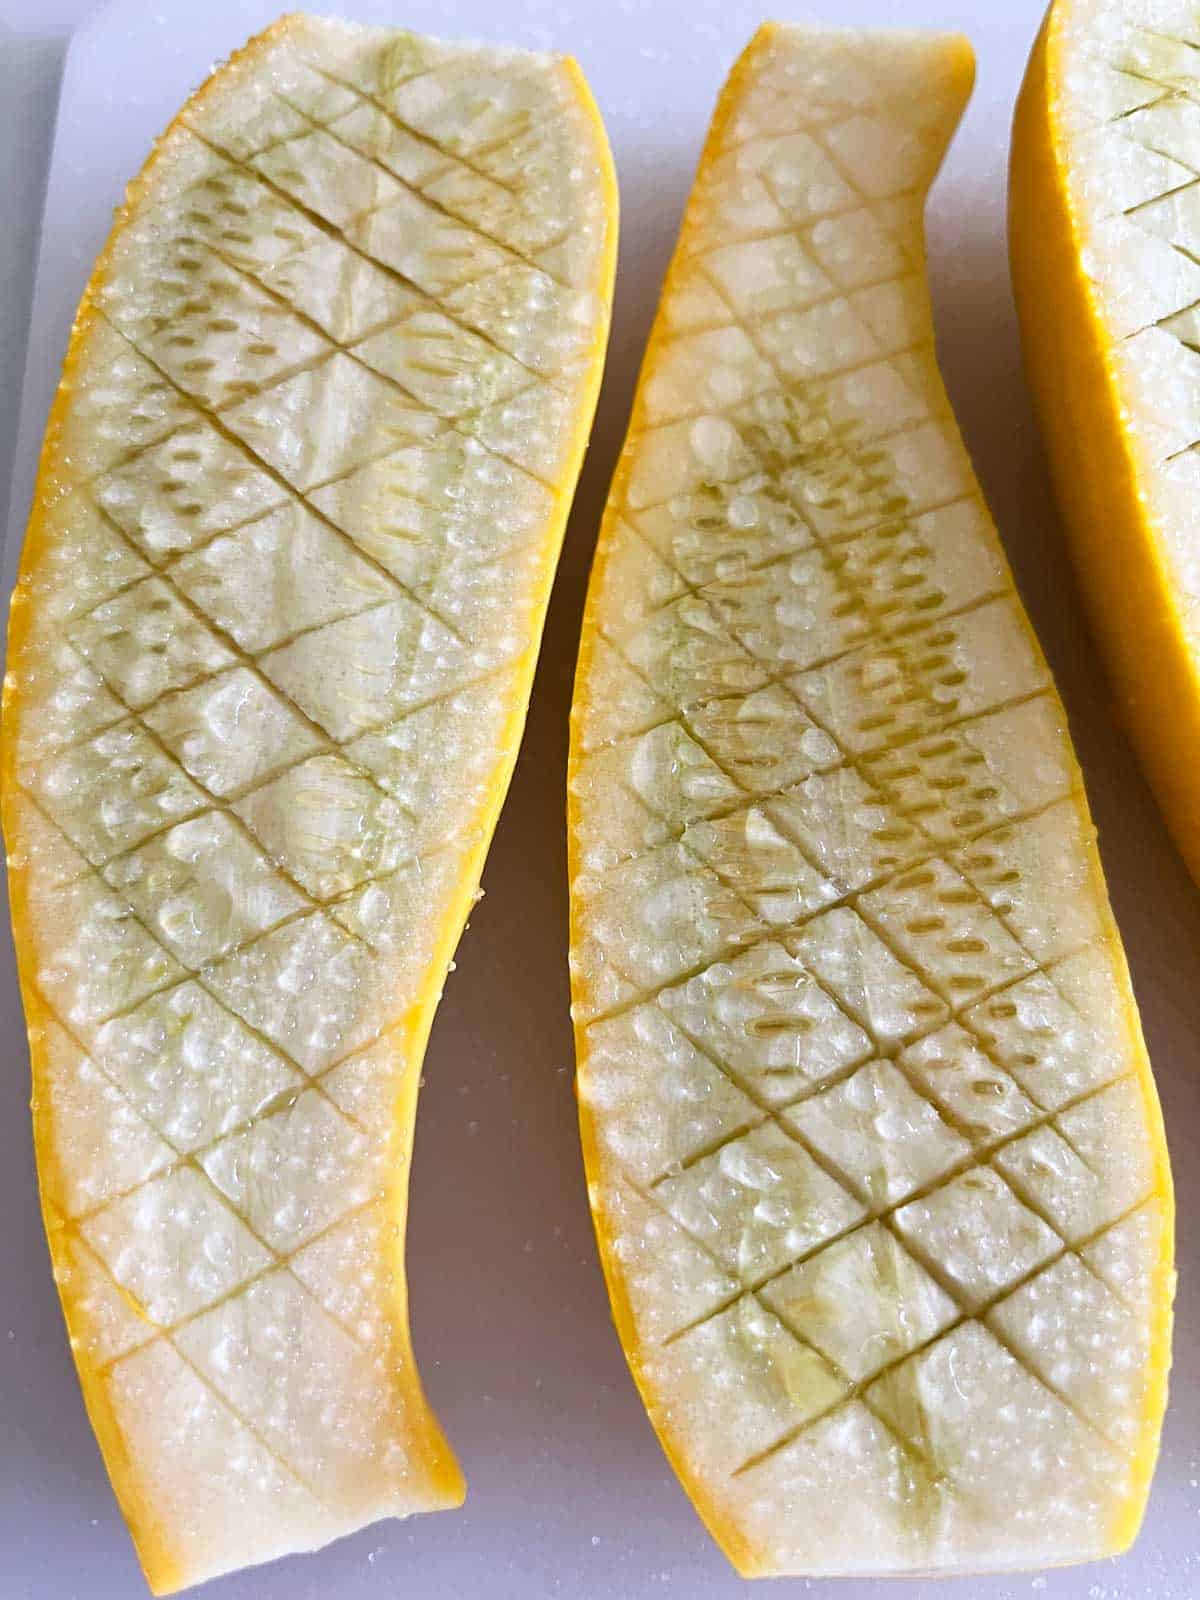
No. Butternut squash is a winter squash, while yellow squash is a summer squash. Their texture is different. Yellow squash has a far higher water content and less dense flesh. Butternut squash doesn't need to be salted, but it does need to be peeled - its skin is thick and fibrous. Here's a good recipe for roasted butternut squash.
There's no need to peel this squash, just as there's no need to peel zucchini. Summer squash skin is thin, edible, and not too fibrous.
To prevent the squash from being soggy, score its flesh, salt it, and let it stand for at least 15 minutes to draw water out, then pat it dry with paper towels. Scoring its flesh helps the salt penetrate it. Salting draws excess water out.
Serving Suggestions
Since I bake the squash in a 450°F oven, I like to serve it with a main dish I can cook in the same oven, such as:
Storing the Leftovers
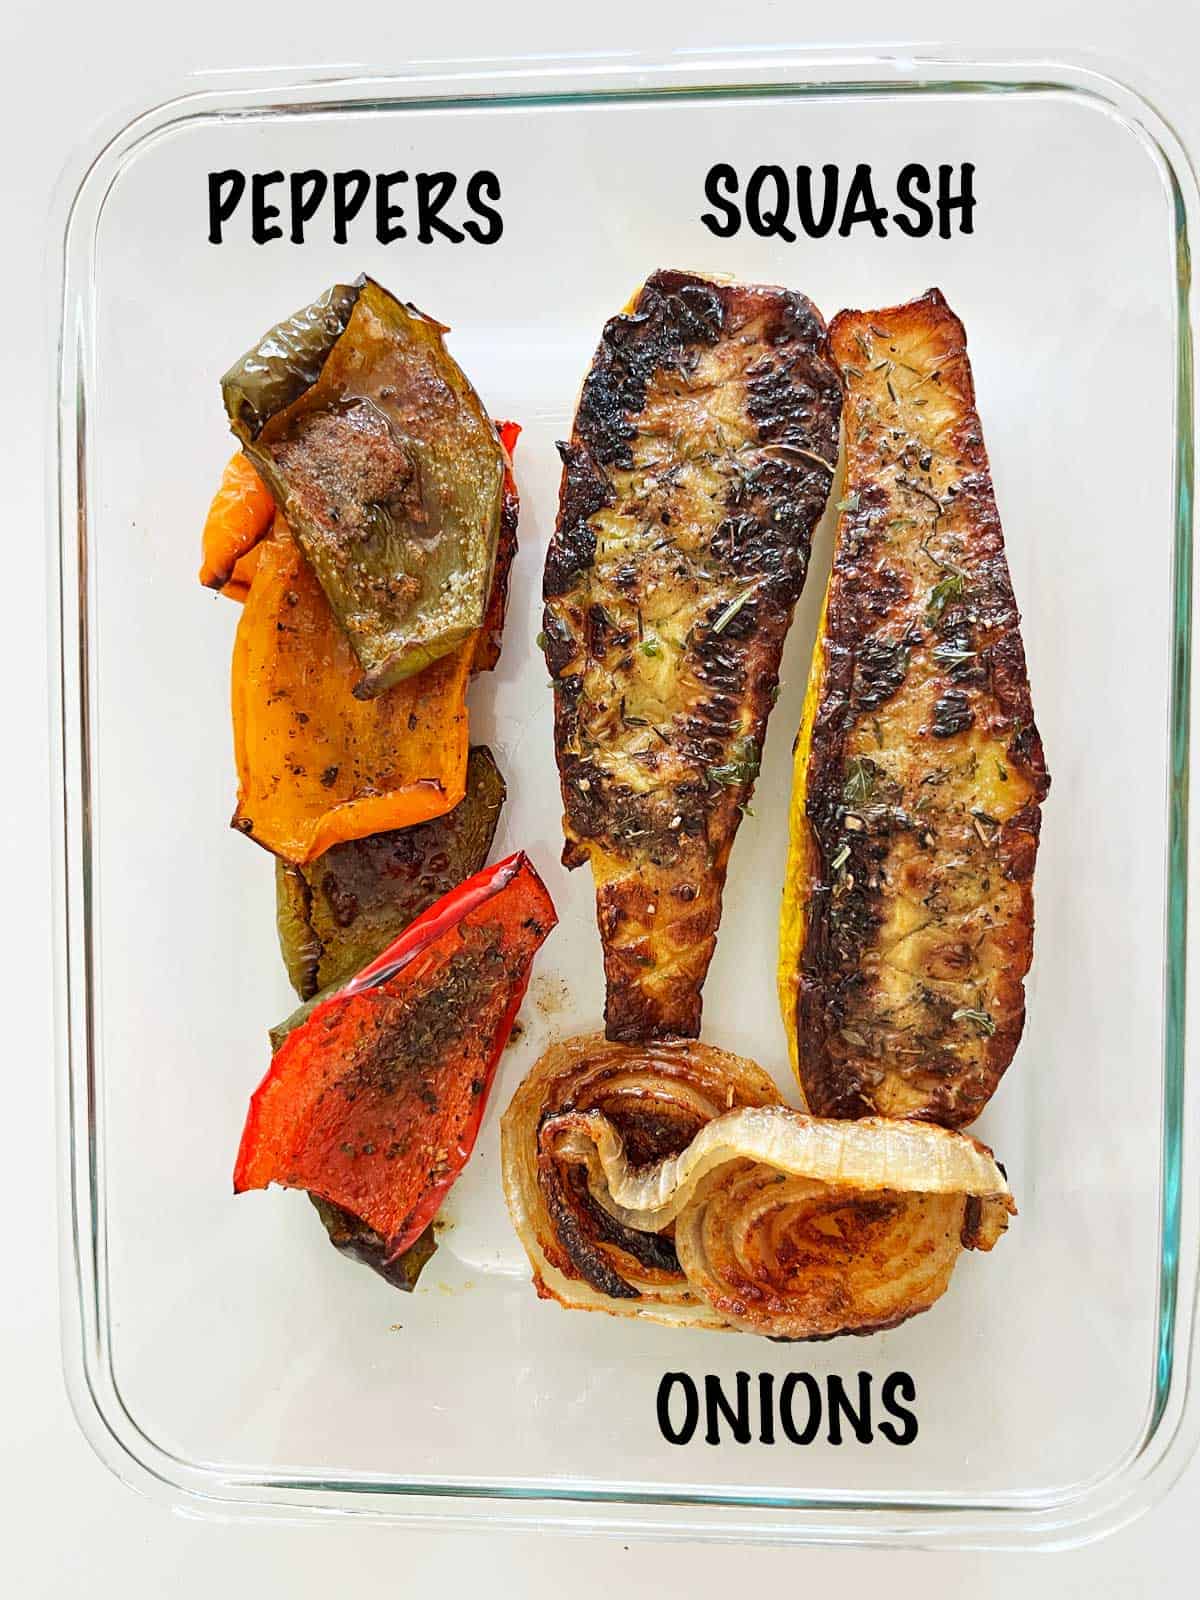
You can keep the leftovers in an airtight container in the fridge for up to 4 days. They are delicious when served cold, like antipasti. If you'd like to reheat them, do so in the microwave, covered, at 50% power. I don't recommend freezing the leftovers.
The photo below demonstrates how I typically store the leftovers in a glass food storage container. I made roasted peppers and roasted onions with the squash, so I stored them all together:
Recipe Card

Roasted Yellow Squash
Video
Ingredients
- 3 yellow squash - medium-sized, unpeeled, ends trimmed
- 1 teaspoon Diamond Crystal kosher salt - or ½ teaspoon of any other salt, including Morton kosher salt
- 1 tablespoon ghee
- ¼ teaspoon black pepper
- ½ teaspoon garlic powder
- ½ teaspoon dried thyme
Instructions
- Cut each squash in half lengthwise. Make shallow cuts in a crosshatch pattern on the flesh side. Sprinkle 1 teaspoon of kosher salt over the flesh and let it rest for 15 minutes. The salt will draw water out. The crosshatch pattern helps the salt penetrate the squash.3 yellow squash , 1 teaspoon Diamond Crystal kosher salt

- After 15 minutes, the squash will have visible water droplets on its surface. Pat it dry using paper towels.

- Preheat the oven to 450°F.1 tablespoon ghee

- In a large, 12-inch, oven-safe skillet, heat the ghee over medium-high heat. I use a cast-iron skillet.

- Place the squash in the skillet in a single layer, flesh side down. Cook the squash for about 5 minutes, until the bottom is browned. If the pan becomes too hot, reduce the heat to medium.
- Turn the heat off. Flip the squash. Sprinkle it with black pepper, garlic powder, and dried thyme.¼ teaspoon black pepper, ½ teaspoon garlic powder, ½ teaspoon dried thyme
- Transfer the skillet to the preheated oven.
- Roast the squash for about 20 minutes, until tender. Serve immediately.

Notes
- Seasonings, especially salt, are guidelines - adjust to taste.
- Scoring and salting the squash's flesh eliminates extra liquid, helps the squash caramelize, and prevents sogginess.
- Even though we pat the squash dry after salting it, enough salt gets inside thanks to the scoring that there's no need to add more salt.
- Squashes and ovens vary. You'll need to check and ensure that the squash is cooked through, tender, and browned.
- You can keep the leftovers in an airtight container in the fridge for up to 4 days. They are delicious when served cold, like antipasti. Alternatively, reheat them in the microwave at 50% power. I don't recommend freezing the leftovers.
- The nutrition info assumes that about half the salt remains in the dish after blotting the squash dry.
Nutrition per Serving
Save this Recipe!
We will also add you to our weekly newsletter. Unsubscribe anytime. See healthyrecipesblogs.com/privacy/ to learn how we use your email.
Disclaimers
Most recipes are low-carb and gluten-free, but some are not. Recommended products are not guaranteed to be gluten-free. Nutrition info is approximate - please verify it. The carb count excludes non-nutritive sweeteners. Please read these Terms of Use before using any of my recipes.


Judie Allen says
Delicious!
Vered DeLeeuw says
Glad you enjoyed it, Judie! I appreciate the review.
Cindy says
Delicious! This will definitely be on my summer rotation 🙂
Vered DeLeeuw says
Wonderful, Cindy! Many thanks for the review.
Maureen says
I wish there were some leftovers, but my family ate it all!
Vered DeLeeuw says
Haha that's great to hear, Maureen! Many thanks for the review. 😀
Lynda Kolbenheyer says
So tasty and easy. I didn’t use ghee because I didn’t have the time but regular browned butter was perfect. Baked in oven 10 minutes because we like al dente. Perfect!
Vered DeLeeuw says
I'm glad you enjoyed this recipe, Lynda, and really apreciet the review!
SS says
Hi - Would olive oil work in place of ghee? Or we'd need to use a high heat oil? Looking fwd to trying it either way...
Vered DeLeeuw says
Hi! It's best to use high-heat oil. Hope you like it!
Roger Peak says
Yum!
Vered DeLeeuw says
Glad you liked it, Roger! Thanks for the review.
Julie Behnke says
I substituted butter for the ghee. These are delicious! I'm definitely making this again.
Vered DeLeeuw says
I'm so glad to hear that, Julie! Thank you very much for the review - much appreciated.