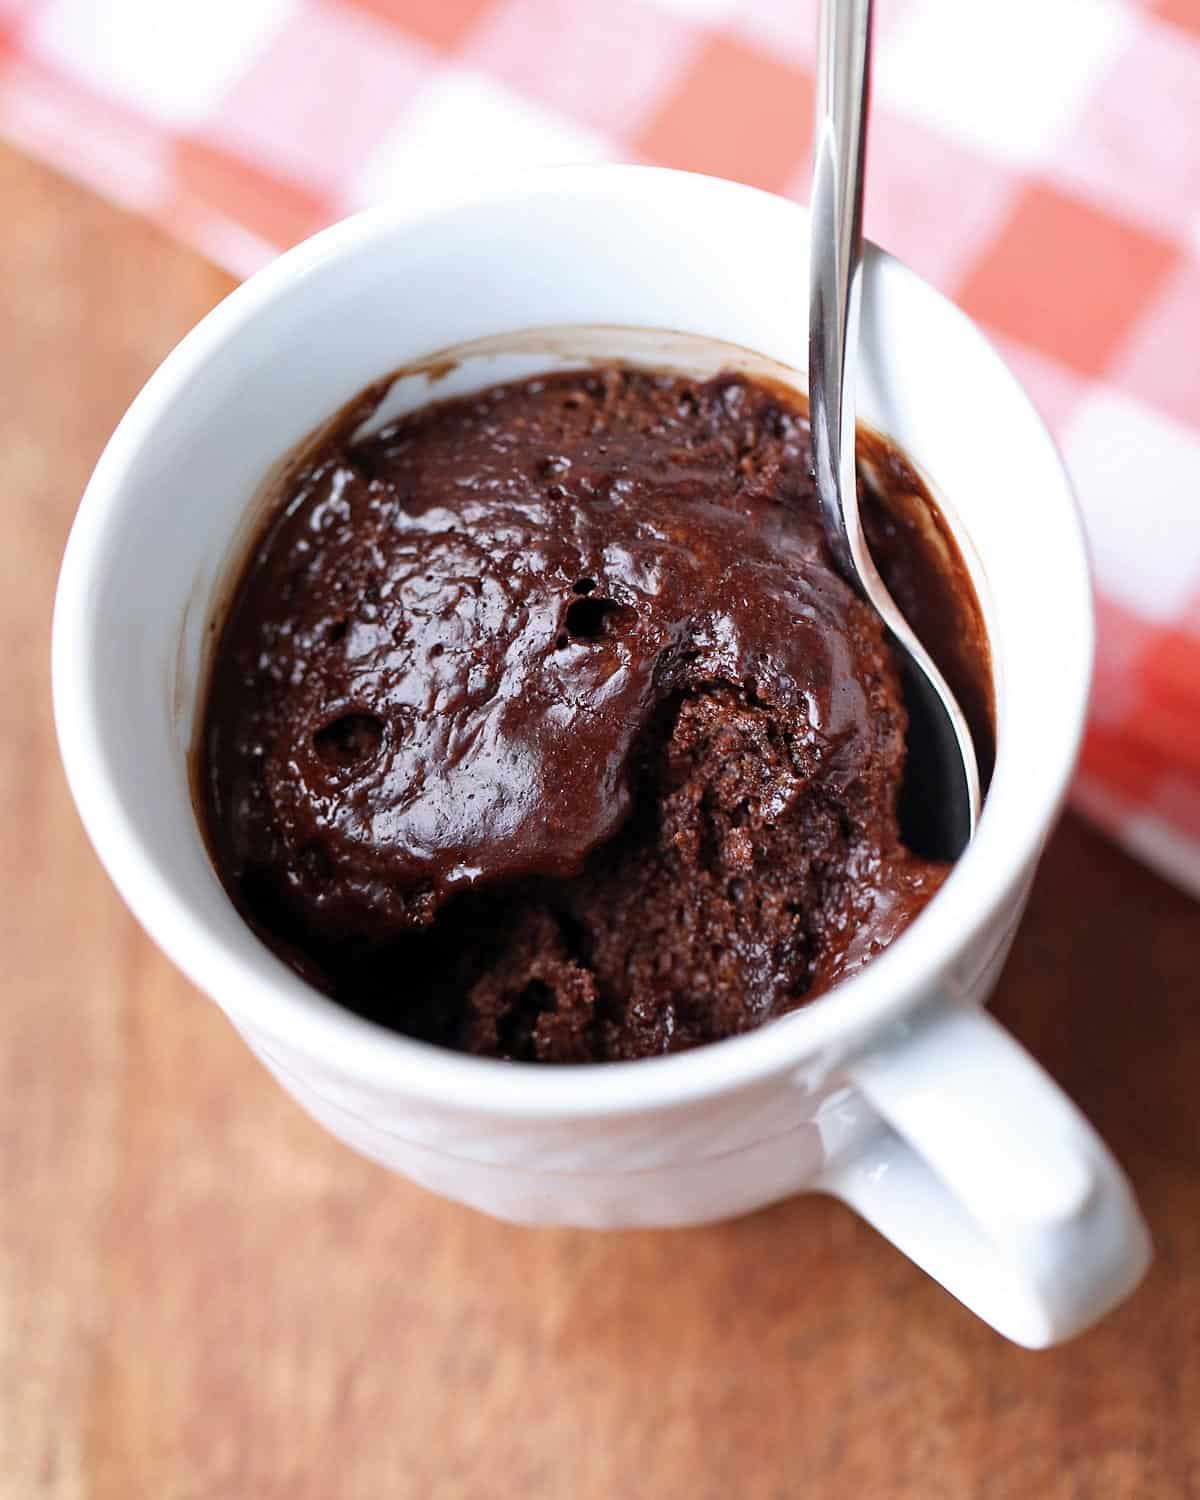
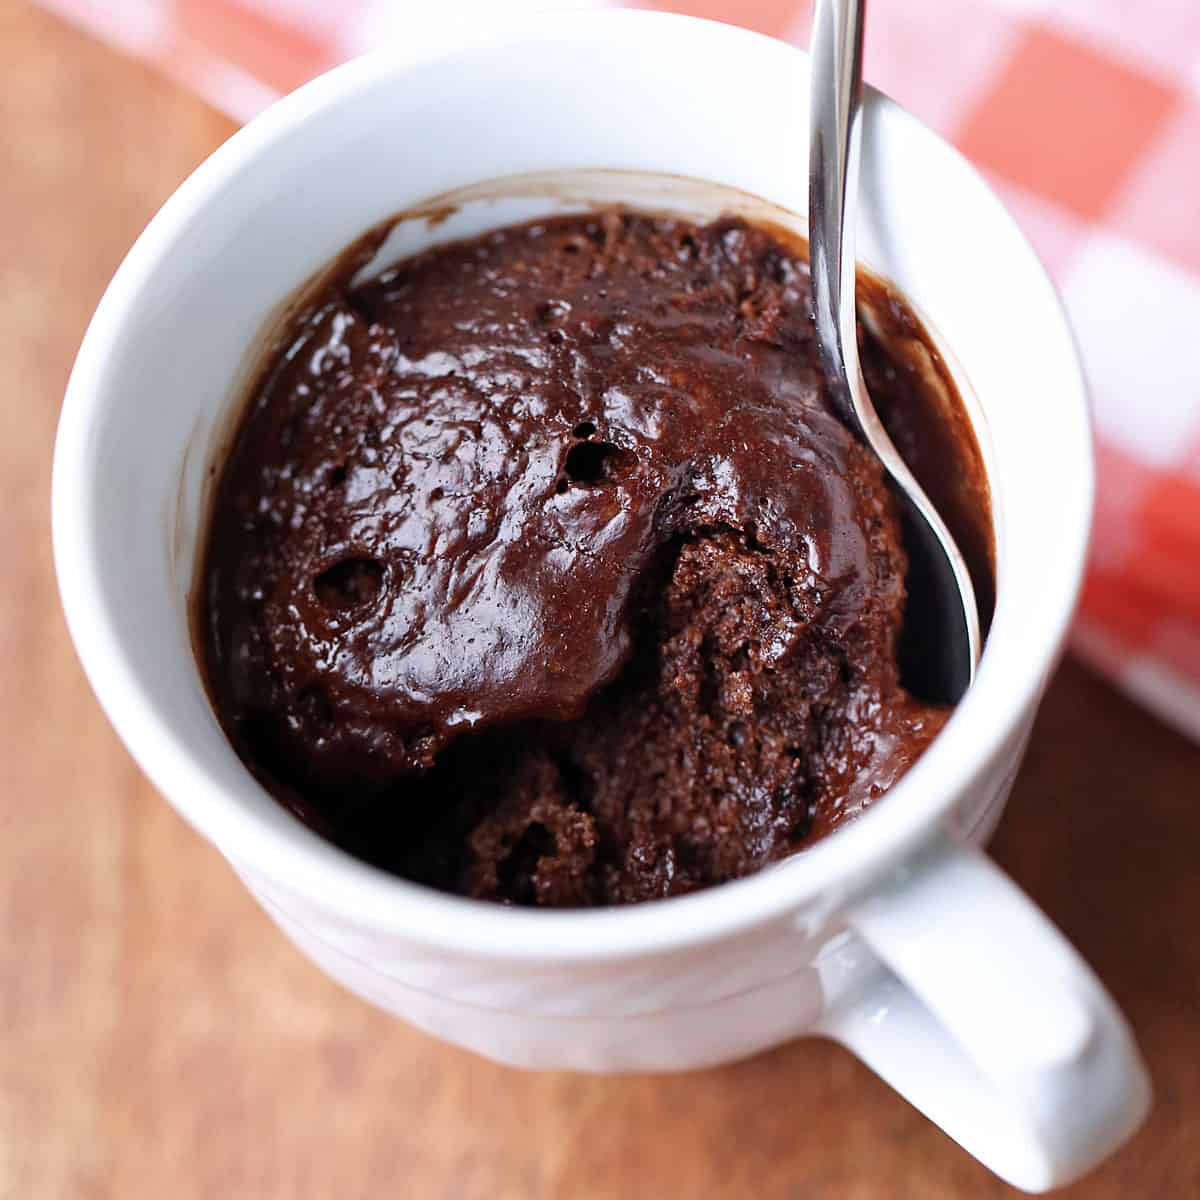
This chocolate mug cake is rich, chocolatey, and gooey. It's one of the best solutions I have found when craving something sweet. I love the built-in portion control!
I first published this recipe in 2015, after a lengthy process of trial and error. I wanted the perfect chocolate mug cake, with a deep chocolate flavor and tender crumb. I also wanted it to be flourless. I achieved perfection when I decided to use nut butter as the base for the cake. The result is heavenly: rich, tender, and moist. I have made it countless times over the past ten years. I never tire of it!
Ingredients and Substitutions

See the recipe card for exact measurements. Here are my comments on some of the ingredients.
- Almond butter: I usually use natural almond butter. The only ingredient is almonds, and you need to mix it and then refrigerate to prevent oil separation.
- Sweetener: I use stevia glycerite. You can use 2 tablespoons of any granulated sweetener instead, including sugar or coconut sugar. You can also use one tablespoon of honey. It's sweet enough that one tablespoon is enough, and it won't add too much liquid to the batter.
- Unsweetened cocoa powder: It's best to use Dutch-processed cocoa powder. It's milder and less acidic than natural cocoa powder.
- Optional: Sometimes, I scatter a tablespoon of dark chocolate chips on top of the cake before microwaving, as shown in the photo below.

Instructions
The detailed instructions and step-by-step photos are included in the recipe card. Here's a quick overview.
Combine the ingredients in a 12-ounce mug in the order listed. I usually start with the liquid ingredients and then add the dry ones. The baking powder is added last to make sure it doesn't lose its potency.

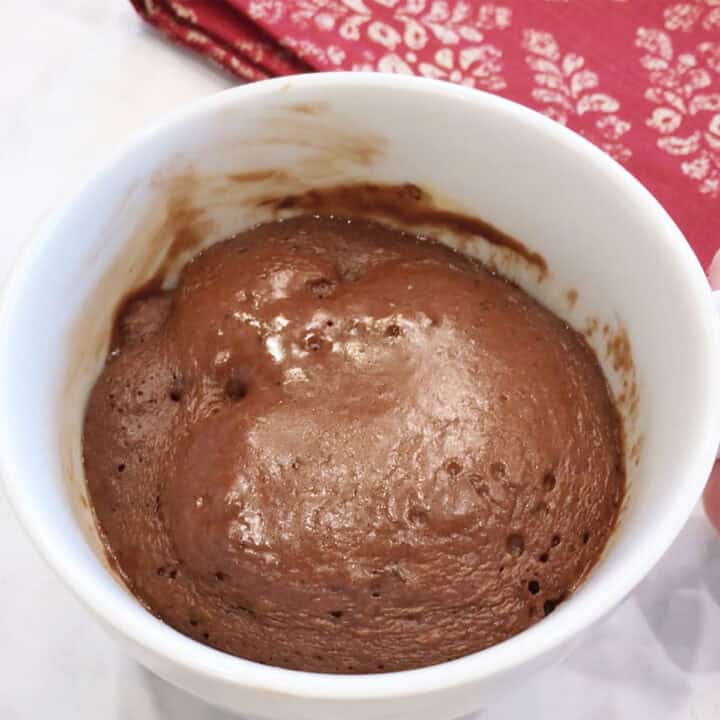
Microwave the cake for about 30 seconds, until it's puffy and cooked through but still moist. The top should still be very gooey but not completely liquid.
Outstanding! I'm a dark chocolate lover. Really on-point chocolate flavor for my taste! Great body and crumb. Microwaved 30 seconds and that was enough for me as the remaining "gooey" left after that amount of time enhanced the whole mug cake.
CE
Read more comments
Three Lighter Versions
Over the years, I've been asked by several readers if I can develop a lighter version of this cake. It required some experimentation, but I did it!
Liquid Egg Whites
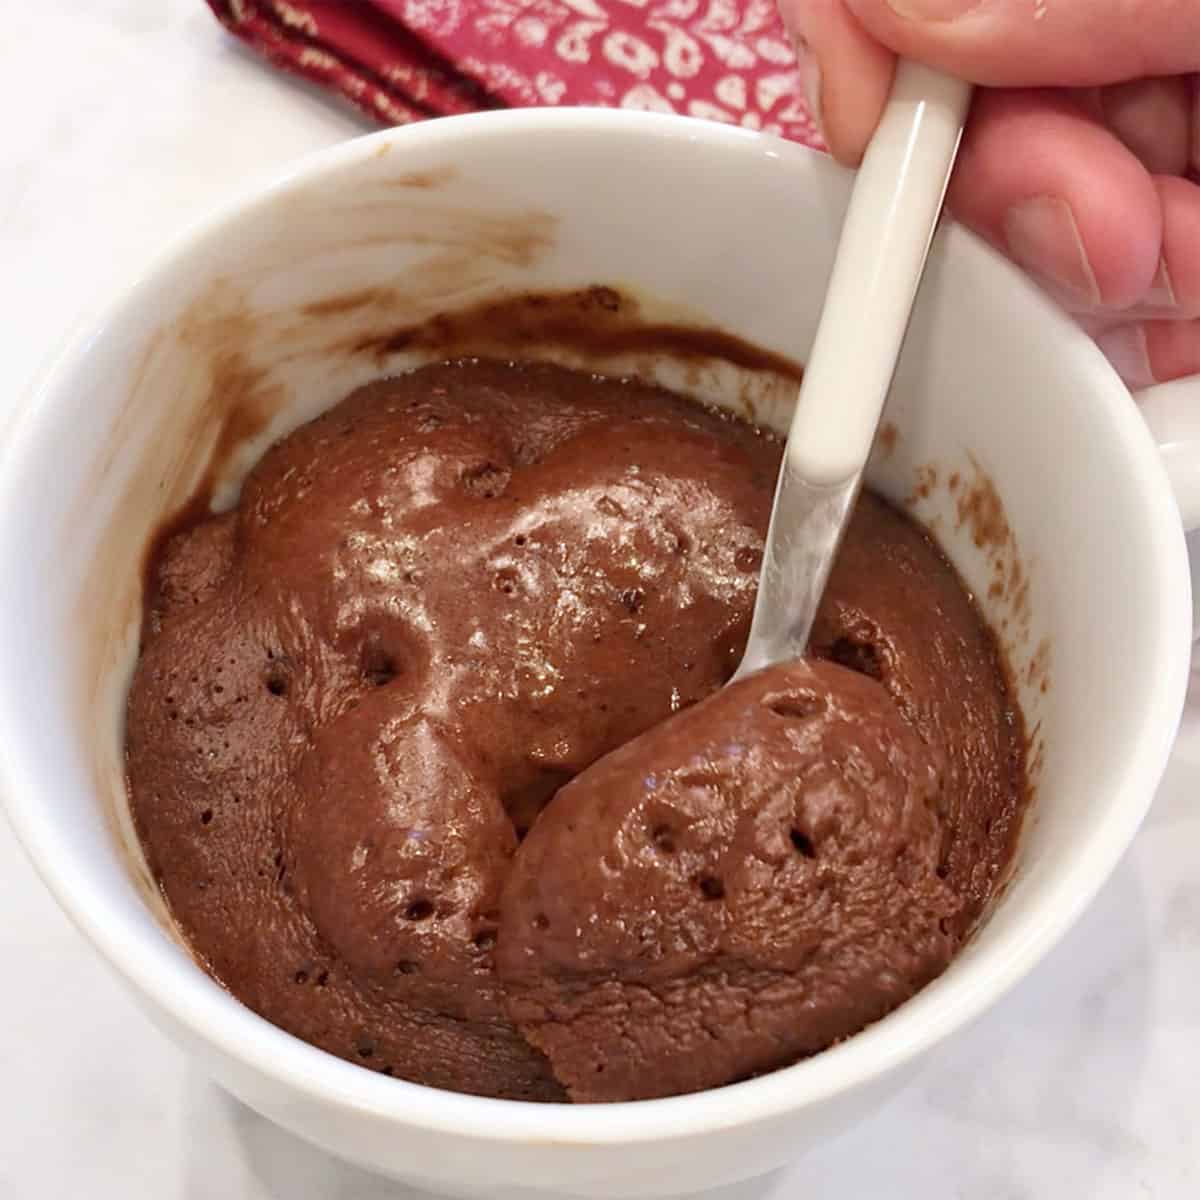
One lighter option, shown in the photo below, is to simply replace the egg with two egg whites or ¼ cup of liquid egg whites.

Almond or Coconut Flour
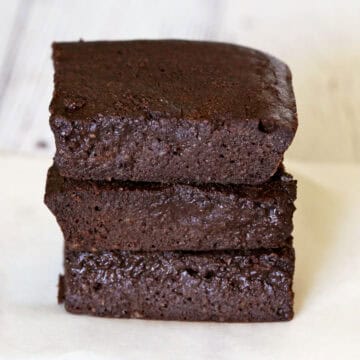
A significantly lighter version skips the nut butter and is made with almond flour (or coconut flour) and liquid egg whites. It is lower in calories and fat than the original version, and while it's not as rich and gooey, it's very tasty. I included this version in the recipe card's notes section. This is what it looks like - I like to top it with a few chocolate chips:

And here's a closer look at the cake's crumb. It's very similar to real chocolate cake:

Recipe Tip: How Long to Microwave
As is always the case with microwave cooking, you will need to experiment to find exactly how long you should microwave the cake in your microwave and when using your own mug.
My microwave is 1200 watts, and I typically use a 12-ounce mug or an 11-ounce bowl. Try to stick with a similar-sized mug. Using a much larger mug (such as a 16-ounce mug) could dry out the cake. A smaller mug could result in the cake spilling out of it while in the microwave.
As for how long it takes to microwave, I would start with 30 seconds and then check to see how it looks. Your goal is to keep it soft and gooey but not liquid. It's definitely better to err on the side of microwaving too little than too much. You can always add 10 more seconds, but you can't fix a dry cake.
If you'd like to make two cakes at the same time (I often do this for my husband and me), you can place them in the microwave together, as shown in the photos below. In my 1200-watt microwave, they need to be microwaved for one minute for perfect gooiness.


Recipe FAQs
I usually make this cake with creamy almond butter. But I've tried creamy unsalted peanut butter, and that worked, too.
You can experiment with different kinds of nut butters, as long as they are creamy and unsalted. It's possible you'll need to adjust the liquids depending on their thickness. I once made this cake with tahini (sesame butter), which was very thick. So, I added a tablespoon of water.
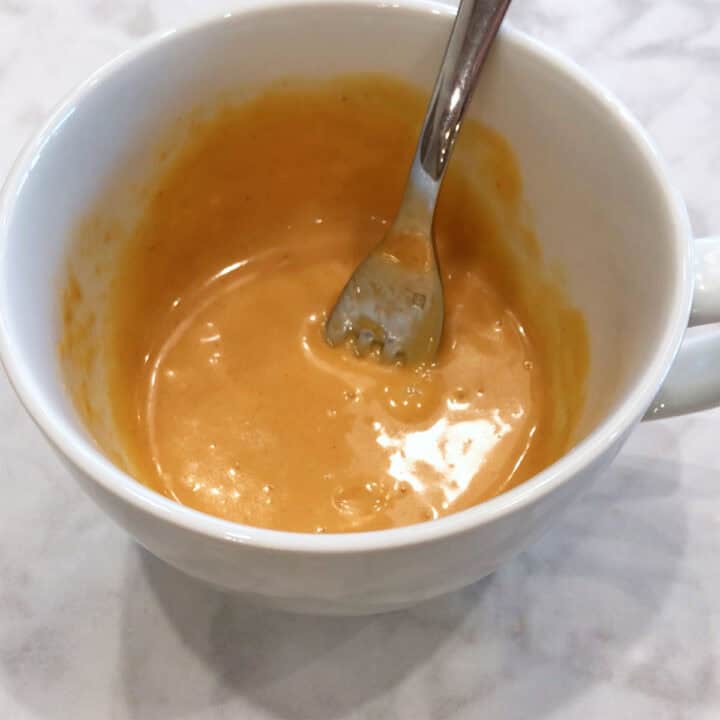
You'll know it's too thick if it's difficult to stir. The batter should be thick but smooth, velvety, and easy to stir.
Although natural cocoa powder will work in this recipe, it won't be as tasty. Dutched cocoa powder is darker, milder, and less acidic. It creates a better and smoother chocolate experience.
Yes! One of the best things about this cake is that you can mix the batter the night before, cover and refrigerate it, and then uncover and microwave it in the morning for a quick, indulgent breakfast. I often mix everything except for the baking powder and add it in the morning. See the image below - I make sure to attach a note to the mug reminding me to add the baking powder. 🙂
Yes! It amazes me each time. Look at the photo below - you can see that this mug cake has real cake crumb, light and fluffy. It's magnificent! 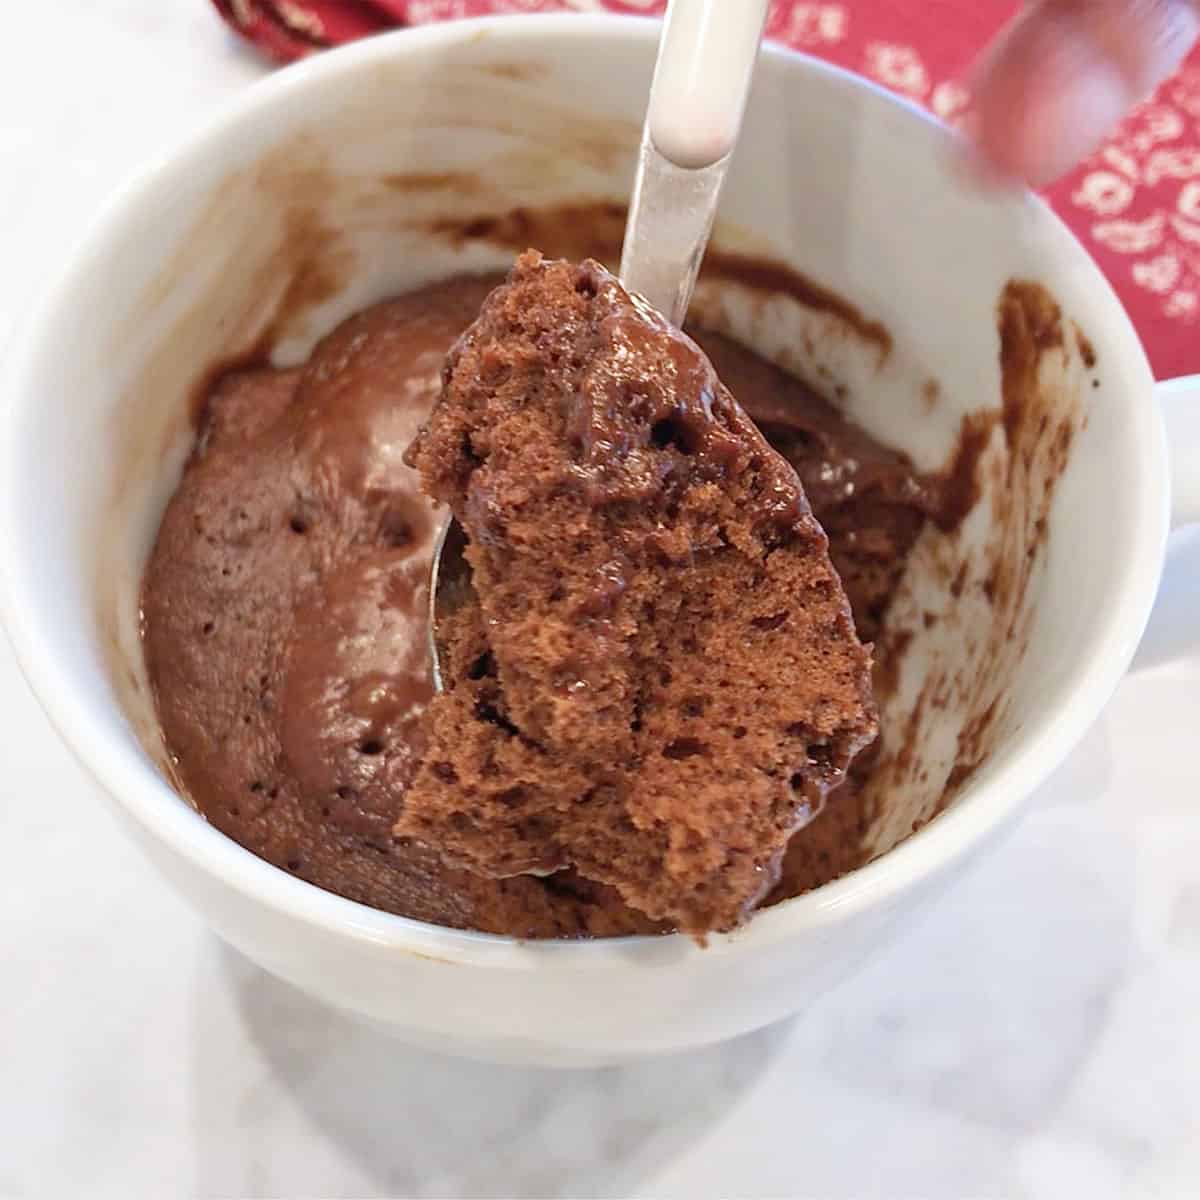
The entire idea behind a mug cake is a single serving and no leftovers (unlike this almond flour chocolate cake, for example). But if you have leftovers, you can keep them in an airtight container in the fridge for up to 4 days. Reheat them in the microwave at 50% power or eat them cold.
Serving Suggestions
This cake is excellent as it is, and that's how I usually enjoy it. It's so moist and chocolaty! A truly wonderful treat. But if you'd like to add something, here are a few ideas:
- Dust it with a powdered sweetener.
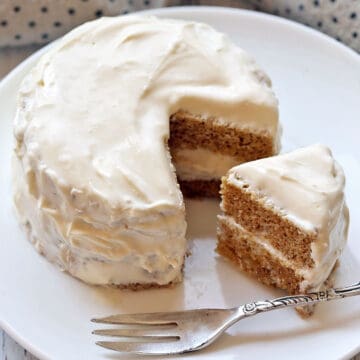
- Top it with cream cheese frosting or with the peanut butter frosting I use in these chocolate cupcakes.
- This is the perfect summer dessert because you don't need to heat the oven. In the summer, I serve this cake with a tall glass of chilled almond milk, iced coffee, or iced tea. In the winter, it's great with coffee or mint tea.
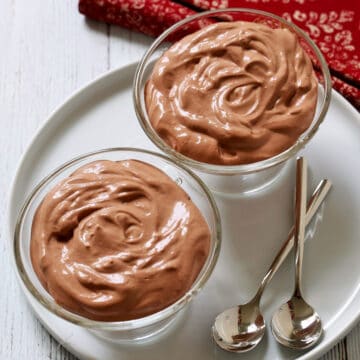
- Top it with whipped cream or homemade frozen yogurt, both shown in the photos below.


Recipe Card

Flourless Chocolate Mug Cake
Video
Ingredients
- 2 tablespoons almond butter - creamy, natural; 32 grams
- 1 large egg
- 2 tablespoons granulated sweetener - I use a scant ½ teaspoon of stevia glycerite
- 1 tablespoon unsweetened cocoa powder
- ½ teaspoon baking powder - gluten-free if needed
Instructions
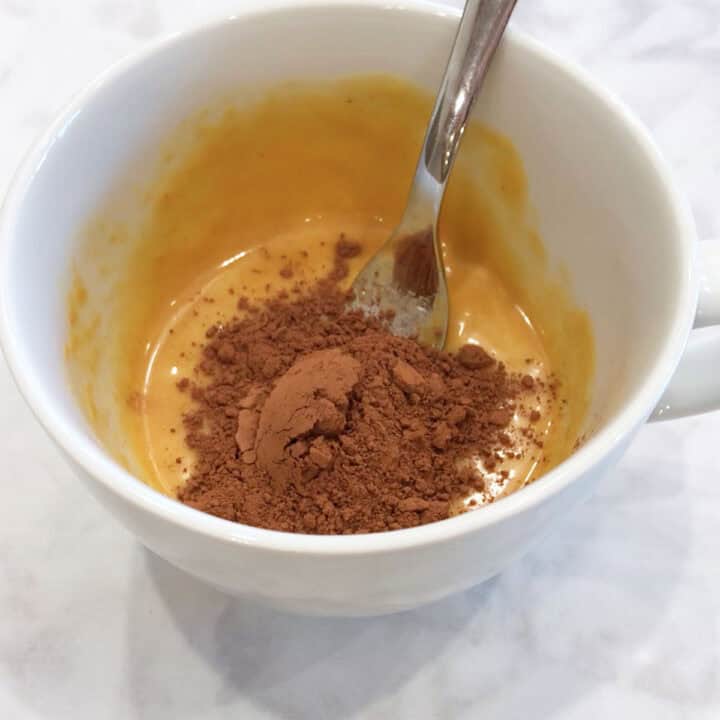
- In a 12-ounce microwave-safe mug, using a small hand whisk or a fork, mix the almond butter and egg until smooth. This will take some time - about 2 minutes until completely smooth.2 tablespoons almond butter, 1 large egg

- Add the sweetener, whisking to incorporate.2 tablespoons granulated sweetener
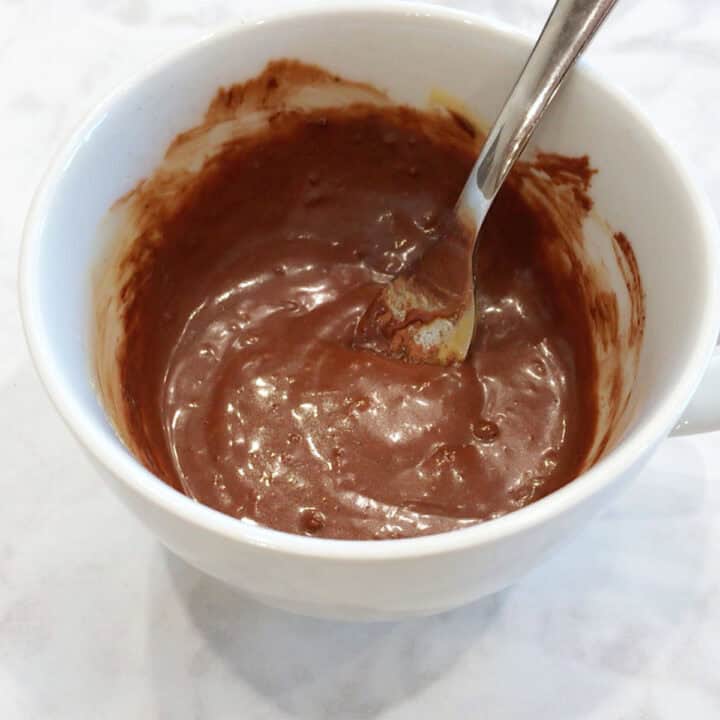
- Whisk in the cocoa powder, then add the baking powder. Mix well, making sure there's no nut butter residue in the bottom of the mug. The batter should be smooth and uniform.1 tablespoon unsweetened cocoa powder, ½ teaspoon baking powder
- At this point, the batter should fill the mug about halfway to the top. The cake will rise dramatically as it cooks, so the mug you use needs to accommodate that.
- Place the mug on a microwave-safe plate (to catch any spills) and place it in the microwave. Microwave it, uncovered, for 30 seconds. Check to see if the cake is still very liquid on top - if so, microwave it for 10 more seconds. It should still be very gooey and soft on top when you remove it from the microwave, but not completely liquid. Resist the temptation to microwave more (unless the batter is still completely liquid) - a chocolate cake is always better gooey than dry.
- Remove the mug from the microwave and allow the cake a few seconds to settle before digging in. The mug will be hot, so use oven mitts and place the mug on a heatproof trivet.


Notes
How Long to Microwave
As with all microwave cakes, you will need to experiment to find exactly how long you should microwave the cake in your microwave and using your mug. My microwave is 1200 watts, and I typically use a 12-ounce mug or an 11-ounce bowl. Try to stick with a similar-sized mug. As for how long to microwave, I would start with 30 seconds, then check to see how it looks. Your goal is to keep it soft and gooey but not liquid. It's better to err on the side of microwaving too little than too much. You can always add more 10-second sessions, but you can't fix a dry cake.A Lighter Version
- 2 level tablespoons blanched almond flour (or 1 level tablespoon of coconut flour)
- 1 tablespoon unsweetened cocoa powder
- ½ teaspoon baking powder
- ¼ cup liquid egg whites (shake well)
- 2 tablespoons granulated sweetener - I use ½ scant teaspoon of stevia glycerite
- ½ tablespoon dark chocolate chips
Oven Instructions
Bake the cake in a preheated 350°F oven for 12 minutes, then check to see if it needs more time in the oven. Make sure to use a greased oven-safe ramekin and place it on a square of foil (or on a rimmed baking sheet) to catch any spills.A Few More Notes
- Sweetness is a personal preference. Use this recipe as a guide and adjust to taste.
- If using a single-serve almond butter packet, after you squeeze out as much of the almond butter as you can, cut the edges open with scissors and use a small rubber spatula to scrape out the remaining butter. Otherwise, you'll get around 20 grams of almond butter instead of 32 grams.
- The FDA recommends cooking eggs thoroughly. This is an advantage of using liquid egg whites - they are pasteurized.
- The nutrition info assumes that a sugar-free sweetener was used.
Nutrition per Serving
Save this Recipe!
We will also add you to our weekly newsletter. Unsubscribe anytime. See healthyrecipesblogs.com/privacy/ to learn how we use your email.
Disclaimers
Most recipes are low-carb and gluten-free, but some are not. Recommended products are not guaranteed to be gluten-free. Nutrition info is approximate - please verify it. The carb count excludes non-nutritive sweeteners. Please read these Terms of Use before using any of my recipes.

Donna says
So yummy, even though I made a boo boo. I added 1 tsp baking powder by mistake to mine and my husband's. Funny thing: my husband said after digging in, "this is so good!" Next time will be even yummier and gooey with 1/2 tsp b.p. Tonight's was dry, but that was okay 'cause we topped the cake with your yogurt frosting and a few strawberries on the side. Everyone should try that combination. It's the best dessert and so satisfying!!!
Vered DeLeeuw says
Hi Donna! Thanks for trying another recipe! It's true that too much baking powder has a drying effect - glad it was still delicious with the yogurt frosting and strawberries! Sounds yum.
Ayme B says
I so appreciate seeing your healthy recipes! Thank you for your efforts. I made the chocolate mug cake after craving a chocolate cake earlier today.
I overcame the crave and then was rewarded by the universe with your post when I got home from a busy day . Smarty pants me, thought I’d cut the sweetener in 1/2, and use cacao and unsalted peanut butter- my version came out fine but a bit tart. I sensed I should have followed yours exactly for ultimate yummyness. Next time I will, Girl Scouts honor, lol!!
Vered DeLeeuw says
Hi Ayme,
Thanks so much for trying the recipe! My dear friend Jayne taught me years ago - back when I was just starting to cook and before I had this website - to always make a recipe exactly as written the first time. Then, once you get a feel for it, you can tweak to your heart’s content. 😀 I totally get the temptation though - I’ve always loved experimenting too!
For this one, using unsweetened cocoa powder brings out its natural bitterness and acidity, so it needs a bit more sweetener to balance that. I hope your next mug cake turns out perfectly chocolatey and sweet!
CE says
Outstanding! I'm a (high percentage) dark chocolate lover and tried 1 pkt Truvia sweetener as I did not have the liquid sweetener. Really on-point chocolate flavor for my taste! Great body and crumb. Microwaved 30 seconds and that was enough for me as the remaining "gooey" left after that amount of time enhanced the whole mug cake. Thank you, Vered DeLeeuw, for making this easy and available!
Vered DeLeeuw says
Yay! You're very welcome! I'm so glad you enjoyed this recipe - it's one of my favorite chocolate fixes.
KC says
I made this with brown sugar swerve and the texture was perfect. It could've been a little more chocolate-y for my taste, maybe more cocoa powder if made with swerve? I imagine it would also be great with sugar free chocolate chips.
Vered DeLeeuw says
I'm so glad you enjoyed this cake! You can definitely experiment with adding an extra teaspoon of cocoa powder.
jenna says
How long and at what temperature would you bake this? I don't like to use the microwave.
Vered DeLeeuw says
Hi Jenna,
Bake the cake in a preheated 350°F oven for 12 minutes, then check to see if it needs more time in the oven. Make sure to use a greased oven-safe ramekin and place it on a square of foil (or on a rimmed baking sheet) to catch any spills.