This keto pumpkin pie is a delicious alternative to the classic recipe. Mixing it takes ten minutes. The oven does the rest. 120 calories and 5 grams of net carbs per slice!
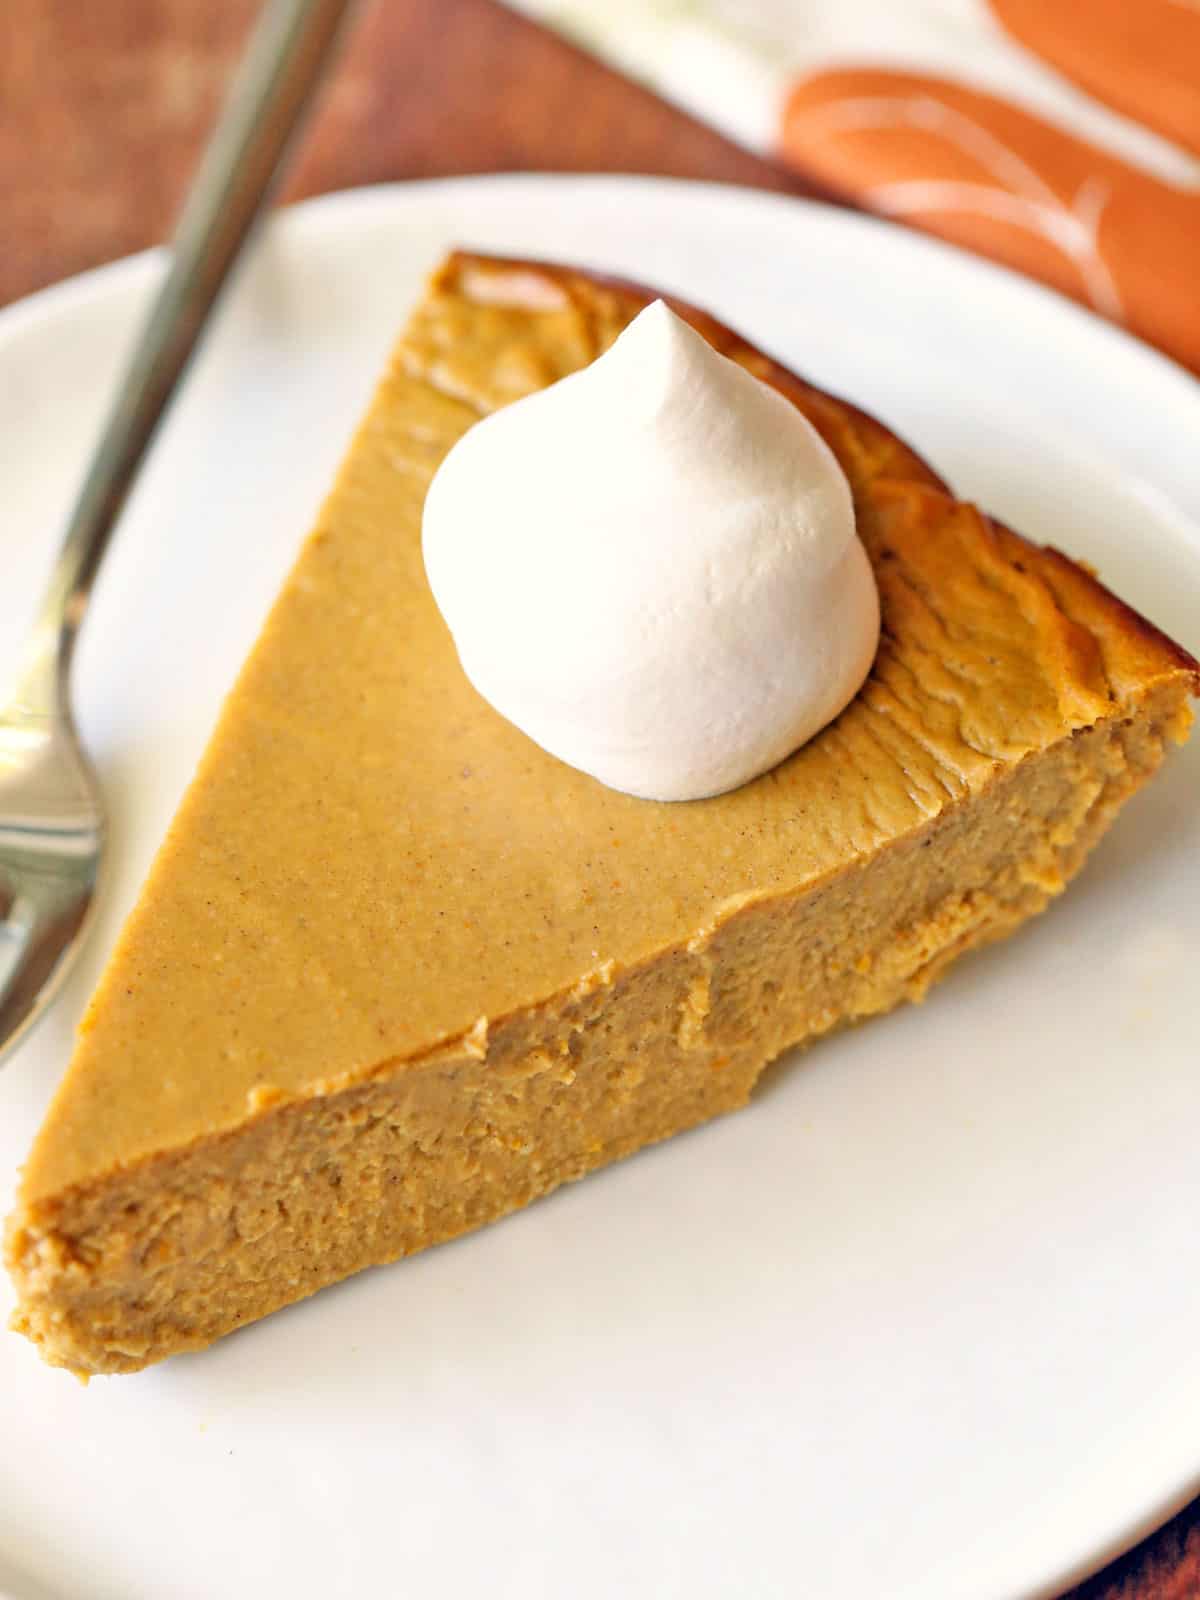
This keto pumpkin pie is incredibly creamy and flavorful. I don't bother with a crust because the filling is the star of the show, and no crust means less work and fewer carbs and calories. My husband and I look forward to enjoying it every year for Thanksgiving, and we do not miss the high-carb version at all.
Ingredients
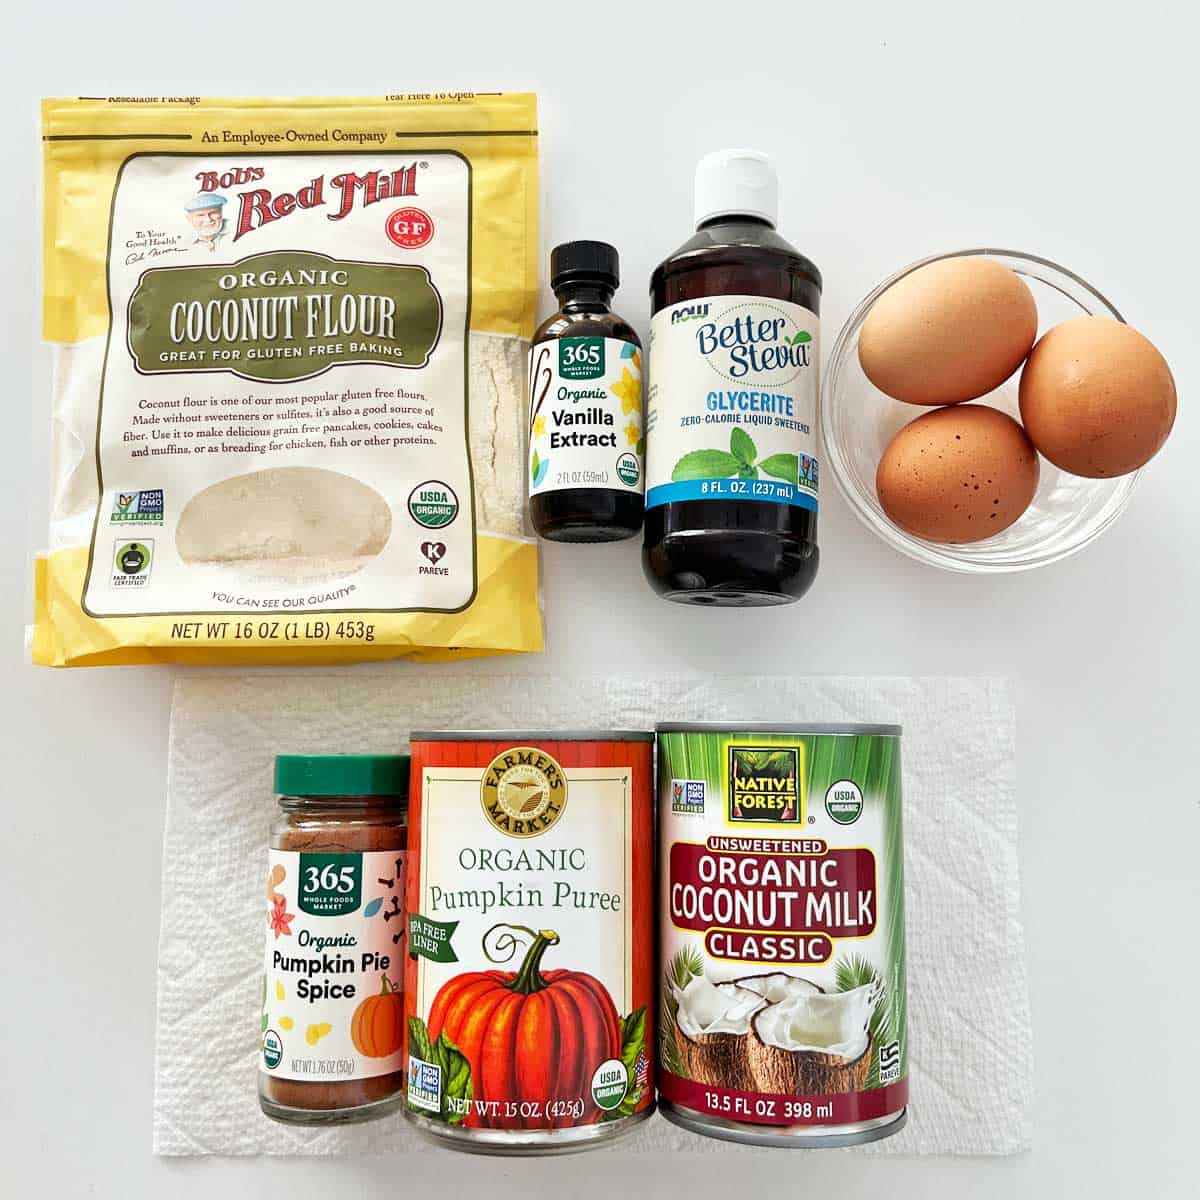
See the recipe card for exact measurements. Here are my comments on some of the ingredients.
- Coconut oil for the pan: The pan should be well-greased to avoid sticking. You can also use unsalted butter or ghee.
- Canned pumpkin puree: Make sure it's unsweetened - you want pure pumpkin puree, not sweetened pumpkin pie filling. The cans can look very similar.
- Sweetener: I use stevia.
- Pumpkin pie spice: Substitute ground cinnamon for a milder flavor profile.
- Canned coconut milk: It's important to stir coconut milk well before using it. It's easier to stir if you pour it into a bowl and use a hand whisk.
- Coconut flour: It's best to measure it by weight. It's highly absorbent and drying, so each gram makes a difference.
Instructions
The detailed instructions and step-by-step photos are included in the recipe card. Here's a quick overview.
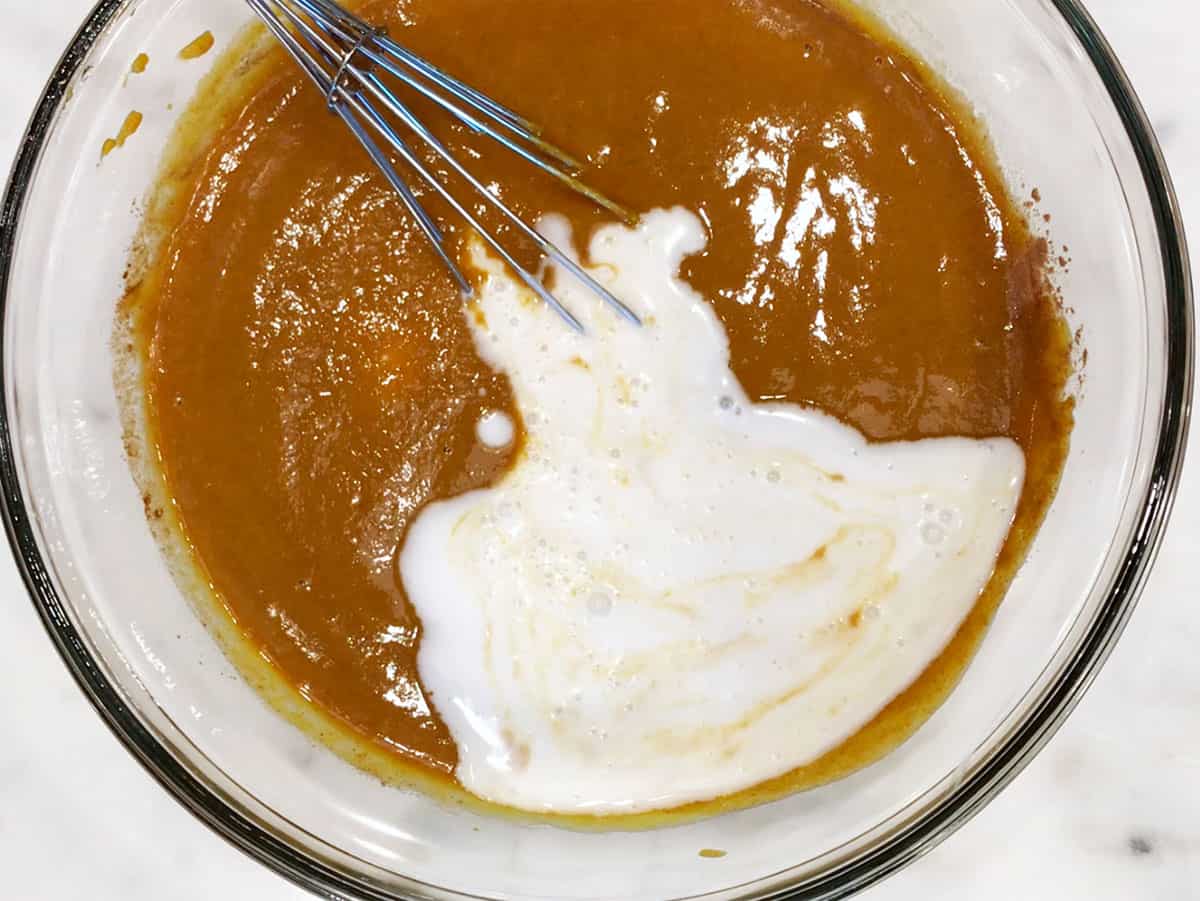
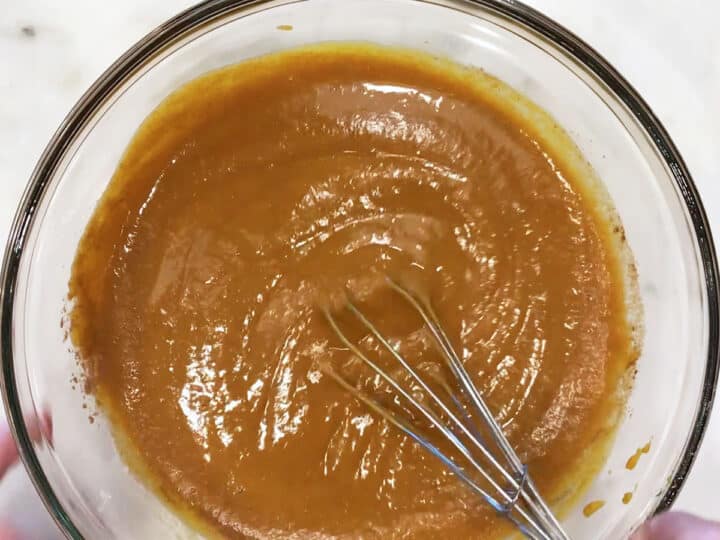
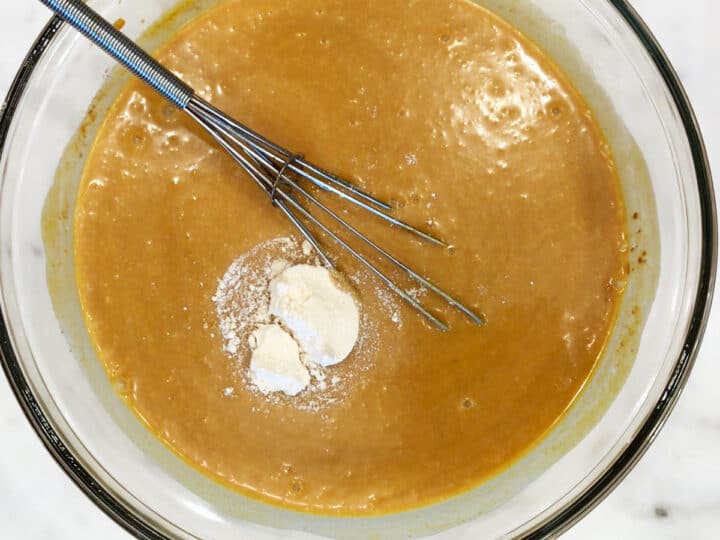
Combine the eggs, pumpkin, stevia, pumpkin pie spice, and vanilla. Add the coconut milk and coconut flour.
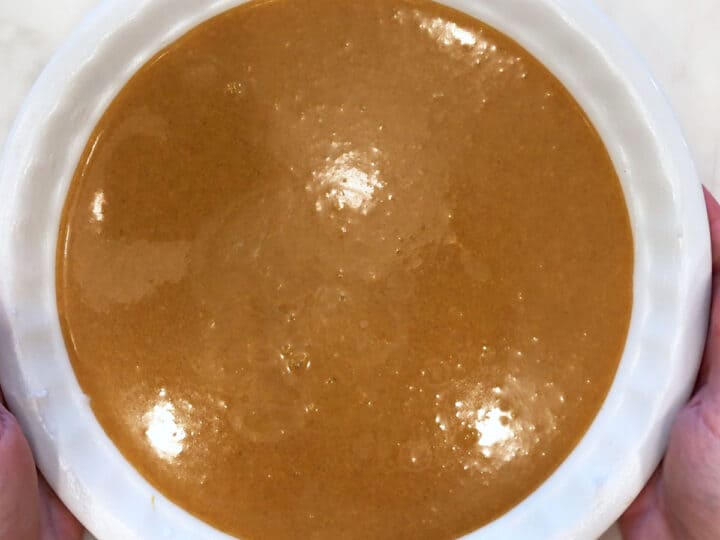
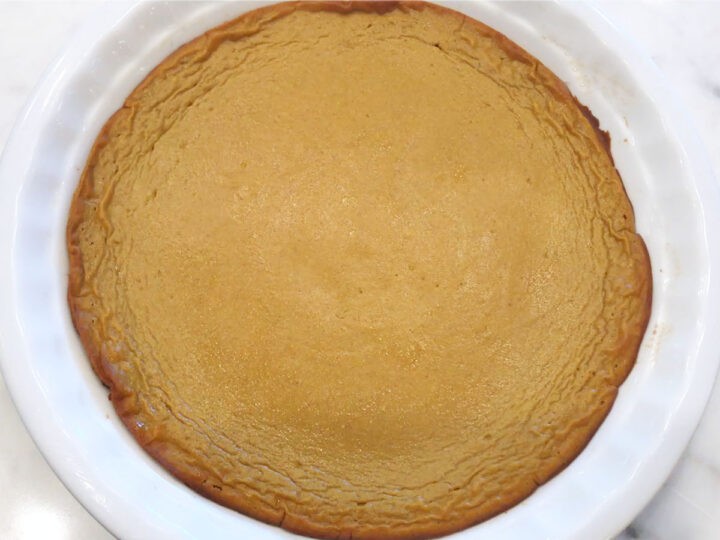
Transfer the mixture to a greased 9-inch pie plate. Bake the pie in a preheated 350°F oven until the center appears set (with just the slightest jiggle). In my oven, this takes 40-45 minutes.
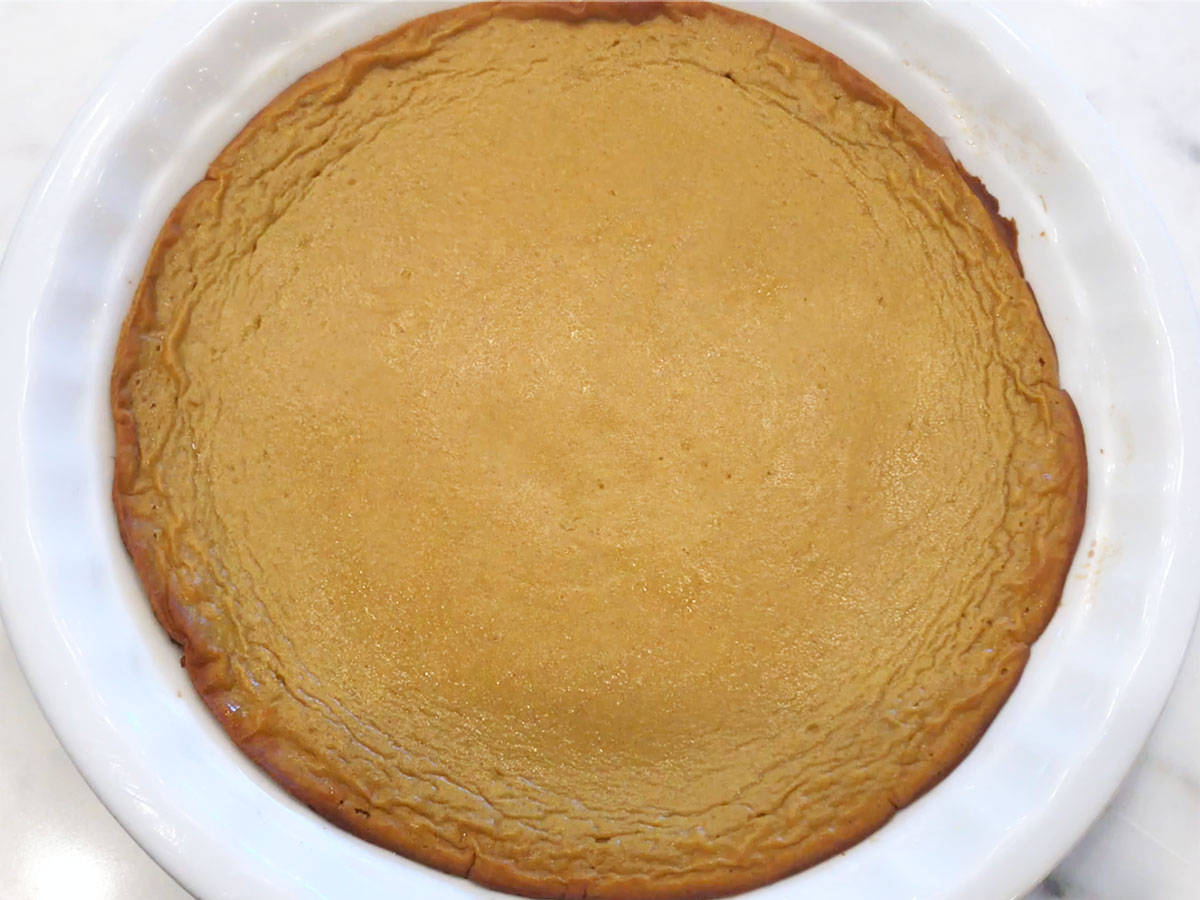
Cool the pie for two hours on a cooling rack, then cover the pan with plastic wrap and refrigerate the pie for at least two more hours before slicing and serving.
Made a trial run for Thanksgiving. So glad to have found your website! Hubby and I are trying to eat low-carb, and it seemed so hard until we found you. This pie was delicious and so creamy. Definitely making it (and your turkey wings) for our two-person Thanksgiving this year.
Barbara Jones
Read more comments
Recipe Tip: How to Slice the Pie
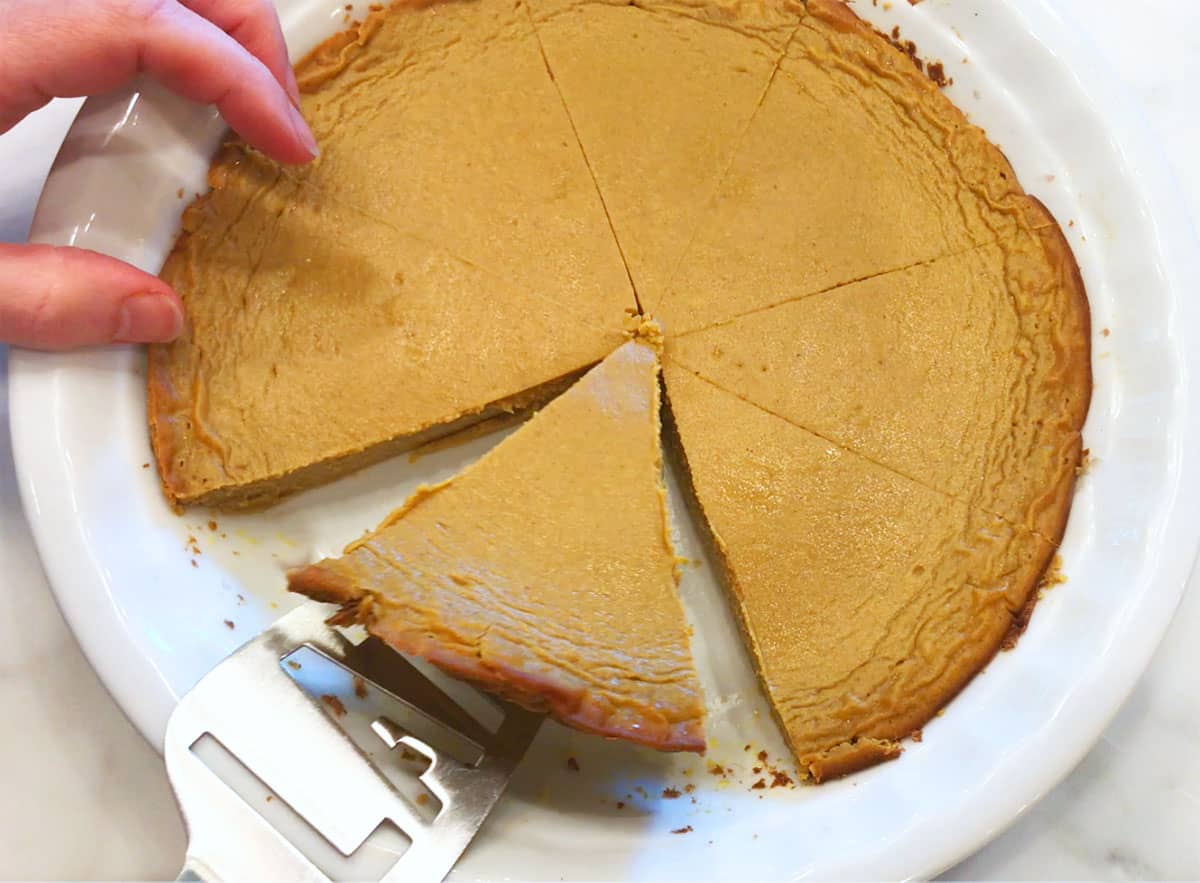
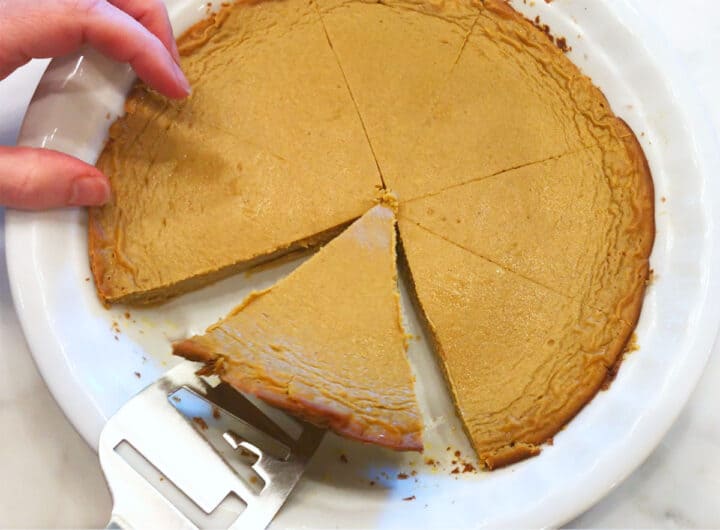
This pie is basically a custard without a crust. It's creamy and delicate, so after slicing it, removing the slices from the pan can prove challenging. Don't let that deter you! Work slowly and carefully. Slide a cake server underneath each slice and slowly lift it up, as shown in the photo below. Use your fingers to help if needed.
Sometimes, I use a dinner knife instead of a cake server. It's easier because a cake server can be too wide and not as easy to control.
Recipe FAQs
No. Much like a keto cheesecake, it's important to let the pie cool completely before attempting to slice it. Two hours on the counter and two more hours in the fridge is the minimum. Overnight in the fridge is better.
No. Please use full-fat coconut milk in this recipe.
You can use a granulated sweetener to equal ½ - ¾ cup of sugar instead of stevia.
You can keep the leftovers in an airtight container in the fridge for up to 4 days. Place them on paper towels to absorb extra moisture, and replace the paper towels daily. You can also freeze this pie. Let it cool completely, then wrap it in plastic wrap, followed by foil.
Serving Suggestions
Keto pumpkin pie is delicious all by itself and even better topped with a generous dollop of keto whipped cream. Sometimes, I sprinkle the whipped cream with a bit of cinnamon or dust it with unsweetened cocoa powder.
If you like the flavor combination of pumpkin and chocolate, you can top the pie slices with chocolate whipped cream or drizzle it with melted dark chocolate after it's cooled.
Recipe Card
Crustless Keto Pumpkin Pie
Video
Ingredients
- 1 teaspoon coconut oil - for the pan
- 3 large eggs
- 15 ounces pure pumpkin puree - unsweetened
- 1 ½ teaspoons stevia glycerite - equals ½ cup of sugar
- 1 tablespoon pumpkin pie spice
- 1 tablespoon vanilla extract
- 1 cup canned coconut milk - full-fat, unsweetened
- 2 tablespoons coconut flour - 14 grams
Instructions
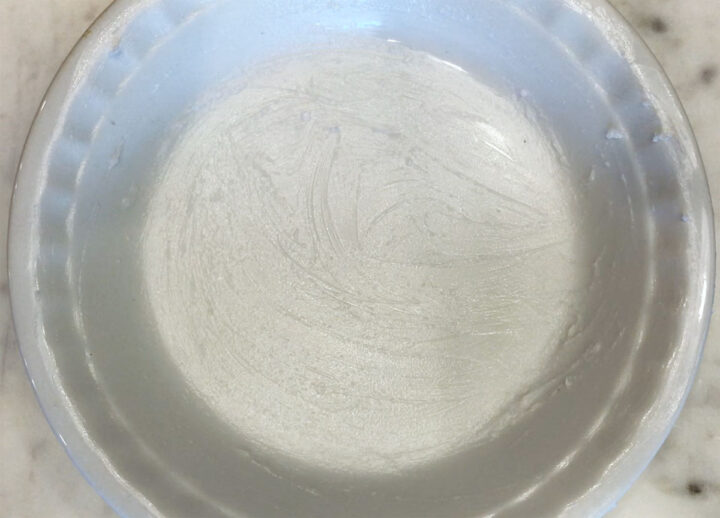
- Preheat the oven to 350°F. Grease a 9-inch pie plate with coconut oil.
- In a large bowl, using a hand whisk, lightly whisk the eggs. Add the pumpkin, stevia, pumpkin pie spice, and vanilla. Whisk until well incorporated.
- Shake the coconut milk can well. Open the can and stir it thoroughly. Measure 1 cup (make sure it's smooth and free of lumps) and add it to the pumpkin mixture, whisking to combine. Whisk in the coconut flour.
- Using a rubber spatula, transfer the mixture to the prepared pie plate. Bake the pie until the center appears set (with just the slightest jiggle), and a toothpick inserted in it comes out just a little moist but free of batter. In my oven, this takes about 40-45 minutes.
- Cool the pie for 2 hours on a cooling rack, then cover the pan with plastic wrap and refrigerate the pie for at least 2 more hours (preferably overnight) before slicing and serving.
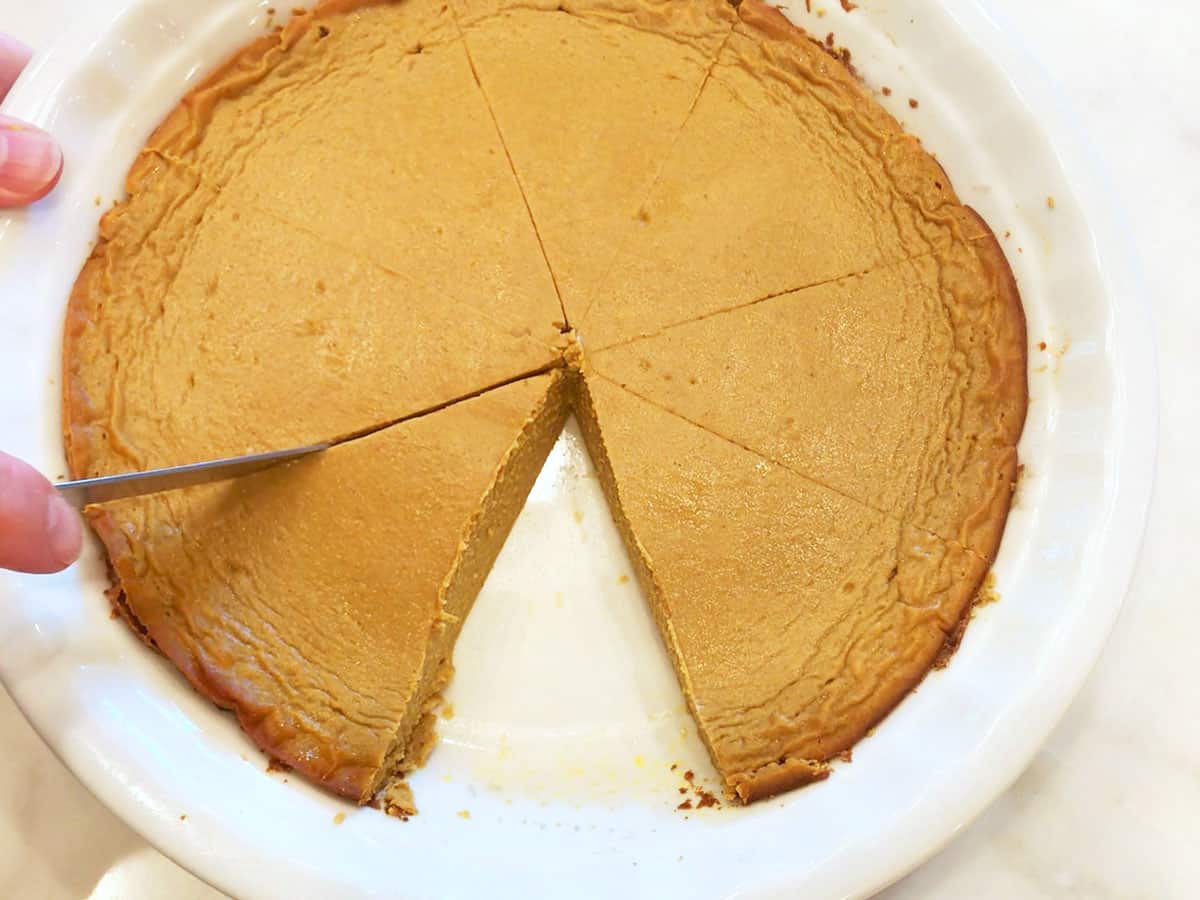
- When ready to slice the pie, gently run a knife along the edges to help release it from the pan. Use a sharp knife to slice the pie, and firmly slide a cake server underneath each slice before you lift it up. The pie is fragile, so take care when you slice it, especially when you lift the slices up from the pan.
Notes
- It's important to stir coconut milk well before using it. It's easier to stir if you pour it into a bowl and use a hand whisk.
- It's also important to let the pie cool completely before attempting to slice it. Two hours on the counter and two more hours in the fridge is the minimum. Overnight in the fridge is even better.
- This pie is basically a custard without a crust. It's creamy and delicate, so after slicing it, removing the slices from the pan can prove challenging. Don't let that deter you! Work slowly and carefully. Slide a cake server underneath each slice and slowly lift it up. Use your fingers to help if needed. Sometimes, I use a dinner knife instead of a cake server to lift up the slices from the pan. I find it easier because a cake server can be too wide and not as easy to control.
- You can keep the leftovers in an airtight container in the fridge for up to 4 days. Place them on paper towels to absorb extra moisture, and replace the paper towels daily.
- You can also freeze this pie. Let it cool completely, then wrap it in plastic wrap, followed by foil.
Nutrition per Serving
Save this Recipe!
We will also add you to our weekly newsletter. Unsubscribe anytime. See healthyrecipesblogs.com/privacy/ to learn how we use your email.
Disclaimers
Most recipes are low-carb and gluten-free, but some are not. Recommended and linked products are not guaranteed to be gluten-free. Nutrition info is approximate. Please verify it independently. The carb count excludes non-nutritive sweeteners. Please read these Terms of Use before using any of my recipes.


Spring Gamez says
This is my new go to when I’m craving a sweet treat!
Vered DeLeeuw says
I'm so glad you like this pie! Thank you very much for the review.
Brianna says
Amazing. Creamy, delicious, easy. Love that it has no crust. Who needs the calories.
Vered DeLeeuw says
I'm so glad you liked this pie, Brianna! Thanks for the comment.
Barbara Jones says
Made a trial run for thanksgiving. So glad to have found your website! Hubby and me are trying to eat low carb and it seemed so hard until we found you. This pie was delicious and so creamy. Definitely making it (and your turkey wings) for our two person thanksgiving this year. Thank you, Vered!
Vered DeLeeuw says
You're very welcome, Barbara!
Susan says
As I live alone, can I make this in silicone muffin cups instead? How long do you think it would take to bake?
I like the fact that it is crustless, as I am sensitive to almond flour, so have to use Coconut Flour to do KETO or low carb. But I have lost over 100 pounds, maintaining good bone density and staying off any medications. BP and A1C are normal. My doctor is very happy with my results. I still have about 50 pounds to go yet.
Vered DeLeeuw says
Wow, Susan, that's amazing! Well done.
I'm not sure this recipe will work in silicone muffin cups. Maybe you could make the entire pie and freeze some of the slices? I suggest placing them in the freezer on a wax-paper-lined tray. Once frozen, you can transfer them to freezer bags.
Barbara Bodner says
Can Stevia or Monk Fruit be used in place of Splenda?
Vered DeLeeuw says
Hi Barbara,
This recipe calls for 1 1/2 teaspoons of stevia glycerite. You can use another stevia product or a granulated sweetener to equal 1/2 cup of sugar.
Samantha says
So so yummy!!! I did omit the coconut flour for 1 TB tapioca flour (yes, higher carb but rich in resistant starch so good for gut.. and divided into 8 pieces actually very low carb) the texture held together perfectly!!! Thank you for sharing your recipes
Vered DeLeeuw says
Yay! I'm so glad you liked this pie, Samantha.
I like the idea of using tapioca flour. As far as I can tell, it adds just one gram of carbs per slice.
Alice says
I’m going to try making this today. Is it bitter? Every other brand of stevia I’ve ever used was terribly bitter and the desserts were inedible.
Vered DeLeeuw says
Hi Alice,
I don't detect a bitter aftertaste when using stevia glycerite. However, your palate might be more sensitive than mine. You can substitute 1/2 cup of granulated sweetener for the stevia.
Kathleen says
Any replacement for the coconut flour?
Vered DeLeeuw says
Hi Kathleen,
Yes. You can use 1/4 cup of blanched, superfine almond flour or (if you don't mind the carbs) gluten-free baking flour.
Penny says
Any other suggestions with measurements for the sugar substitute, such as monk fruit or coconut sugar?
Vered DeLeeuw says
Hi Penny, as long as it's a granulated sweetener and equals 1/2 - 3/4 cup of sugar, it should work. I'm not a fan of coconut sugar, though. It can give the pie a grainy mouthfeel.
Laona says
We are new to Keto and also cannot have dairy, eggs or pure vanilla. Will flax eggs work with this recipe?
thnx!
Vered DeLeeuw says
Hi Laona,
I only tested this recipe with real eggs.