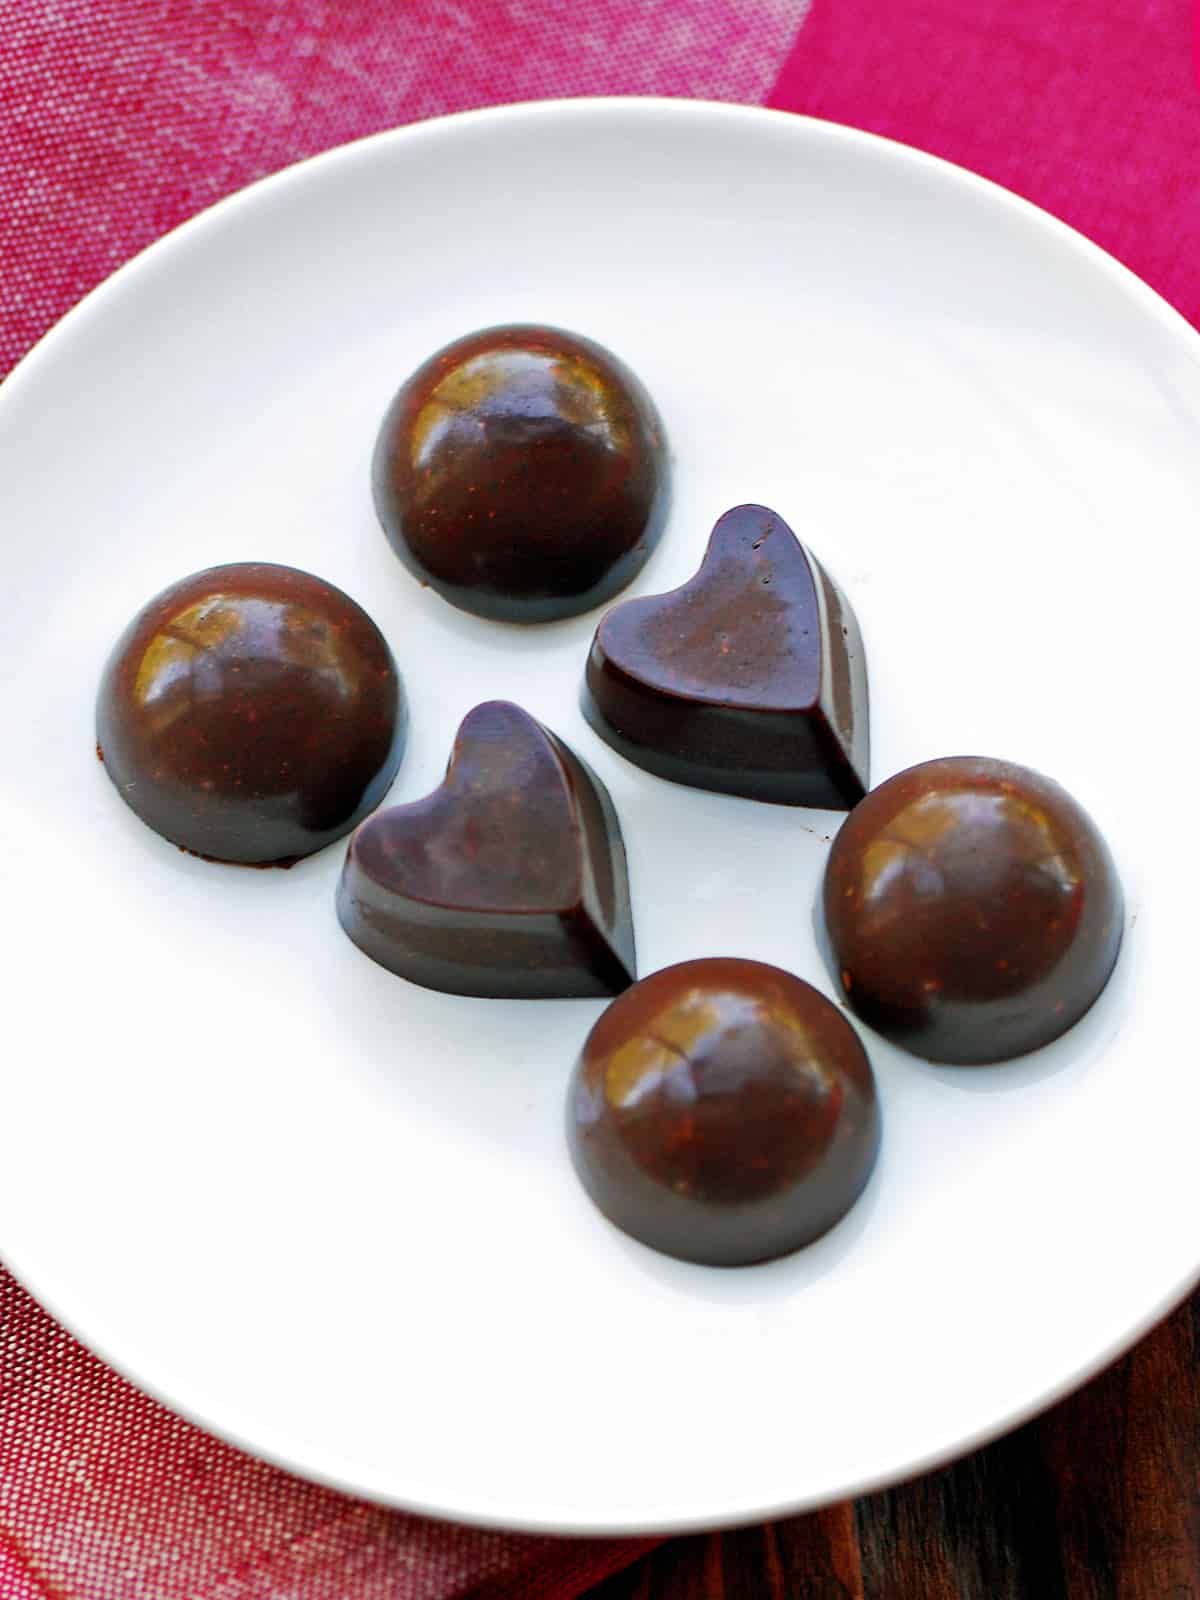
This rich and decadent homemade chocolate is made with cocoa powder, coconut oil, honey, and nuts. It's easy to make, and it tastes amazing.
Making your own chocolate is easy. And when you make it at home, you know exactly what goes into it and can add tasty additions like your favorite chopped nuts. It's also a fun recipe to make! My kids love helping me, and I'm happy to enlist their help. They love pouring the warm, melted mixture into the molds and watching it magically turn into pretty chocolate bonbons.
Ingredients
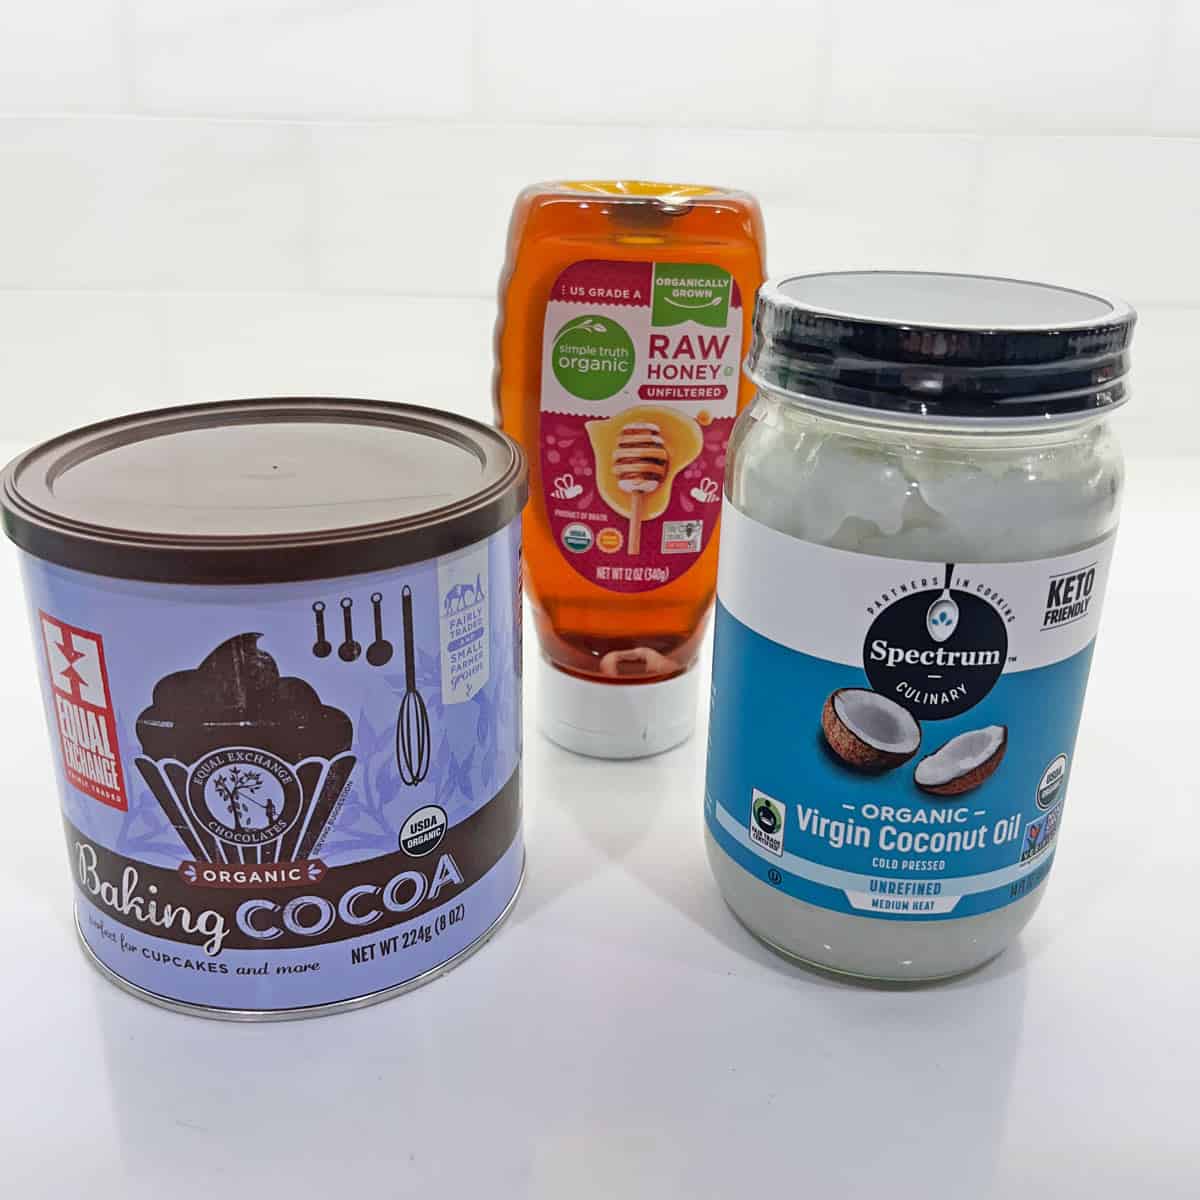
See the recipe card for exact measurements. Here are my comments on the ingredients.
- Virgin coconut oil: I love the wonderful flavor it gives the chocolate. I typically use Spectrum Virgin Coconut Oil, but you can use your favorite brand.
- Unsweetened cocoa powder: I prefer Dutch-processed cocoa powder, which is milder and less acidic than natural cocoa powder.
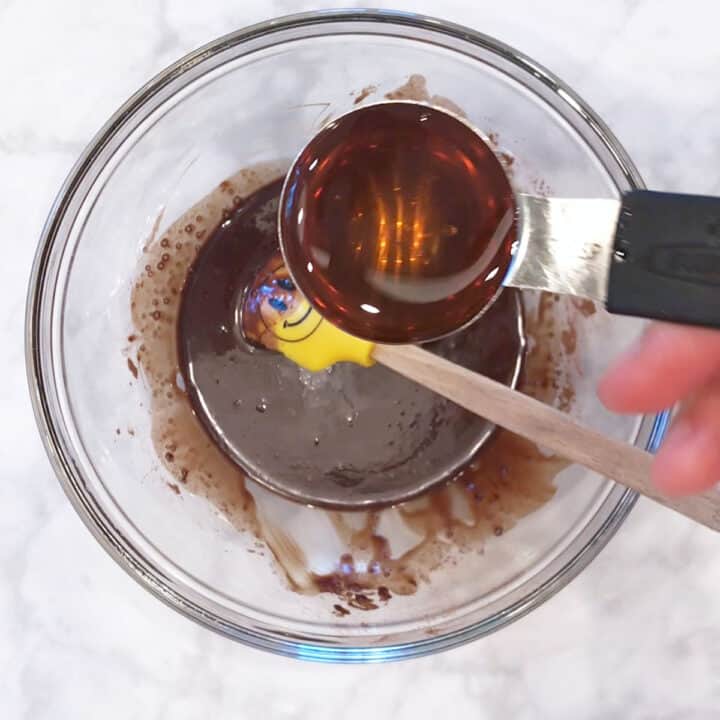
- Honey: 2 tablespoons is the perfect amount. It gives the chocolate the perfect balance of sweetness, neither overly sweet nor too bitter.
- Chopped nuts: These are optional, but they enhance the chocolate's flavor and texture. I typically use chopped almonds, but you can use your favorite nuts. My husband loves this chocolate with pistachios.
Variations
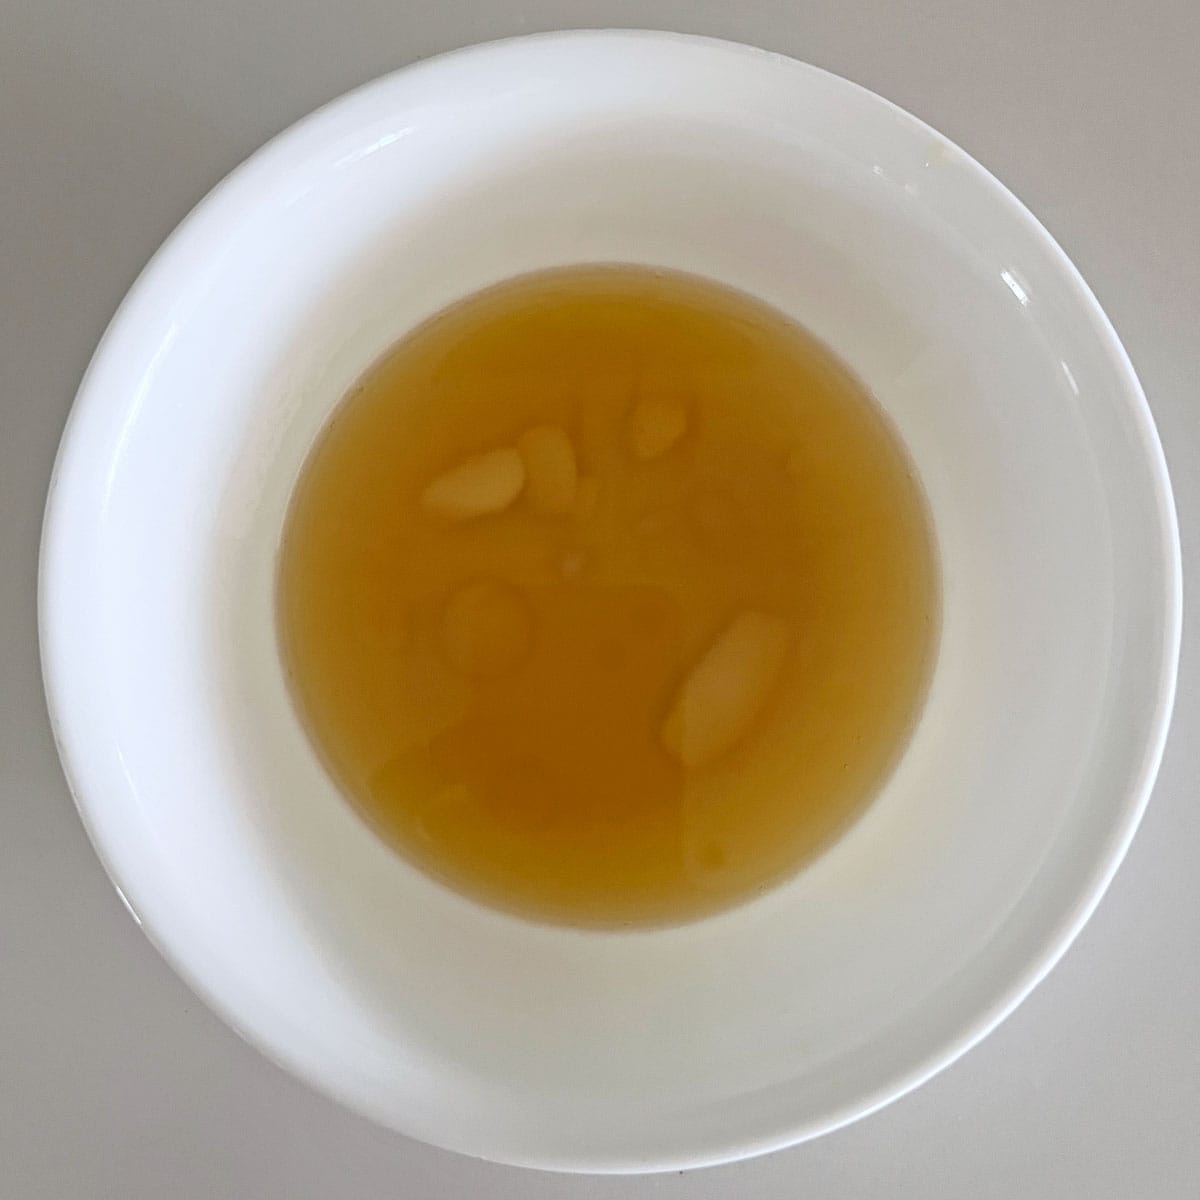
Use Cacao Butter
You can use melted food-grade cacao butter instead of coconut oil. Melt it in the microwave in 30-second sessions until almost fully melted, as shown in the photo below, then sift in the cocoa powder. Using cacao butter will result in more stable chocolate.
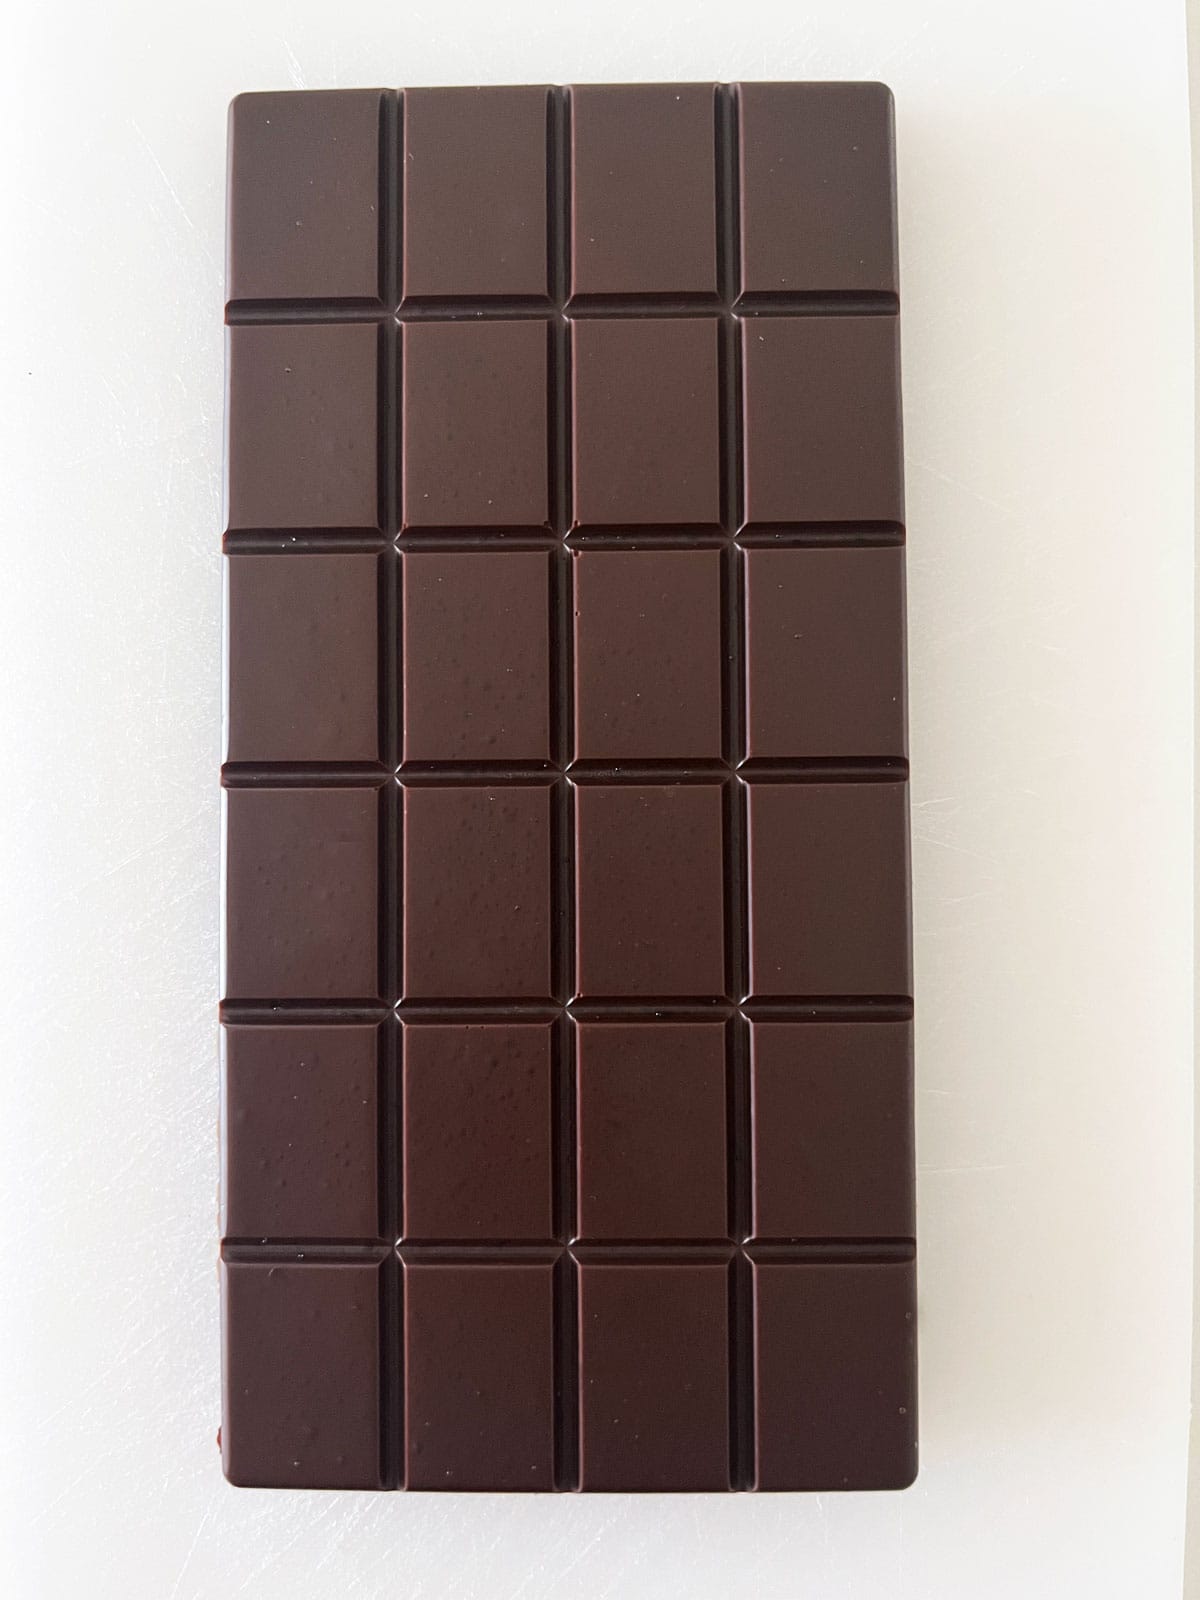
Use a Chocolate Bar Mold
You can use a silicone chocolate bar mold instead of a candy mold. This is what the chocolate looks like when made with this mold:
Instructions
Making chocolate is surprisingly easy! It's so easy, in fact, that it's a great activity to do with your kids. Depending on their age, I find that they need very minimal supervision when making it. The detailed instructions and step-by-step photos are included in the recipe card. Here's a quick overview.
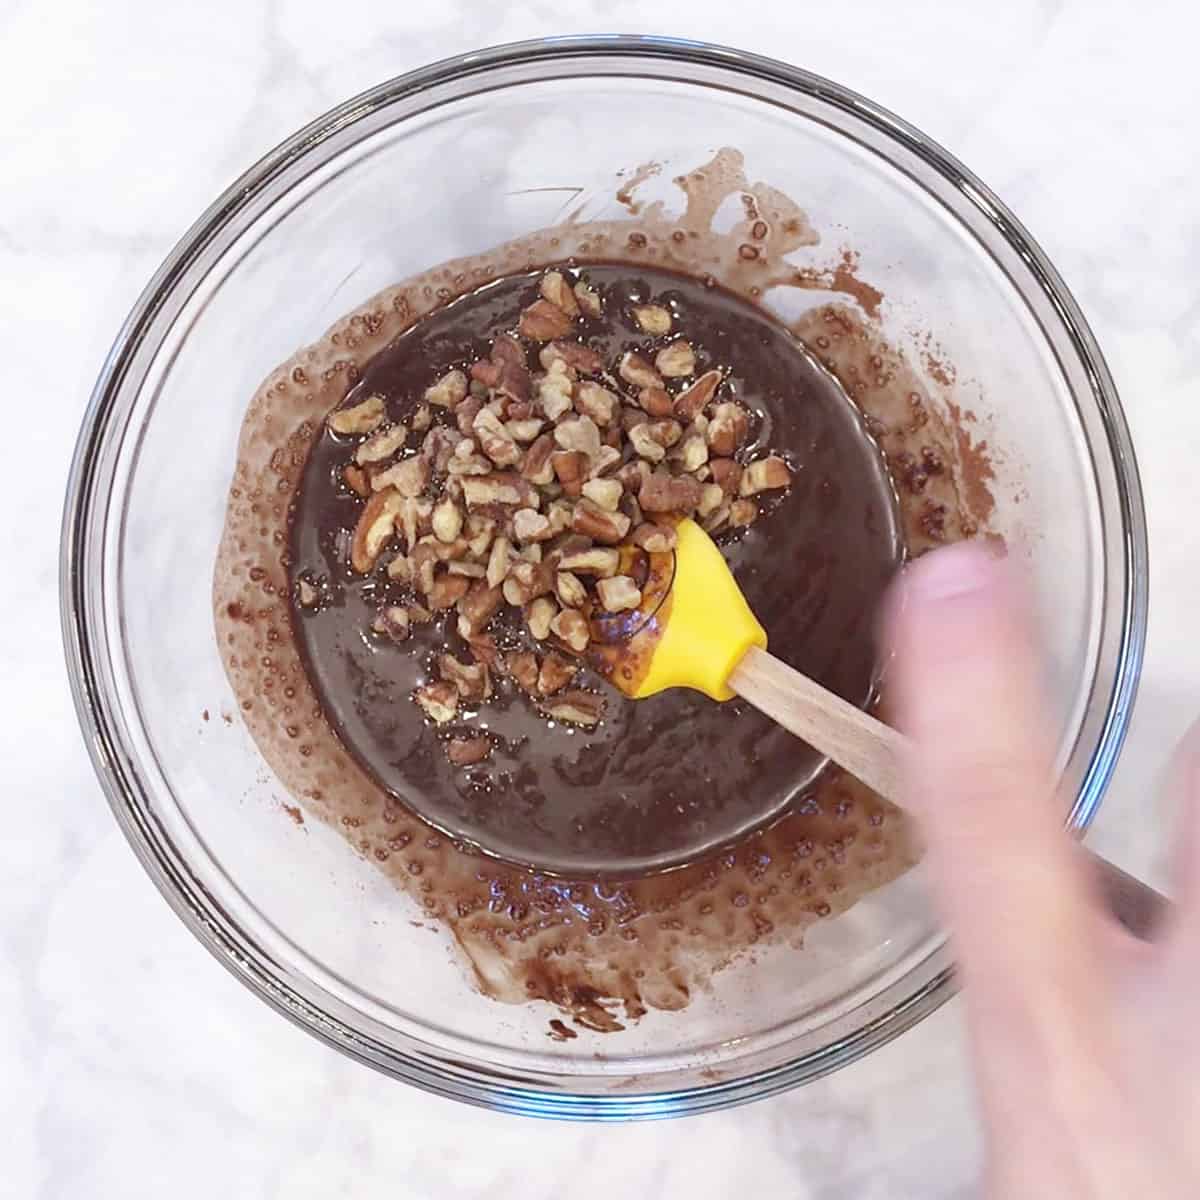
Melt the coconut oil in the microwave, then gradually stir in the cocoa powder, honey, and nuts.
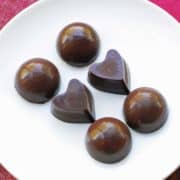
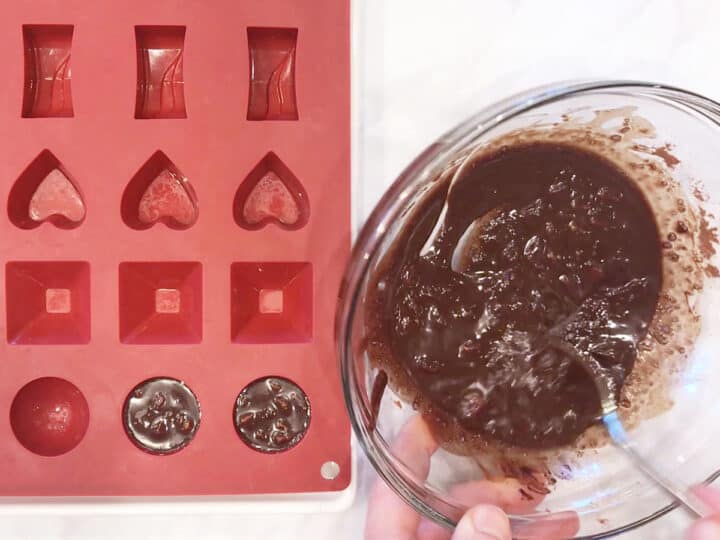
Spoon the mixture into a candy silicone mold.

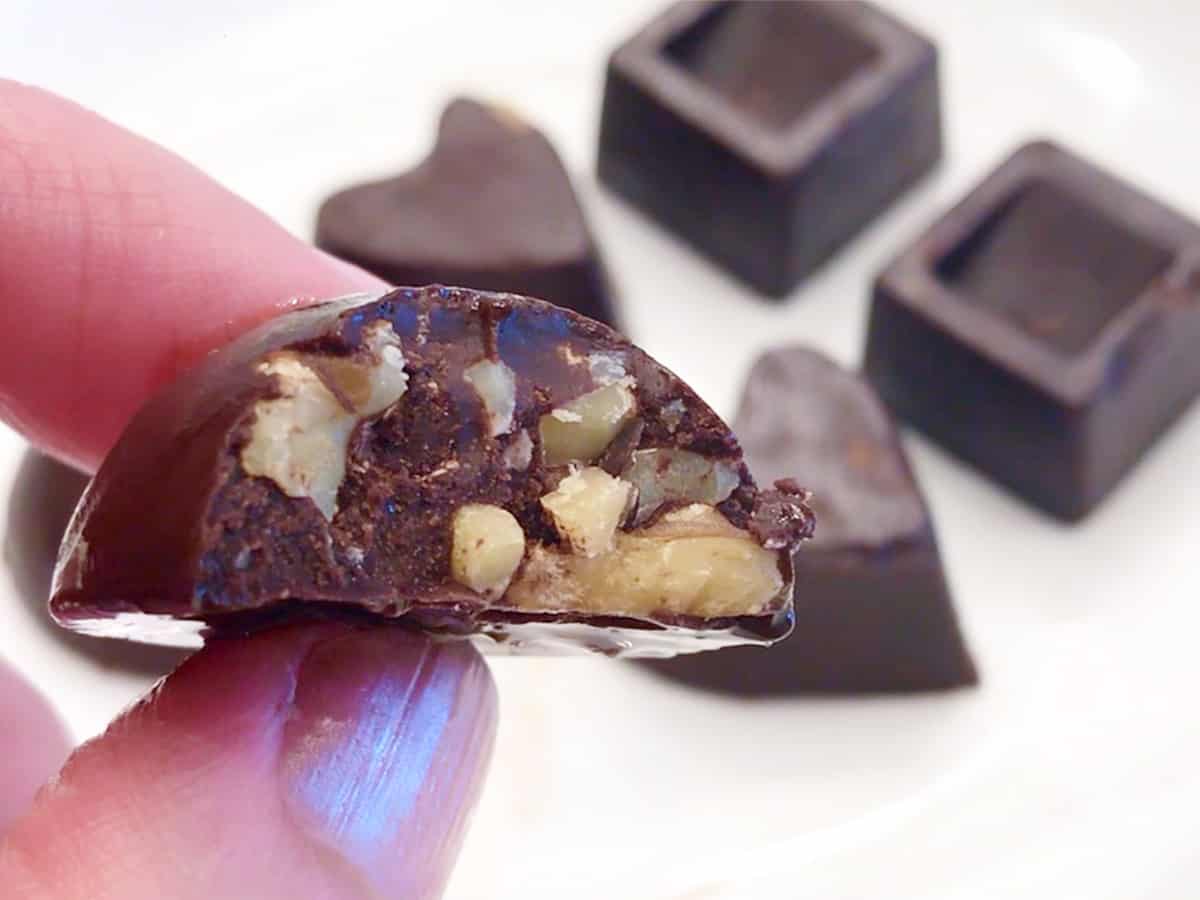
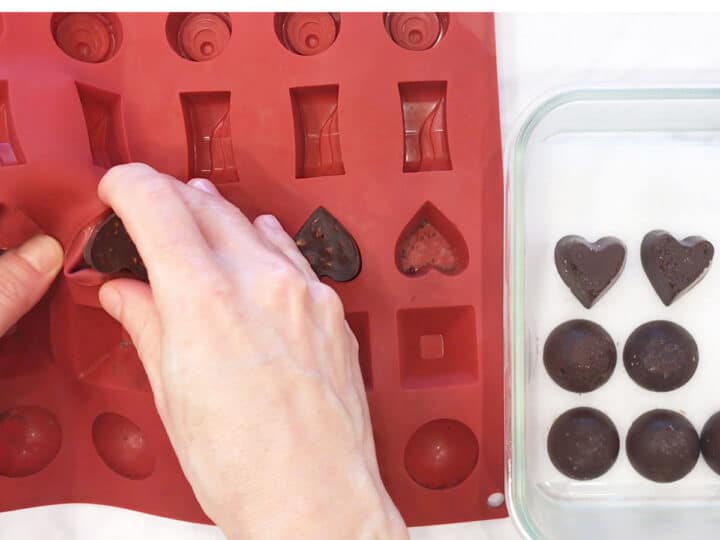
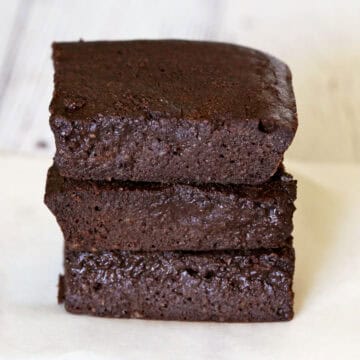
Freeze the chocolate until set. Release the chocolate from the mold and serve. This is what it looks like on the inside - delightful!
Made two batches yesterday, with some combination of roasted almonds, unsweetened coconut flakes, and defrosted frozen raspberries. There were five of us and we ate all of them! The ones with raspberries were the favorites. Will definitely make again. Thank you.
Rupa
Read more comments
Recipe Tips
- Coconut oil is delicious, but since it's almost liquid at room temperature, any chocolate made with it will be quite melty, so you should keep it in the fridge. Another option, mentioned above, is to use food-grade cacao butter instead of coconut oil.
- Even when made with coconut oil, the chocolate is not as melty the next day after it's had some time to rest and stabilize in the fridge, so it's a good idea to make it a day ahead. You should still keep it in the fridge and take it out just before enjoying it.
Recipe FAQs
Yes, although Dutch-processed cocoa powder is better because its flavor is smoother and less acidic.
Yes! You can use either unsalted nuts or, if you enjoy sweet-salty flavor combinations, salted ones.
Personally, I prefer the flavor of chocolate made with coconut oil.
You can keep this chocolate in a sealed container in the fridge for about a week.
Recipe Card
Easy Homemade Chocolate
Video
Ingredients
- ¼ cup virgin coconut oil - See notes below
- ¼ cup cocoa powder - Unsweetened, Dutch-processed
- 2 tablespoons honey - see notes below
- 1 ounce almonds - Roasted, unsalted, coarsely chopped
Instructions
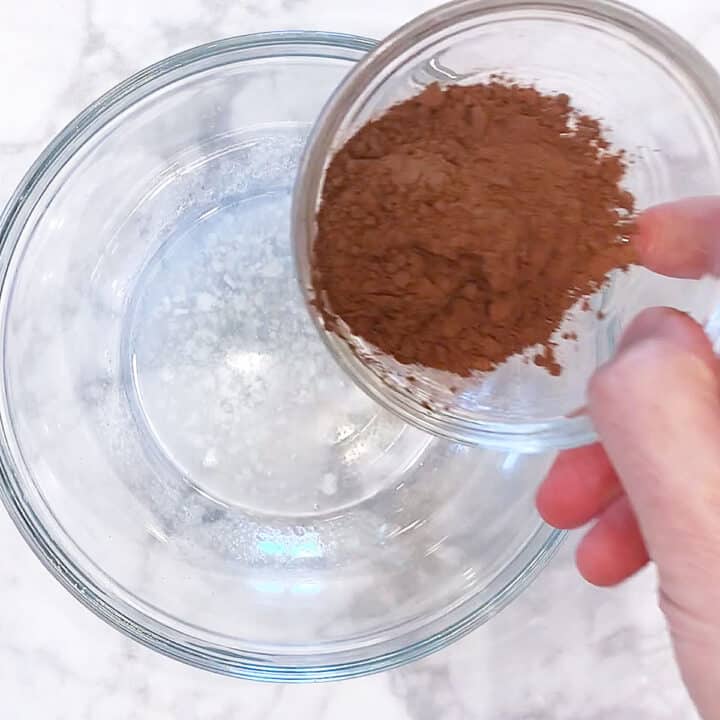
- Place the coconut oil in a medium microwave-safe bowl. Microwave for 20-30 seconds to melt and warm it.¼ cup virgin coconut oil

- Sift the cocoa powder into the melted coconut oil. Use a small rubber spatula to combine.¼ cup cocoa powder
- Mix in the honey, mixing quickly and continuously.2 tablespoons honey
- Mix in the chopped almonds.1 ounce almonds
- Spoon the mixture into a candy silicone mold. These molds are flimsy, so it's a good idea to place the mold on a tray or pan that fits in your freezer. The mold I typically use isn't currently available on Amazon, but here's a similar one. Freeze the mixture for 20-30 minutes until completely set.

- Gently release the chocolate pieces from the mold.
- Enjoy immediately or refrigerate overnight for improved texture.


Notes
- Sweetness is a personal preference. Use this recipe as a guide and adjust to taste.
- To prevent the honey from clumping or sinking, make sure the mixture is fully melted and warm before adding the honey, and whisk continuously so it blends smoothly. If your honey is thick or crystallized, warm it gently first, so it blends more easily.
- I only tested this recipe with real honey, so I don't know how other liquid sweeteners, including maple syrup, would affect the texture.
- The chocolate sets better and becomes less melty the next day, so I recommend making this recipe a day ahead.
- You can use any type of chopped unsalted nuts, such as pecans, which I used when filming the video. They can be salted (if you like sweet-salty flavor combinations) or unsalted.
- For less melty chocolate, use 2 ounces (¼ cup melted) of food-grade cacao butter instead of coconut oil.
- This recipe makes 4 servings. The exact number of pieces you get will depend on the mold you use. The mold I typically use makes 10-12 pieces. Other candy molds will yield a different number of pieces. You can also use a chocolate bar mold.
- You can keep the leftovers in an airtight container in the fridge for up to a week. Take them out of the fridge right before enjoying them.
Nutrition per Serving
Save this Recipe!
We will also add you to our weekly newsletter. Unsubscribe anytime. See healthyrecipesblogs.com/privacy/ to learn how we use your email.
Disclaimers
Most recipes are low-carb and gluten-free, but some are not. Recommended products are not guaranteed to be gluten-free. Nutrition info is approximate - please verify it. The carb count excludes non-nutritive sweeteners. Please read these Terms of Use before using any of my recipes.


Amanda Brigden says
I've made this recipe a number of times now with added extras, nuts, mixed sultanas,and a coconut variation and it's so much better than the store bought as there are no added nasty ingredients. So very simple .
Vered DeLeeuw says
I'm so glad this has become a staple, Amanda. Thank you very much for taking the time to leave a review!
DARLENE says
Only change I made was I used chopped almonds & raisins! Kept them in a bar mould in the freezer. Today I am making them for a second time which will fill the mould (10 bars)
Vered DeLeeuw says
Raisins are such a lovely addition, Darlene!
Glad you enjoyed the chocolate so much that you're making it again.
TR says
The best!
Vered DeLeeuw says
So glad you enjoyed it! Thanks for the review.
Kay says
Hi, can I use unsweetened honey? Thanks
Vered DeLeeuw says
Hi Kay,
I only tested this recipe with real honey, so I don't know how other liquid sweeteners would affect the texture.
David says
Good recipe!
Vered DeLeeuw says
I'm glad you liked it, David! Thank you very much for the review.
Lisa says
Just made these. In part of my mold I used coconut oil and in the other part I used cocoa butter. The cocoa butter is less melty as you say.
My favorite thing about your recipes is that I don't have to scroll back up to see what the ingredient amounts are as you put them in with the recipe instructions. This is so helpful! I'm not scrolling up and down constantly LOL.
Vered DeLeeuw says
Thank you so much for making the recipe and sharing your experience, Lisa! I'm thrilled that my recipe format is helpful.