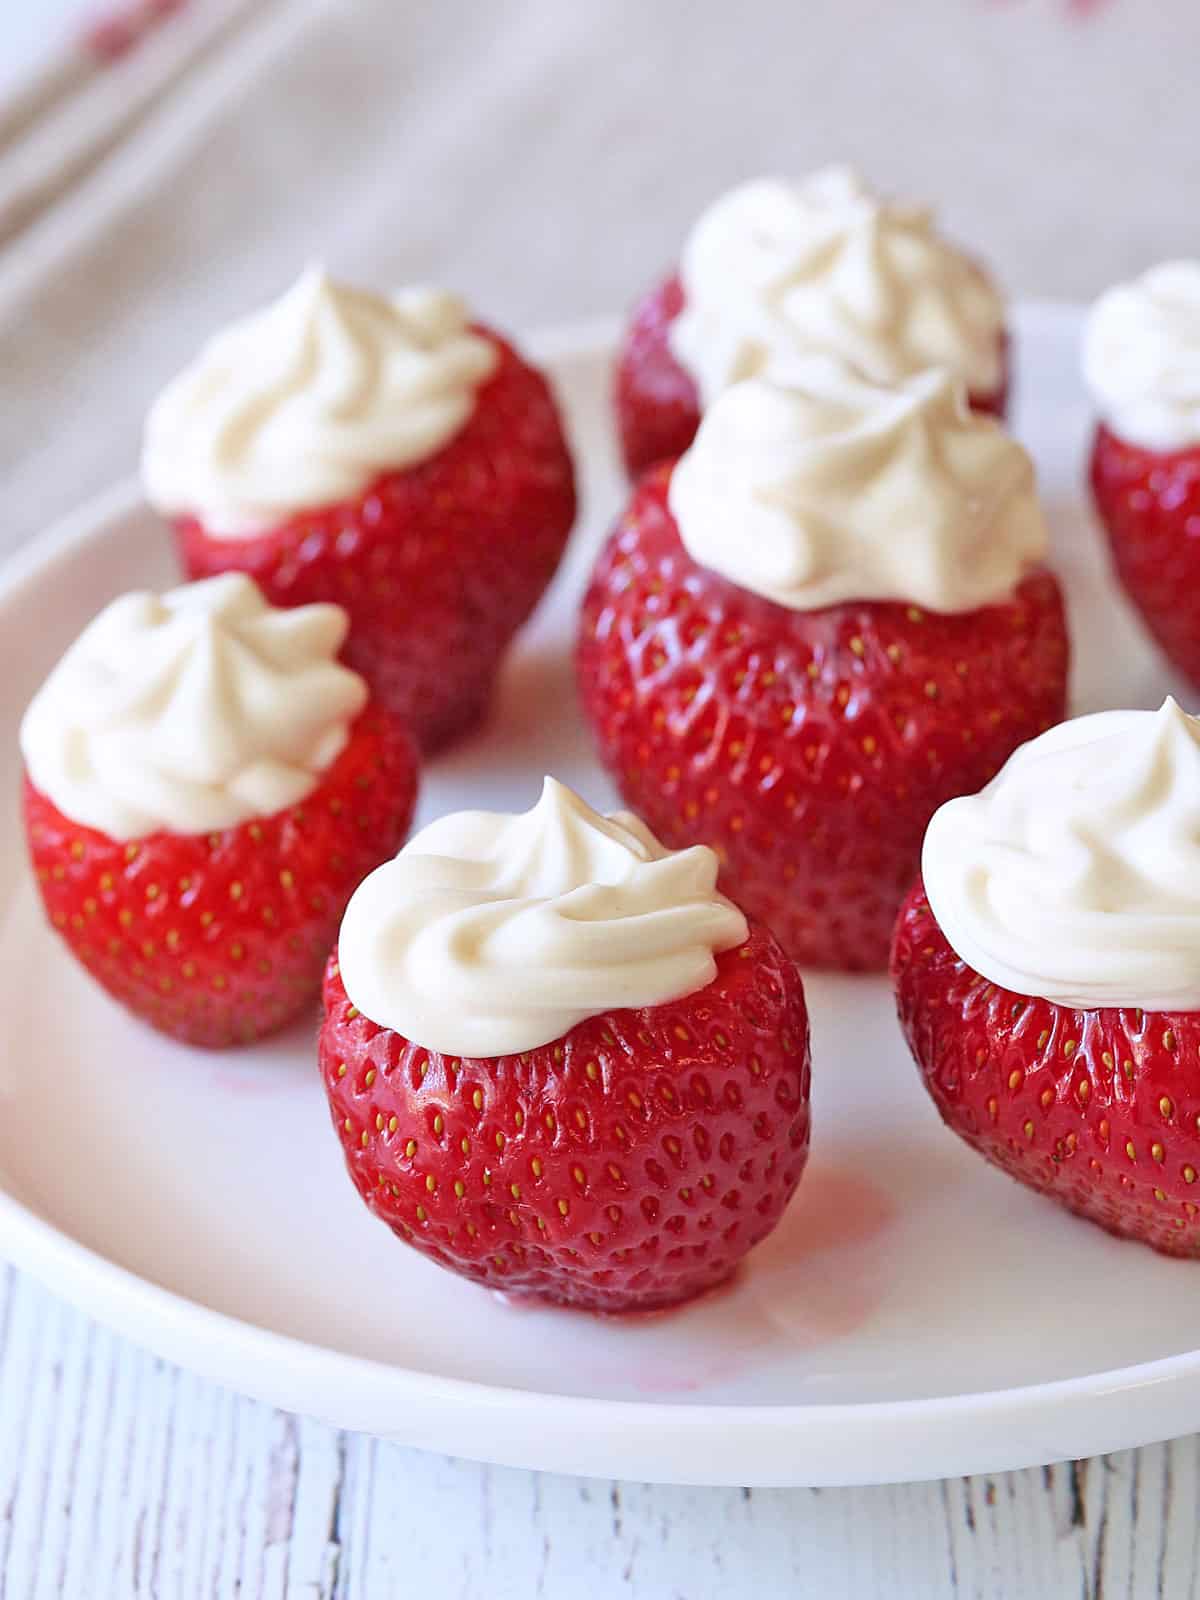
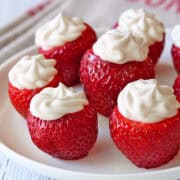
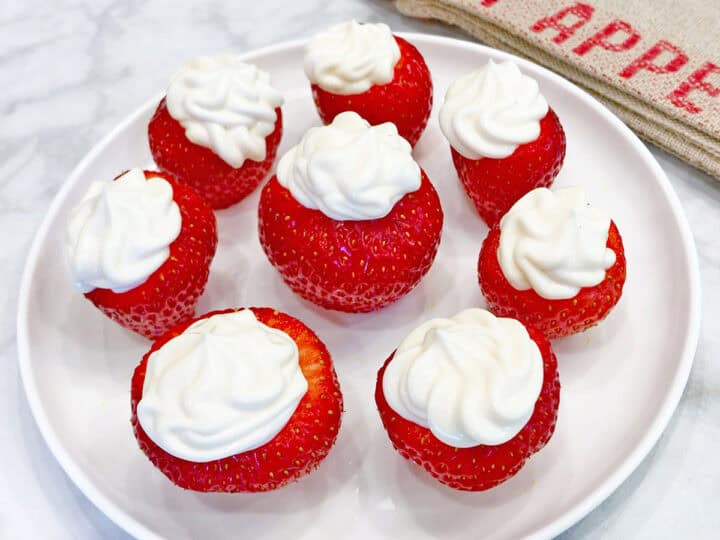
These cheesecake stuffed strawberries are ready in 20 minutes. They're incredibly tasty and oh so pretty. They make the perfect dinner party dessert because you can prepare them in advance.
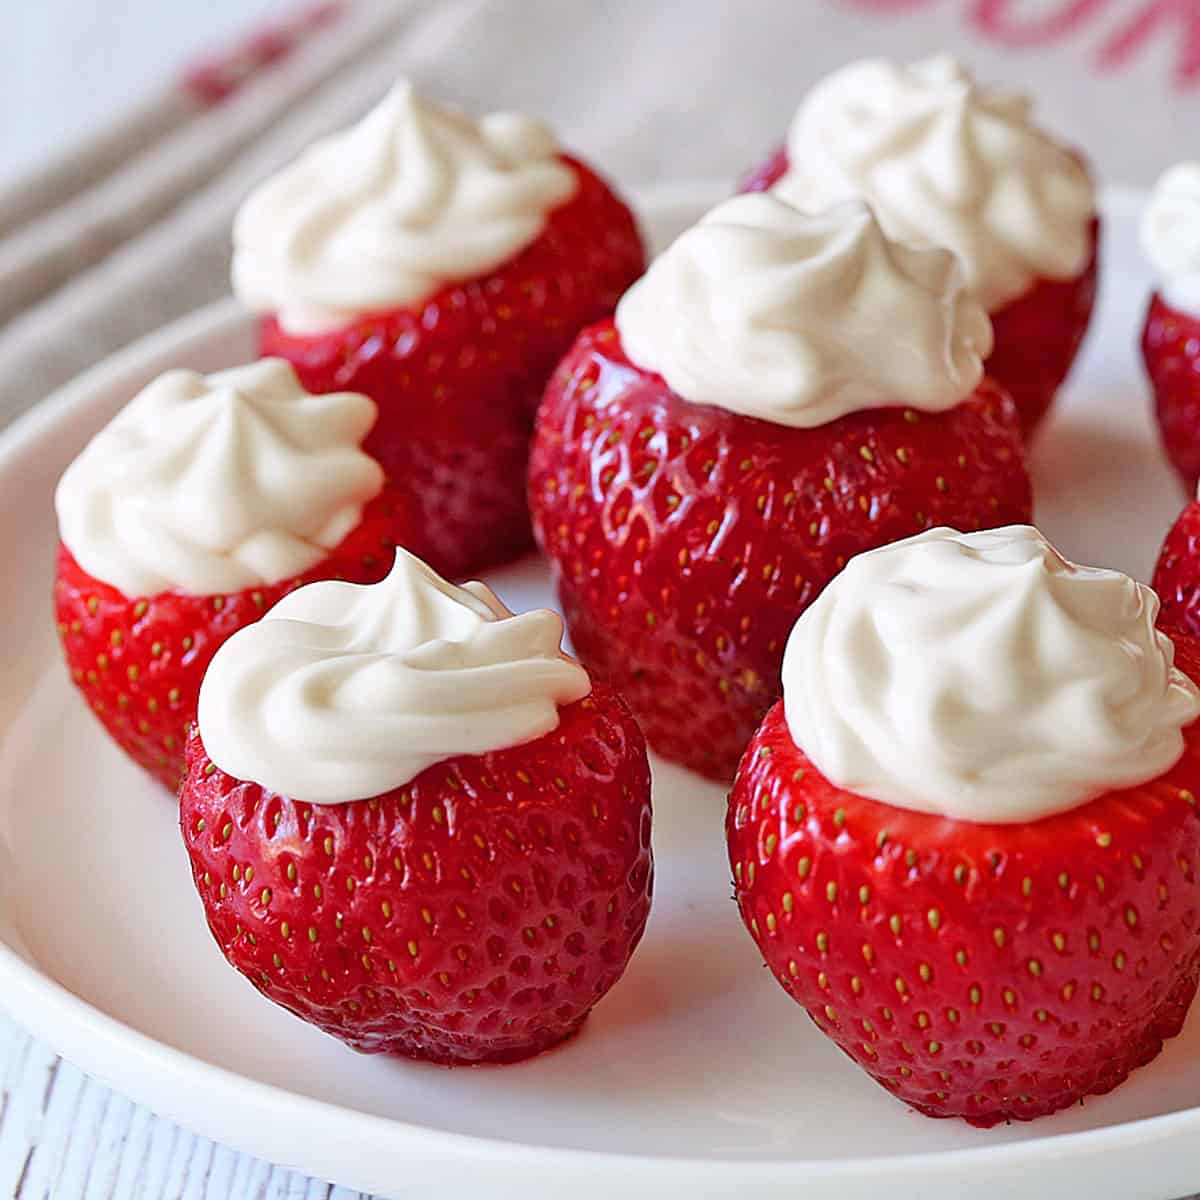
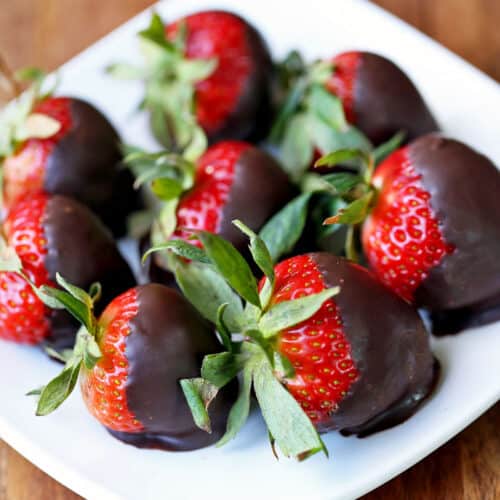
This is such a fun dessert! I love making it, serving it to admiring guests, and eating it. The combination of sweet strawberries and delicate cheesecake-like filling is fabulous. This is also the perfect after-dinner dessert when you host a dinner party, because - just like chocolate-covered strawberries - you can make it a few hours in advance.
Ingredients
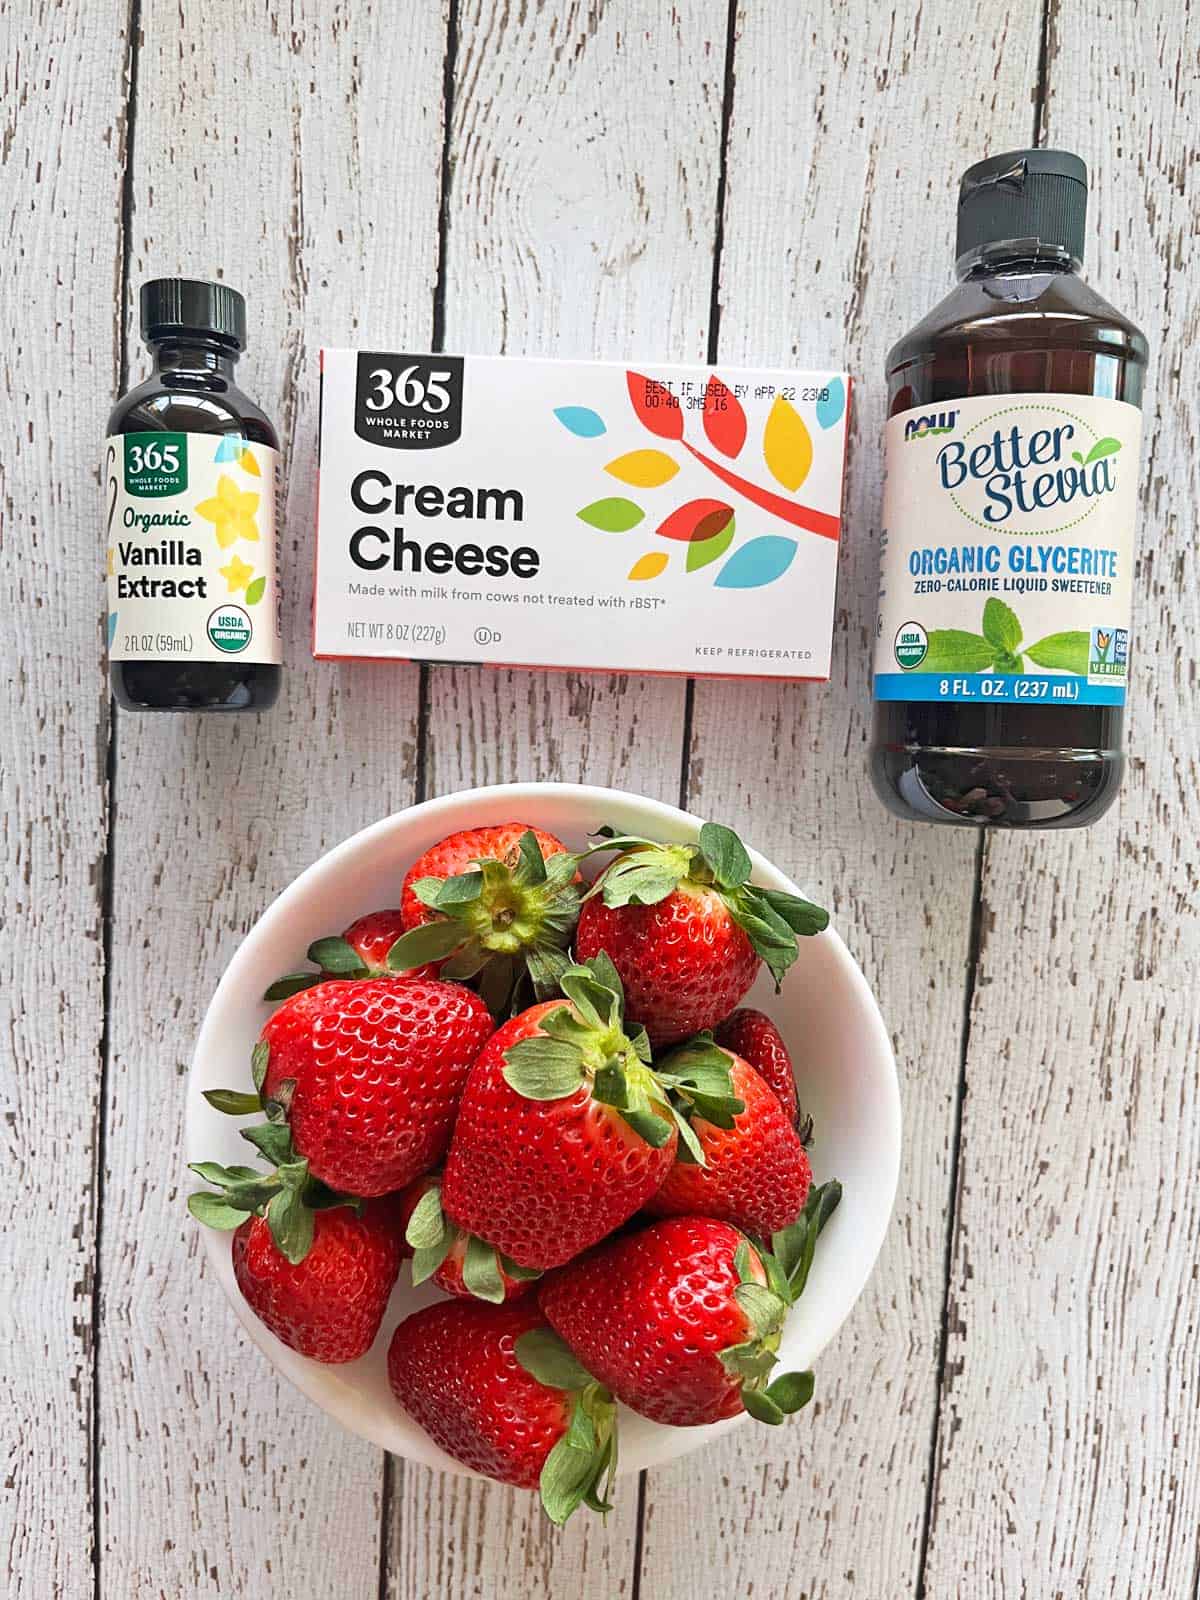
You'll only need four ingredients to make this recipe. The exact measurements are included in the recipe card below. Here's an overview of what you'll need:
- Fresh strawberries: Pick large, firm strawberries, and try to find truly red ones - not those that are pale and watery.
- Cream cheese: You can use regular or reduced-fat cream cheese. Both work equally well in this recipe.
- Sweetener: I use stevia, but you can use your favorite sweetener instead.
- Vanilla extract: Try to use the real thing - pure vanilla extract - and not the artificially flavored stuff.
Variations
- If you like coconut, use coconut extract instead of vanilla extract.
- Scatter chopped unsalted nuts on top of the filled strawberries.
- Melt dark chocolate and drizzle it on top of the strawberries.
Instructions
Considering how fancy they look, making these strawberries is surprisingly easy! Scroll down to the recipe card for detailed instructions. Here are the basic steps for making them:
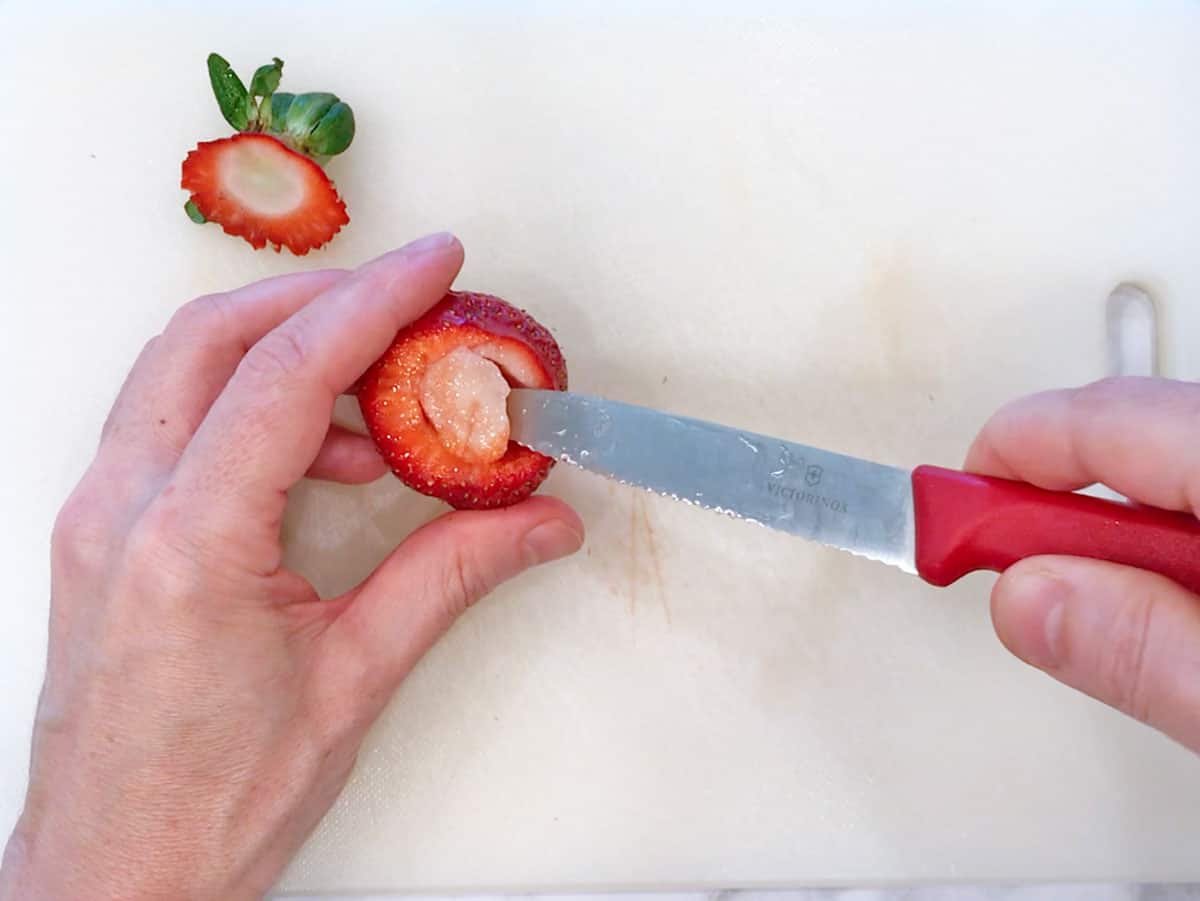
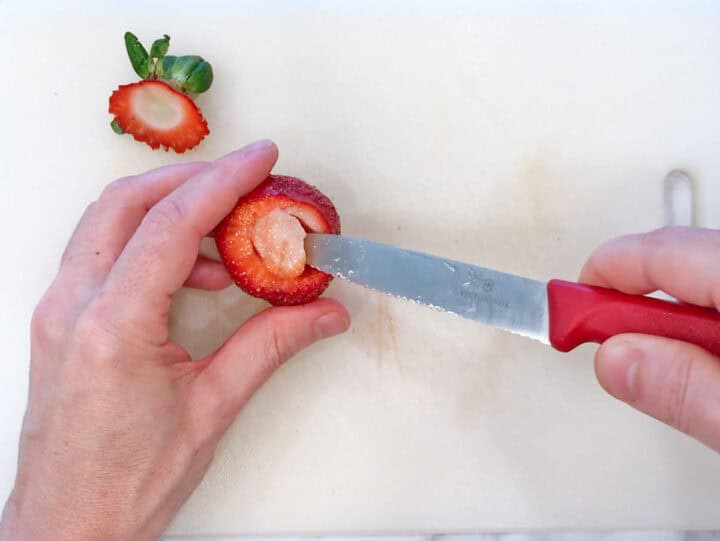
You start by cutting off the tops of the strawberries and coring them.
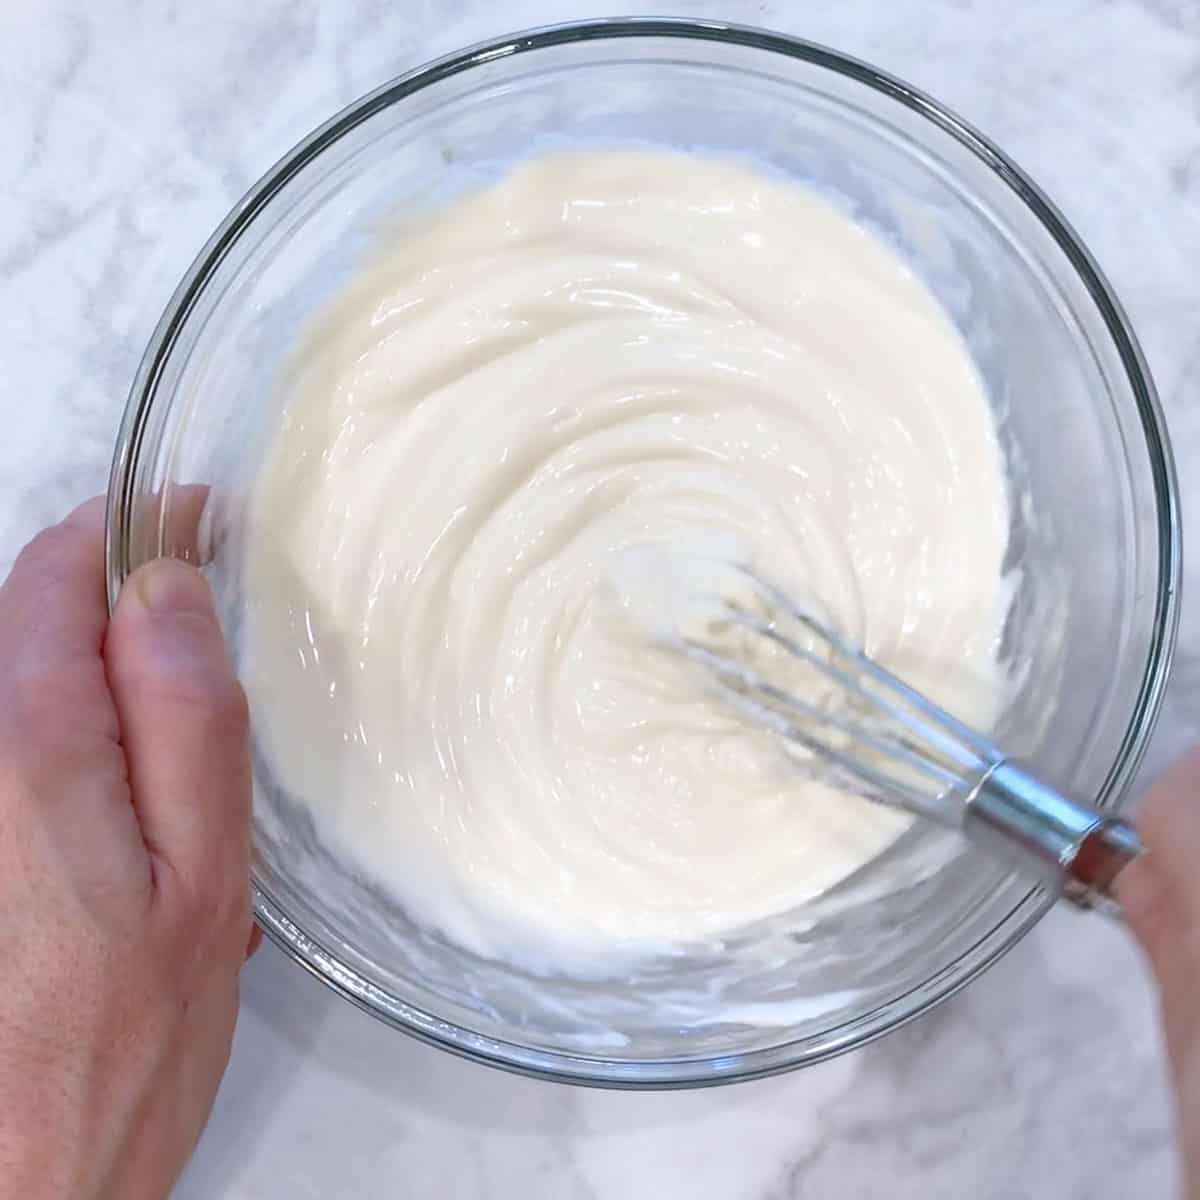
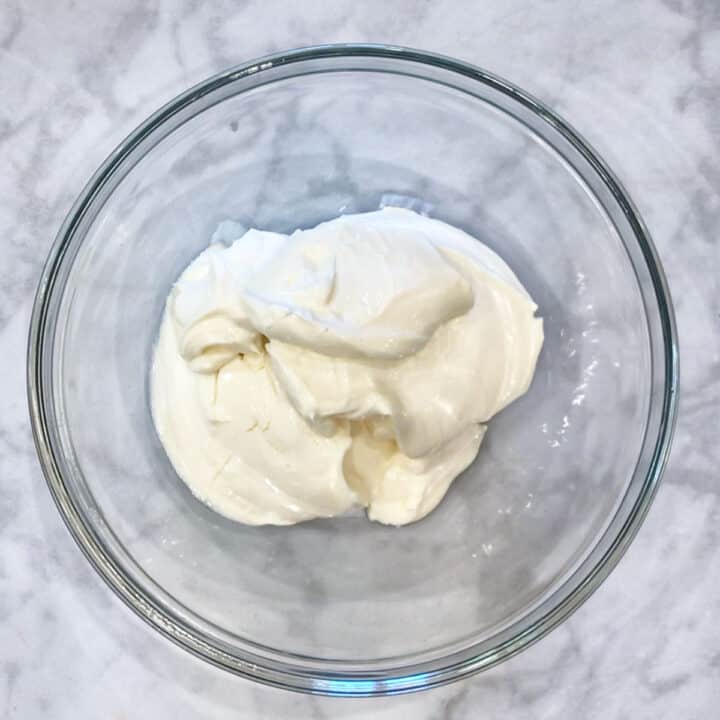
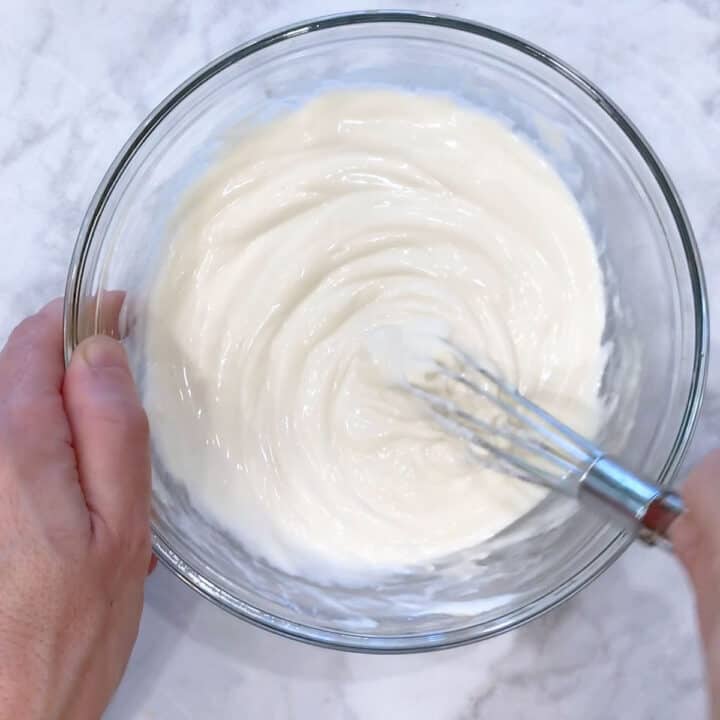
Your next step is to soften the cream cheese in the microwave, then stir the sweetener and vanilla into the softened cream cheese until the mixture is smooth and uniform.
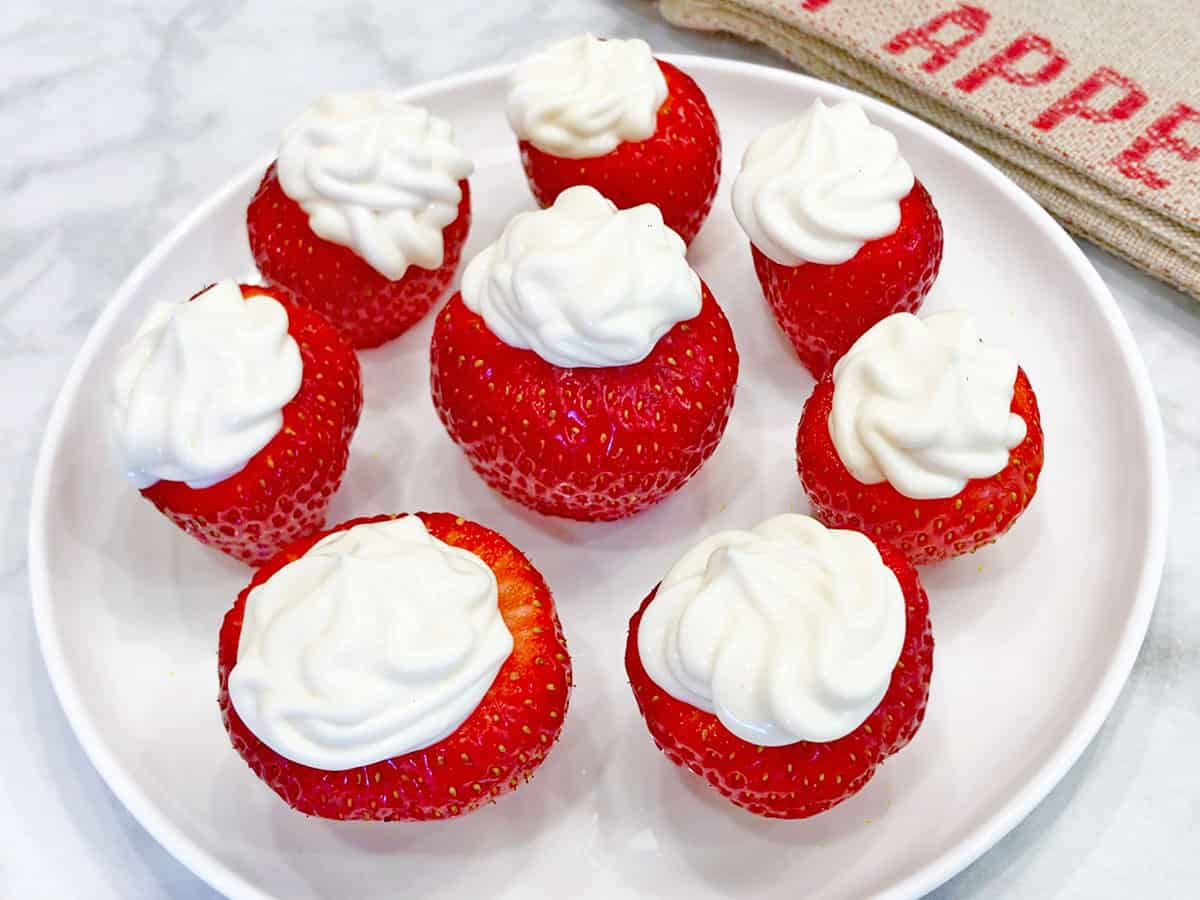
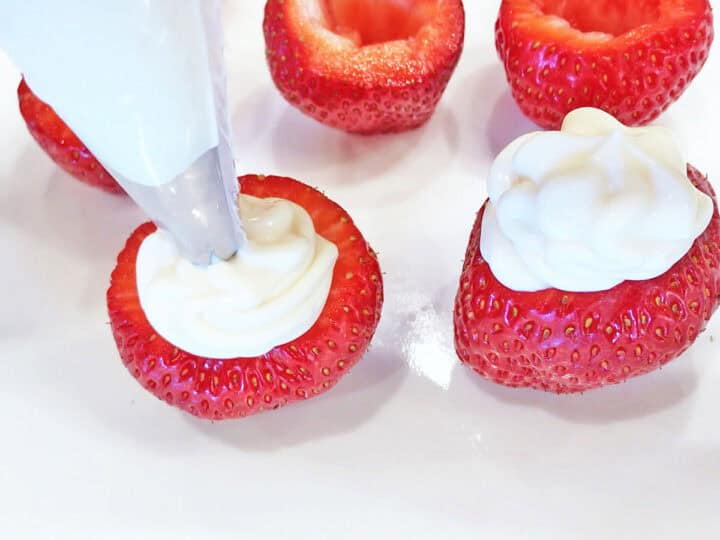
Spoon the mixture into the strawberries. For a pretty presentation, you can transfer the cream cheese mixture to a pastry bag and pipe a small amount into each strawberry.
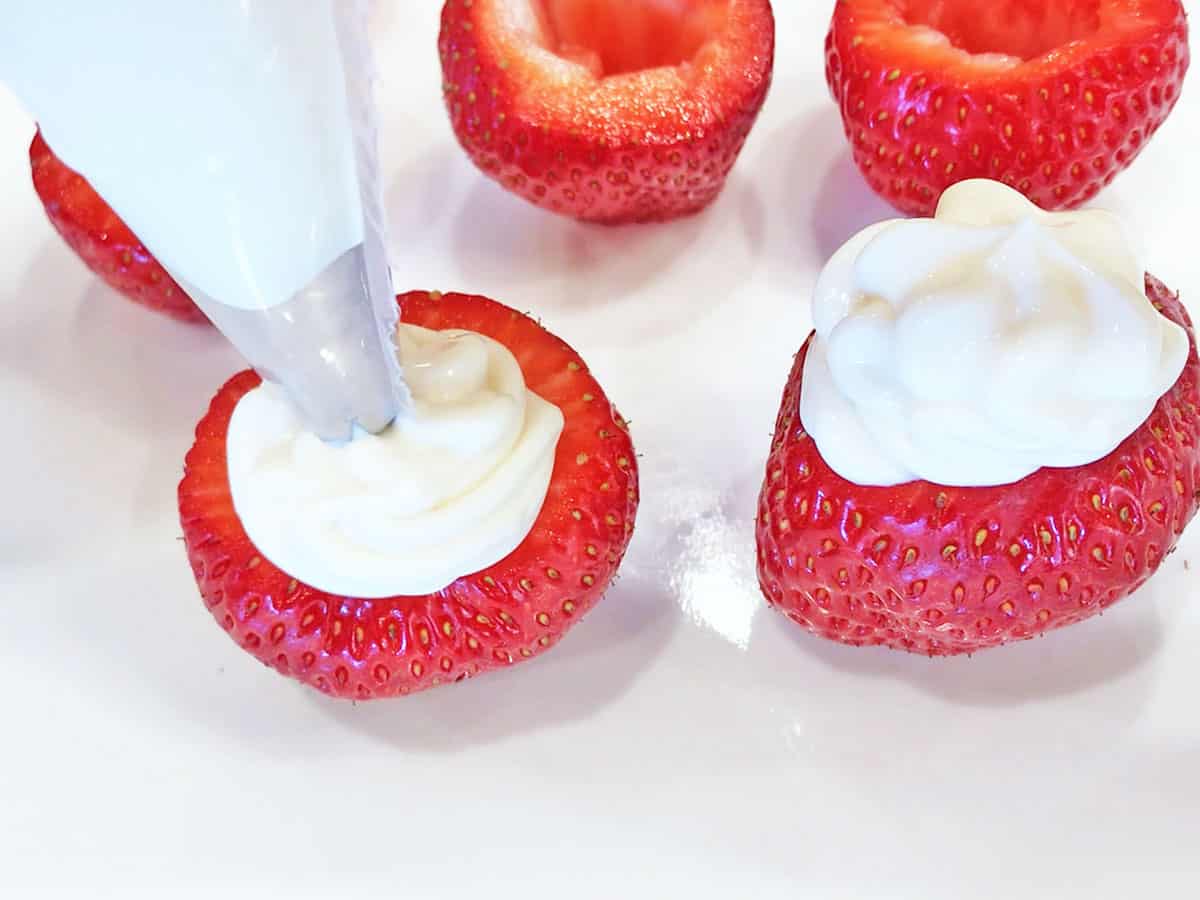
Serve immediately, or refrigerate until ready to serve. If you make them ahead of time, remove them from the fridge 30 minutes before serving them.
Expert Tip
I use stevia, but you can use any other sweetener in this recipe. If opting for a granulated sweetener, it's best to use a powdered one to ensure the cream cheese mixture remains smooth and velvety. Honey (or a sugar-free honey substitute) is another good option.
Recipe FAQs
It's easy! First, you cut the tops using a paring knife. Then, angle the knife and cut in a circular motion around the pale flesh in the center of each strawberry. Remove the hull and discard.
No. The strawberries are filled with a cheesecake-like mixture of cream cheese, sweetener, and vanilla.
Yes. You should make this dessert on the day you plan on serving it, but you can make it a few hours ahead of time and refrigerate it until ready to serve.
It's important to remove the strawberries from the fridge 30 minutes before serving them to allow the cream cheese filling to soften.
Serving Suggestions
I like to make a dessert tray with a few make-ahead treats and serve it to my guests with coffee (or iced coffee) and mint tea (or iced tea). So, in addition to these strawberries, a typical dessert tray might include cookie dough balls, homemade chocolate bonbons, and peanut butter fudge squares.
Storing Leftovers
You can keep the leftovers in the fridge, in an airtight container, but for no longer than a day or two. Keep in mind that after the first day, they won't be as good. I don't recommend freezing the leftovers.
More Strawberry Recipes
Eat Well, Live Well Newsletter
Sign up for weekly meal ideas, cooking tips, and real food recipes straight to your inbox! We won't send you spam. Unsubscribe at any time.
Recipe Card
Cheesecake Stuffed Strawberries
Video
Ingredients
- 1 pound fresh strawberries
- 8 ounces cream cheese
- 1 teaspoon stevia glycerite - equals ⅓ cup of sugar
- ½ teaspoon vanilla extract
Instructions
- Wash and dry the strawberries. Using a sharp paring knife, core them: First cut the tops with a paring knife. Then angle the knife and cut in a circular motion around the pale flesh in the center of each strawberry. Remove the hull and discard. If you'd like the strawberries to stand upright, cut a very thin slice off the bottom. Be careful - don't cut too much.
- Soften the cream cheese in the microwave: Cut it into chunks, place it in a microwave-safe bowl, and microwave it for 10 seconds. Stir and microwave until soft, about 10 more seconds.
- Add the sweetener and vanilla. Use a hand whisk to whisk together until combined and creamy.
- Spoon the cream cheese mixture into the strawberries, or transfer it to a pastry bag and pipe a small amount into each strawberry.
- Serve immediately. If you're making this dessert ahead of time, you can refrigerate it for a few hours, but take it out of the fridge 30 minutes before serving.
Notes
- I use stevia, but you can use any other sweetener in this recipe. If opting for a granulated sweetener, it's best to use a powdered one to ensure that the cream cheese mixture remains smooth and velvety. Honey (or a sugar-free honey substitute) is another good option.
- You can keep the leftovers in the fridge, in an airtight container, but for no longer than a day or two. Keep in mind that after the first day, they won't be as good. I don't recommend freezing the leftovers.
Nutrition per Serving
Save this Recipe!
We will also add you to our weekly newsletter. Unsubscribe anytime. See healthyrecipesblogs.com/privacy/ to learn how we use your email.
Disclaimers
Most recipes are low-carb and gluten-free, but some are not. Recommended and linked products are not guaranteed to be gluten-free. Nutrition info is approximate. Please verify it independently. The carb count excludes non-nutritive sweeteners. Please read these Terms of Use before using any of my recipes.

Jill says
These were a HUGE hit with my guests last night! Made the recipe exactly as written - didn't change a thing. Thank you!
Vered DeLeeuw says
You're very welcome, Jill! I'm so glad this recipe was a success.