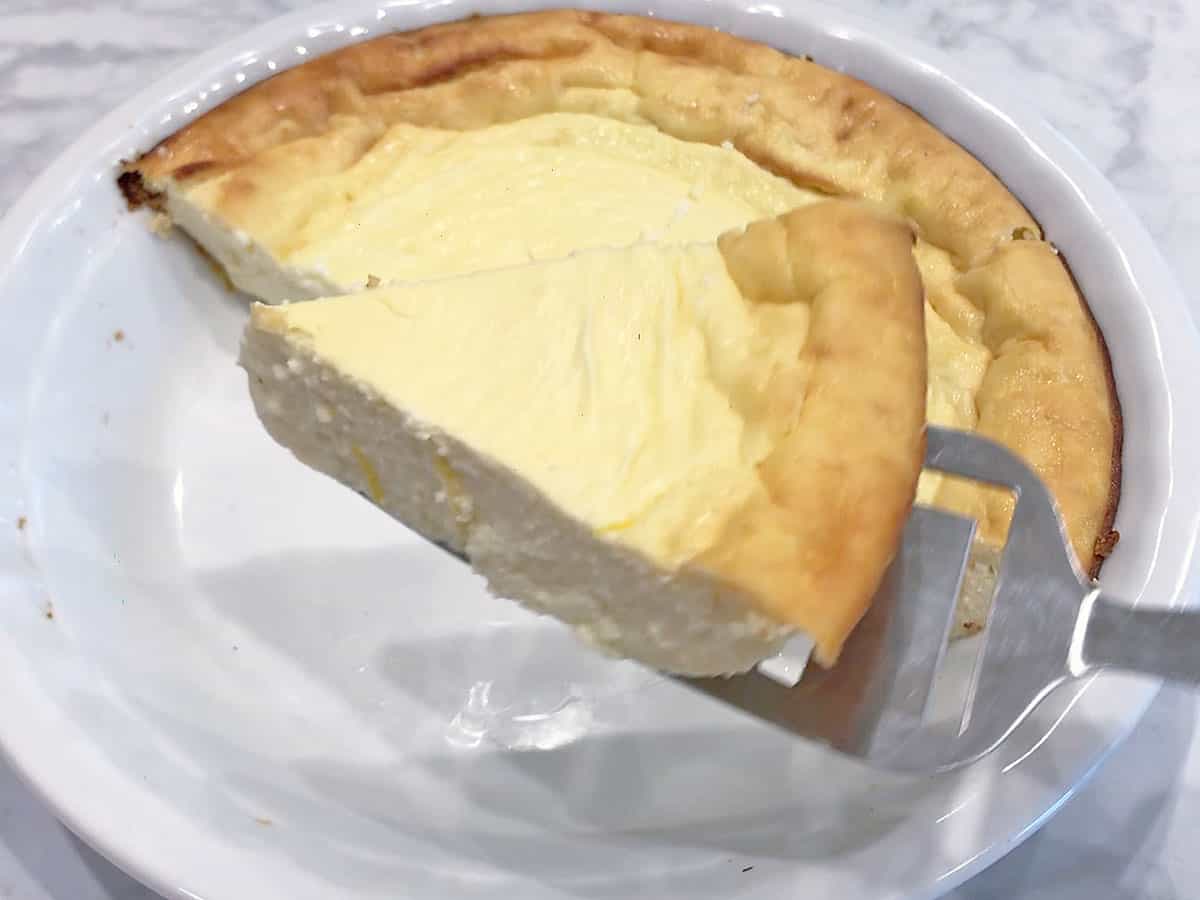
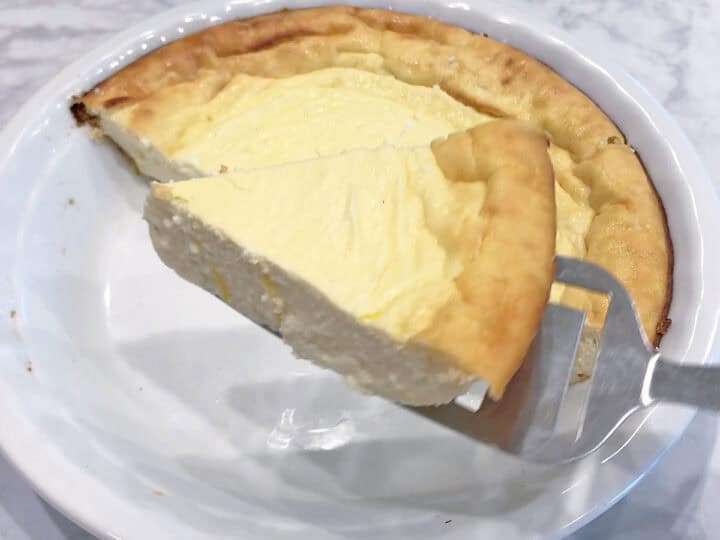
This ricotta cheesecake has a delicate, airy texture and a pleasant lemon-vanilla flavor. It's not as heavy and dense as cream cheese-based cheesecakes.
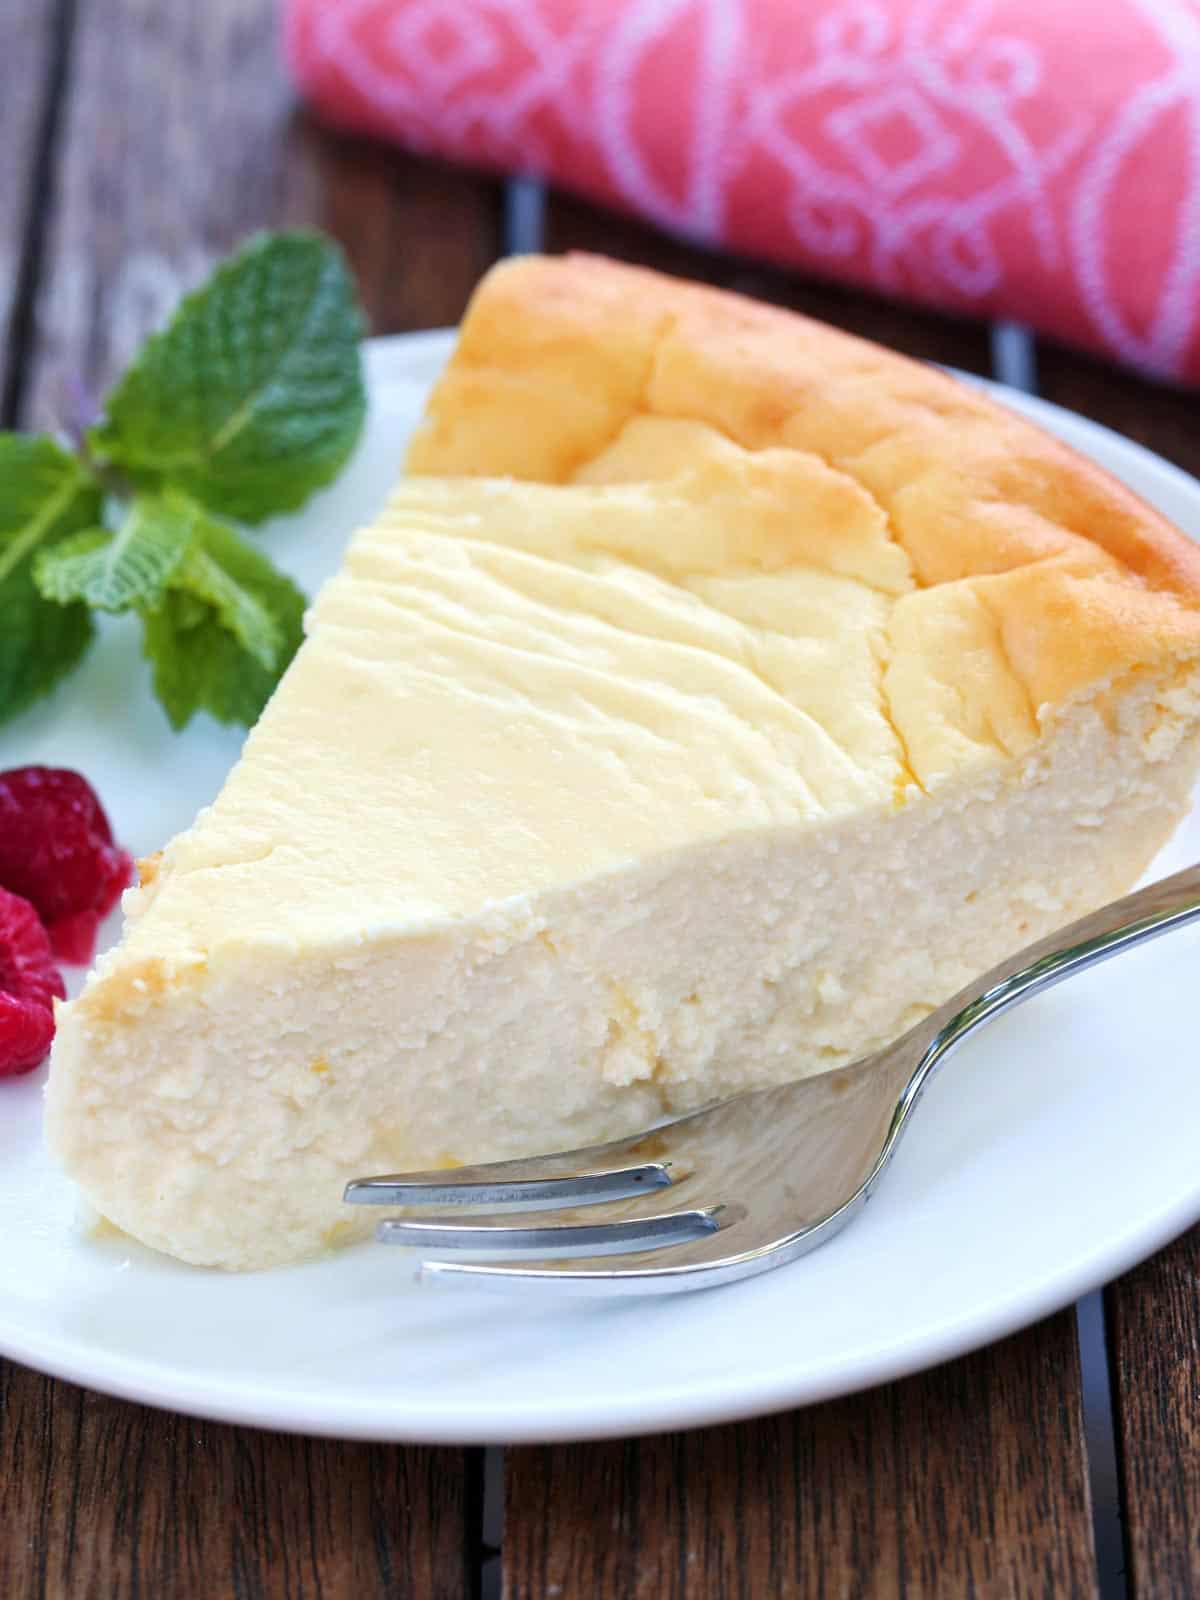
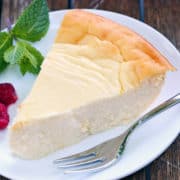
This ricotta cheesecake has the best texture! Just like ricotta dessert, it's wonderfully light with a pleasant vanilla flavor. Plus, it's easy! You simply mix the seven ingredients in one bowl, pour them into a baking dish, and bake. Unlike other cheesecake recipes (like this keto cheesecake), this one is easy and not too complex.
Ingredients
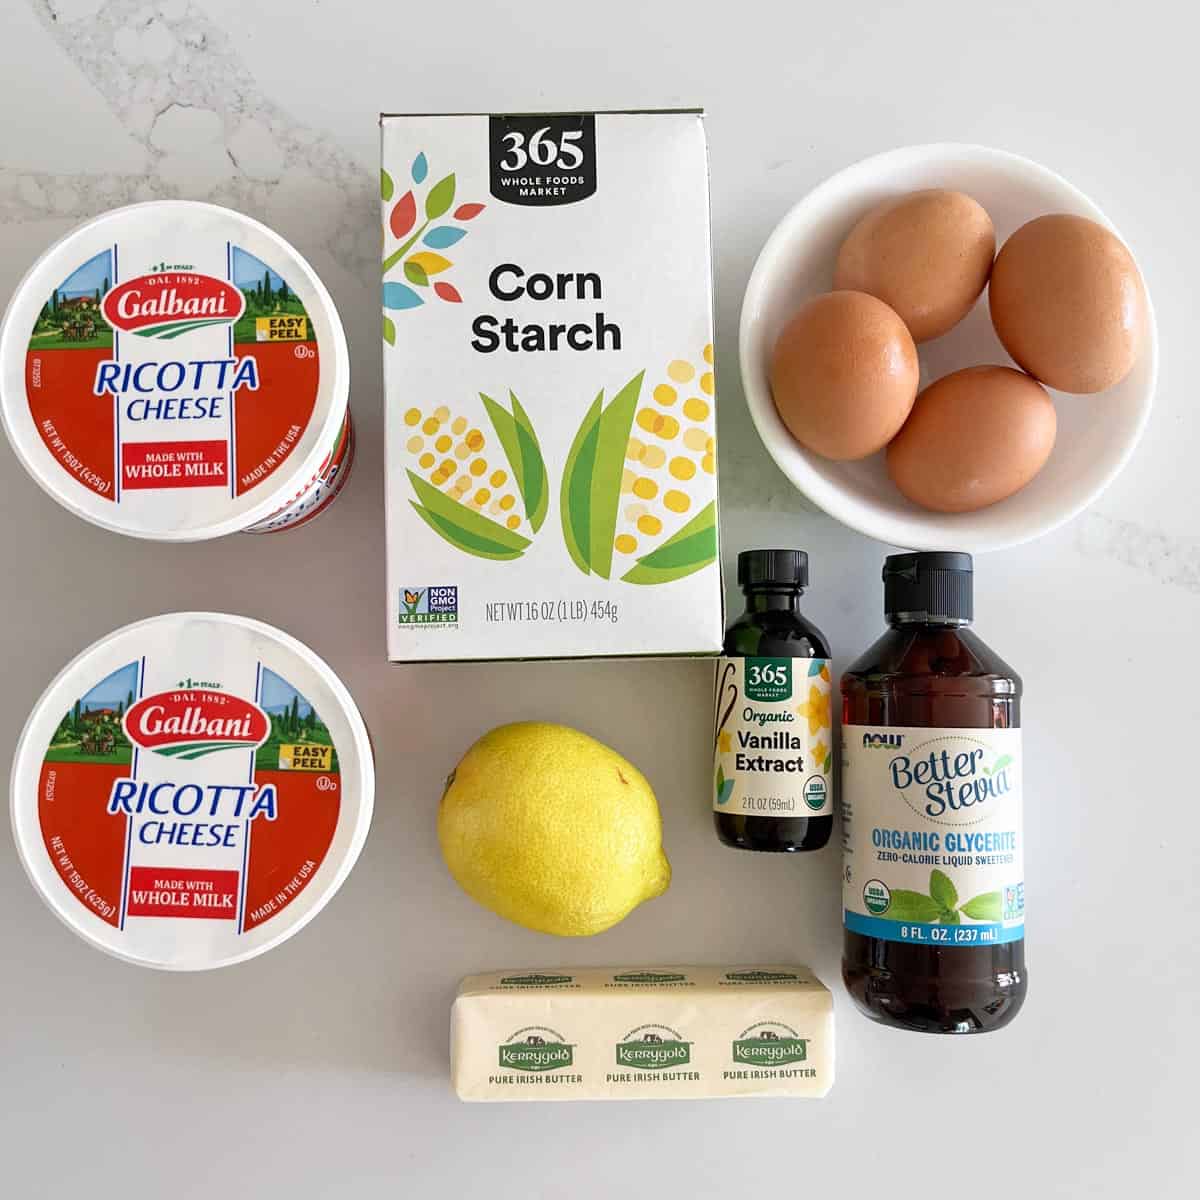
See the recipe card for exact measurements. Here are my comments on some of the ingredients.
- Ricotta cheese: I use whole-milk ricotta.
- Sweetener: I use stevia glycerite, a great formulation that nearly eliminated any aftertaste. You can use sugar if you don't mind the carbs.
- Vanilla extract: You can use other flavor extracts, including coconut, lemon, or orange extract. If using an extract other than vanilla, use just one teaspoon.
- Cornstarch: Ricotta cheese has a high moisture content, and the cornstarch absorbs some of it. Adding cornstarch also helps stabilize the cake, making it sturdier and easier to slice.
- Lemon zest: Adds wonderful flavor, so please don't skip it. You can use orange zest instead of lemon zest.
Instructions
The detailed instructions and step-by-step photos are included in the recipe card. Here's a quick overview.
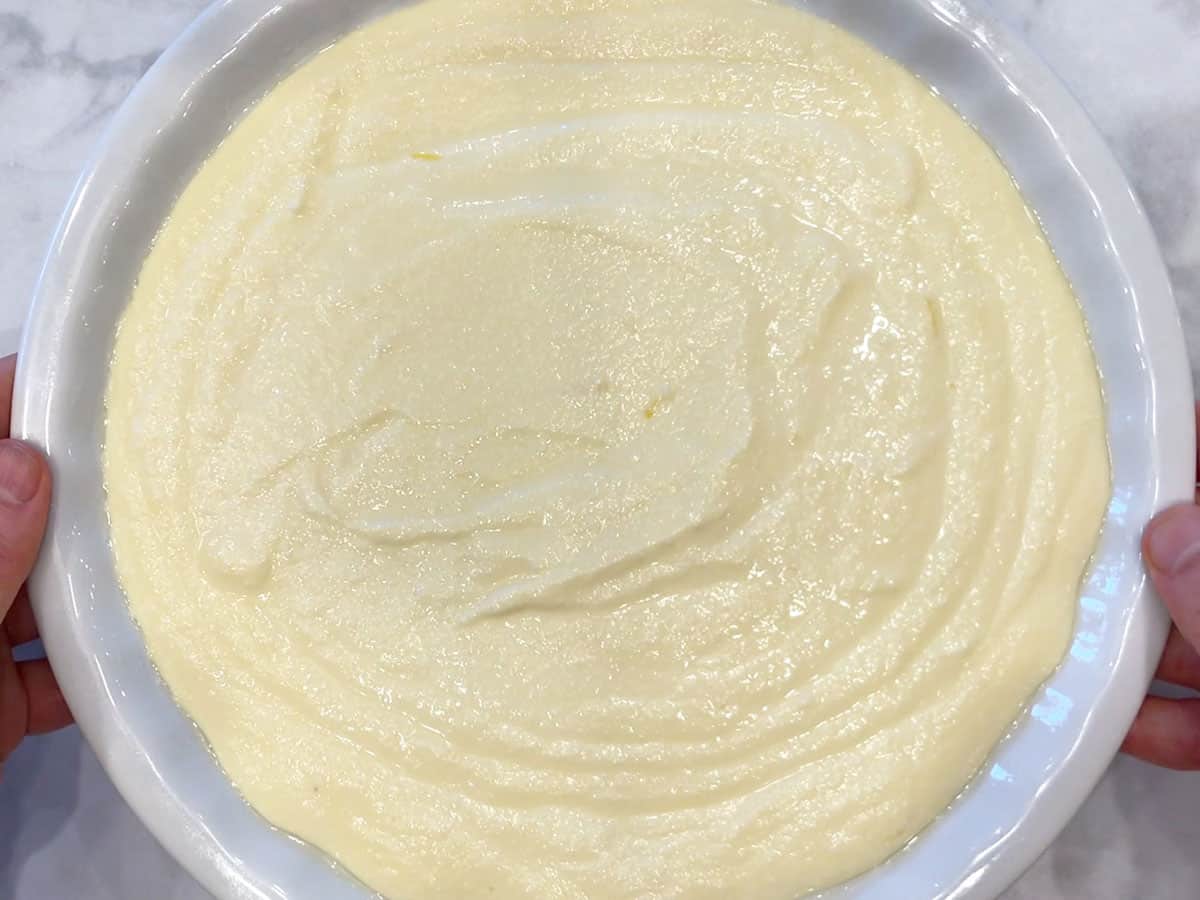
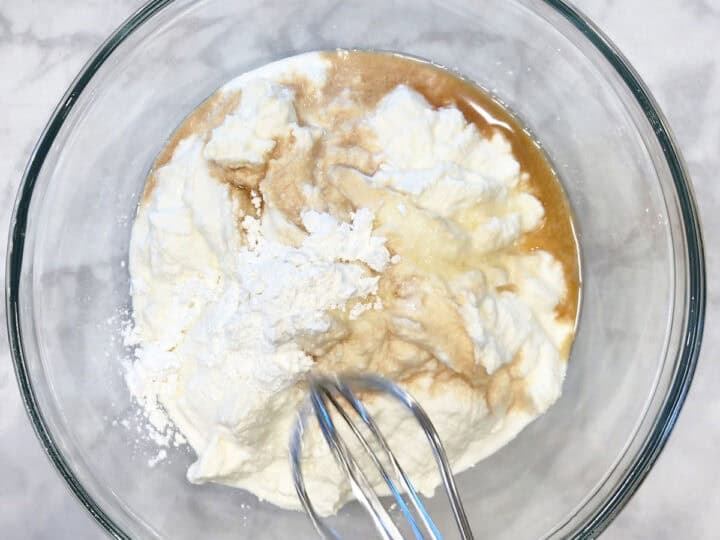
Mix the ingredients in one bowl. Pour the mixture into a greased pie plate.
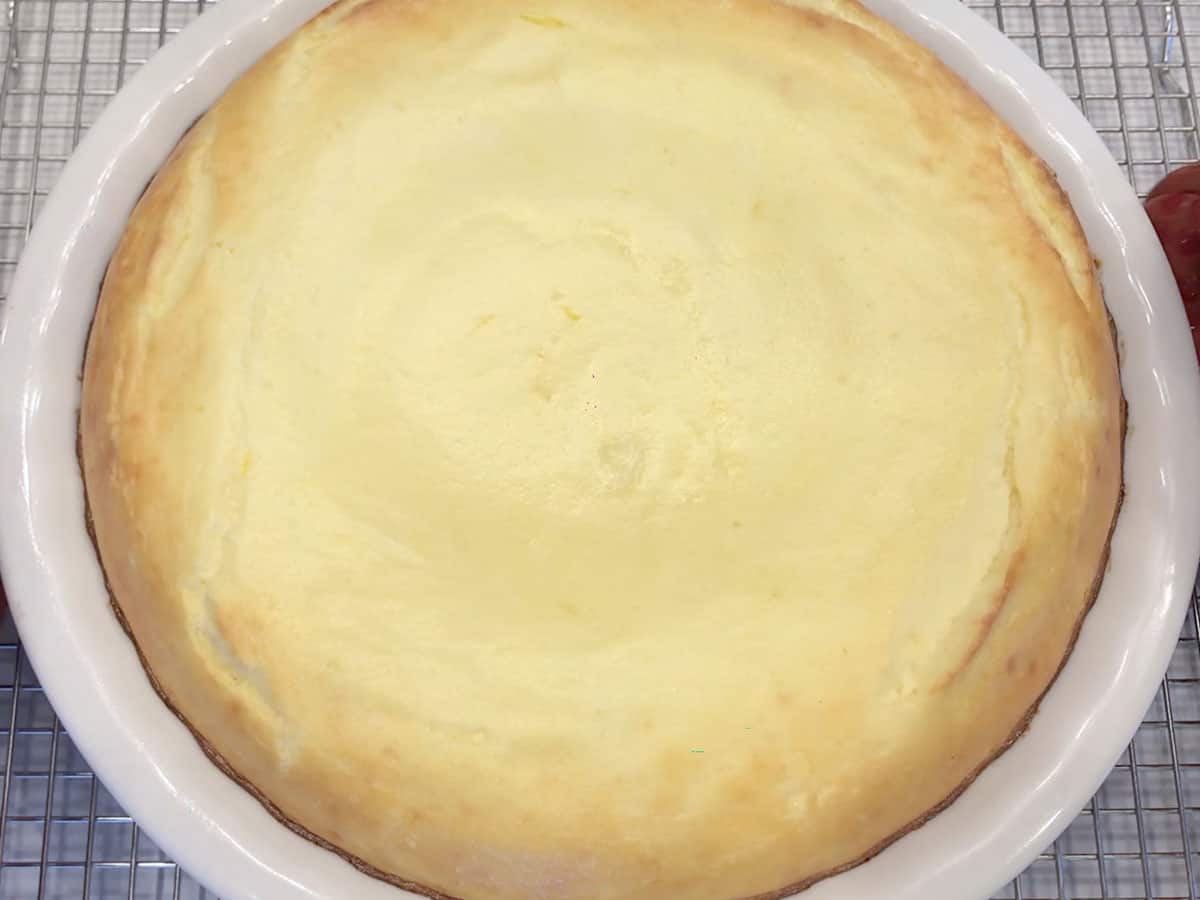
Bake the cake until set, for about 45 minutes at 350°F.
Cool completely, then refrigerate the cake for at least 2 hours. Cut and serve.
So very easy and delicious. My mom used to make this but we lost her recipe. This is the closest I've come to matching it. Yummy in my tummy!
Michell
Read more comments
Recipe Tips
- Add the eggs at the end, and don't overmix the batter. You don't want to introduce too much air into it.
- The batter will reach the top of the baking dish, so make sure to grease the sides all the way to the top.
- All the ingredients should be at room temperature, so remove them from the fridge two hours before you start making the cake.
- Plan ahead: Like all cheesecakes, this cake needs time to chill and set after it's baked, so plan accordingly. If you need it by the evening, you'll need to start making it in the morning or the day before.
Recipe FAQs
While ricotta cheesecake is not as creamy as a cream cheese-based cake, it's definitely creamy. The photo below should give you an idea of its texture.
Please don't. Whole-milk ricotta makes the cake creamy and flavorful. Reduced-fat ricotta lacks flavor and creaminess.
Yes. Sweeteners that work in this recipe include sugar, granulated sugar-free sweeteners, and stevia. I tried making this cake with honey, and it wasn't as good. I also don't recommend using coconut sugar. It won't dissolve well, and the cake will have a grainy mouthfeel.
You can store this cake in a sealed container in the fridge for 3-4 days. Place it on paper towels to absorb moisture and replace them daily. This cake improves after a day or two in the fridge. The paper towels absorb the extra liquid, making it creamier.
Remove the cake from the fridge about an hour before serving it to allow it to reach room temperature.
Serving Suggestions
This cake is perfect as is. If you'd like to top it, here are a few ideas:
- Keto whipped cream
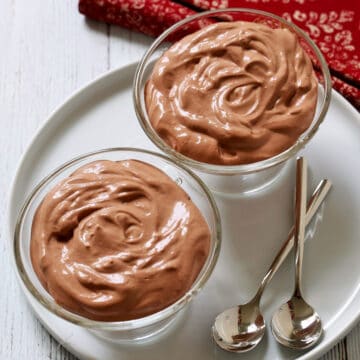
- Chocolate whipped cream
- Blueberry compote
- Strawberry compote
- A drizzle of warmed chocolate hazelnut spread
- Fresh berries
Recipe Card
Ricotta Cheesecake Recipe
Video
Ingredients
- 1 tablespoon butter - melted, for the baking dish
- 30 ounces whole milk ricotta cheese - room temperature, not reduced-fat
- 1 teaspoon stevia glycerite - or ⅔ cup of white sugar - see notes below
- 2 teaspoons vanilla extract
- 2 tablespoons cornstarch
- 1 tablespoon lemon zest
- 4 large eggs - room temperature
Instructions
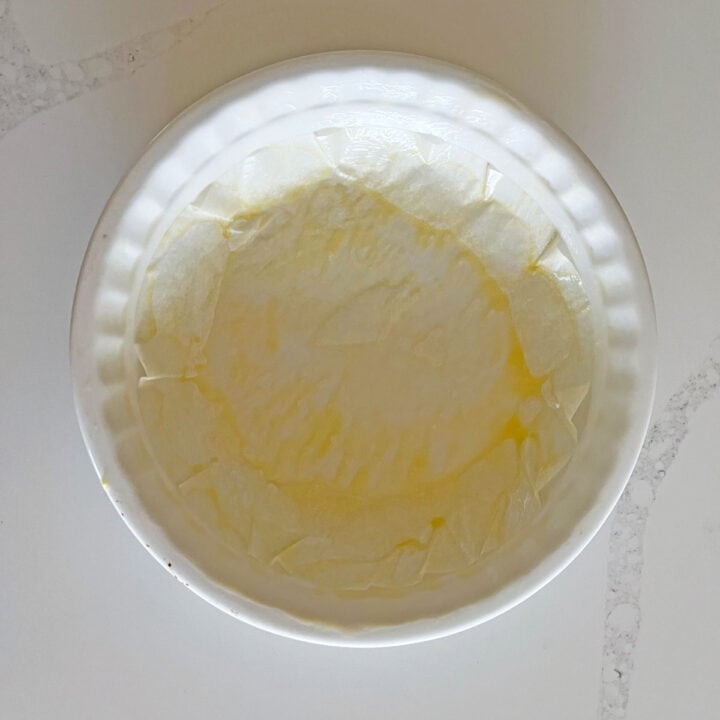
- Preheat the oven to 350°F. Brush a 9-inch pie plate with half the butter. Cover the bottom with a parchment paper circle and brush it with the remaining butter.1 tablespoon butter

- In a medium mixing bowl, whisk the ricotta, sweetener, vanilla, cornstarch, and lemon zest.30 ounces whole milk ricotta cheese, 1 teaspoon stevia glycerite, 2 teaspoons vanilla extract, 2 tablespoons cornstarch, 1 tablespoon lemon zest

- Add the eggs and whisk just until combined. Don't overmix.4 large eggs
- Pour the batter into the prepared pie plate. Bake until the cake is set, about 45 minutes. When done, the sides will be puffed and browned. The center will be firm to the touch but jiggly underneath.
- Cool the cake for 2 hours in the pan on a cooling rack, then refrigerate it for at least 2 more hours, preferably overnight.
- Slice the cake. Place the slices on paper towels to absorb any extra moisture.


Notes
- Sweetness is a personal preference. Use this recipe as a guide and adjust to taste.
- The lemon zest is a must. Sometimes, it's optional, but not in this recipe.
- Add the eggs at the end, and don't overmix the batter. You don't want to introduce too much air into the batter.
- All ingredients should be at room temperature, so remove them from the fridge 2 hours before you start making the cake.
- The batter will reach the top of the baking dish, so make sure to grease the sides all the way to the top.
- The nutrition info assumes that stevia was used.
- Store the leftovers in a sealed container in the fridge for 3-4 days on paper towels to absorb moisture. Replace the paper towels daily - they will become soaked. The cake improves after a day or two in the fridge. The paper towels absorb extra liquid, making the mixture creamier.
- Sweeteners that work in this recipe include granulated sugar, granulated sugar-free sweeteners, and stevia. I don't recommend using honey (or any liquid sweetener other than stevia) or coconut sugar.
- Plan ahead: Like all cheesecakes, this cake needs time to chill and set after it's baked, so plan accordingly. If you need it by the evening, you'll need to start making it in the morning or the day before.
Nutrition per Serving
Save this Recipe!
We will also add you to our weekly newsletter. Unsubscribe anytime. See healthyrecipesblogs.com/privacy/ to learn how we use your email.
Disclaimers
Most recipes are low-carb and gluten-free, but some are not. Recommended products are not guaranteed to be gluten-free. Nutrition info is approximate - please verify it. The carb count excludes non-nutritive sweeteners. Please read these Terms of Use before using any of my recipes.

cheryl says
Such a great recipe. Thanks!
Vered DeLeeuw says
You're very welcome, cheryl! Thank you very much for the review.
Valerie says
Do you need to drain the ricotta in cheese cloth first?
Vered DeLeeuw says
Hi Valerie,
I don't drain it.
Suzy g says
Came out perfect! I used stevia with allulose for the sweetner.
Vered DeLeeuw says
Wonderful! Glad you enjoyed this cake, Suzy. Thank you very much for the review.
Beth R says
I had my doubts about this recipe but it turned out great and my guests really liked it. My experience as follows: I used recommended amount of sugar and it was not overly sweet at all. I was too impatient to wait for room temp ingredients but it didn't seem to matter. I used a slightly higher oven 365°and after 45 min, it was still too jiggly for my taste so I set an additional 10 minutes and it was just right. Most importantly, I used the parchment paper (cut to size) as instructed (and worried how that was going to work when cutting the pieces but it was perfect. Also, did not need paper towels. I served it with no sugar added strawberry compote and whipped cream. I would totally make it again.
Vered DeLeeuw says
I'm so glad this was a success, Beth! Thank you very much for the detailed review.
Diane Mason says
Recipe appears to be delicious. However, trying to figure-out, after baking, how paper towels can be placed to absorb water from spingform or pie pan without damaging a whole cheesecake. Have searched "perforated" and other pans; but still have same delima of water buildup until sliced and wrapping each prior to serving as a formal dessert for a dinner party. Please advise.
Vered DeLeeuw says
Hi Diane,
I'm not sure. I never tried that. I typically let cheesecakes cool completely in the fridge before slicing without removing any moisture from the bottom while the cake is whole.
Susan says
Is that stevia in the recipe liquid or powder?
Vered DeLeeuw says
Hi Susan,
It's liquid. Here's a link to the product I use.