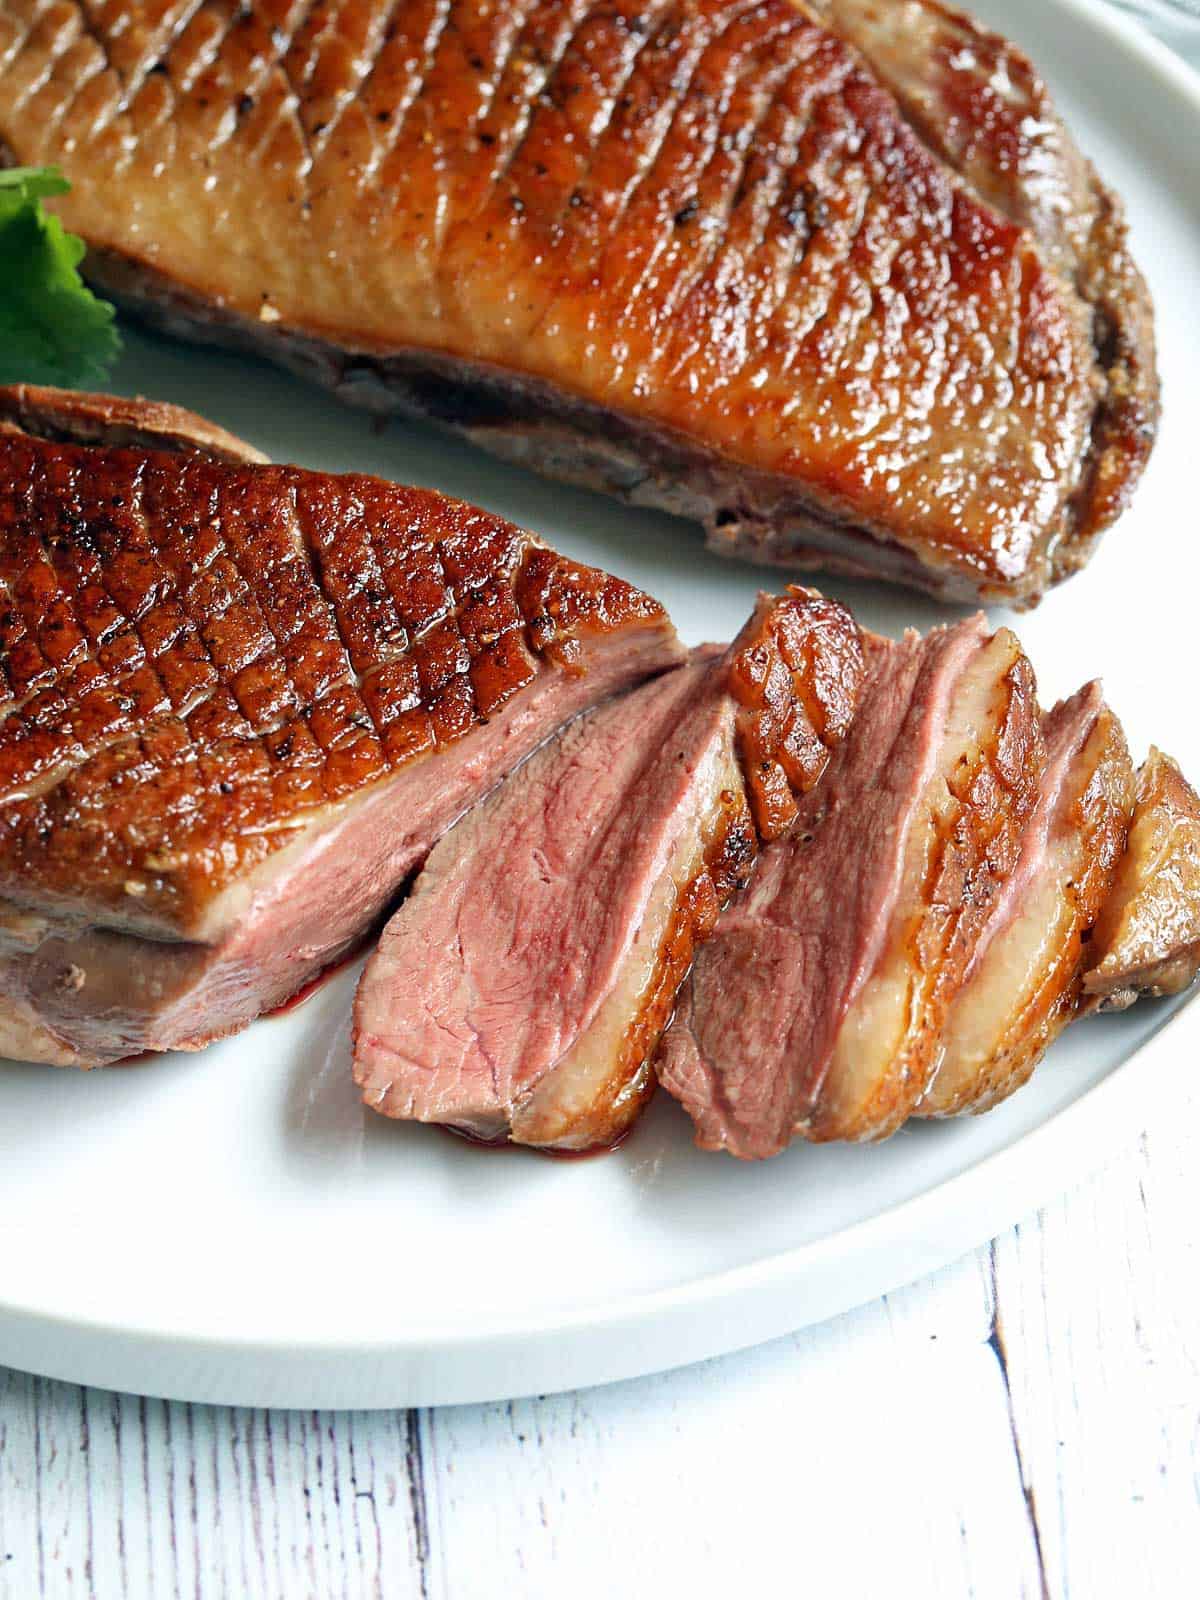
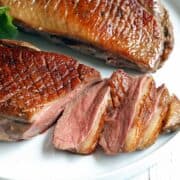
With beautifully browned skin, a nice layer of fat, and juicy meat, pan-seared duck breast is a restaurant-level delicacy that's surprisingly easy to cook at home.
Seared duck breast is one of those entrees you typically find on fancy restaurant menus, and you would think it was a complex recipe. However, cooking duck breast in a skillet is easy and takes just under an hour. I don't usually add a sauce, as I prefer to enjoy the duck's flavor - it's fatty and marvelous and deserves my full attention. But if you'd like a sauce, I include that option, too.
Ingredients
See the recipe card for exact measurements. Here are my comments on some of the ingredients.
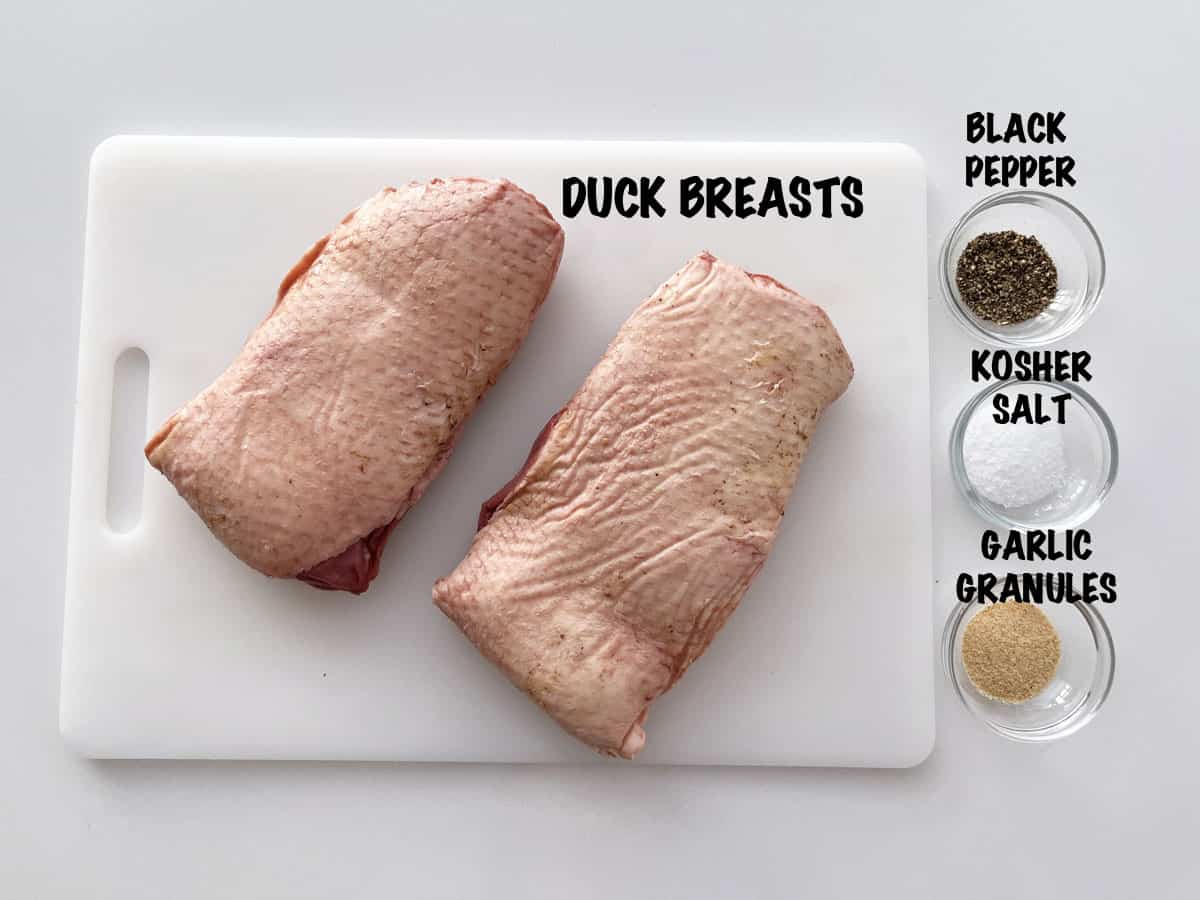
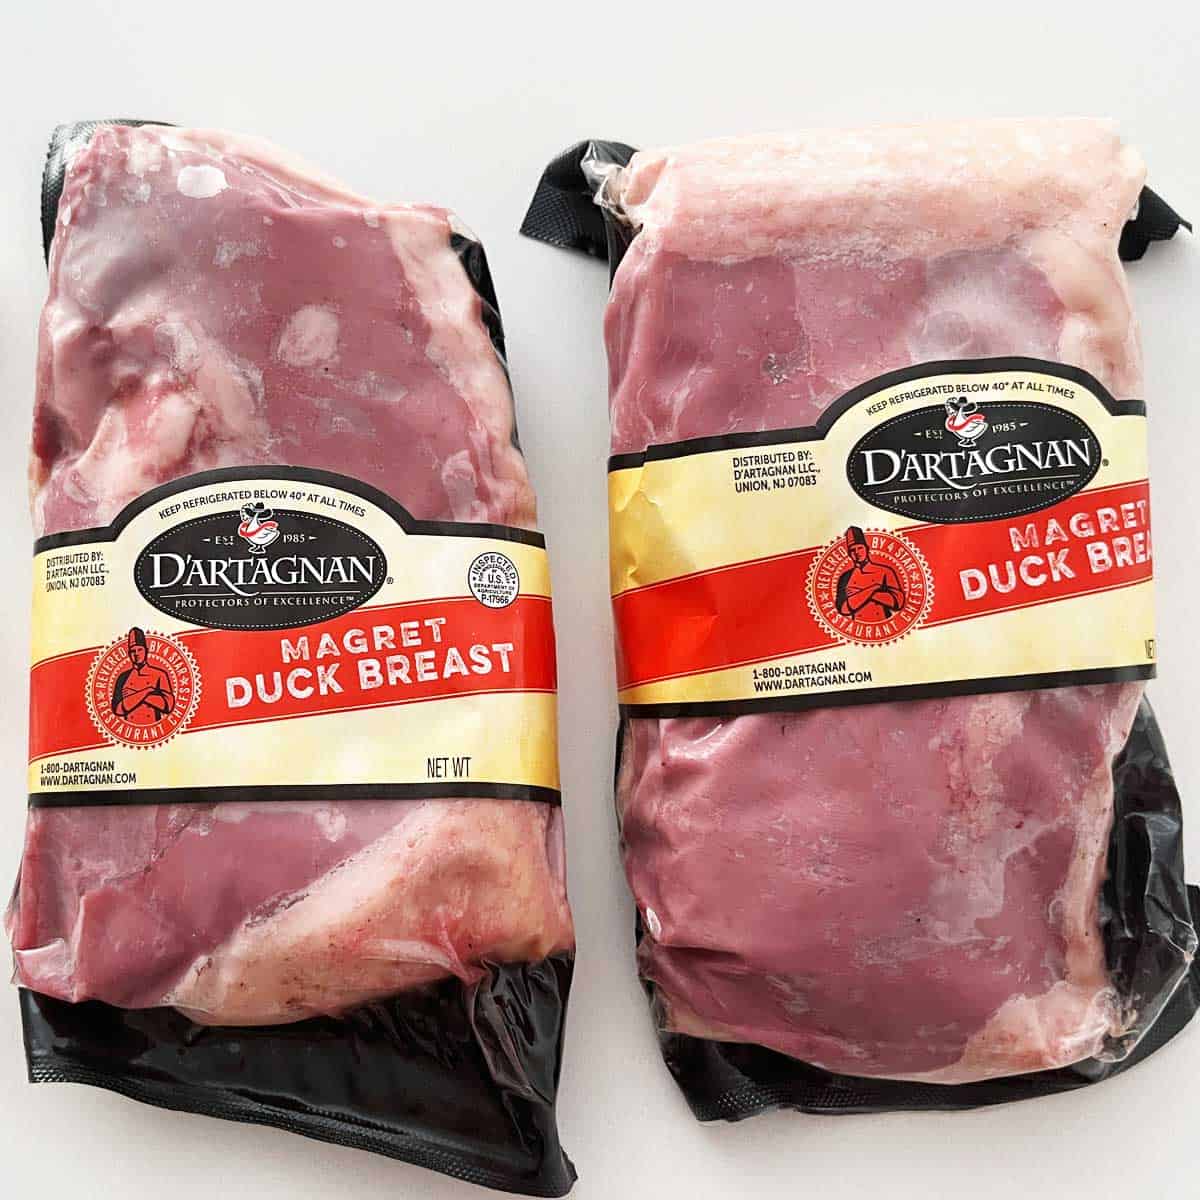
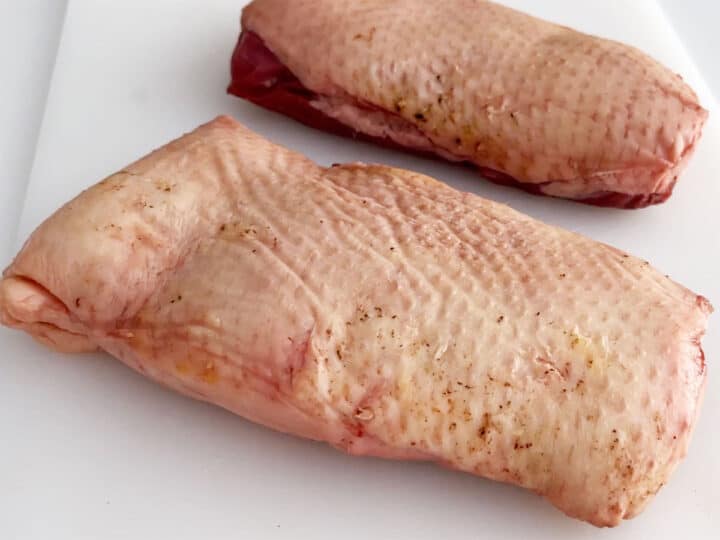
Duck breasts: I make this recipe for two, so I use two of them. You can order them online, or if you're lucky like me and your supermarket carries them, you should be able to find them at the butcher's counter. This is the brand I use:
To season: Kosher salt, black pepper, and garlic powder. The addition of garlic is nontraditional, but since I don't typically add sauce, the garlic enhances the flavor of the meat.
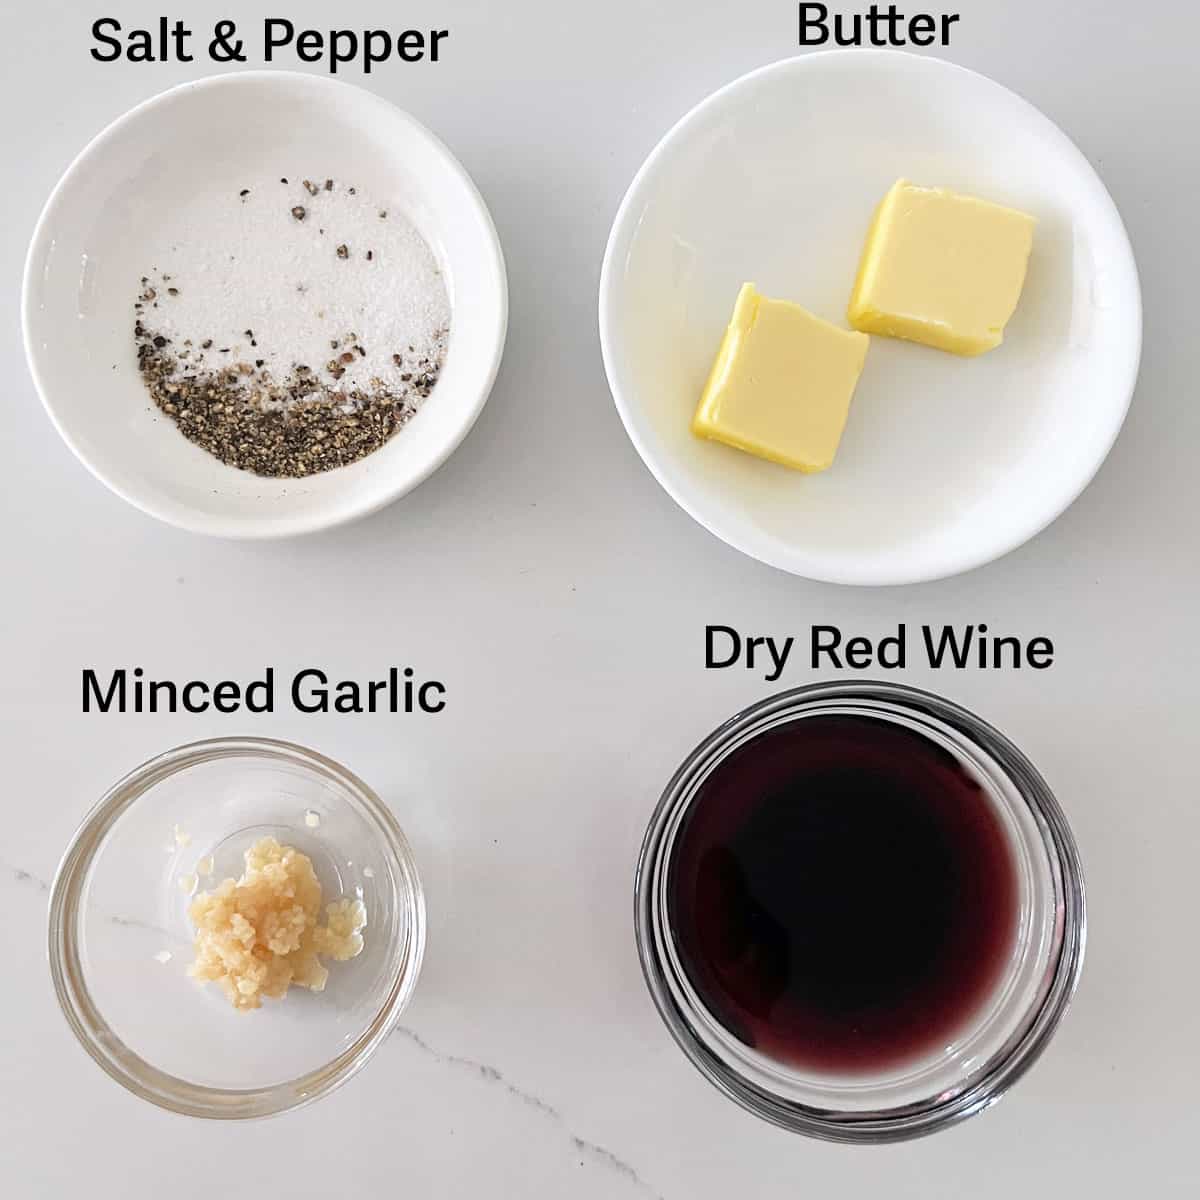
For the optional wine sauce: Dry red wine, salt and pepper, minced garlic, and unsalted butter.
Instructions
The detailed instructions and step-by-step photos are included in the recipe card. Here's a quick overview.
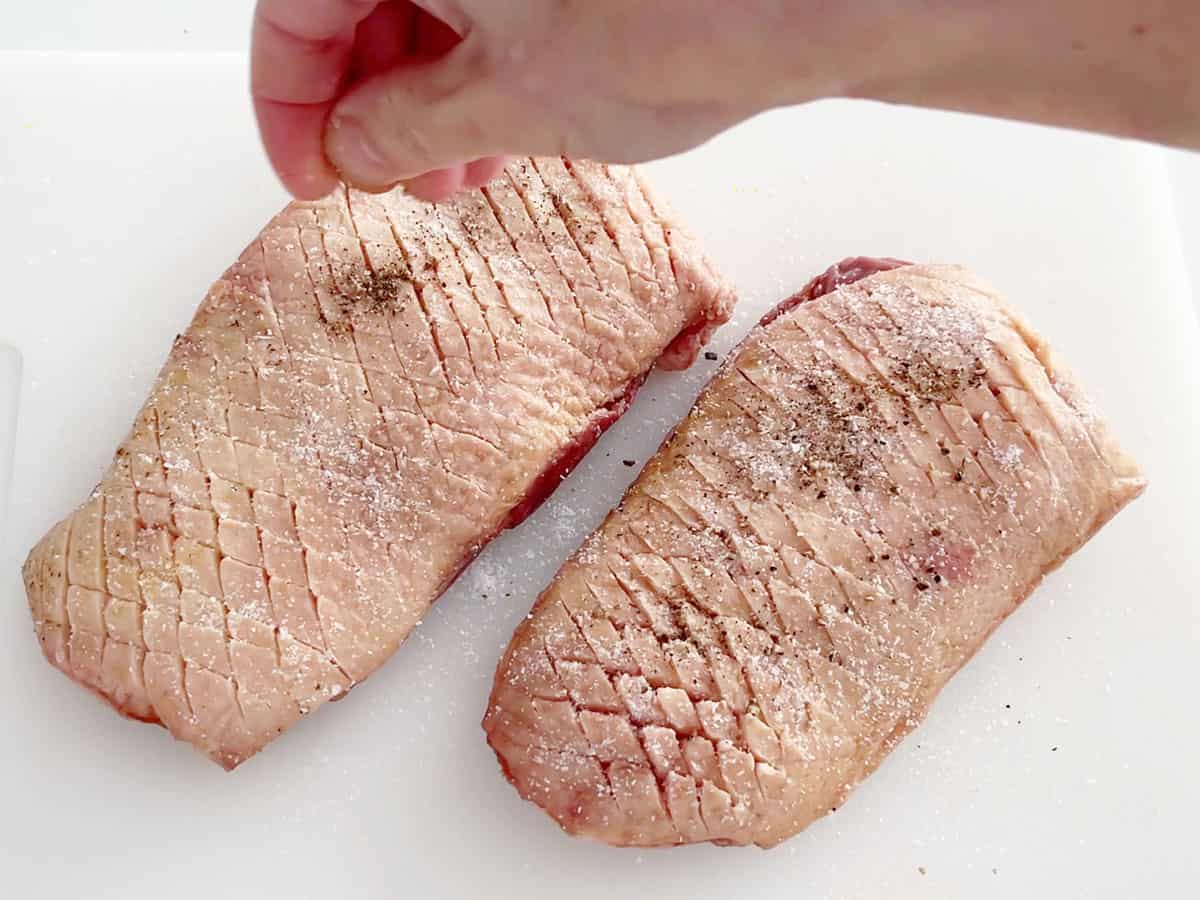
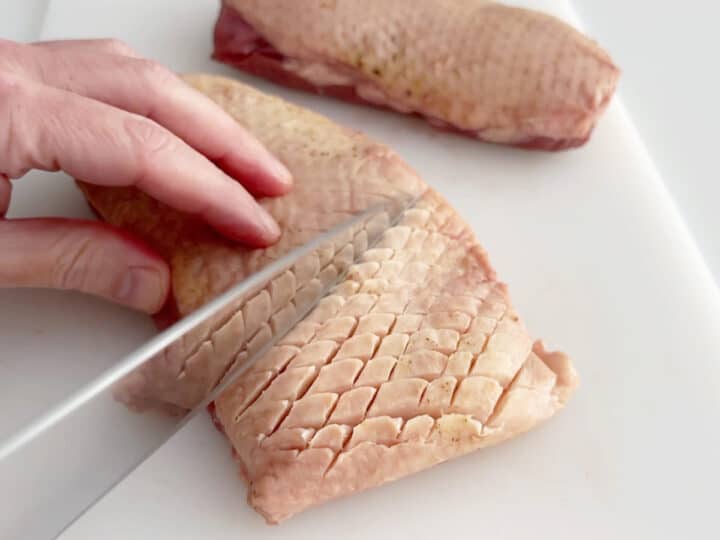
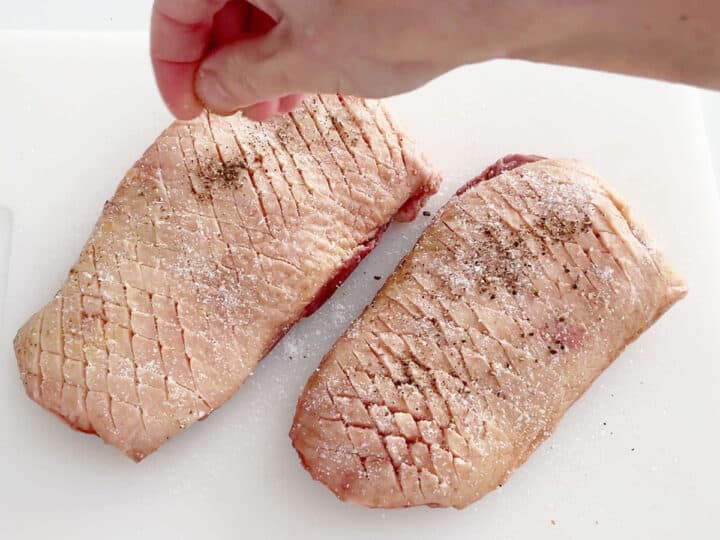
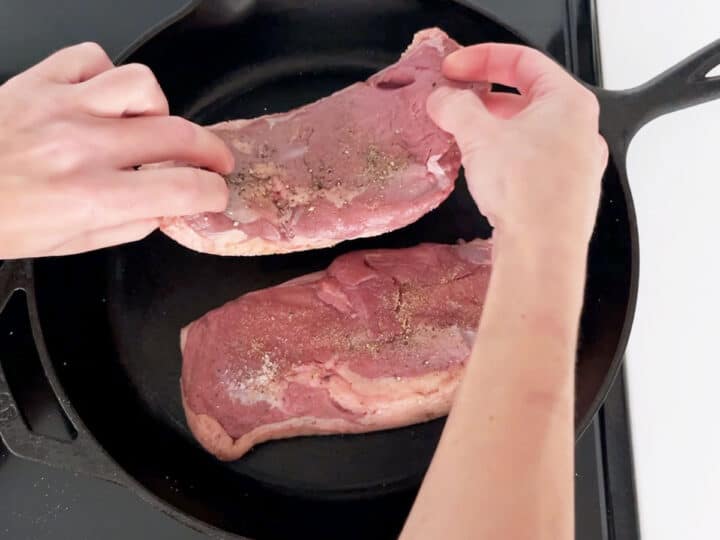
Score the skin with a sharp knife in a tight but shallow diamond pattern. Season the duck breasts on both sides.
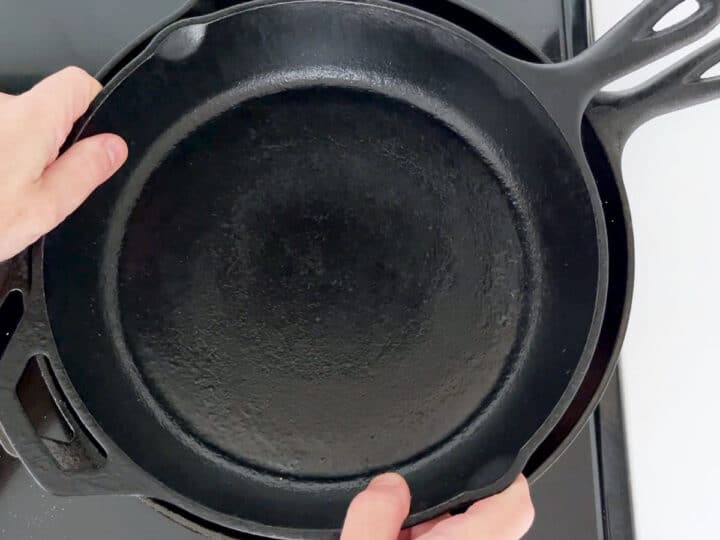
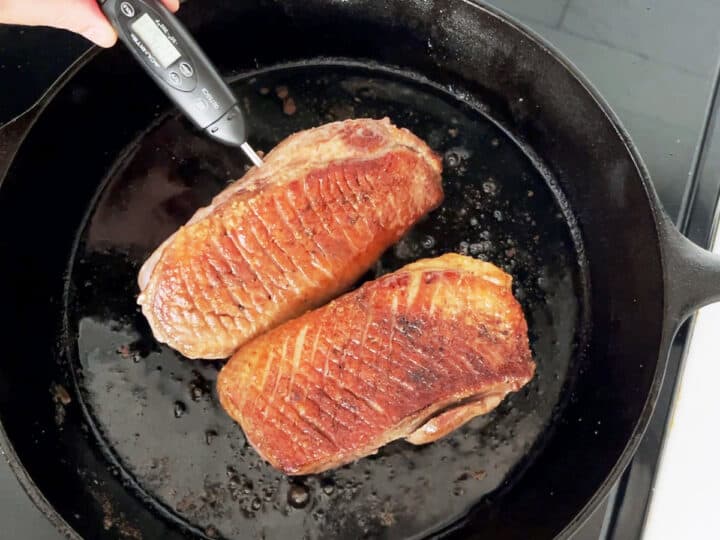
Place them in a cold cast-iron skillet. Cook them over medium-low heat until the skin is browned, for about 15 minutes. Flip and cook them for about 2 minutes on the other side. Then, cook the edges.

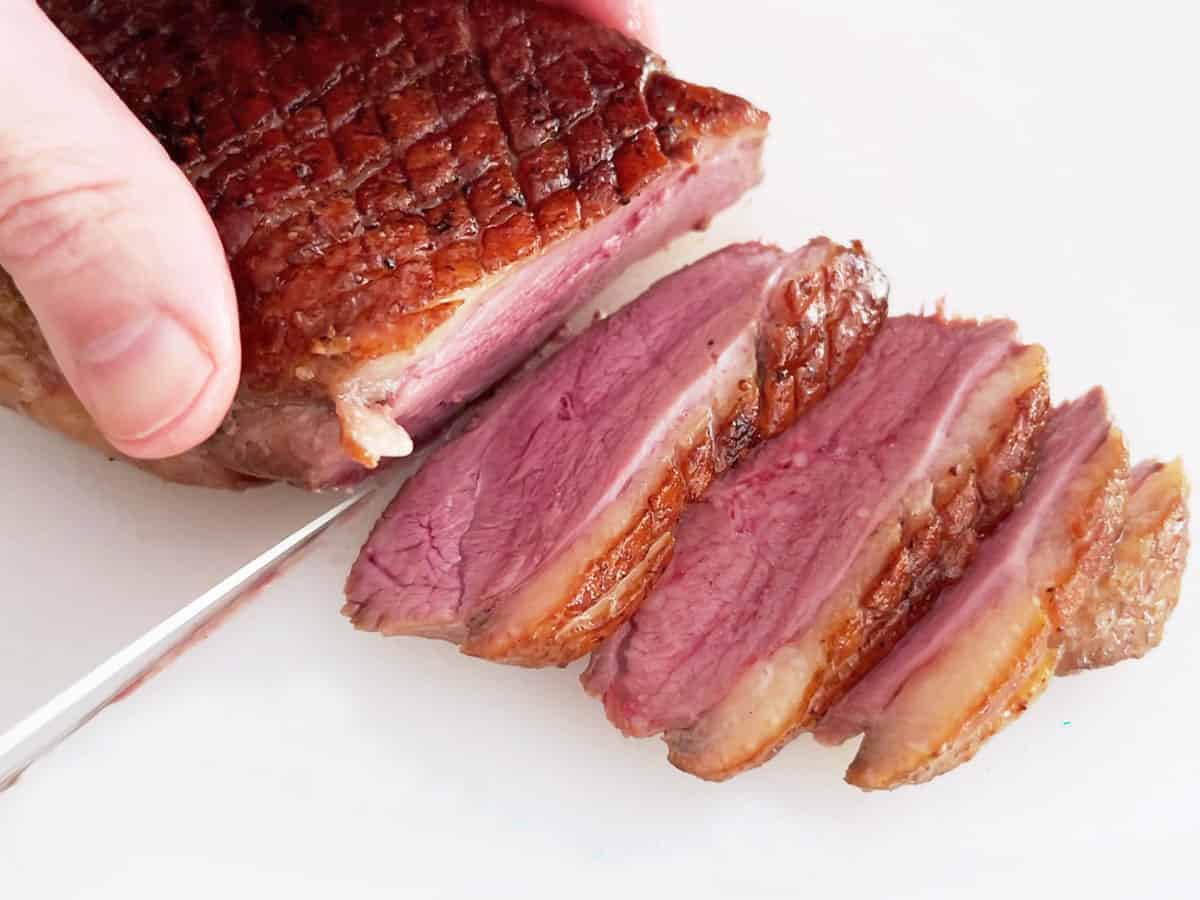
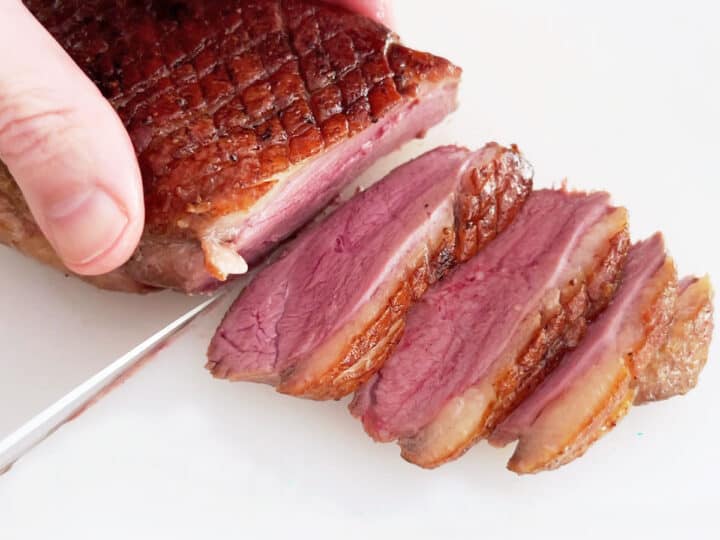
Check the temperature with an instant-read thermometer. Remove the duck breasts to a cutting board. Let them rest for 10 minutes, then slice thinly and serve.
Optional Sauce
Here's a simple pan sauce I sometimes make. See the recipe card for exact measurements and detailed instructions.
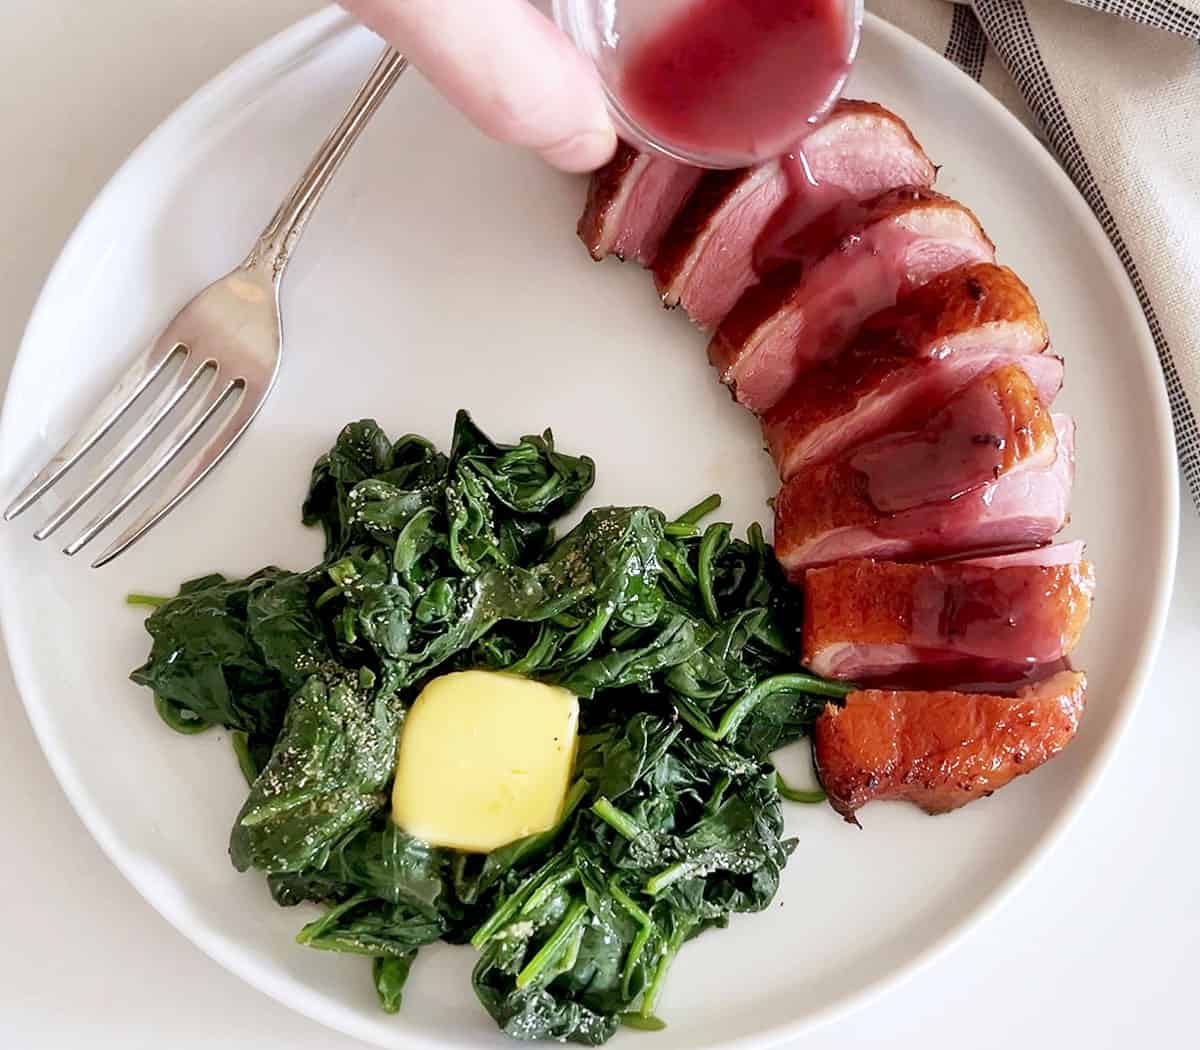
Once the duck is cooked and resting, pour the remaining fat out of the skillet. Add dry red wine and use it to deglaze the pan. Add a minced garlic clove, salt, and pepper. Cook the sauce over medium heat, stirring, to slightly reduce the wine. Add butter and continue cooking until the butter melts and the sauce thickens. Serve the sauce alongside the duck.
At first I was intimidated by this recipe but it was actually very easy, and delicious. Served it to the keto girlfriend with your mashed cauliflower and red wine and she loved it.
Ethan
Read more comments
Recipe Tips
- When scoring the skin, be careful not to nick the flesh. Make a tight but shallow diamond pattern. This will ensure the fat is rendered and the skin crisps up, but some tasty fat remains. The deeper you score, the less fat will remain.
- While cooking, ensure the fat keeps its gentle bubble and adjust the heat accordingly as needed. You don't want the fat to splatter. That would mean the pan is too hot. You also don't want it to go silent - that means the pan is too cold. In other words, this is one of those recipes that requires constant vigilance and monitoring.
- Twice during cooking, carefully pour the rendered fat into a measuring cup, strain it, and save it in the fridge for later use, or discard it in the trash once it's cooled. Don't pour it down the drain - it will clog your sink.
- Storage tips: You can keep the leftovers in an airtight container in the fridge for up to four days. Reheat them gently in the microwave at 50% power or enjoy them cold like cold cuts.
Recipe FAQs
Pekin duck is the most popular breed. It's mild-flavored and has a thick layer of fat. But I typically buy the Moulard duck, a cross between Pekin and Muscovy (a large, lean, and bold-flavored breed). Moulard duck has dark red meat and a nice layer of fat. As I cook it, I make sure to leave some of that tasty fat on.
Scoring the skin ensures the fat will be rendered and the skin will crisp up. Deeper scoring will render more fat, while shallow scoring (my preferred method) will keep more fat on the duck after it's cooked.
There's no need to add oil to the pan. The duck will release plenty of fat as it cooks - so much of it, in fact, that you'll need to periodically pour some of it out.
Starting with a cold pan and cooking the duck on medium-low heat allows the fat to render. If you start with a hot pan, it will seal in the fat, and while that's often a good thing, in this recipe, it's not. You want the fat to slowly render out and crisp up the skin.
Some recipes instruct you to finish cooking this dish in the oven. But the method outlined here, of cooking low and slow, ensures that the duck is evenly cooked, so there's no need for the extra step of placing the skillet in the oven.
Serving Suggestions
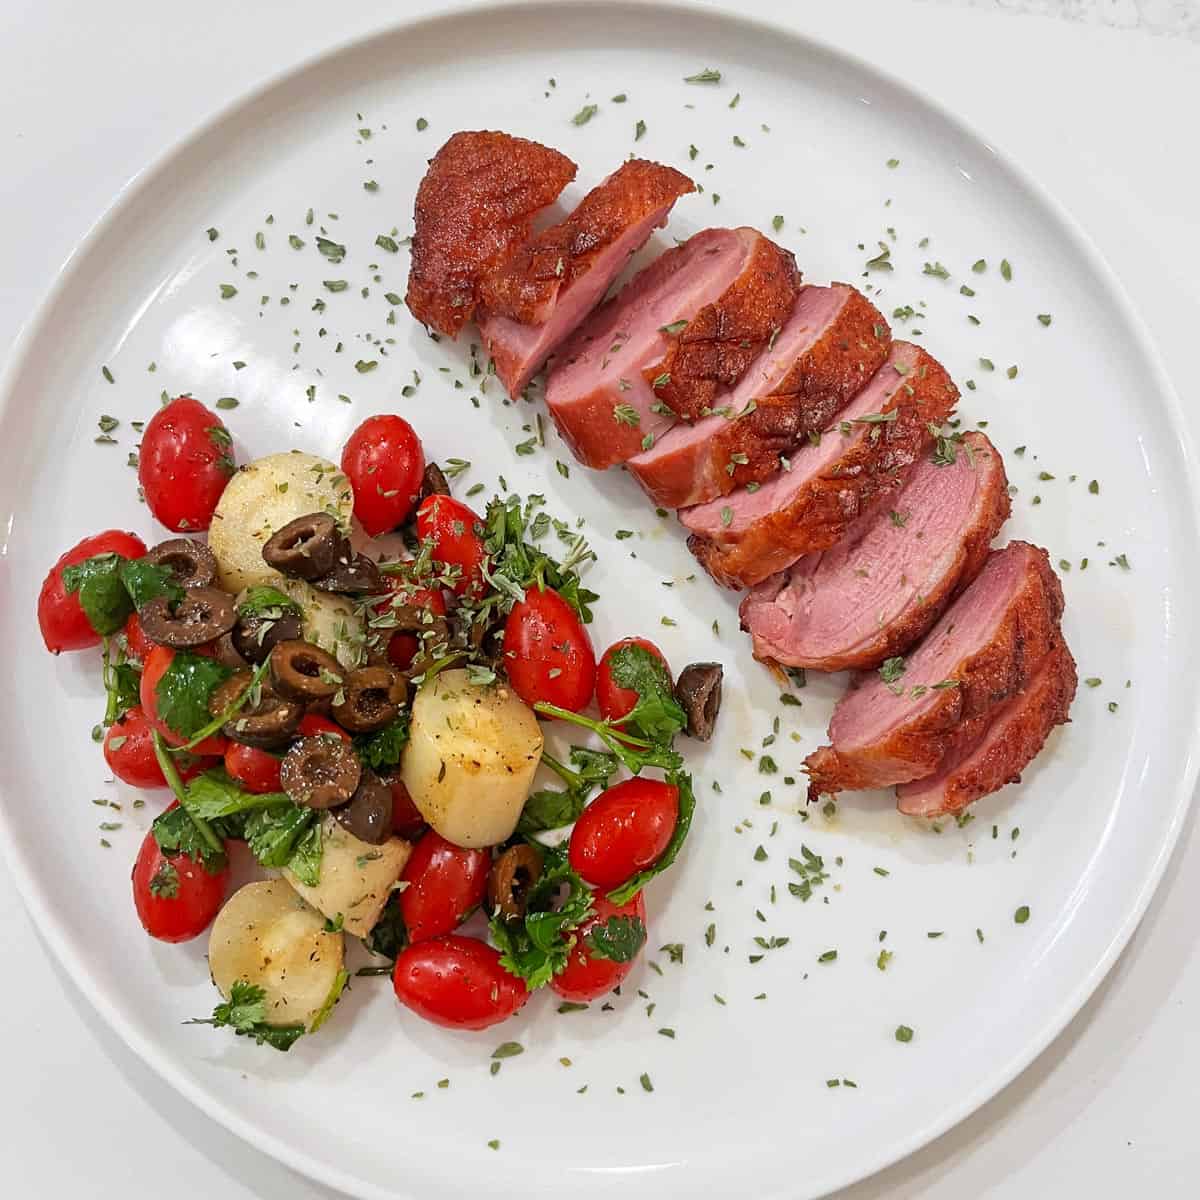
Since this recipe requires constant vigilance to keep the fat at a gentle bubble, I prefer to serve duck breast with a side dish I can make ahead and serve cold. So, I often serve it with one of the following salads:
Last night, as shown in the photo below, I served it with a simple salad of tomatoes, olives, sliced hearts of palm, and cilantro. The dressing consisted of olive oil, balsamic vinegar, salt, and pepper.
Recipe Card
Seared Duck Breast Recipe
Video
Ingredients
- 2 duck breasts - 8 ounces each, boneless, skin-on
- 1 teaspoon Diamond Crystal kosher salt - or ½ teaspoon of any other salt, including Morton kosher salt
- ½ teaspoon black pepper
- ¼ teaspoon garlic powder
For the Optional Sauce:
- 3 tablespoons dry red wine
- Pinch Diamond Crystal kosher salt
- Pinch black pepper
- 1 garlic clove - minced
- 3 tablespoons unsalted butter
Instructions
- Remove the duck breasts from the fridge an hour before cooking. This is not mandatory, but it helps ensure the duck cooks evenly.2 duck breasts

- With a sharp knife, gently score the skin in a tight but shallow diamond pattern, making sure not to nick the flesh. Keeping the cuts shallow will ensure there's some tasty fat left after cooking.
- Season the duck breasts with salt and pepper on both sides. Season the flesh side with garlic powder, too.1 teaspoon Diamond Crystal kosher salt, ½ teaspoon black pepper, ¼ teaspoon garlic powder
- Place the duck pieces, skin side down, in a large, cold skillet. I use a cast-iron skillet. There's no need to add oil to the pan. The duck will release plenty of fat as it cooks.
- Place a heavy, smaller skillet on top. This will help prevent the edges from curling and ensure the skin has full contact with the pan's surface.
- Heat the pan over medium-low heat. After about 5 minutes, the fat should begin to render and gently bubble. Ensure the fat keeps its gentle bubble and adjust the heat accordingly. You don't want the fat to splatter, as that would mean the pan is too hot. But you also don't want it to go silent, because that would mean the pan is too cold.
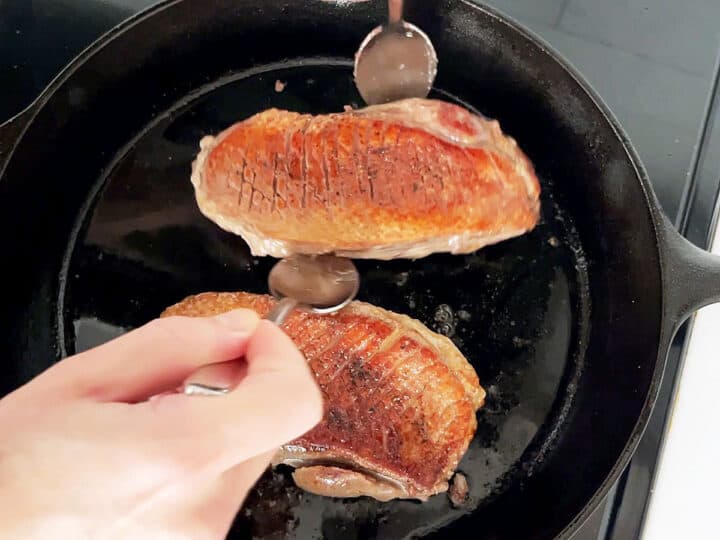
- Cook the duck over medium-low heat until the skin is browned, about 15 minutes. Pour out the excess rendered fat 2-3 times throughout cooking. (See notes).
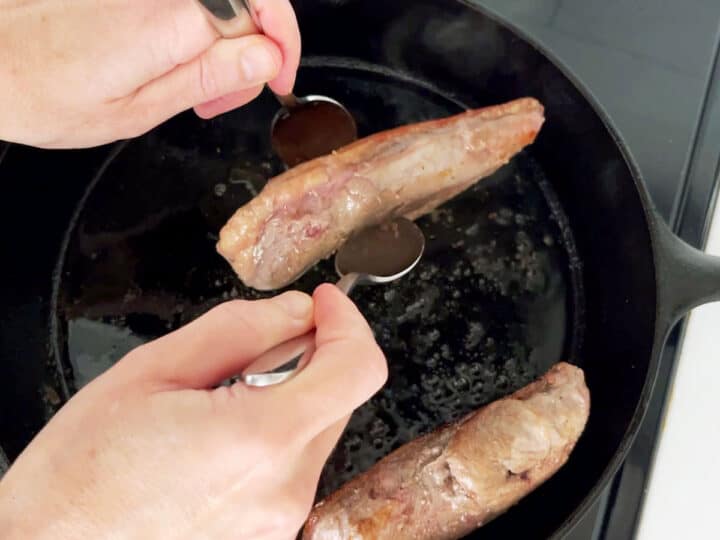
- Flip the duck pieces and cook the flesh side for 2 minutes, then cook the edges for about 30 seconds each.
- Using an instant-read thermometer, check the internal temperature. For medium-rare, it should read 130°F. For medium, it should read 140°F.
- Remove the duck from the pan and let it rest for ten minutes before slicing and serving.
Optional Sauce:
- Once the duck is cooked and resting, pour the remaining fat out of the skillet. Add 3 tablespoons of dry red wine, increase the heat to medium, and use the wine to deglaze the bottom of the pan.3 tablespoons dry red wine

- Add salt and pepper to taste (I add a pinch of each) and one minced garlic clove. Cook over medium heat, stirring, for about 2 minutes to slightly reduce the wine and cook the garlic.Pinch Diamond Crystal kosher salt, Pinch black pepper, 1 garlic clove
- Add 3 tablespoons of unsalted butter and continue cooking for about 2 more minutes until the butter melts and the sauce thickens. Don't let the sauce boil to prevent it from separating - reduce the heat to medium-low or even low if needed.3 tablespoons unsalted butter
- Serve the sauce alongside the sliced duck.


Notes
- Seasonings, especially salt, are guidelines. Adjust to taste.
- Pour the rendered fat into a measuring cup, strain it, and save it in the fridge for later use, or discard it in the trash once it's cooled off. Don't pour it down the drain! It will clog your sink.
- The nutrition info is approximate and based on calorieking.com. It does not include the optional sauce.
- The USDA recommends cooking duck to an internal temperature of 165°F.
- You can keep the leftovers in an airtight container in the fridge for up to 4 days. Reheat them gently in the microwave at 50% power.
Nutrition per Serving
Save this Recipe!
We will also add you to our weekly newsletter. Unsubscribe anytime. See healthyrecipesblogs.com/privacy/ to learn how we use your email.
Disclaimers
Most recipes are low-carb and gluten-free, but some are not. Recommended products are not guaranteed to be gluten-free. Nutrition info is approximate - please verify it. The carb count excludes non-nutritive sweeteners. Please read these Terms of Use before using any of my recipes.


Kat says
I love how simple you went with the seasoning and I really appreciate your detailed explanation of why each step matters.
Vered DeLeeuw says
Thank you so much, Kat!
Lewis says
Wow - this tasted like something from a restaurant.
Vered DeLeeuw says
I'm so glad you liked it, Lewis! Thank you very much for taking the time to leave a review.
Elizabeth says
Great!
Vered DeLeeuw says
Glad you liked it, Elizabeth! Thank you for the review.
Ethan says
At first I was intimidated by this recipe but it was actually very easy, and delicious. Served it to the keto girlfriend with your mashed cauliflower and red wine and she loved it.
Vered DeLeeuw says
I'm so glad this recipe was a success, Ethan! Thanks for the review and for sharing how you served it. Sounds delicious!