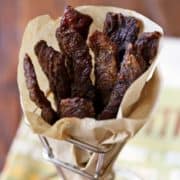
I love this simple recipe for flavorful, sugar-free keto beef jerky that you make in your oven. There's no need to marinate the beef! The spice mix and slow cooking are responsible for the jerky's great texture and amazing flavor.
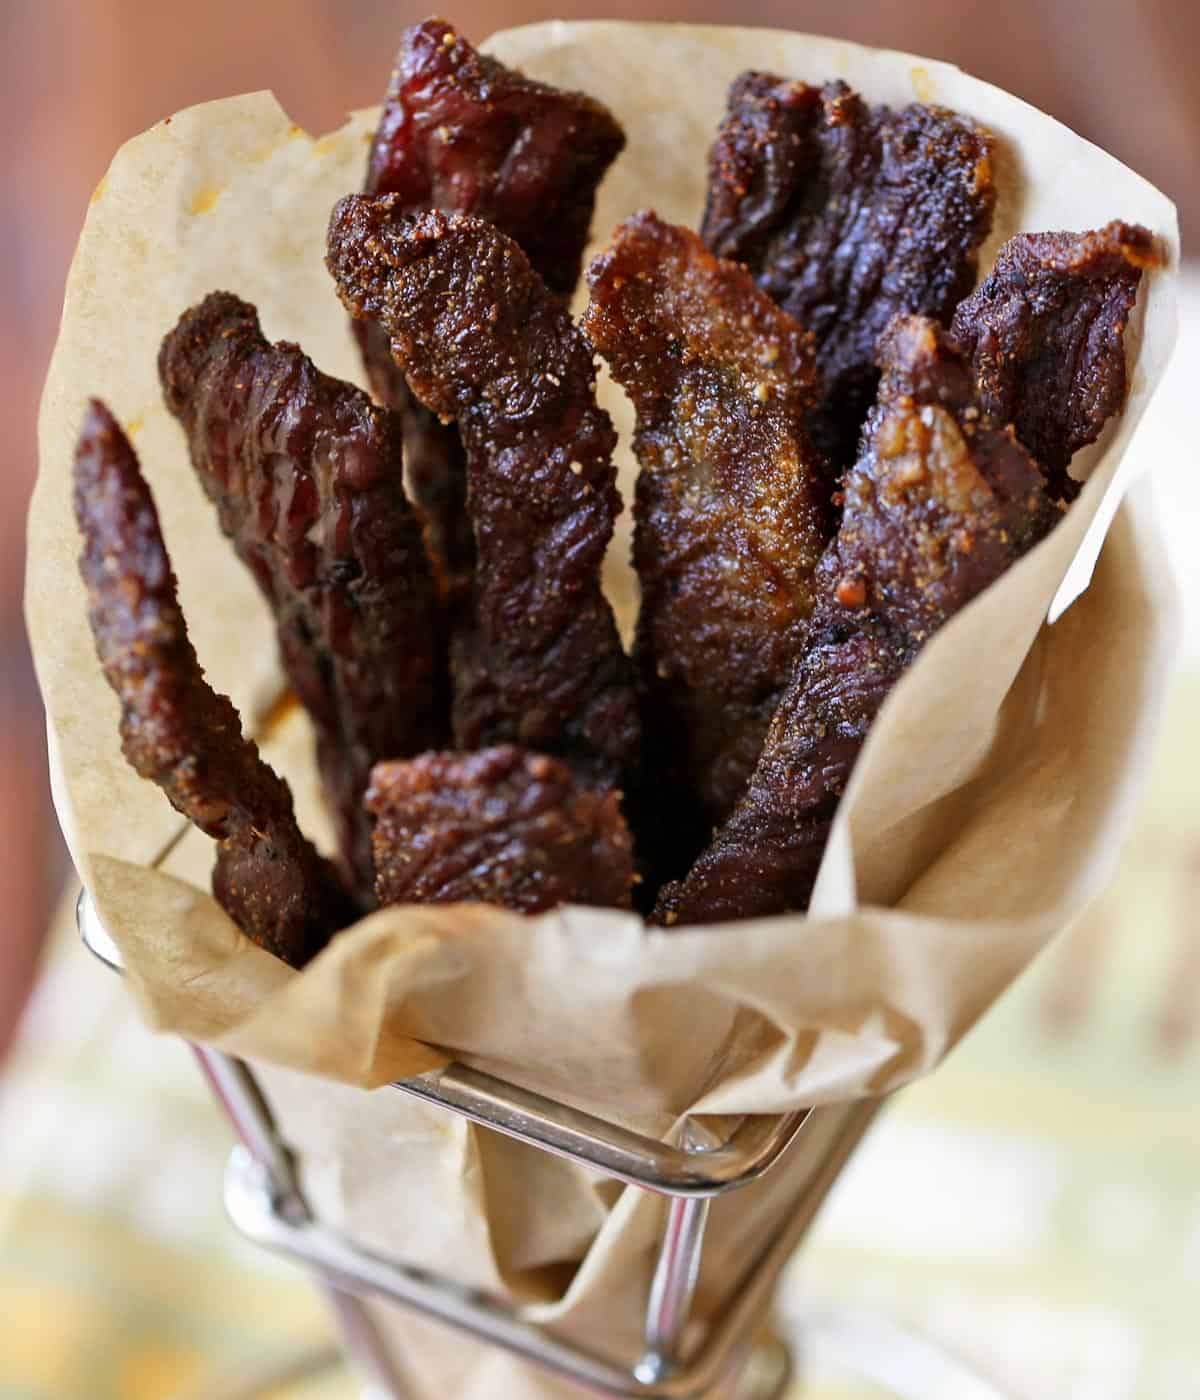
Jerky is delicious and filling, but it's difficult to find commercial brands not made with lots of sugar. This homemade recipe is chewier and tastier than many commercial versions and is made with no sugar. Apart from thinly slicing the beef, it's quite easy to make. It's a simple recipe, made with just a few basic ingredients. Ever since I learned how to make it, I rarely buy commercial jerky.
Ingredients
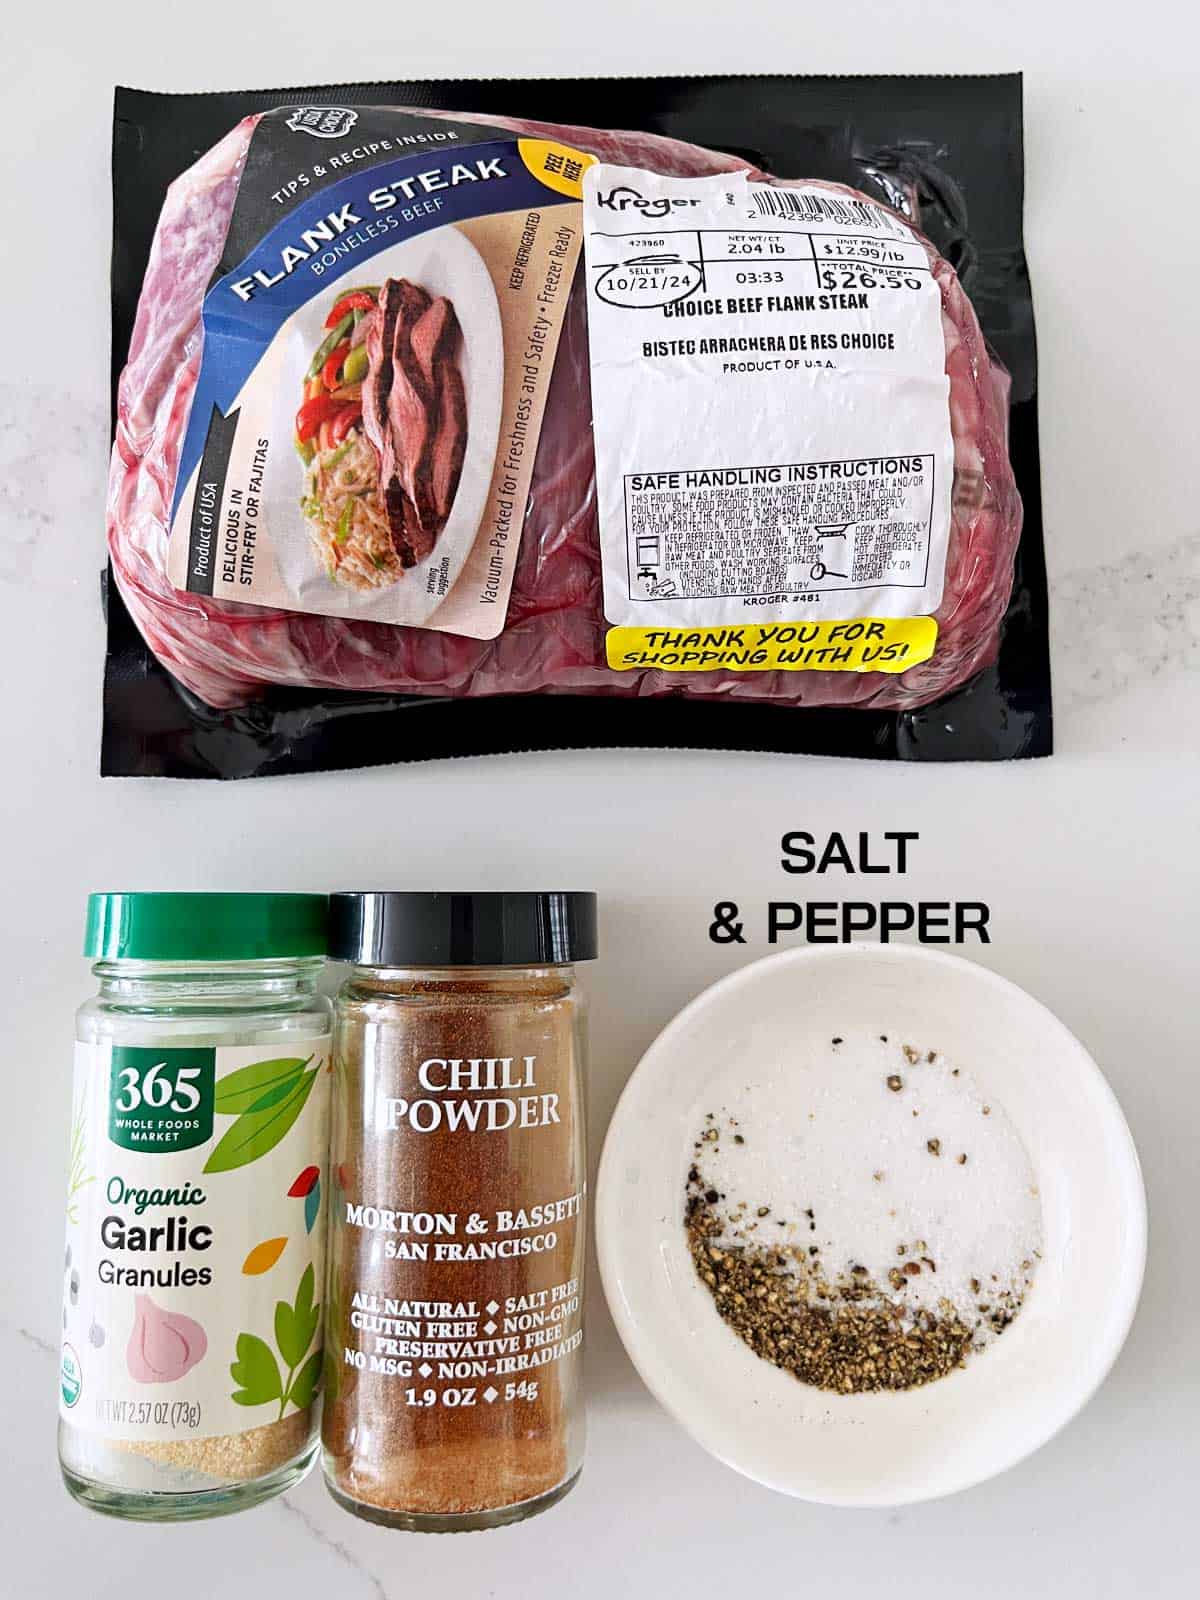
See the recipe card for exact measurements. Here are my comments on the ingredients.
Flank steak: This is a tough cut, but it has a great beefy flavor. Slow cooking tenderizes it, and as explained in more detail below, it's also important to slice it against the grain.
To season: Kosher salt, black pepper, garlic powder, and chili powder.
Instructions
The detailed instructions and step-by-step photos are included in the recipe card. Here's a quick overview.
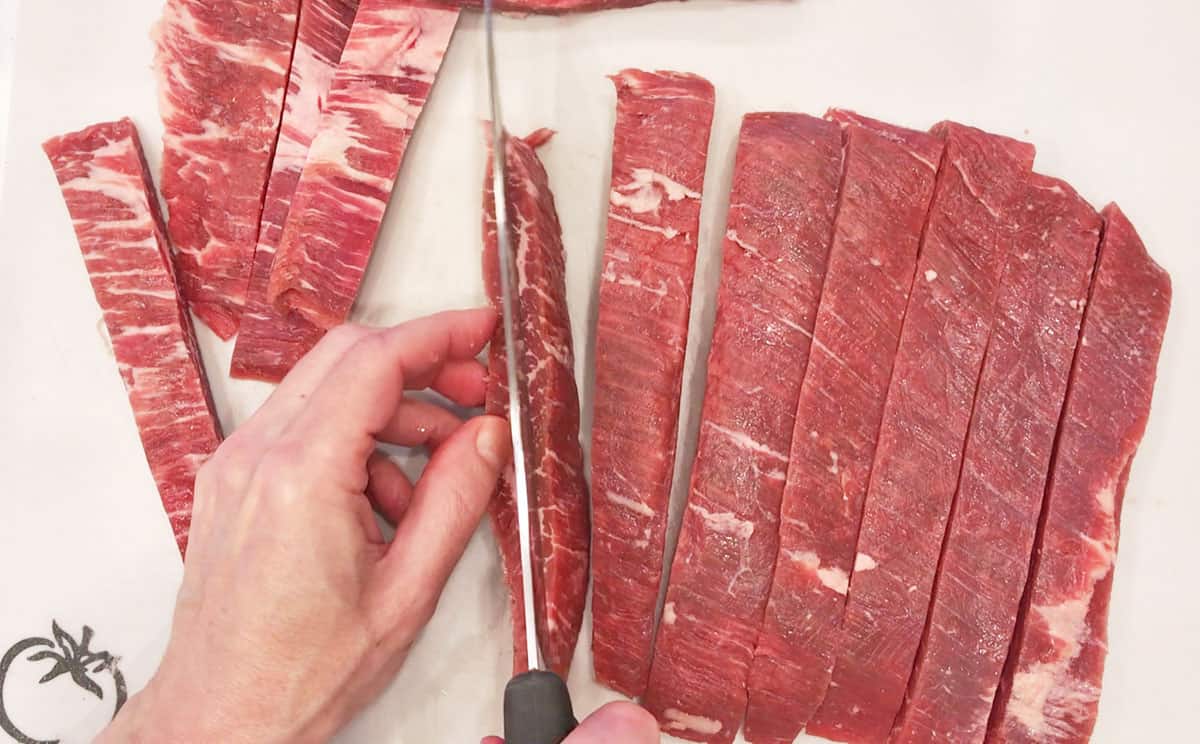
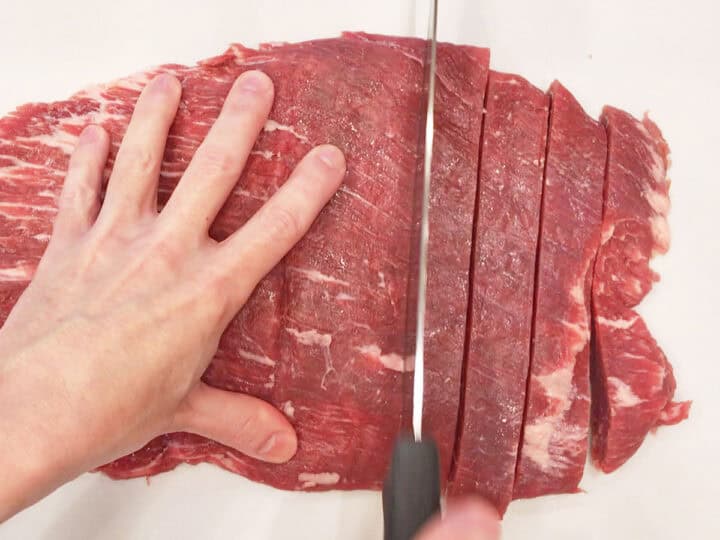
Slice the beef thinly against the grain. Once you have your slices, they're probably a bit too thick for jerky. So, take each one and slice it lengthwise in half into a thinner strip, as shown in the photo below. This is much easier to do with partially frozen meat.
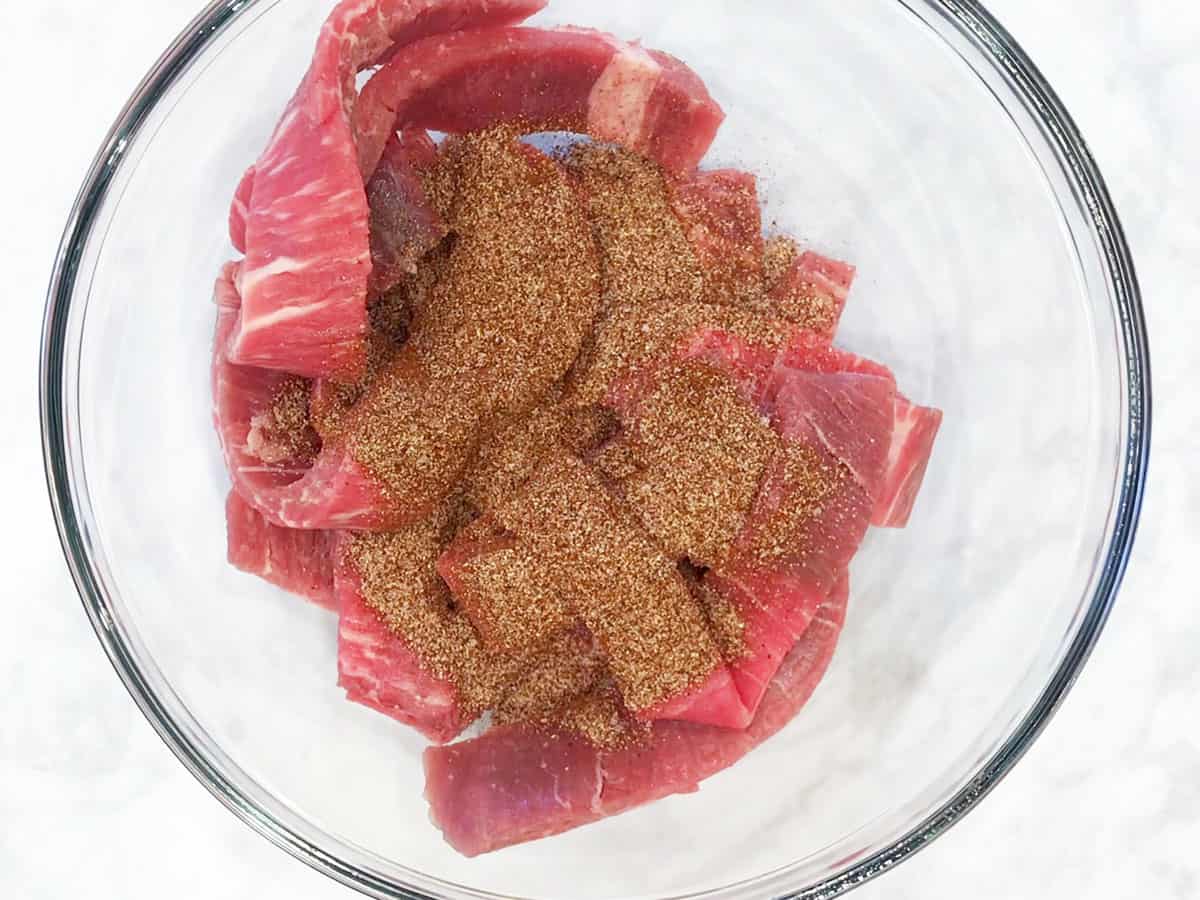
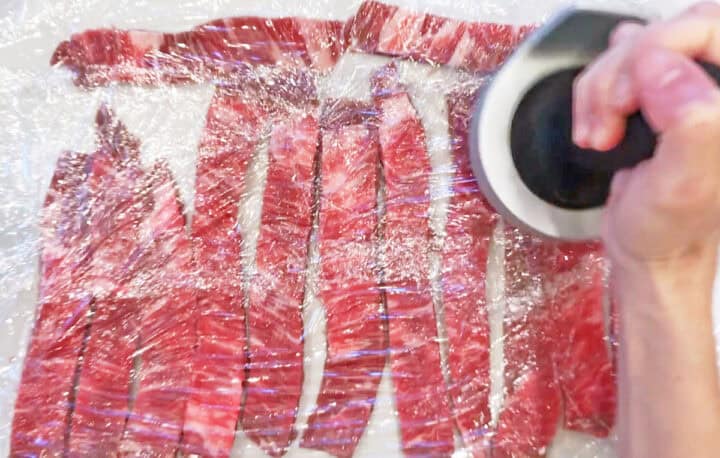
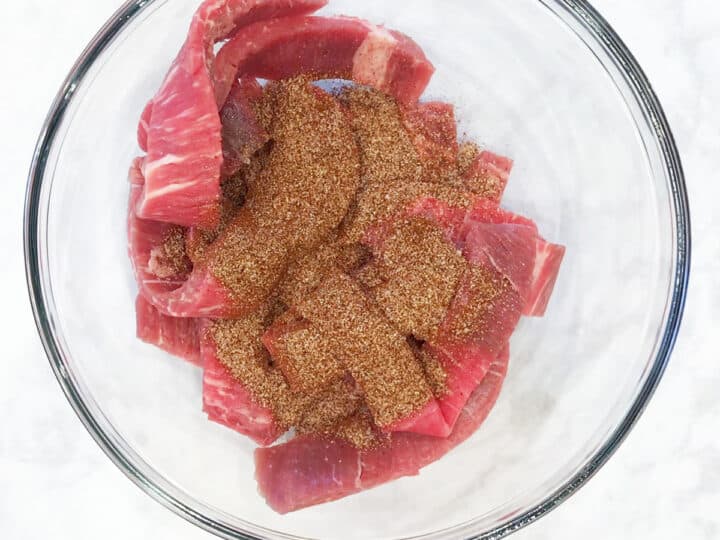
Assuming your meat was partially frozen, let the slices rest for a bit - around 15 minutes - and soften. Then, cover the meat strips with cling wrap and use a meat pounder to pound the meat strips thin. Toss them with salt, pepper, and spices.
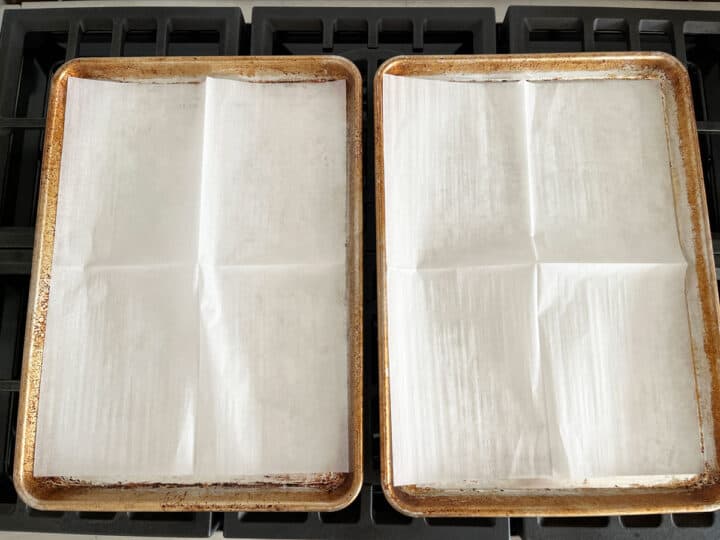
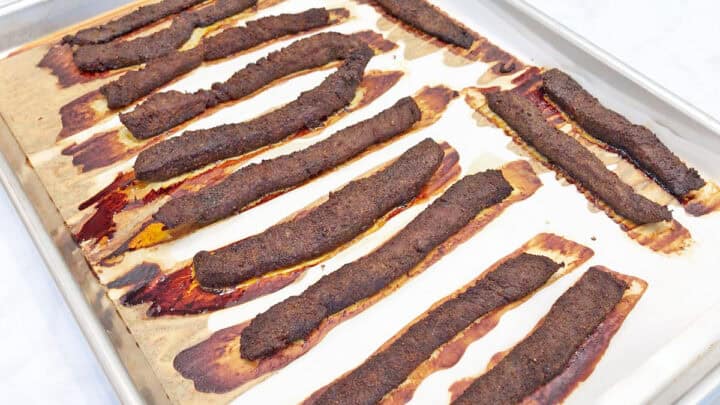
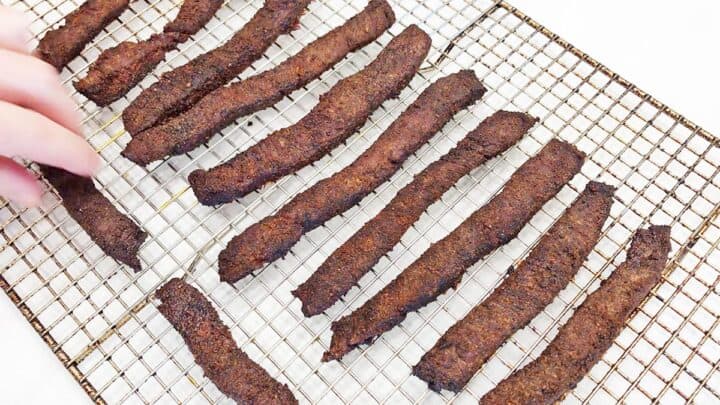
Arrange the seasoned beef slices on two parchment-lined rimmed baking sheets. Bake them for 3 hours at 225°F, then cool them for around 30 minutes on cooling racks.

I added a teaspoon of onion powder and a generous pinch of cayenne pepper. This jerky is so good! I like it better than store-bough jerky, because it's not as dry. I just wish it was shelf-stable, but I get why it isn't.
Roberta
Read more comments
Recipe Tips
Slice it Partially Frozen
Slicing each meat strip lengthwise into a thinner strip is quite challenging unless your meat is partially frozen. That's why I use frozen meat when making this recipe. I let it partially defrost in the fridge overnight.
Typically, after 12 hours, it's not yet fully defrosted, but it's pliable enough that I can unfold the steak, slice it into strips, and then - quite easily - slice each of those into two thinner strips.
Before the next step, which is pounding the meat thin, I allow the slices to rest at room temperature for 15 minutes or so, to ensure they are soft enough to be pounded thin.
Slice Against the Grain
Slicing the meat against the grain means finding the direction of the muscle fibers, then slicing against them, not alongside them. Cutting into the muscle fibers makes the meat easier to chew and is important in a tough, fibrous cut like flank steak.
Recipe FAQs
Yes! It totally gives you the pleasurable experience of eating dried, chewy, flavorful beef strips that take a long time to chew.
You don't need a special smoker or dehydrator. You can use your oven on low heat. Granted, the result will be jerky that needs refrigeration since not all the moisture is removed this way. But it also means this homemade jerky tastes better and has a better texture than completely dried-up meat strips.
You could, but it's not mandatory, and I don't. I simply slice it, season it, and then bake it in the oven.
No. There's enough moisture left in it that you should treat it as any cooked meat and keep it refrigerated. When I pack it to go, I use an insulated lunch box with ice packs and consume it within two hours.
You can keep this jerky in an airtight container in the fridge for up to 4 days. Once cooled, you can also freeze this jerky in resealable freezer bags for up to three months. Separate layers with wax paper.
Recipe Card
Sugar-Free Keto Beef Jerky
Video
Ingredients
- 1.5 pounds flank steak - partially frozen
- 1 tablespoon Diamond Crystal kosher salt - or ½ tablespoon of any other salt, including Morton kosher salt
- ½ teaspoon black pepper
- 1 tablespoon garlic powder
- 1 tablespoon chili powder
Instructions
- Preheat the oven to 225°F. Line two large, rimmed baking sheets with parchment paper.

- Unfold the steak and place it on a cutting board. Using a sharp knife, cut the steak crosswise, against the grain (so that you sever the tough, thin fibers you can see on the steak) into 2-inch-wide strips.1.5 pounds flank steak
- You want the strips to be around ⅛-inch thick, so if they are thicker, slice each strip lengthwise into two thinner, ⅛-inch-thick strips. This is easier to do if the meat is partially frozen.

- Allow the meat strips to rest at room temperature for about 15 minutes so that they fully defrost and become more pliable. Then, arrange them in a single layer on a cutting board, cover them with cling wrap, and use a meat pounder to pound them so that they are thinner and more even in thickness.

- Place the beef strips in a large bowl. Add the salt, pepper, garlic powder, and chili powder. Toss with your hands until the meat is thoroughly coated.1 tablespoon Diamond Crystal kosher salt, ½ teaspoon black pepper, 1 tablespoon garlic powder, 1 tablespoon chili powder
- Arrange the meat pieces on the two prepared baking sheets, not touching each other. Bake for 3 hours, rotating the position of the baking sheets midway through baking, until the beef is browned and dry. The smell will be amazing!

- Remove the beef strips to a cooling rack placed on a tray or foil (to catch any drips). Allow them to cool and dry for about 30 minutes before enjoying them.

Notes
Tip: Use partially frozen meat
Slicing each meat strip lengthwise into a thinner strip is challenging unless your meat is partially frozen, so I use frozen meat when making this recipe. I let it partially defrost in the fridge overnight. Typically, after 12 hours, it's not yet fully defrosted, but it's pliable enough that I can unfold the steak, slice it into strips, and then - quite easily - slice each of those into two thinner strips. Before the next step, which is pounding the meat thin, I allow the slices to rest at room temperature for 15 minutes or so, to ensure that they are soft enough to be pounded thin.Storing this jerky
The only drawback to this jerky compared to commercial products is that the final product requires refrigeration. You should keep it in the fridge, in an airtight container, for up to 4 days. When I pack it to go, I use an insulated lunch box with ice packs and consume it within two hours. You can also freeze the cooled jerky in resealable freezer bags for up to three months. Separate layers with wax paper.Nutrition per Serving
Save this Recipe!
We will also add you to our weekly newsletter. Unsubscribe anytime. See healthyrecipesblogs.com/privacy/ to learn how we use your email.
Disclaimers
Most recipes are low-carb and gluten-free, but some are not. Recommended products are not guaranteed to be gluten-free. Nutrition info is approximate - please verify it. The carb count excludes non-nutritive sweeteners. Please read these Terms of Use before using any of my recipes.


Roger says
I made this and it was just great...
Vered DeLeeuw says
Glad you enjoyed it, Roger! I haven't made it in a while. You just inspired me to add flank steak to my shopping list! 🙂
Lauren says
I make this all the time and it’s so delicious and healthy thank you for the recipe!
Vered DeLeeuw says
I'm so glad you like it, Lauren! Thank you very much for the review.
Dawn Bauerle says
What is one serving? 1 oz?
Vered DeLeeuw says
Hi Dawn,
One serving is an eighth of the recipe. It's difficult to determine the exact weight because it will depend on the type of meat you use and how dehydrated it becomes. But you can weigh the entire batch when it's ready to get an idea of what a serving should be in your case.
Flint Putman says
I haven't tried the recipe yet, but I will. I do have a suggestion. Instead of cutting the meat while it is flat, roll it into a cylinder and put into the freezer for 30 minutes. Cut it into 1/4" strips, and you have nice strips that are cut across the grain, and it takes a matter of a few minutes.
Vered DeLeeuw says
Great tip, Flint! Thank you so much.
Kellie says
Good but too salty. Next time I'll try reducing it by at least half.
Vered DeLeeuw says
Glad you liked it, Kellie! Did you use 1/2 tablespoon of salt? A full tablespoon is only for Diamond Crystal Kosher Salt - it has half the sodium per teaspoon of any other salt, including other brands of kosher salt like Morton.
Michele Astone says
How long would these last stored in the freezer ?
Vered DeLeeuw says
Hi Michele,
Like most cooked foods, for up to three months. After that, they won't spoil, but their quality will deteriorate.
Olivia says
If I dehydrate the beef, I'm assuming it would not need to be refrigerated? either way jerky is jerky and I'm excited to give this a go.
Vered DeLeeuw says
Hi Olivia,
I honestly don't know. I hope you enjoy it!
ML says
Can other beef, other than flank steak, be substituted? I'm anxious to try this recipe. ML
Vered DeLeeuw says
Hi! Sirloin should work, too.
Roberta says
I added a teaspoon of onion powder and a generous pinch of cayenne pepper. This jerky is so good! I like it better than store-bough jerky, because it's not as dry. I just wish it was shelf-stable, but I get why it isn't.
Vered DeLeeuw says
I'm so glad you enjoyed this recipe, Roberta! Thank you for leaving a comment.