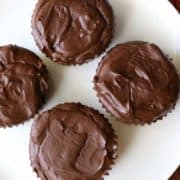
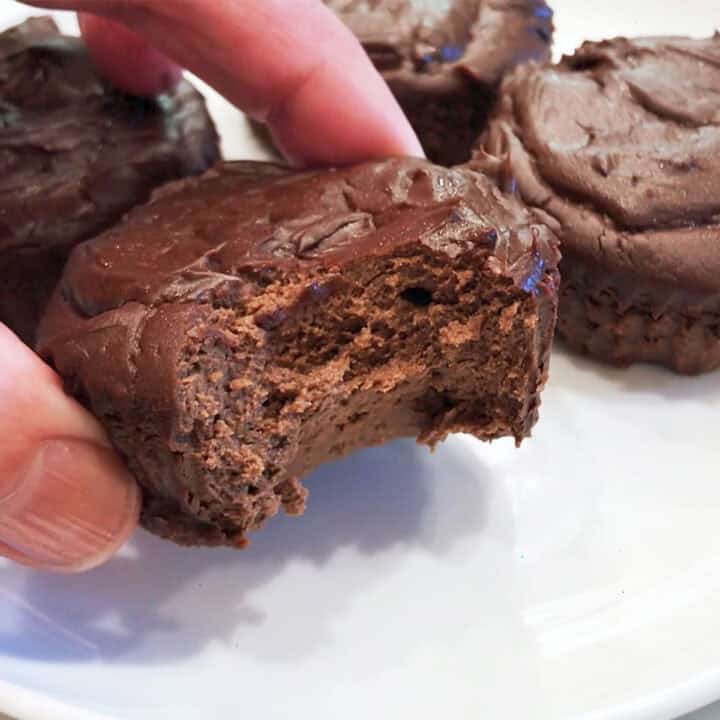
These mini chocolate cheesecakes are incredibly creamy and chocolatey. Made with dark chocolate and cream cheese, they are also very easy to make.
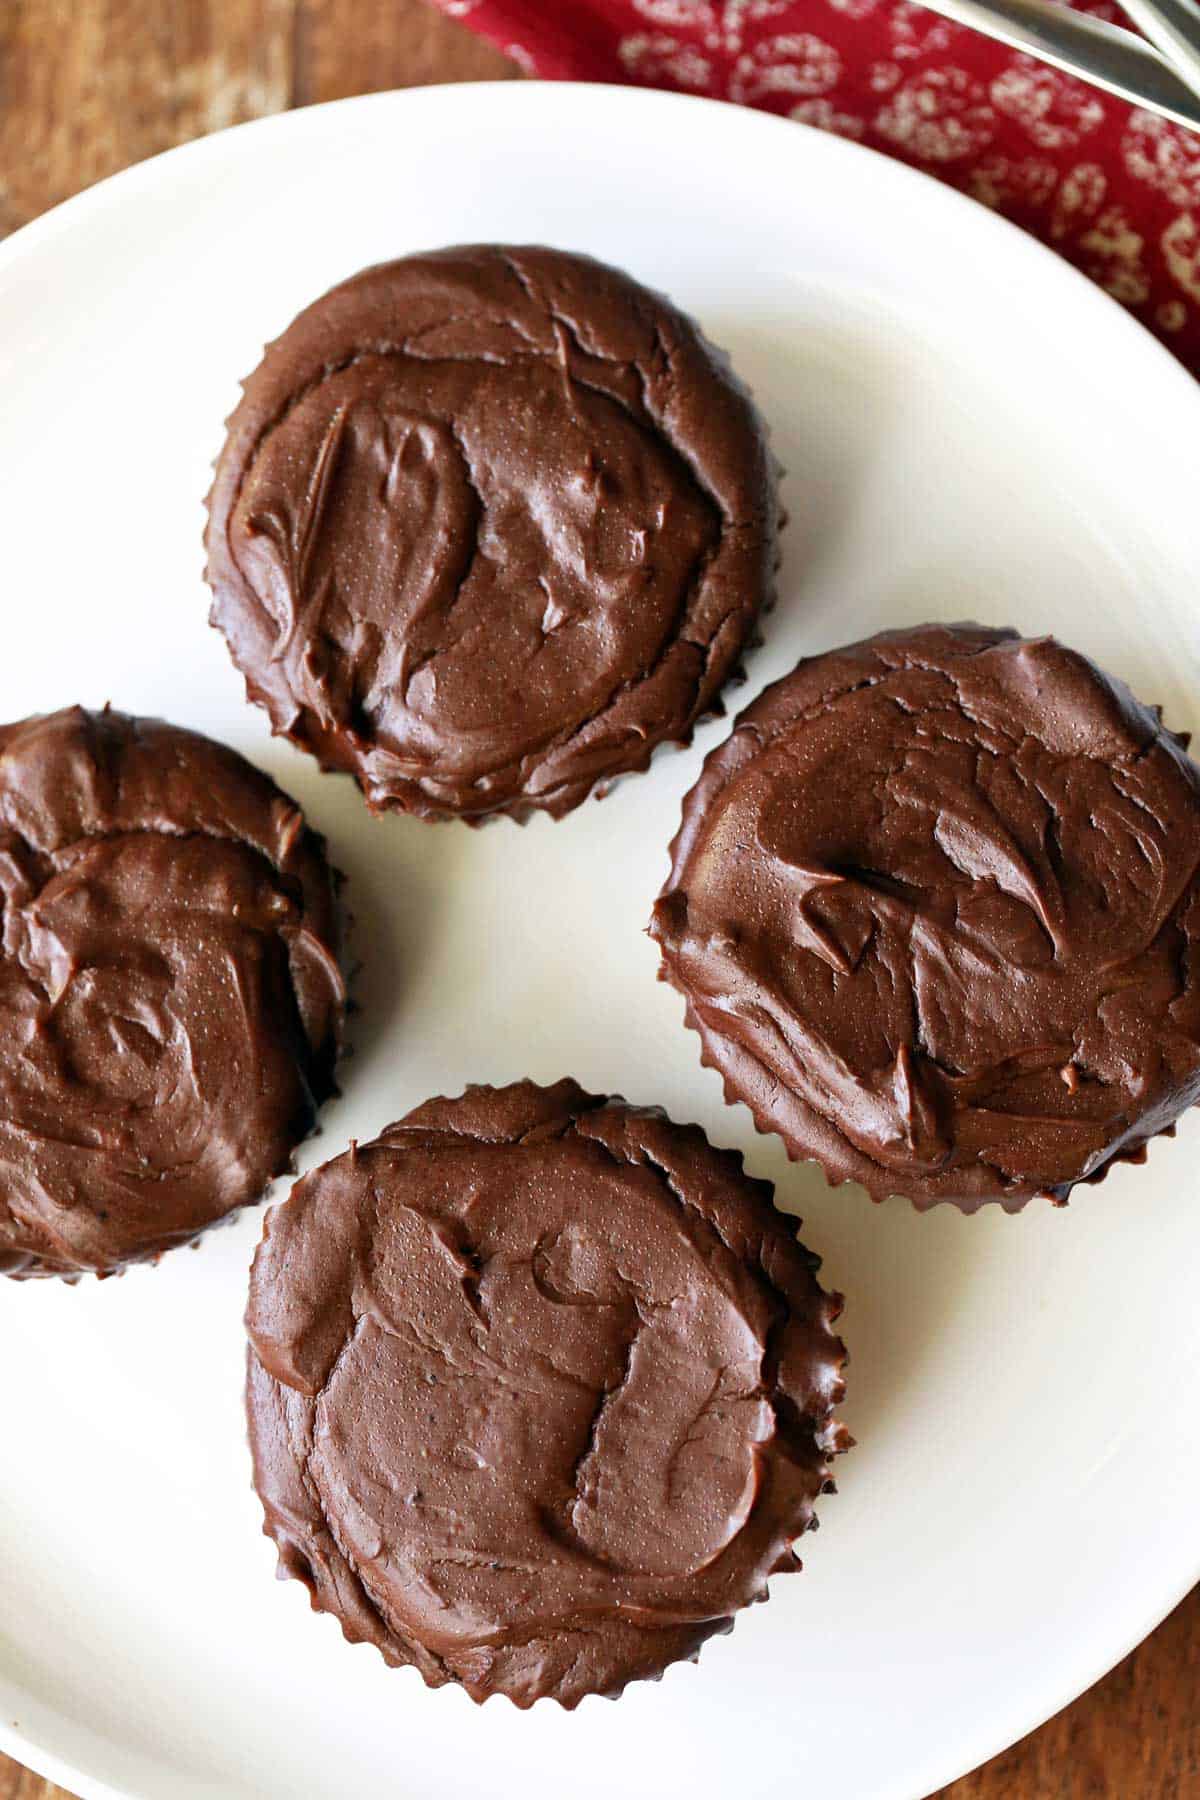
These delightful little cakes are made with cream cheese and dark chocolate. They have a velvety texture and a deep chocolate flavor. This is a very easy recipe - easier than baking a classic keto cheesecake. Prepping and baking them takes just 30 minutes, but then, like all cheesecakes, they do need to rest for two hours before you can enjoy them.
Ingredients

See the recipe card for exact measurements. Here are my comments on the ingredients.
- Dark chocolate: I use Lindt Excellence 70%.
- Cream cheese: I use reduced-fat cream cheese.
- Vanilla extract: Almond extract is also good.
- Sweetener: I use stevia glycerite. You can use a granulated sweetener instead, including sugar if you don't mind the carbs.
- Egg: I use large eggs.
Instructions
The detailed instructions and step-by-step photos are included in the recipe card. Here's a quick overview.
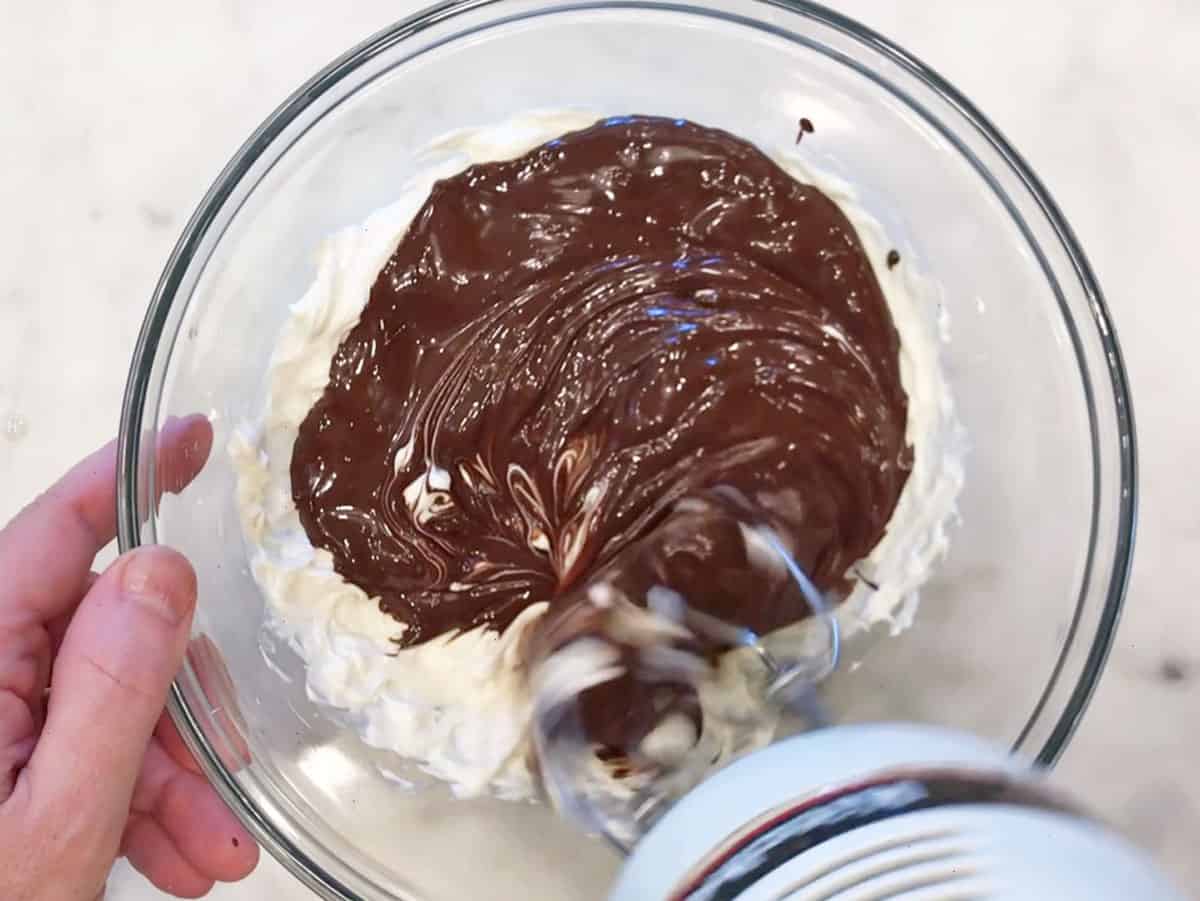
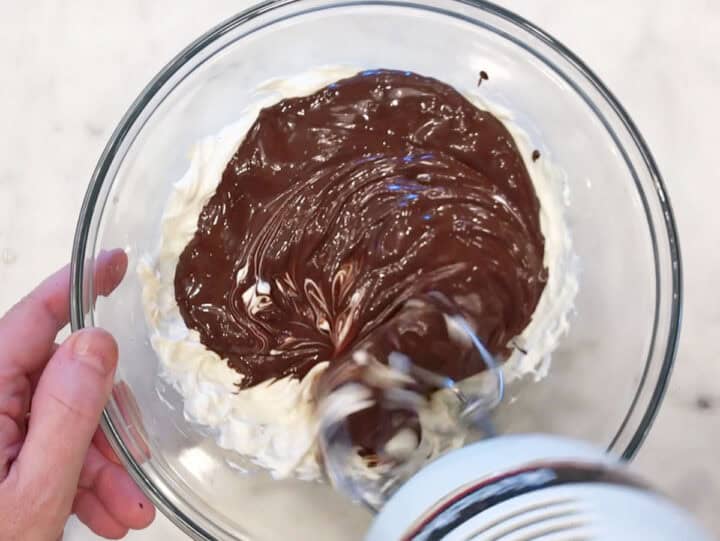
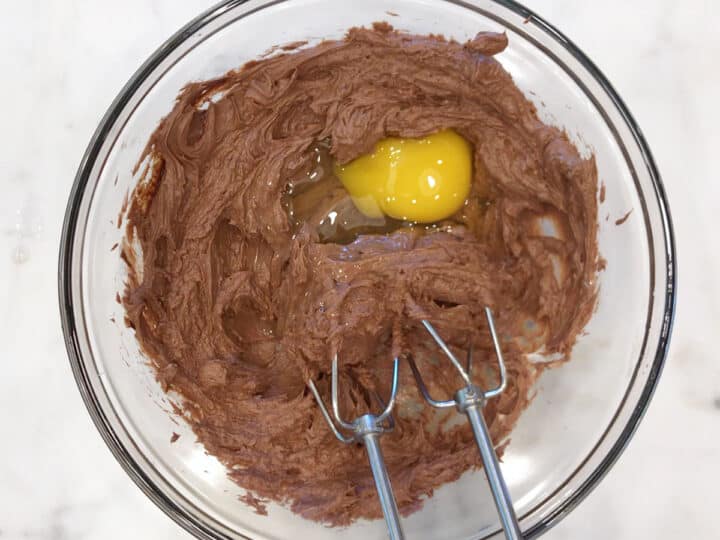
Melt the chocolate in the microwave and set aside. Beat the cream cheese, vanilla, and stevia until smooth. Add the melted chocolate and beat until blended. Add the egg and mix until just incorporated. Don't overmix.
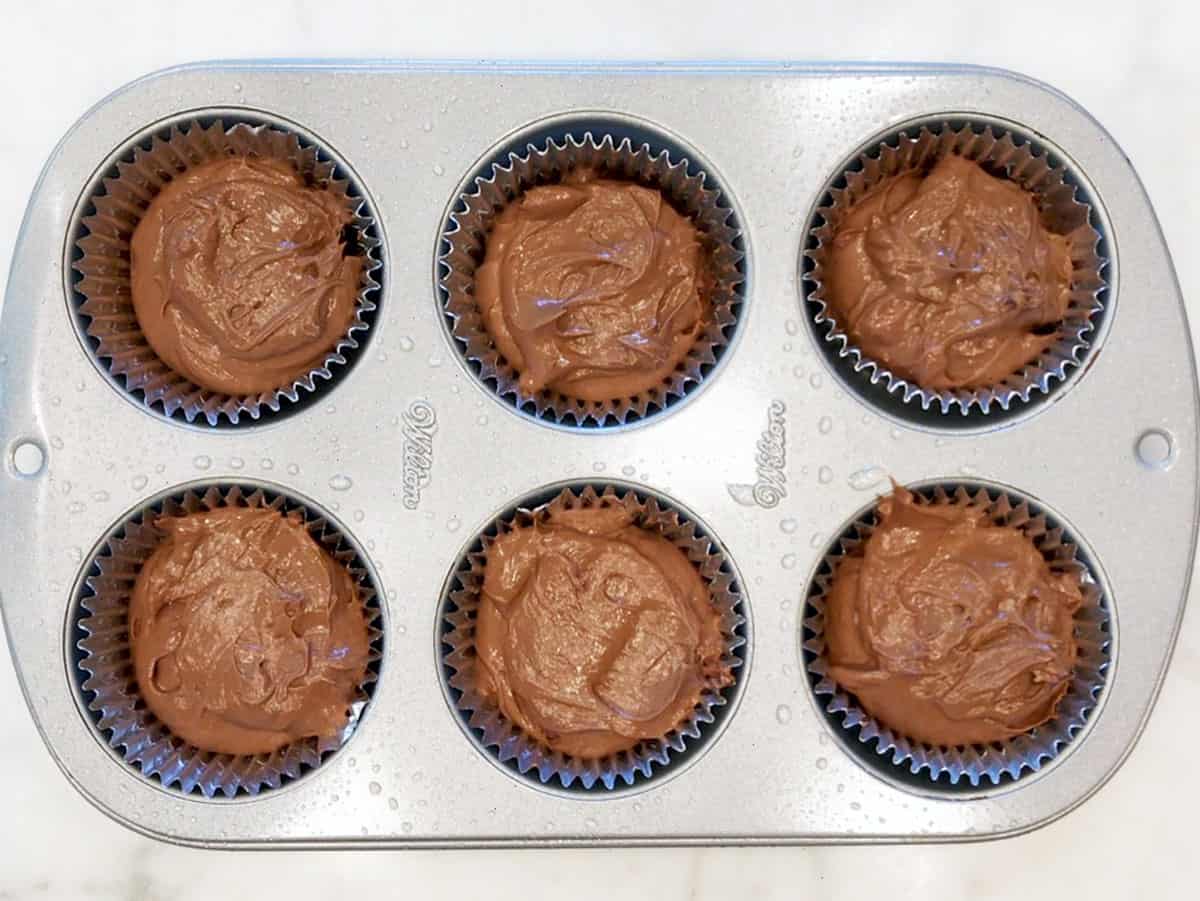
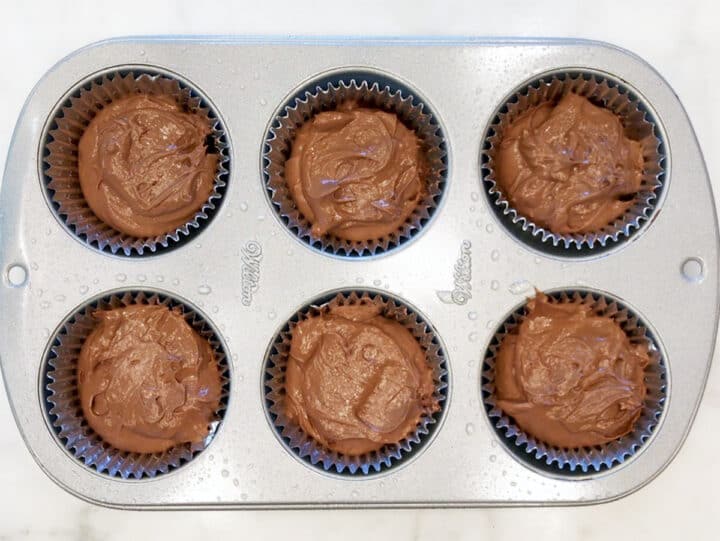
Spoon the batter into foil-lined and greased muffin cups. Bake the cakes for about 15 minutes in a 300°F oven.
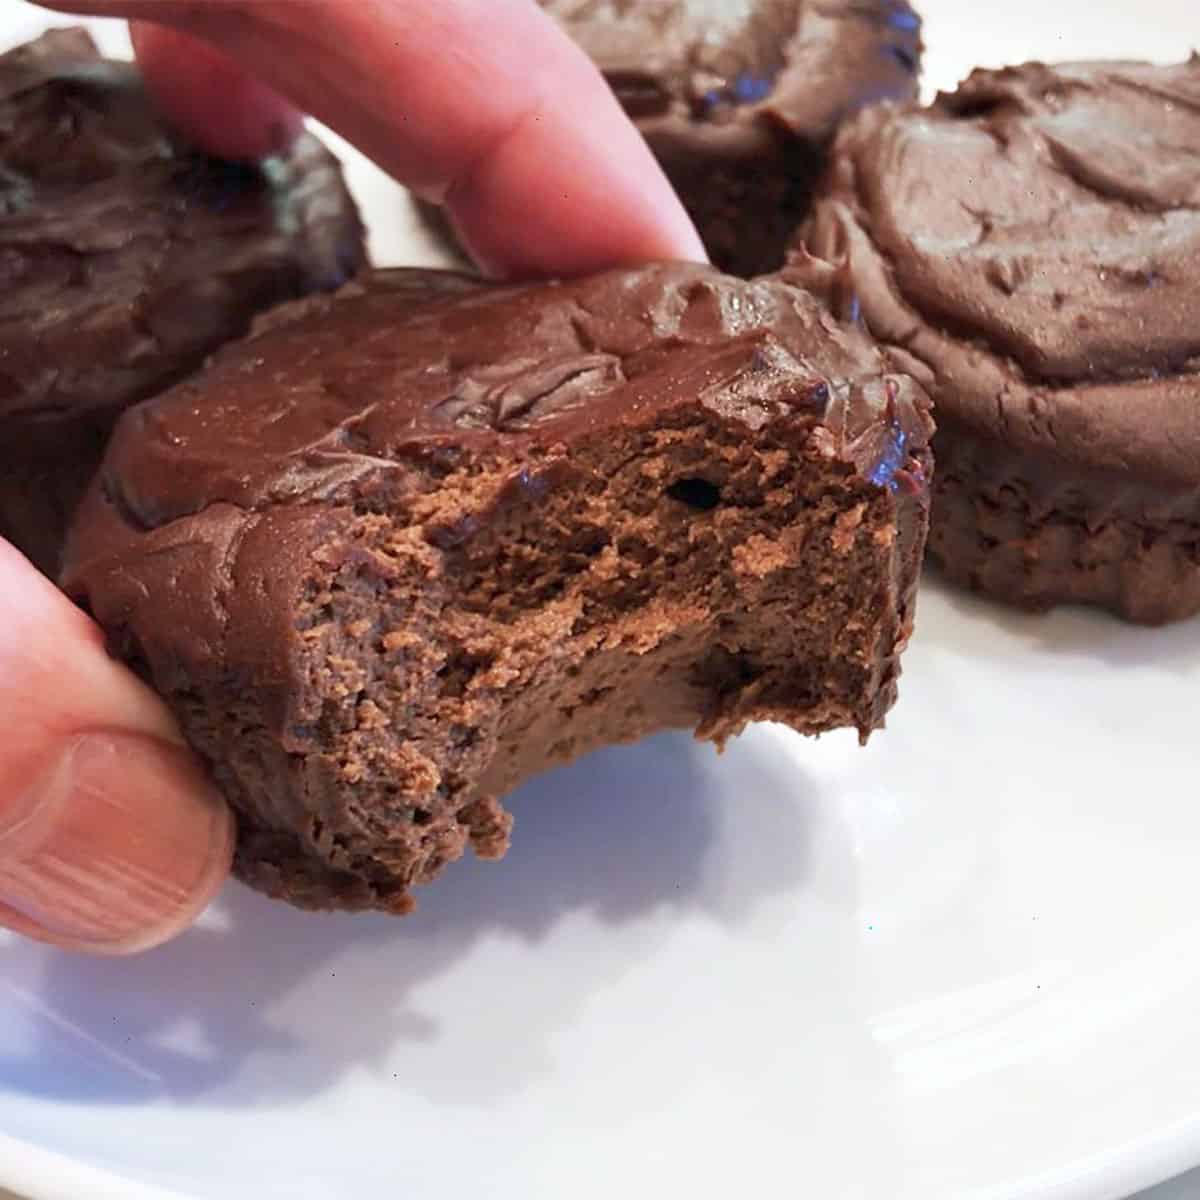
Allow the cakes to cool completely for about 2 hours before serving. Look at their incredibly creamy texture! So good.
I fixed these mini-cheescakes for our family's birthday celebration recognizing all the birthdays in the family for the year. They were easy to make, just followed your directions, and everyone really enjoyed them... it was a big hit with all the family age 6 to 76, so I will definitely make this again. Thanks for a tasty, easy dessert treat!
George Wyndham
Read more comments
Recipe Tips
- The refrigerated ingredients (eggs and cream cheese) should be at room temperature, so please remove them to the counter two hours before you start making this recipe.
- Like all cheesecakes, these cakes are ready when they are slightly underbaked. In my oven, 15 minutes at 300°F is perfect.
- Similar to other cheesecakes, they should be completely cool before you can enjoy them. Thankfully, there's no need to refrigerate them. They are perfect after cooling on a rack for about 2 hours.
Recipe FAQs
Yes, and I highly recommend using foil liners. These cheesecakes work well with foil liners, but stick to paper ones.
Yes. To ensure a smooth texture, all ingredients must be at room temperature, which is always the case when making cheesecakes.
One option is to remove the cream cheese and egg from the fridge two hours before you plan to start mixing the ingredients. Alternatively, you can microwave the cream cheese for 30 seconds and submerge the egg in warm (not hot) water while you prep the other ingredients.
Yes. It will produce cakes that are a bit more dense, but they will also be extra rich and flavorful.
Store these cakes in an airtight container in the fridge for up to 3 days. After that, they become less creamy and fluffy. Remove them from the fridge an hour before you plan on enjoying them. You can also freeze these cheesecakes for up to a month. Once they're completely cool, wrap each in plastic wrap and then place them in a freezer bag.
Serving Suggestions
These little cakes are perfect just the way they are, and that's how my family typically enjoys them. But if you'd like to top them with something, here are a few suggestions. You should add these toppings immediately before serving the cakes, not ahead of time.
- Homemade whipped cream
- Chocolate whipped cream
- Berries - raspberries are especially good
- A dollop of strawberry compote
- A drizzle of melted peanut butter
Recipe Card
Mini Chocolate Cheesecakes
Video
Ingredients
- Avocado oil spray - for the muffin liners
- 3 ounces Lindt Excellence 70% chocolate - chopped
- 8 ounces reduced-fat cream cheese - room temperature; full-fat is OK
- 1 teaspoon pure vanilla extract
- 1 teaspoon stevia glycerite - heaping; or ⅓ cup of sugar
- 1 large egg - room temperature
Instructions
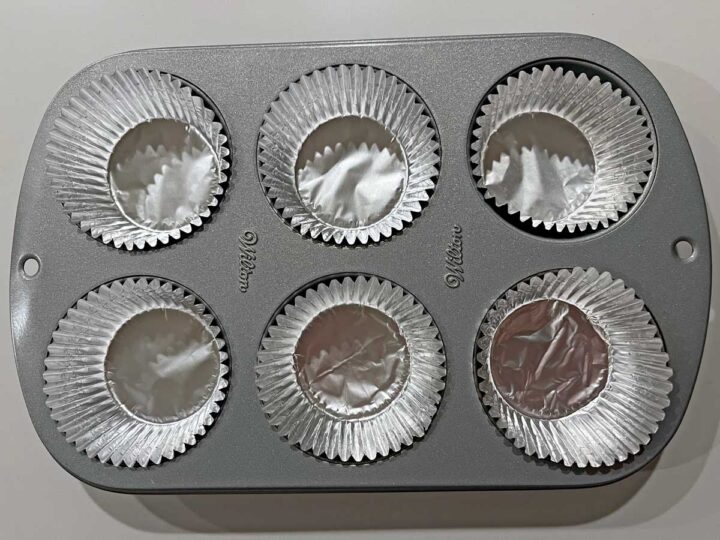
- Preheat the oven to 300°F. Line a muffin tin with 6 foil baking cups (the cakes will stick to paper liners). Lightly spray the liners with avocado oil spray.
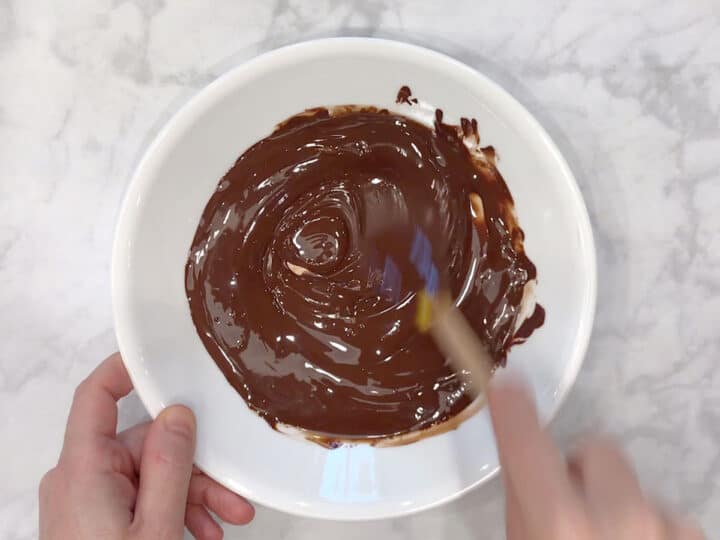
- Place the chocolate in a small bowl. Microwave it in 30-second intervals, stirring after each microwave session, until the chocolate is completely melted. Set aside.
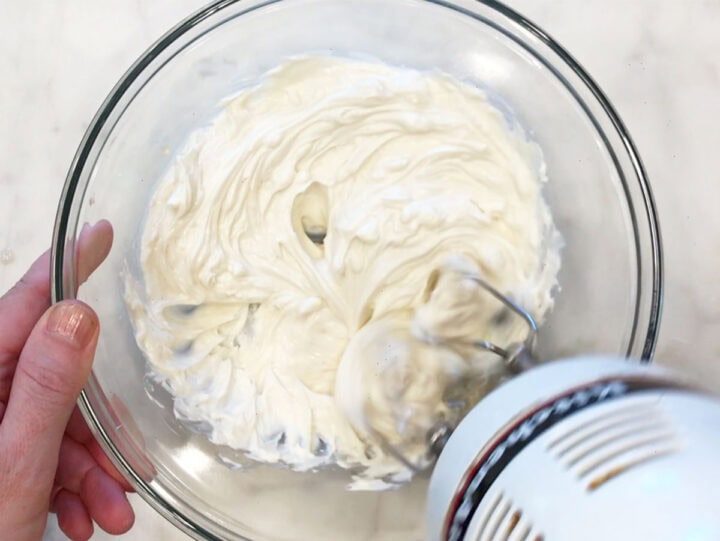
- In a medium bowl, using an electric hand mixer set to the lowest speed, beat the cream cheese, vanilla, and stevia until smooth. This should take no more than 30 seconds.
- Add the melted chocolate and beat on low just until blended, scraping down the bowl with a rubber spatula as needed.
- Add the egg and mix until just incorporated. Don't overmix.
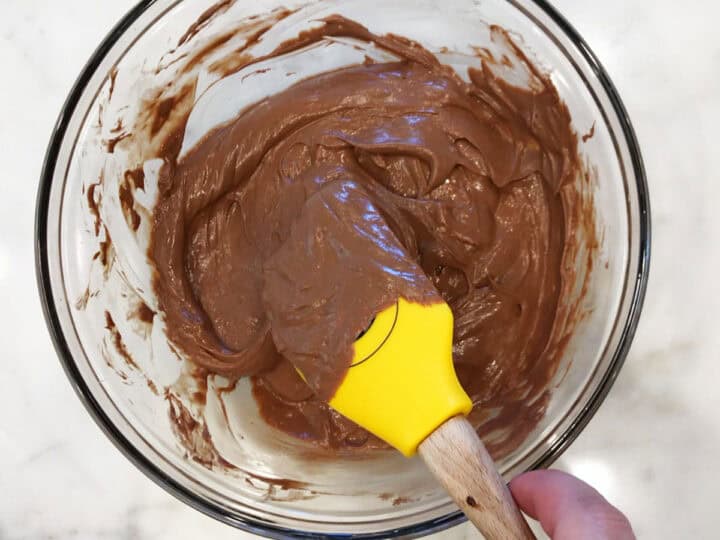
- Using a rubber spatula, give the batter one last mix to make sure everything is well incorporated.
- Spoon the batter into the prepared muffin cups, smoothing out the tops. Bake until the centers of the cheesecakes are just a bit jiggly, about 15 minutes.
- Place the muffin tin on a cooling rack. Let the cakes cool completely for about 2 hours before removing the liners and serving them.
Notes
- To ensure a smooth texture, all ingredients must be at room temperature. One option is to remove the cream cheese and egg from the fridge two hours before you plan to start mixing the ingredients. Alternatively, microwave the cream cheese for 30 seconds, and submerge the egg in warm water while you prep the ingredients.
- Like all cheesecakes, these cakes are ready when they are slightly underbaked. In my oven, 15 minutes at 300°F is perfect.
- Similar to other cheesecakes, they should be completely cool before you can enjoy them. Thankfully, there's no need to refrigerate them. They are perfect after cooling on a rack for about 2 hours.
- Store these cakes in an airtight container in the fridge for up to 3 days. After that, they become less creamy and fluffy. Remove them from the fridge an hour before you plan on enjoying them. You can also freeze these cheesecakes for up to a month. Once they're completely cool, wrap each in plastic wrap and then place them in a freezer bag.
Nutrition per Serving
Save this Recipe!
We will also add you to our weekly newsletter. Unsubscribe anytime. See healthyrecipesblogs.com/privacy/ to learn how we use your email.
Disclaimers
Most recipes are low-carb and gluten-free, but some are not. Recommended and linked products are not guaranteed to be gluten-free. Nutrition info is approximate. Please verify it independently. The carb count excludes non-nutritive sweeteners. Please read these Terms of Use before using any of my recipes.

George Wyndham says
I fixed these mini-cheescakes for our family's birthday celebration recognizing all the birthdays in the family for the year. They were easy to make, just followed your directions, and everyone really enjoyed them. I will definitely make them again. One thing I will change is to use a lower percentage of cocoa chocolate next time. The cheesecake had a cocoa taste that was a bit strong for my liking, so maybe a 50 percent chocolate. But, as I said, it was a big hit with all the family age 6 to 76, so I will definitely make this again. Thanks for a tasty, easy dessert treat!
Vered DeLeeuw says
I'm so glad these cheesecakes were a hit, George! Your family celebration sounds lovely. Happy birthday to everyone!
Shireen says
I am lactose intolerant and cannot eat cream cheese at all. Can I substitute it for lactose free cream cheese?
Vered DeLeeuw says
Hi Shireen,
My apologies - I only tested this recipe with regular cream cheese.