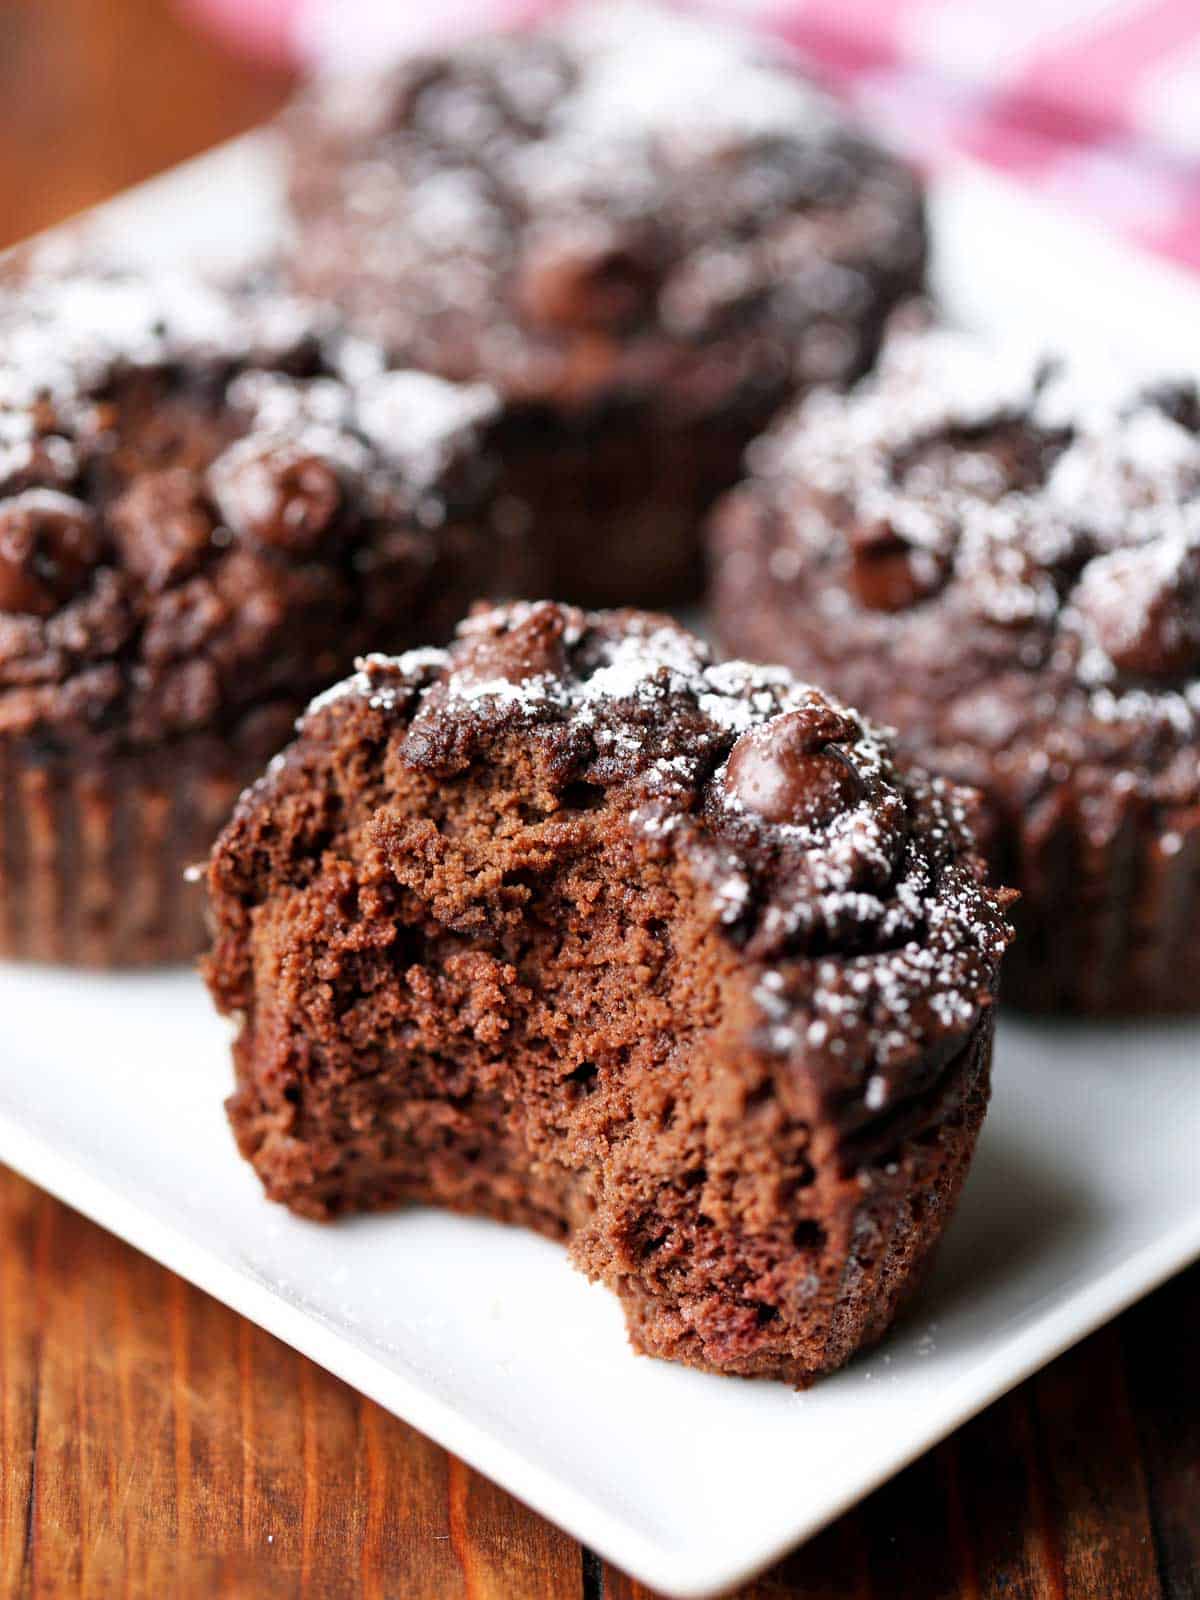
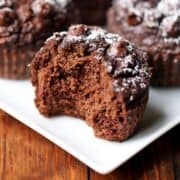
These rich and indulgent keto chocolate muffins are made with coconut flour.
It's so easy to make them - simply mix the ingredients in a bowl, then bake them for about 20 minutes.
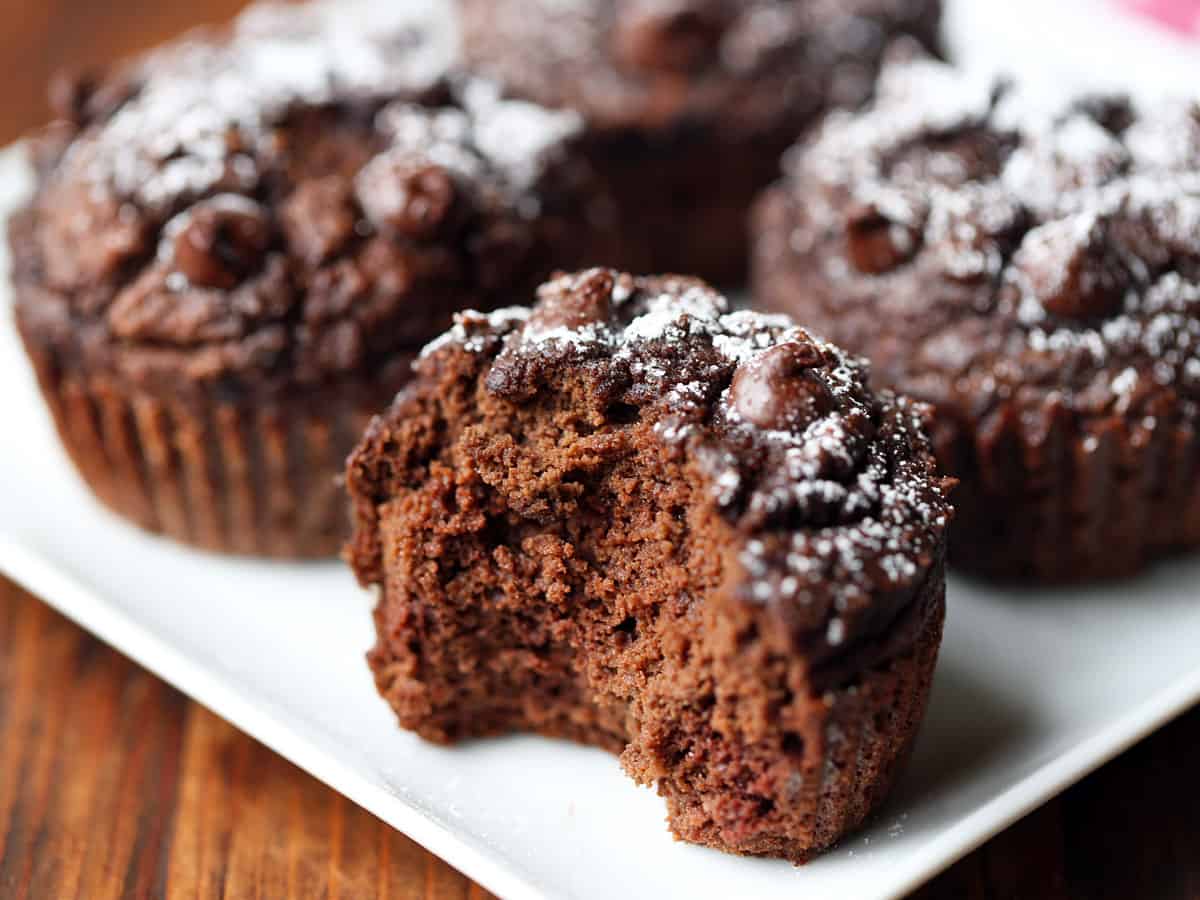
Just like these keto donuts, these delicious keto chocolate muffins are made with coconut flour. They taste so chocolatey and indulgent!
Two of these muffins for breakfast keep me full for several hours. They keep well in the fridge for several days, and can also be frozen.
Jump to:
Ingredients
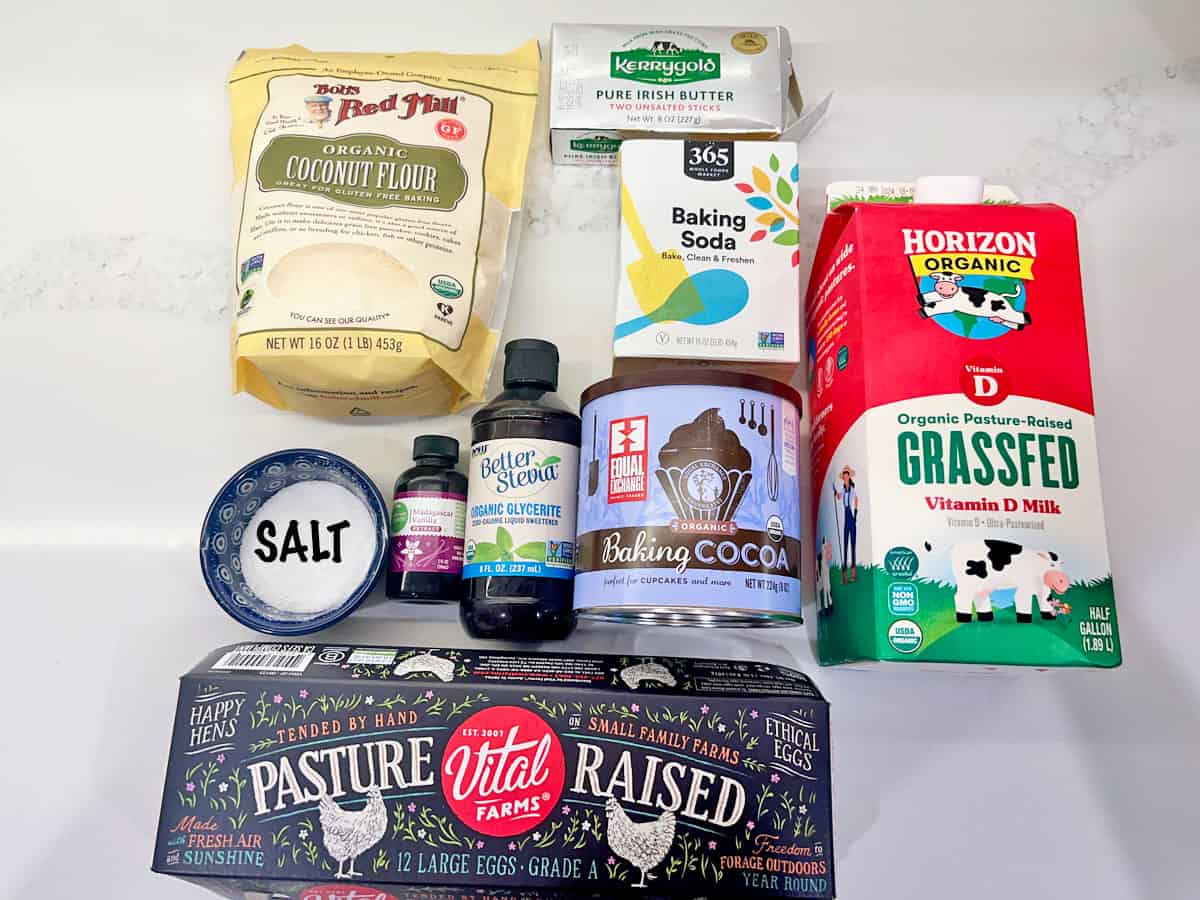
You'll only need a few simple ingredients to make these muffins. The exact measurements are included in the recipe card below. Here's an overview of what you'll need:
- Eggs: I use large eggs in most of my recipes, this one included.
- Melted unsalted butter: I love using creamy European butter, but any butter will work.
- Sweetener: I use stevia. You can use a granulated sweetener instead, adding a bit more milk or water if needed.
- Vanilla extract: Try to use the real thing - pure vanilla extract - and not the artificially flavored stuff.
- Whole milk: You can use heavy cream or canned coconut milk instead.
- Coconut flour: An extremely absorbent ingredient, so it's best to measure it by weight and not by volume.
- Unsweetened cocoa powder: Use natural cocoa powder (not Dutch-processed) to give the baking soda the acidity it needs to activate.
- Kosher salt: If using fine salt, use just a pinch.
- Baking soda: You can replace it with 4 teaspoons of baking powder (gluten-free if needed).
Variations
- Use heavy cream or canned coconut milk instead of milk.
- Use almond extract instead of vanilla extract. If you do, use just 1 teaspoon.
- You can replace the butter with oil. Sometimes, I use macadamia nut or walnut oil.
- Mix ½ cup of dark chocolate chips into the batter or scatter a few chocolate chips on top of each muffin before baking.
Instructions
Scroll down to the recipe card for detailed instructions. Here are the basic steps for making these muffins:
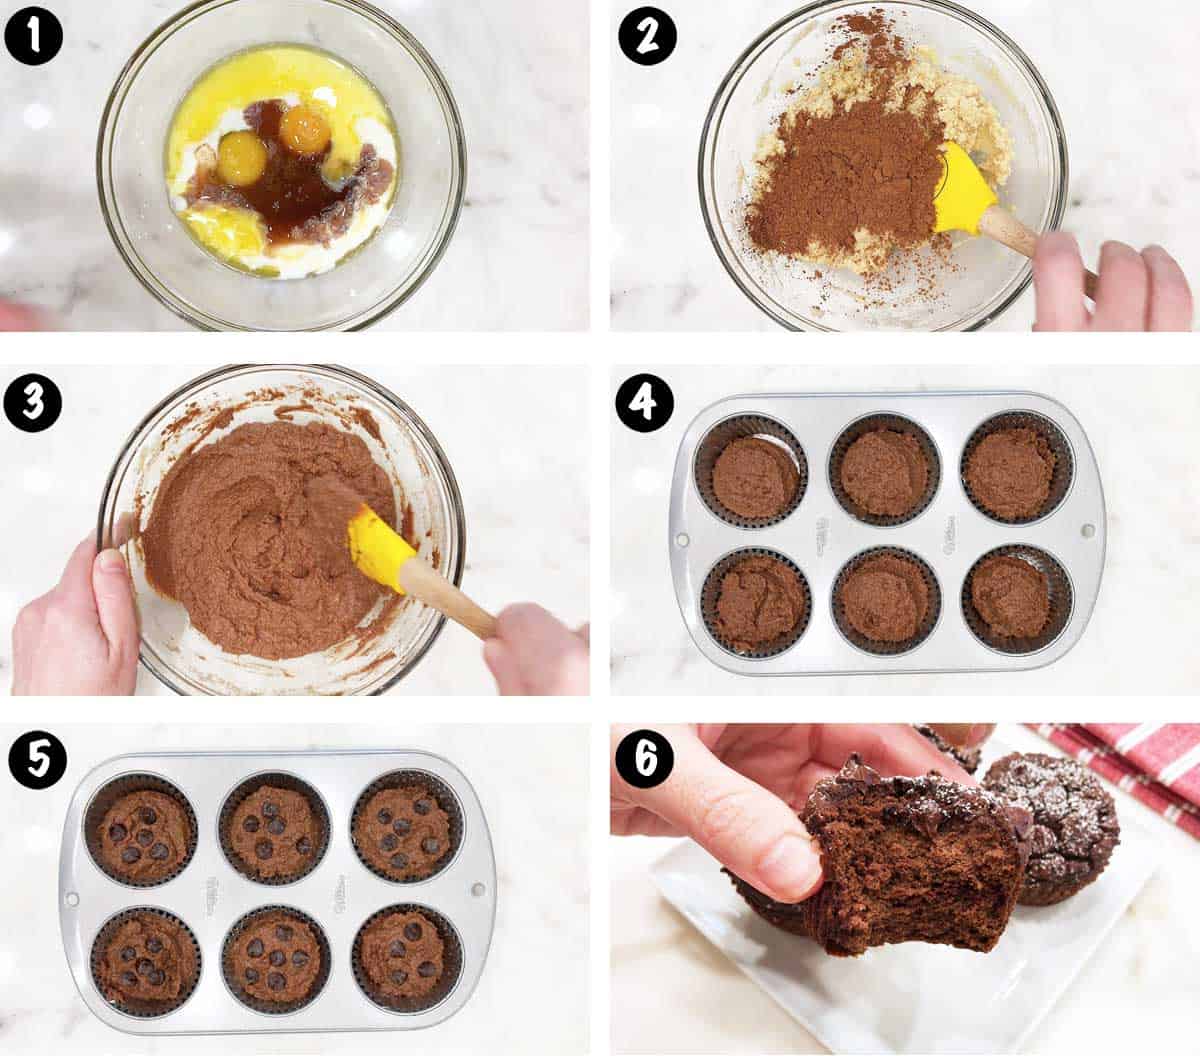
- Whisk all the ingredients in one bowl, adding them one by one in the order listed. (Photos 1-3).
- Divide the batter between 12 foil-lined and greased muffin cups. (Photo 4).
- Bake the muffins for about 20 minutes in a 350°F oven, until puffed and set and a toothpick inserted in their center comes out clean. (Photo 5).
- Cool them to room temperature, then serve. (Photo 6).
Expert Tips
- It's been my experience that coconut flour baked goods stick to paper liners, even when well-greased, but they don't stick to greased foil liners. So I highly recommend using foil liners or parchment liners when making this recipe, not standard paper liners.
- Since coconut flour is so absorbent, it's best to measure it by weight and not by volume. Each additional tablespoon makes a big difference, so it's best to be as accurate as possible.
Recipe FAQs
No! I worked hard to get the exact ratio that produces fluffy, tender muffins. As long as you don't overbake them, they should not be dry.
Coconut flour baked goods, in general, should not be dry. When they are, it's simply because the recipe doesn't contain enough liquid and eggs to account for the flour's absorbency.
I do suggest that after you've finished mixing the batter, check it. Maybe in your kitchen, with your particular ingredients, the batter did turn out a bit dry? The batter should be smooth and easy to mix, not sticky or dry, and not wet and liquid.
If your batter seems too dry, simply add water, a tablespoon at a time, until you reach a good consistency, like this: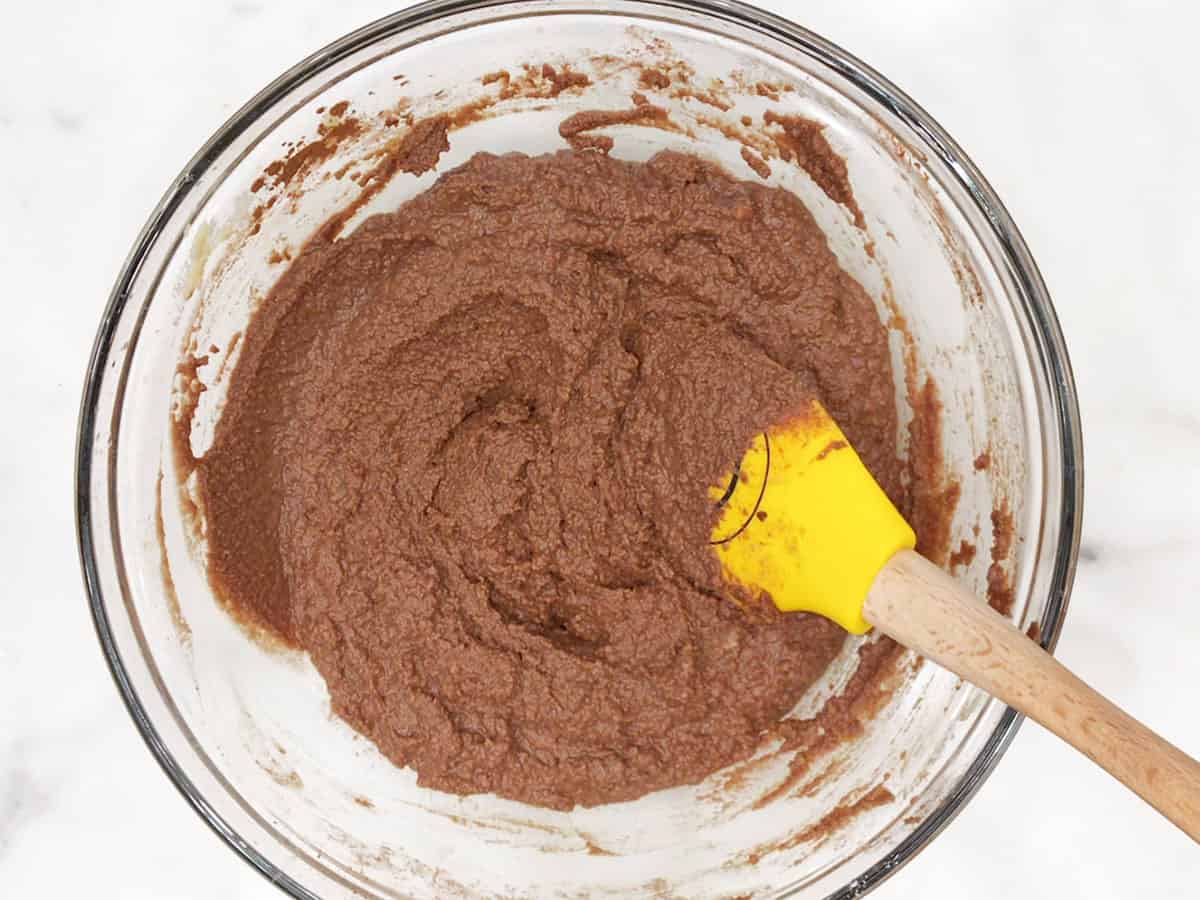
Since this recipe relies on baking soda as a leavening agent, you should use natural cocoa powder, not Dutch-processed cocoa powder that was treated with alkali.
Dutch-processed cocoa powder is not acidic so it won’t react with the baking soda, and the muffins will be flat and dense rather than light and fluffy.
If you only have Dutch-processed cocoa powder, substitute 4 teaspoons of baking powder for the baking soda.
I sweeten these muffins with stevia glycerite. The amount of stevia I use is equal to 1 cup of sugar. This is quite a bit, but it's needed to counteract the bitterness of the cocoa powder.
You can use a granulated sweetener instead of stevia. If the batter seems dry and sticky, add water or milk, a tablespoon at a time, until you reach a good consistency.
Serving Suggestions
I like to dust these muffins with a powdered sweetener to make them prettier. This is purely optional, but it does improve their presentation.
Sometimes, I drizzle them with melted peanut butter. It's so good!
If you'd like to add frosting and turn them into cupcakes, you can use this keto cream cheese frosting or this keto chocolate mousse.
Storing Leftovers
Once completely cool, you can store these muffins in the fridge, in an airtight container, for up to five days.
Warm them very gently in the microwave, 10 seconds per muffin, before enjoying them (make sure to remove the foil liners before microwaving them).
You can also freeze these muffins in freezer bags for up to three months.
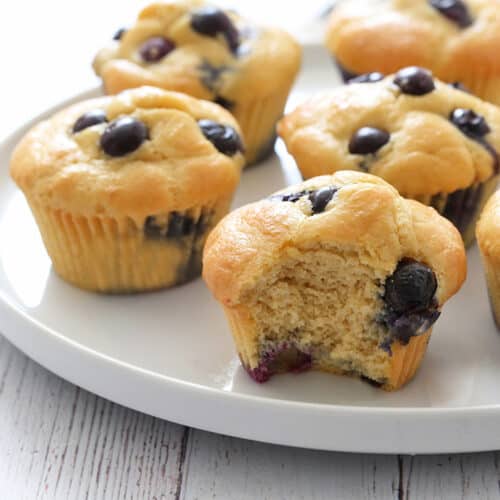
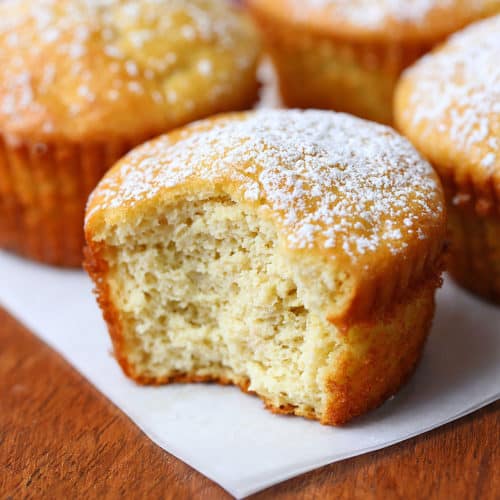
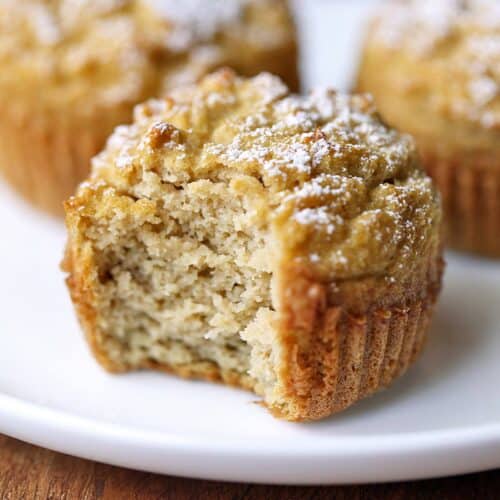
More Keto Muffins
Foodie Newsletter
I send out a weekly newsletter with a recipe and tips. Want these recipes in your inbox? Subscribe today! You can unsubscribe at any time.
Recipe Card
Keto Chocolate Muffins
Ingredients
- 4 large eggs
- 4 tablespoons unsalted butter melted and slightly cooled
- 1 tablespoon stevia glycerite (equals 1 cup of sugar)
- 1 tablespoon pure vanilla extract
- 1 ½ cups whole milk
- 1 cup coconut flour (112 grams)
- ½ cup unsweetened natural cocoa powder (40 grams)
- ¼ teaspoon Diamond Crystal kosher salt (or a pinch of any other salt)
- 1 teaspoon baking soda
Instructions
- Preheat your oven to 350°F. Line 12 muffin cups with foil (not paper) liners and grease the liners.
- In a large bowl, whisk the eggs. One by one, whisk in the butter, stevia, vanilla, and milk.
- Whisk in the coconut flour, then the cocoa powder. Finally, whisk in the kosher salt and baking soda.
- Using a 4-tablespoon scoop, divide the batter evenly among the prepared muffin cups.
- Bake the muffins until they are set and a toothpick inserted in their center comes out clean, 18-20 minutes.
- Cool the muffins for 10 minutes in the pan on a cooling rack, then cool them directly on the cooling rack until completely cool, about 30 more minutes. The muffins taste much better when they've had a chance to cool and set.
Video
Notes
- Occasionally, baking soda can cause a reaction in baked goods that results in an ammonia smell. If you're concerned about it happening, use 4 teaspoons of fresh baking powder (gluten-free if needed) instead of baking soda.
- Since coconut flour is so absorbent, it's best to measure it by weight and not by volume. Each additional tablespoon makes a big difference, so it's best to be as accurate as possible.
- If using Dutch-processed cocoa powder, substitute 4 teaspoons of baking powder (gluten-free if needed) for the 1 teaspoon of baking soda.
- You can use a granulated sweetener instead of stevia, increasing the amount of liquid you add to the batter if it's too dry. Add water or milk, a tablespoon at a time, until you reach a good consistency.
- The leftovers keep well in an airtight container in the fridge for up to five days. Warm them briefly in the microwave before serving (after removing the foil liners, of course). You can also freeze these muffins in freezer bags for up to three months.
Nutrition per Serving
Made this Recipe?
If you made this recipe, please leave a comment sharing your experience with others. Thank you so much!
Subscribe
I send out a weekly newsletter with a recipe and tips. Want these recipes in your inbox? Subscribe today! You can unsubscribe at any time.
Disclaimers
Cup measurements refer to the standard American cup, which is 240 milliliters. Most of my recipes are low-carb (or keto) and gluten-free, but some are not. Please verify that a recipe fits your needs before using it. Recommended and linked products are not guaranteed to be gluten-free. Nutrition info is approximate, and the carb count excludes non-nutritive sweeteners. Nutrition info may contain errors, so please verify it independently. Recipes may contain errors, so please use your common sense when following them. Please read these Terms of Use carefully before using any of my recipes.
 Vered DeLeeuw, LL.M., CNC, has been following a low-carb real-food diet and blogging about it since 2011. She's a Certified Nutrition Coach (NASM-CNC), has taken courses at the Harvard School of Public Health, and has earned a Nutrition and Healthy Living Certificate from Cornell University. Her work has appeared in several major media outlets, including Healthline, HuffPost, Today, Women's Health, Shape, and Country Living.
Comments
No Comments