These kale chips are amazing. It's mind-blowing how roasting kale leaves in olive oil turns them into crispy and flavorful chips! This easy four-ingredient recipe is ready in about 30 minutes. It's one of my favorite snacks.
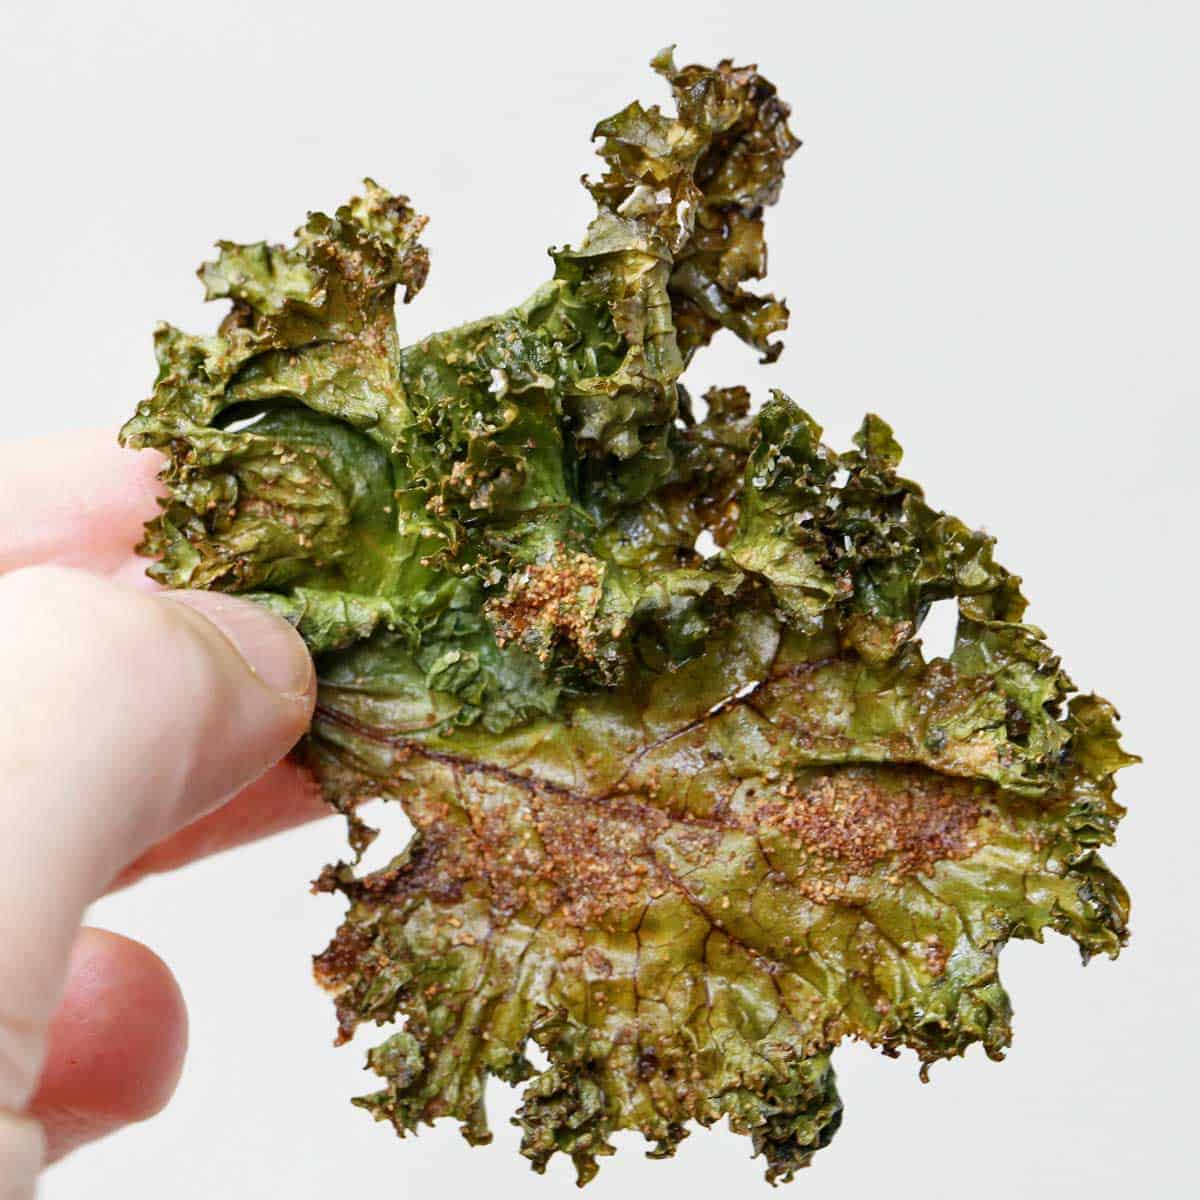
I make this recipe often because it's the only way the young Picky Eater will agree to eat kale, and I don't blame her. Kale, in its natural form, is coarse and bitter and is certainly an acquired taste. These kale chips make kale way more palatable. They are the best way I have found to truly enjoy this leafy green vegetable that everyone says you should eat.
Ingredients and Variations
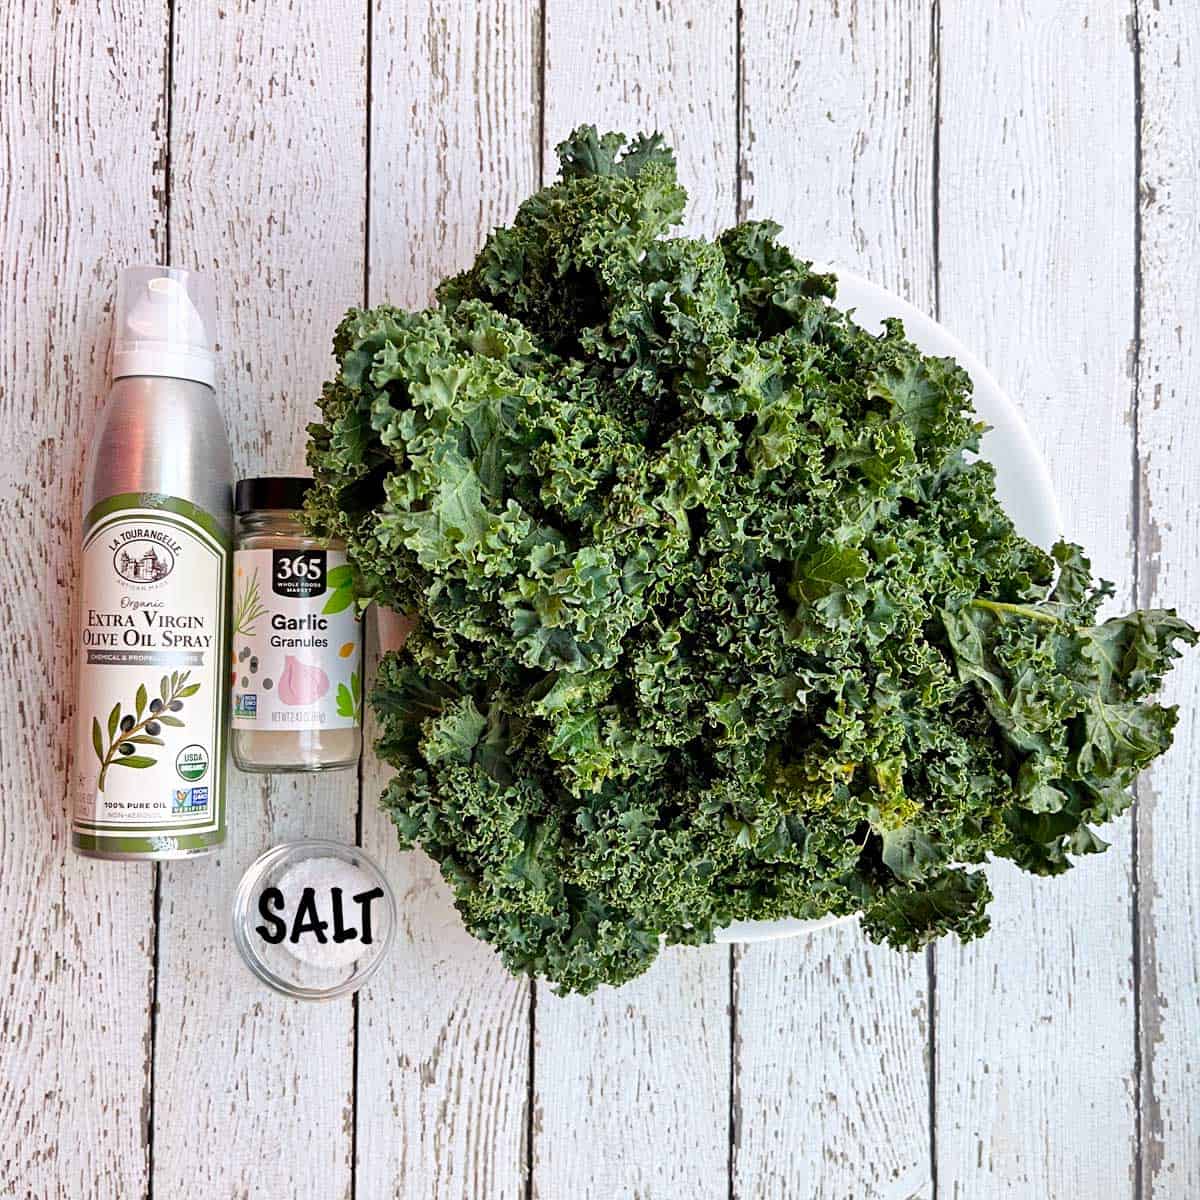
See the recipe card for exact measurements. Here are my comments on the ingredients (you'll only need four of them!).
- Fresh kale: I use curly kale in this recipe.
- Olive oil spray: I love the flavor it adds to the kale. It's OK to use other types of oil, but olive oil is especially delicious.
- To season: Salt and garlic powder. You can experiment with adding other spices, including onion powder and/or chili powder.
Instructions
The detailed instructions and step-by-step photos are included in the recipe card. Here's a quick overview.
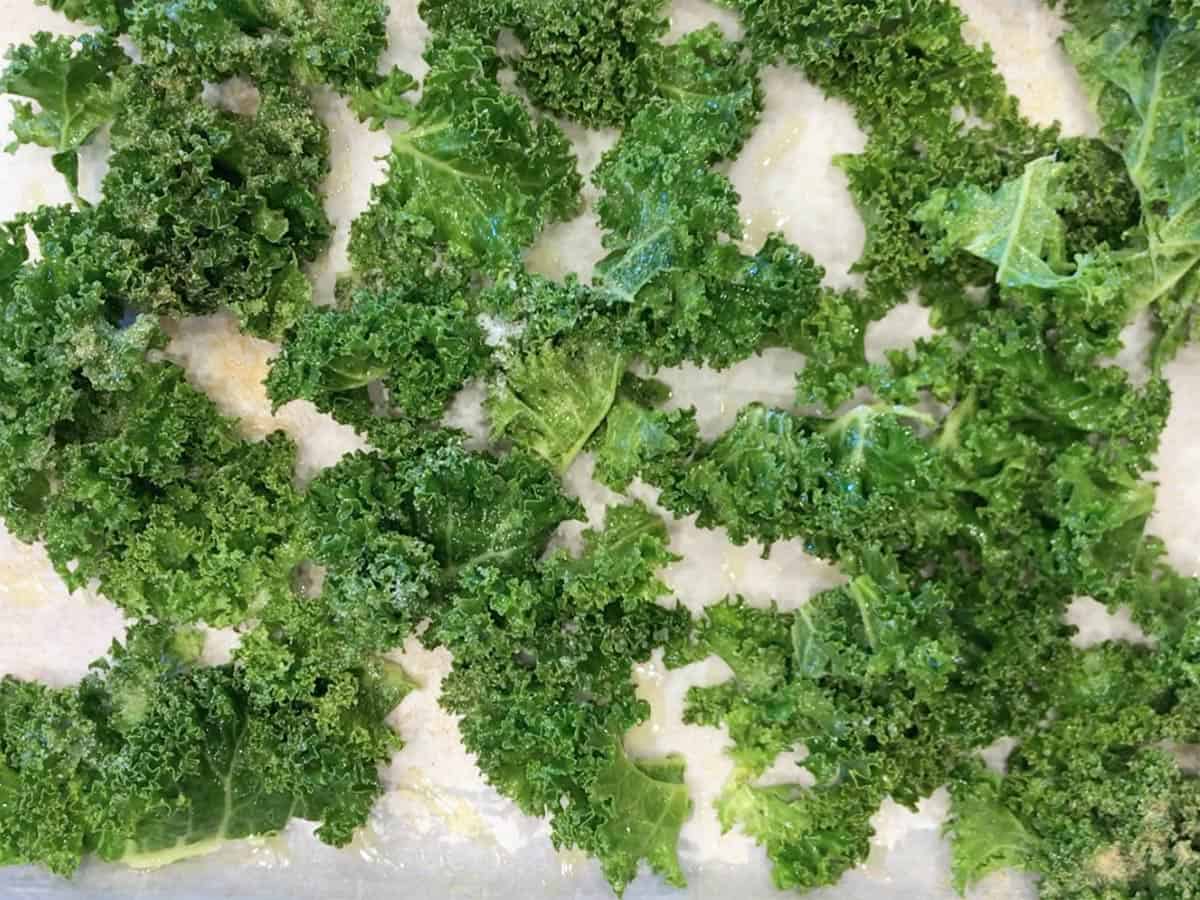
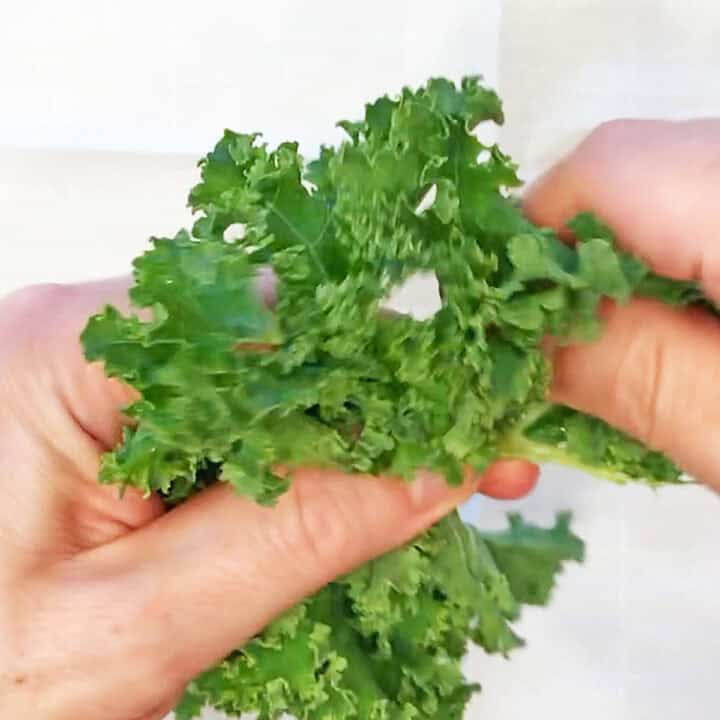
Tear cleaned and dried kale leaves into bite-size pieces and arrange them on two parchment-lined baking sheets. Coat the pieces with olive oil and sprinkle them with spices.
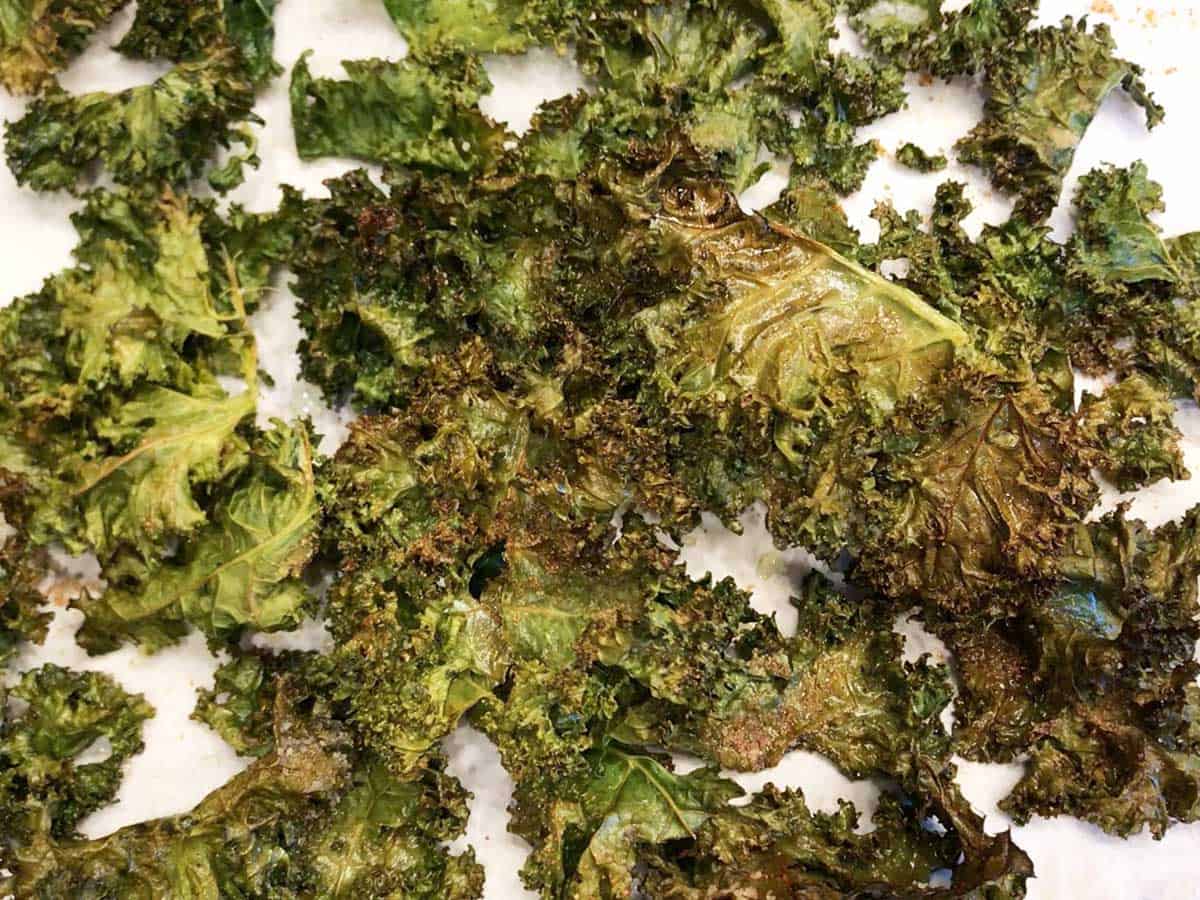
Bake the kale leaves in a preheated 325°F oven until crispy, for 20-30 minutes. Serve immediately.
These are so good! The kiddos actually beg for them. Thank you!!!
Mandy
Read more comments
Recipe Tips
- You will need to wash the kale well, then dry it REALLY well. If it's not truly dry, it won't crisp as it bakes.
- Some of the kale leaves will get crispy faster. So, start checking on them after 20 minutes, and remove the ones that are done to a plate. The very stubborn ones might take as long as 30 minutes to dry out and become crispy.
- You should spray the kale generously with olive oil. The oil adds amazing flavor and also helps the kale crisp up.
- These chips are too delicate for scooping dips (I tried!). The good news: no dips are necessary. They are incredibly good on their own.
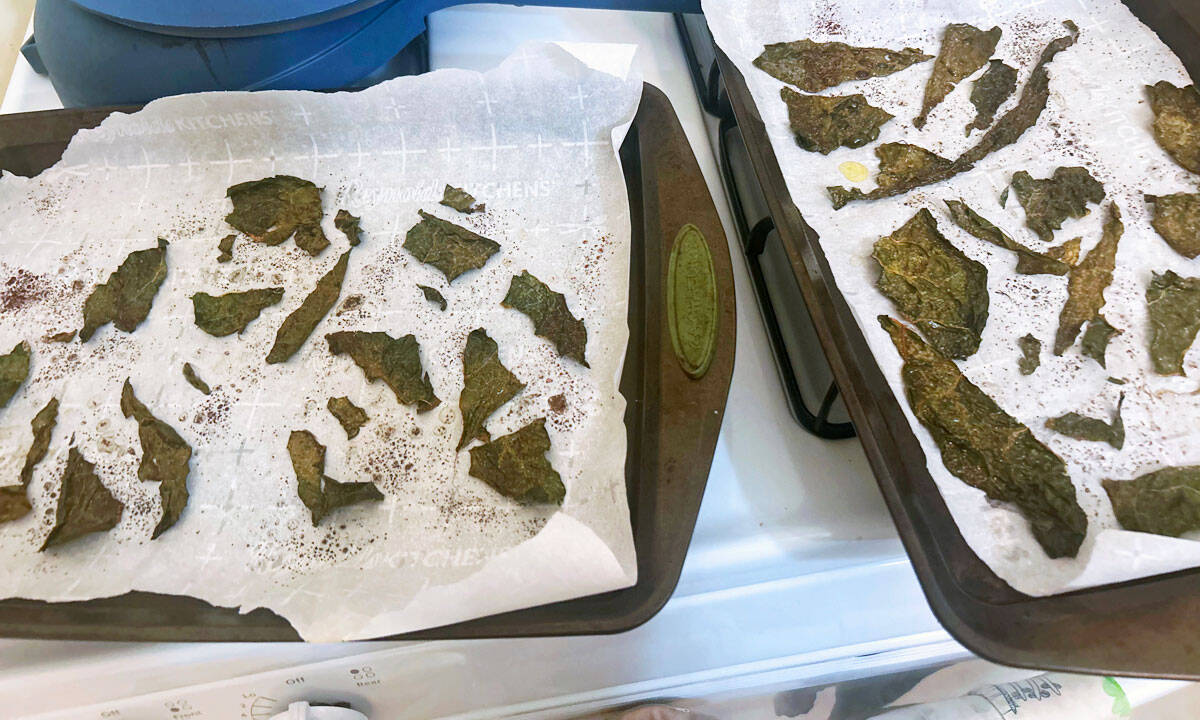
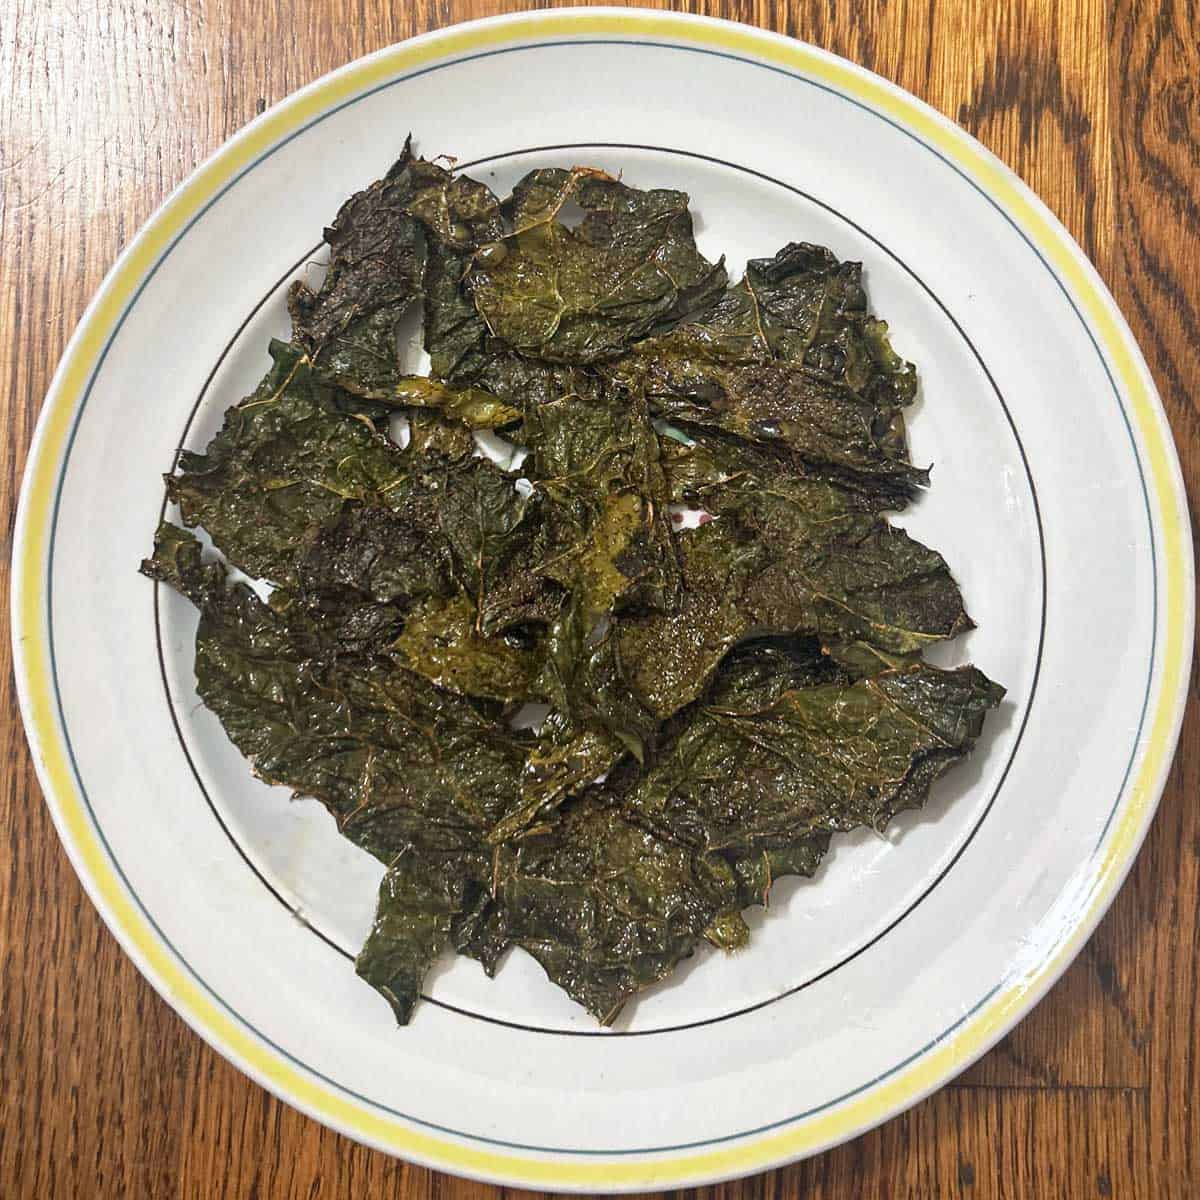
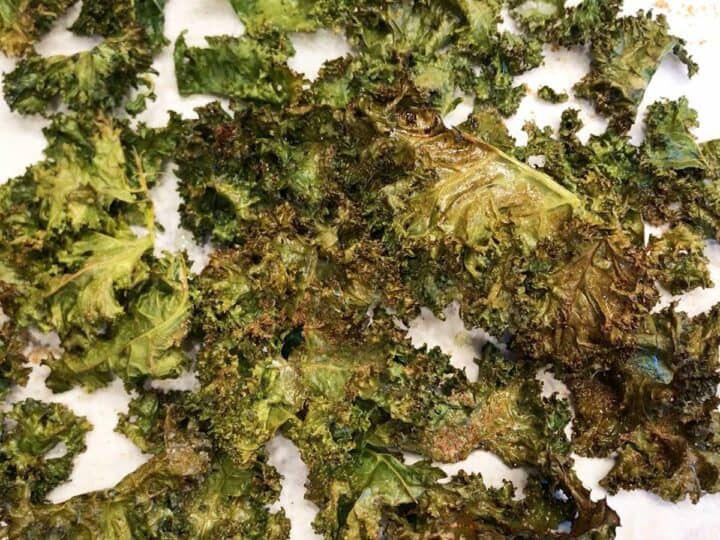
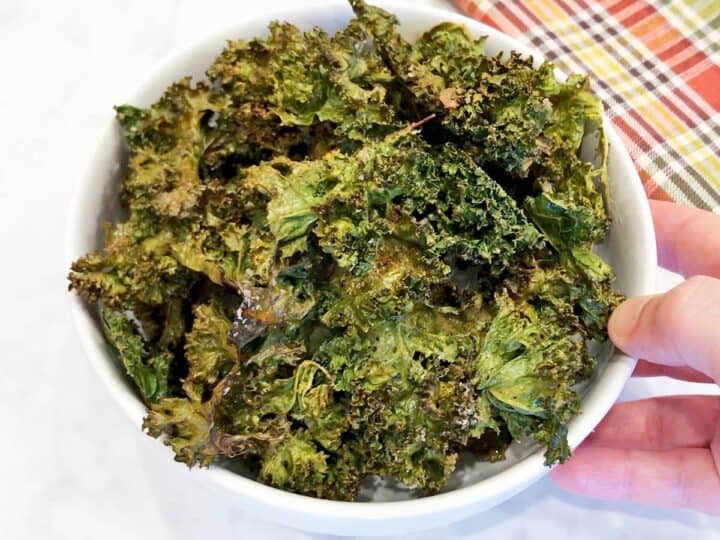
- While I usually use curly kale, it's fine to use Tuscan (flat-leaf) kale. The advantage of curly kale is that the leaves' ruffles get deliciously crispy. The advantage of Tuscan kale is that it's easier to dry, and it bakes quicker and more evenly because the leaves are flat. My daughter sent me the two photos below of her Tuscan kale chips, on two baking sheets and on a plate (after half were consumed...). She reported that they only needed 20 minutes in the oven.
Recipe FAQs
It's tempting to speed things up by roasting them at a high temperature, but kale leaves burn easily. To achieve uniform crispness, bake them at a low temperature. So instead of baking them for 20 minutes in a 350°F oven, I prefer to bake them in a 325°F oven for about 25 minutes. It takes a while for the leaves to become crispy, so you need to be patient. At first, they just wilt. But slowly and gradually, they crisp up.
That's the beauty of this recipe! Low and slow baking with lots of olive oil, salt, and garlic powder works amazingly well to remove any bitterness. Sautéed kale is also excellent - cooking it in butter and garlic, along with a splash of lemon juice, helps mask any bitterness.
If you baked them in the oven without any seasonings, they would simply taste like kale, only drier. But when generously sprayed with olive oil and well-seasoned, they take on the quality of true chips - crispy, salty, and flavorful.
Like many homemade snacks that lack preservatives, the crispness of these chips is relatively short-lived. So, I recommend you only make as many as you will eat that same day.
If you must store these chips, once they are completely cooled, place them in an airtight container or in a tightly sealed resealable bag and keep them on the counter for 1-2 days. I don't recommend freezing these chips.
Recipe Card
Baked Kale Chips
Video
Ingredients
- 1 bunch curly kale - 10 ounces
- Olive oil spray
- ½ teaspoon salt
- ½ teaspoon garlic powder
Instructions
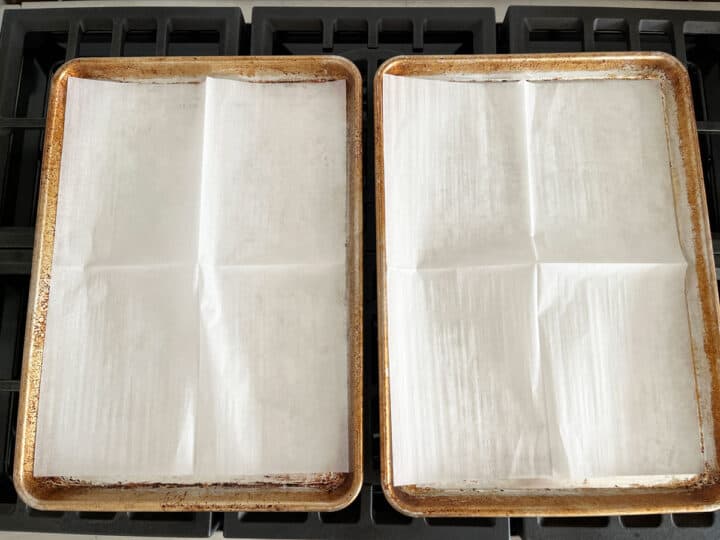
- Preheat the oven to 325°F. Line two large, rimmed baking sheets with parchment paper.

- Wash the kale and dry it thoroughly using a salad spinner, clean kitchen towels, or paper towels. Dry it REALLY well. If it's not truly dry, it won't crisp up as it bakes. Cut the stalks off and tear the kale leaves into bite-size pieces. After cleaning, you should have about 5 ounces of kale leaves.1 bunch curly kale

- Spread the leaves in a single layer on the prepared baking sheets. Generously spray them with olive oil and sprinkle them with salt and garlic powder.Olive oil spray, ½ teaspoon salt, ½ teaspoon garlic powder
- Roast the leaves until dry and crispy, 20-30 minutes (see notes below). It takes a while for the leaves to become crispy, so please be patient. At first, they just wilt. But slowly and gradually, they crisp up.
- Serve immediately.

Notes
- Some of the kale leaves will get crispy faster. So, start checking on them after 20 minutes, and remove the ones that are done to a plate. The very stubborn ones might take as long as 30 minutes to dry out and become crispy.
- While I usually use curly kale, it's fine to use Tuscan (flat-leaf) kale. The advantage of curly kale is that the leaves' ruffles get deliciously crispy. The advantage of Tuscan kale is that it's easier to dry, and it bakes quicker and more evenly because the leaves are flat.
- Be generous with the olive oil. It adds flavor and helps the kale become crispy.
- Like many homemade snacks that lack preservatives, the crispness of these chips is relatively short-lived. So, I recommend you only make as many as you will eat that same day. If you must store these chips, once they are completely cooled, place them in an airtight container or in a tightly sealed resealable bag and keep them on the counter for 1-2 days. I don't recommend freezing these chips.
- Seasonings, especially salt, are guidelines. Adjust to taste.
Nutrition per Serving
Save this Recipe!
We will also add you to our weekly newsletter. Unsubscribe anytime. See healthyrecipesblogs.com/privacy/ to learn how we use your email.
Disclaimers
Most recipes are low-carb and gluten-free, but some are not. Recommended products are not guaranteed to be gluten-free. Nutrition info is approximate - please verify it. The carb count excludes non-nutritive sweeteners. Please read these Terms of Use before using any of my recipes.

~Nona says
Why bother posting a question about what to do with leftovers. These chips are so good that there ARE no leftovers.
Yummmmeeee!!!
Vered DeLeeuw says
Haha I'm so glad you enjoyed them, dear Nona! ❤️
Mandy says
These are so good! The kiddos actually beg for them. Thank you!!!
Vered DeLeeuw says
You're very welcome, Mandy! I'm so glad this recipe is a success.
Emma says
These are so amazing! I can’t stop eating them!!!
Vered DeLeeuw says
Yay! I'm so glad you like these chips, Emma. Thanks for the comment.
Roberta says
I could eat several whole bunches of kale when prepared this way. Honestly addicting AND good for you to boot.
Vered DeLeeuw says
Thank you very much for this review, Roberta!